Quick Fire Ikea Project: Cutting Board Engraving
Project Overview:
You’ve probably seen your share of engraved cutting boards. They make great gifts, generally have a high profit margin, and are pretty easy to make. In this quick post I will show you the settings and steps required to engrave an Ikea cutting board. I did this really quickly as a gift so I didn’t take a ton of photos but it’s pretty easy so hopefully someone finds this helpful.
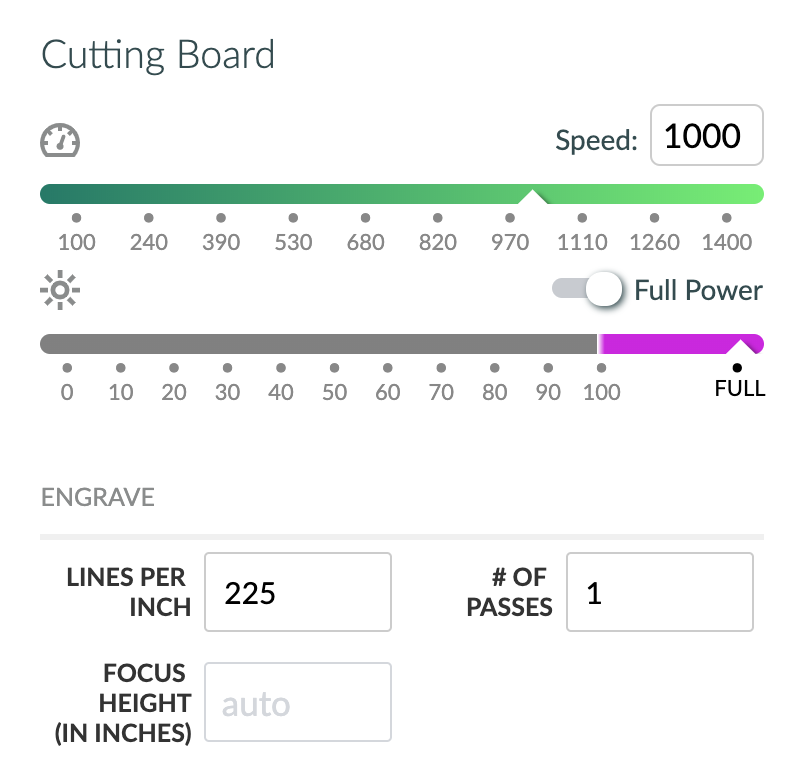
SETTINGS
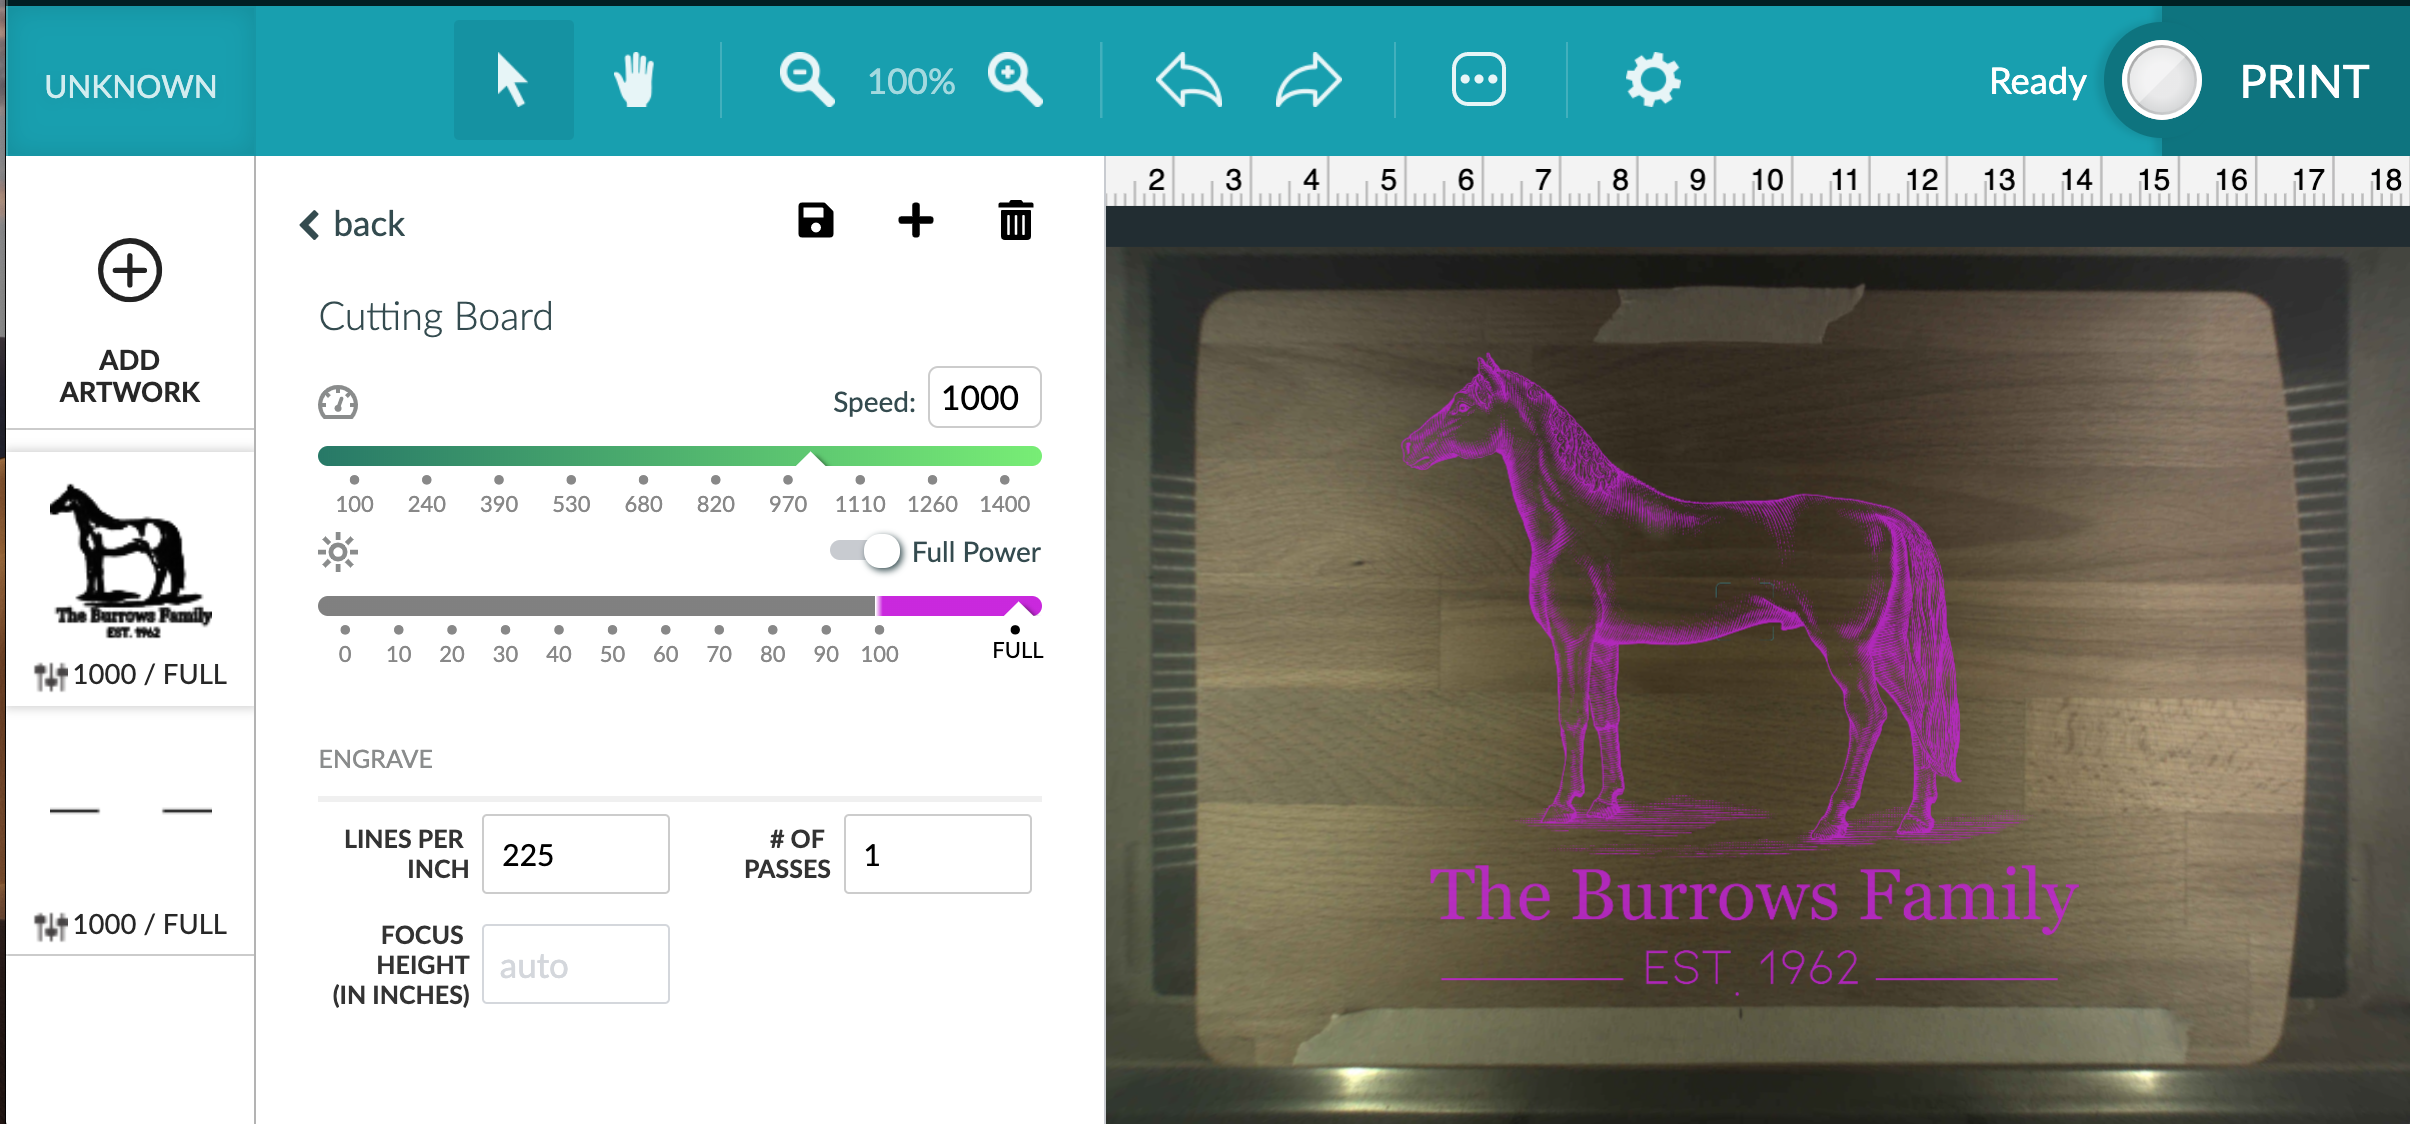
Let’s make it easy. Here are the settings I used for this board. My design had a lot of fine detail so I think I would back up on the power or increase the speed a bit to make it a little shallower. I don’t want the delicate areas flaking/breaking off so keep that in mind when you choose your settings. When engraving I prefer to keep the speed around 1000 and adjust power. Engraves take a long time in general, so you want to be going as fast as you can. That being said – be careful speeds of 1000+ are in beta testing and sometimes cause skipping during the engrave.
The Material
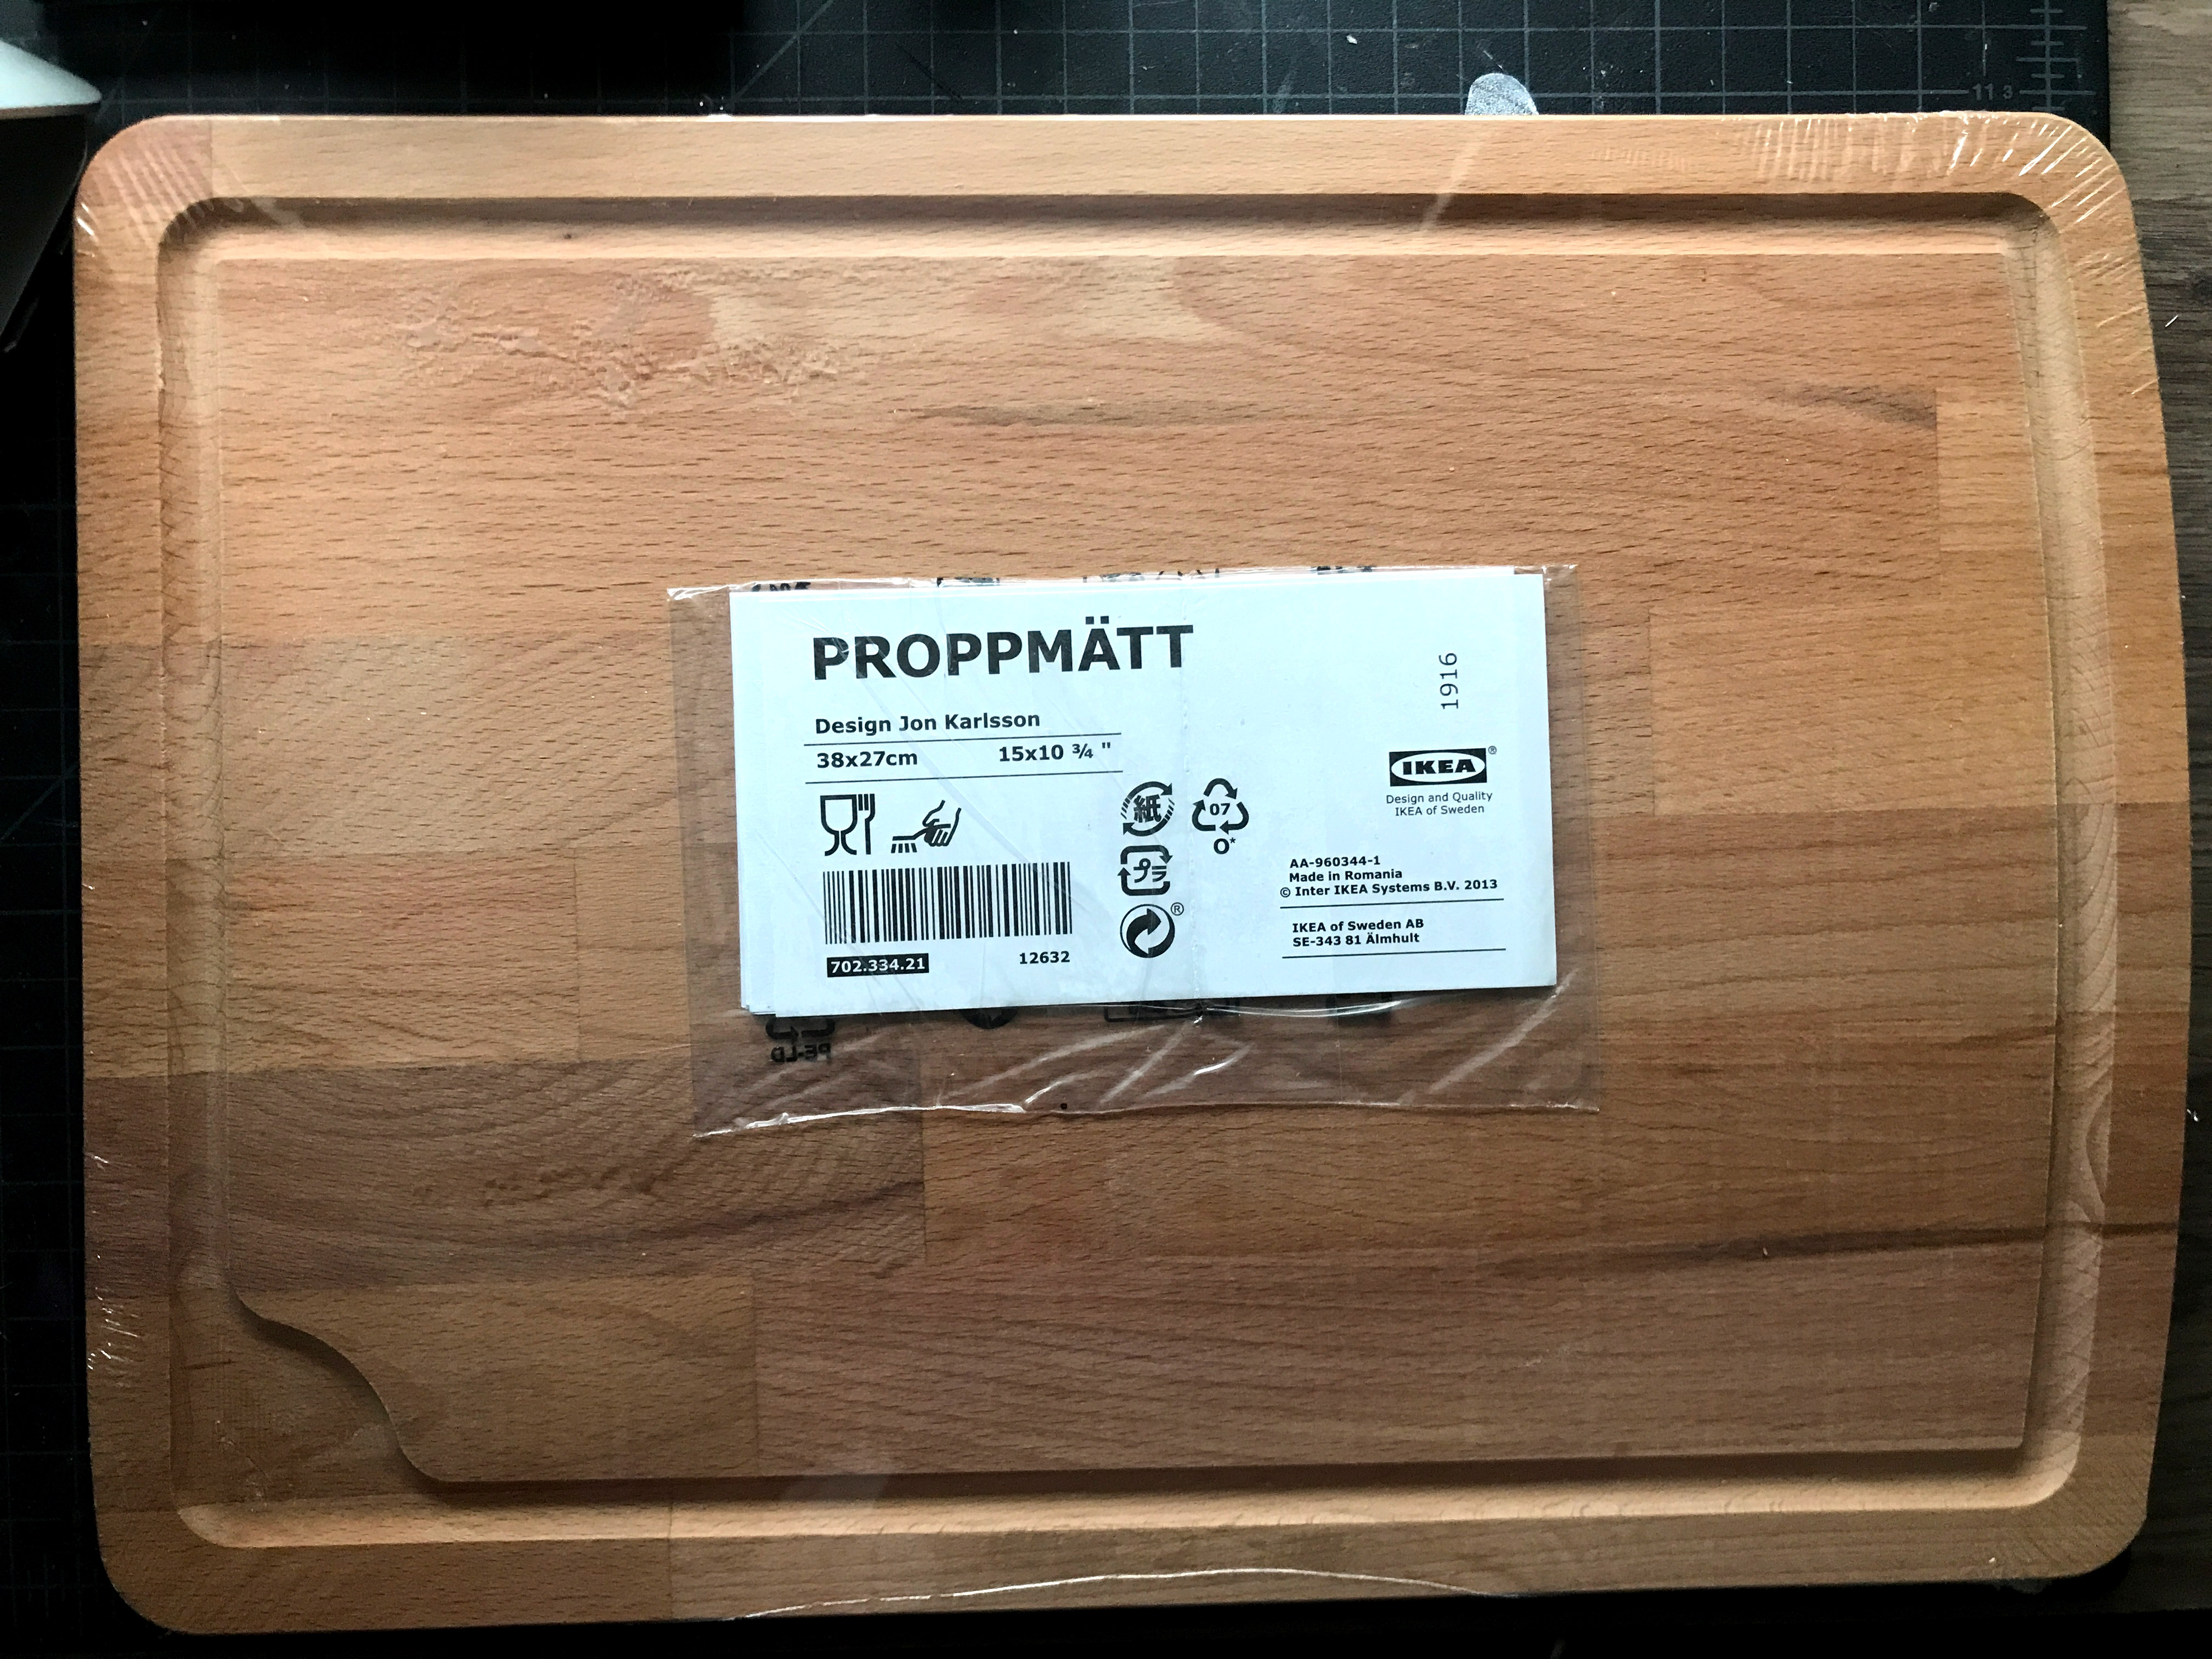
Below you can see the cutting board a used. I recommend you avoid the super cheap, thin bamboo cutting boards at places like Home Depot or Menards. I’ve seen a lot of people having issues with them splitting apart. If you’re going to spend an hour making a beautiful engraving/gift, at least step up the TJ Maxx or Ikea level haha! This cutting board, which was only $9.99, features a groove to catch juice/drippings. We don’t want to engrave on this side of the board since this will be the side our recipient actually uses for meal prep (if they so choose).
Ikea has a ton of great engravable materials including cork trivets, wooden cutting boards, wooden utensils, etc. Keep an eye out for anything that is unfinished bamboo or wood. Avoid laminates, plastics, or painted items that you don’t know the composition of.
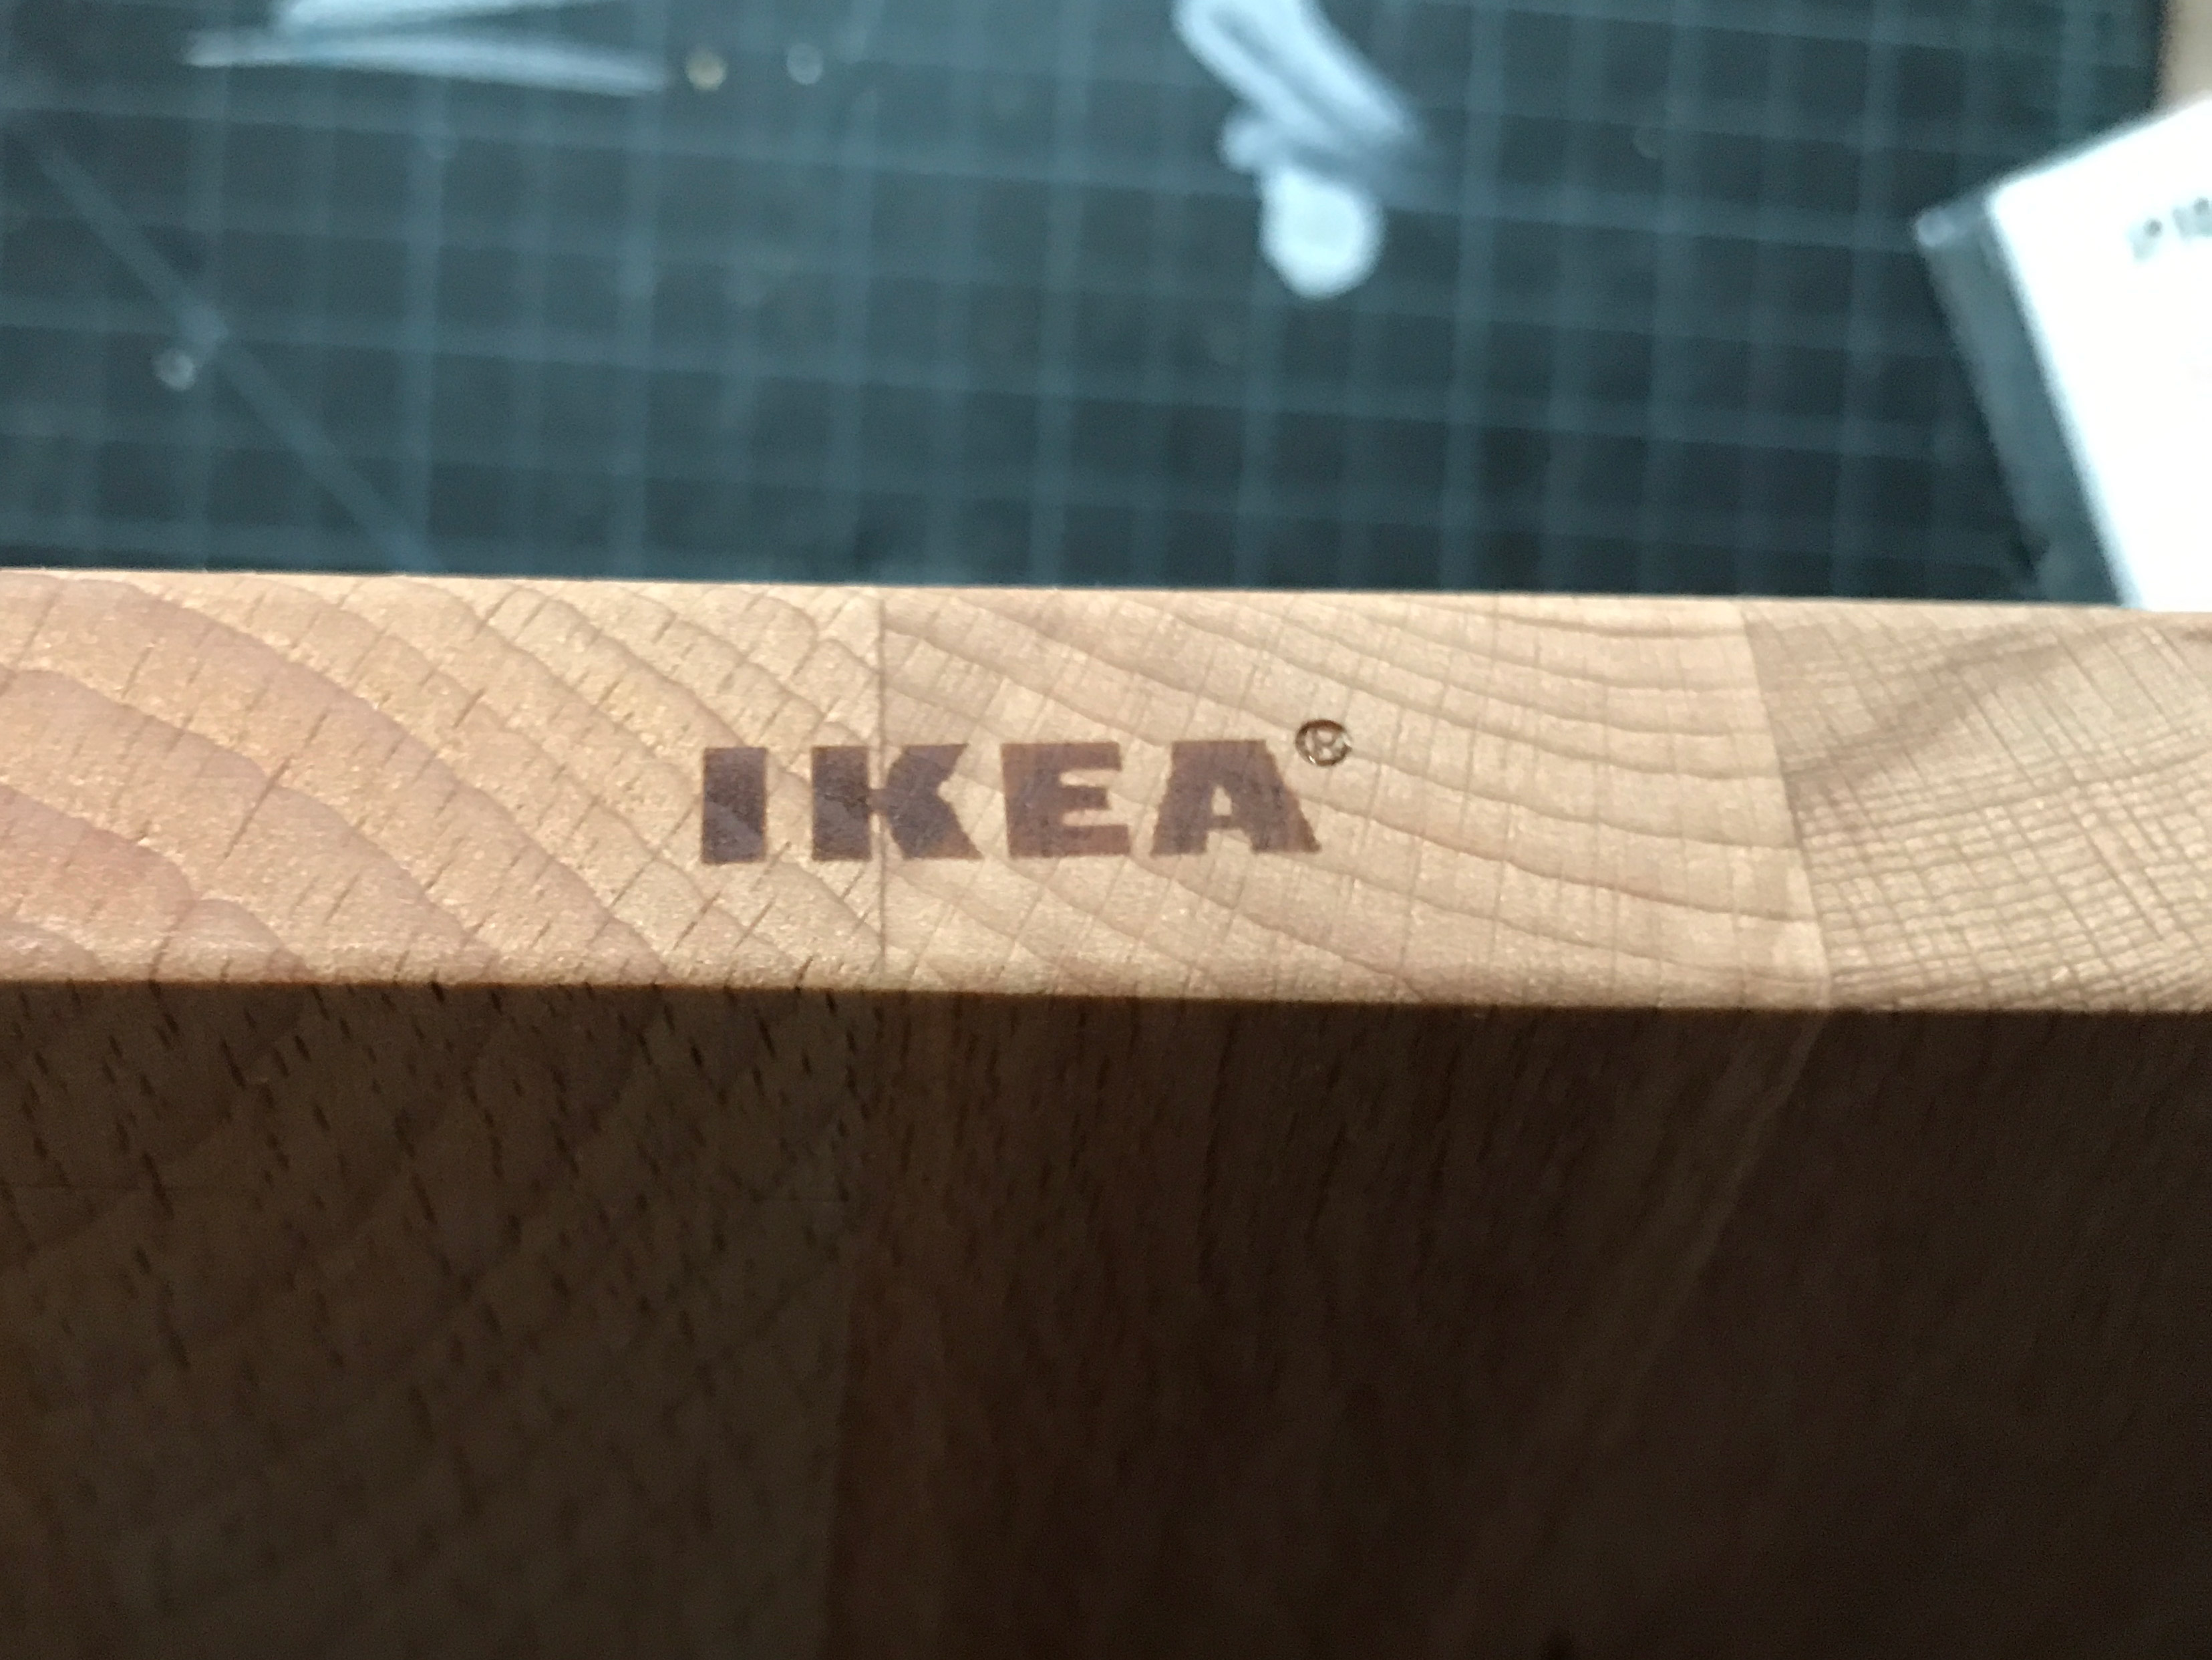
Removing the Logo
I’m not going to lie. I gave up about 2 minutes into this simply because I knew the person I was giving this to would not care. I chose these Ikea boards because the logo was unobtrusive and on the edge. It looks like it is branded/hot stamped in. Acetone or chemical removers will not remove it as it does not appear to be ink. Instead, you will need to sand it away. Use long smooth strokes to avoid creating a valley. You will save tons of time if you use a rotary or pad sander. Mine was in my shed and I didn’t feel like going to get it so I used a sanding block, just to see if it would work. it does. A few minutes of elbow grease would take this off, but again it just wasn’t an issue for me so after testing I just left it as it was.
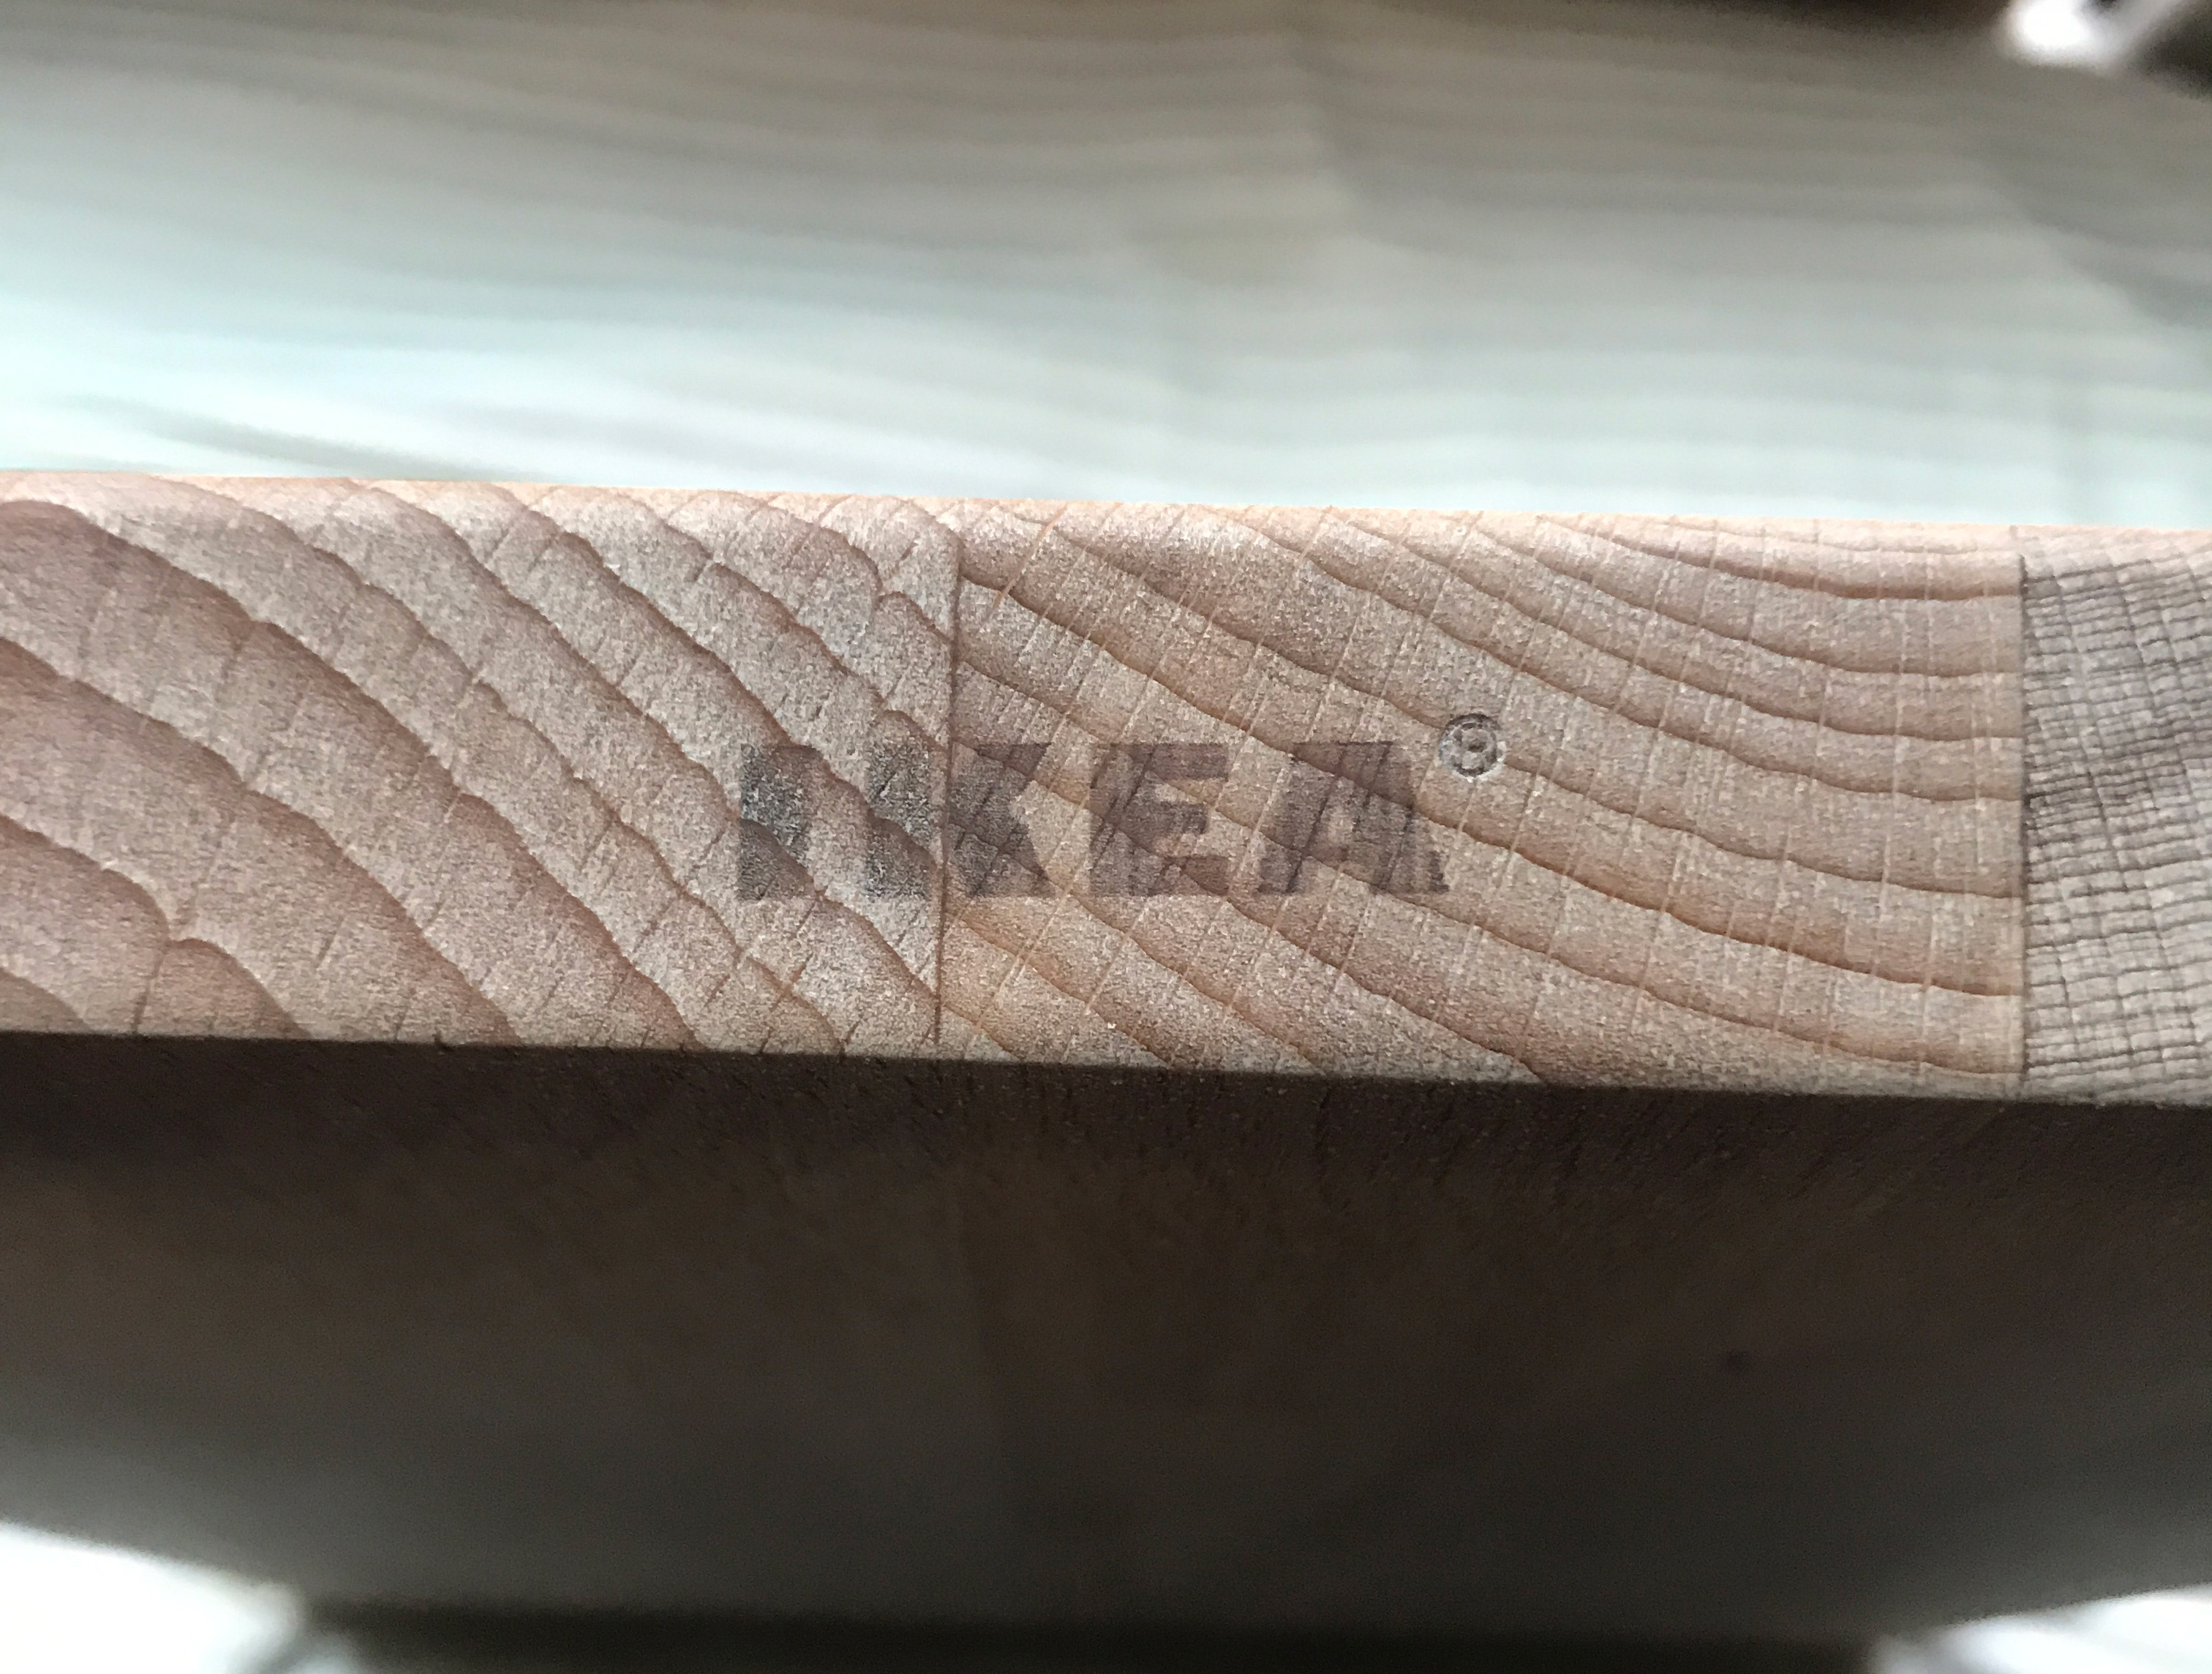
In just a minute or two you will see the logo fading away. It is not a deep logo so it’s not super hard to remove.
Setting Up the File
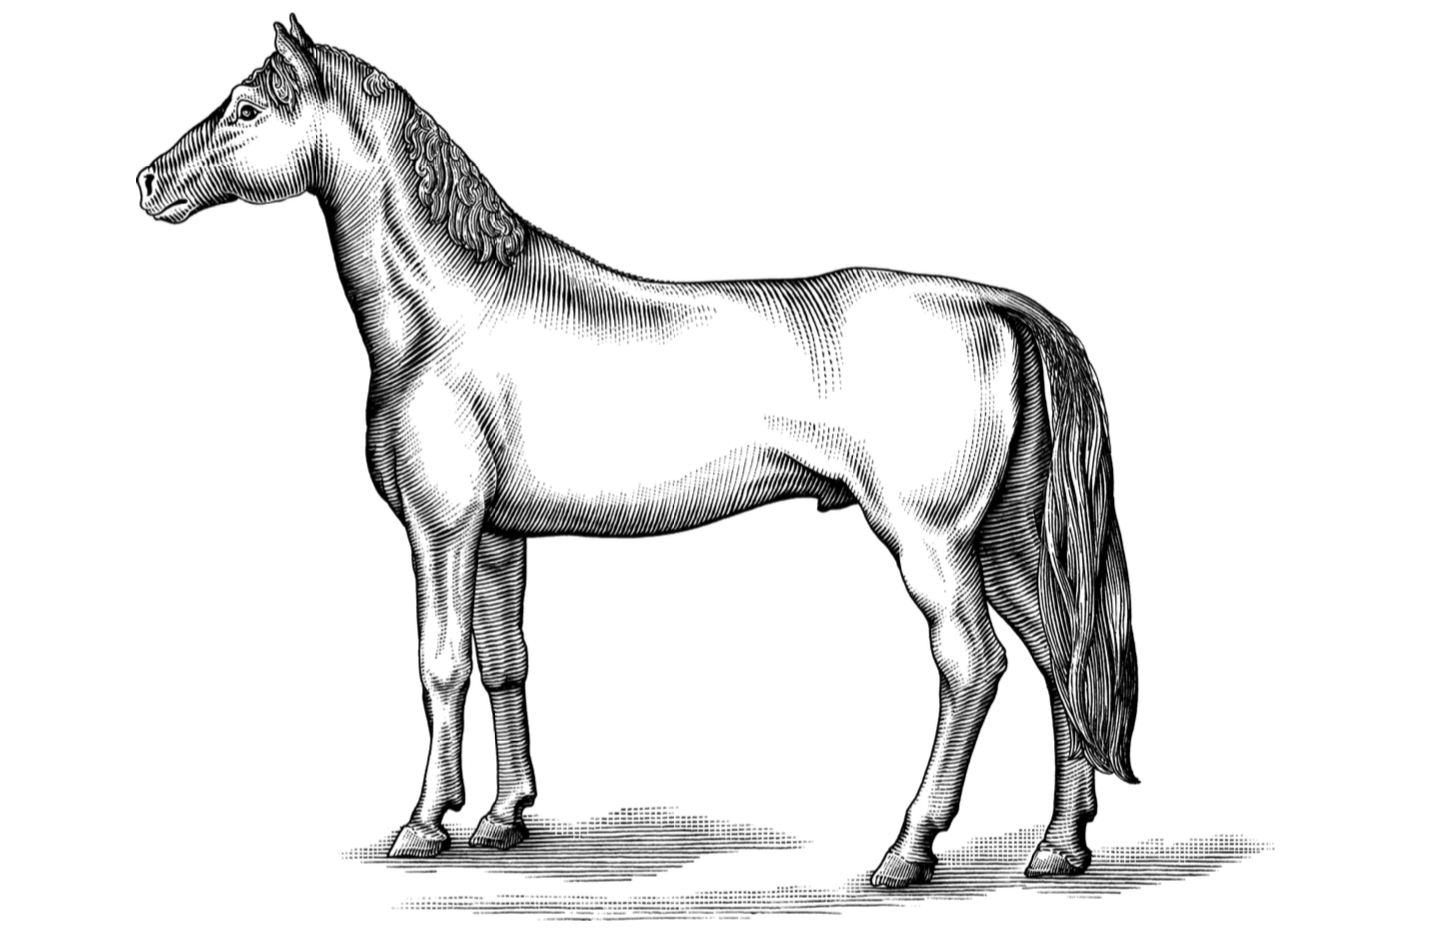
I like to draw my own designs most of the time, but for this gift, I didn’t have time to do a full illustration so I grabbed this horse “engraving” from Freepik.com. Since this is not a commercial project (I do have a commercial account, however), this is a perfectly acceptable use of Freepik. Generally, you need to credit them but with my commercial account I do not need to beyond mentioning it here.
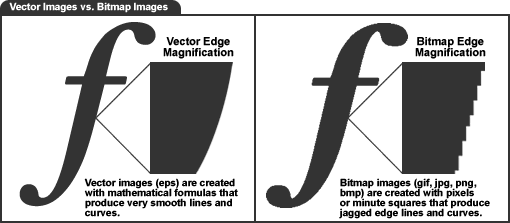
I’m used to making my own designs so for this project I learned something new in working with the Freepik file. I learned that vectors are not ALWAYS the answer. I like to typically keep even my illustrations in vector format. The reason for this is that vectors are made using mathematical algorithms that allow for infinite scaling. A vector image could be scaled to 70 feet long and not lose any detail. A bitmap image is made from pixels and is affected by the resolution you set your file to (PPI or pixels per inch). Bitmap images can become blurry if scaled too large.
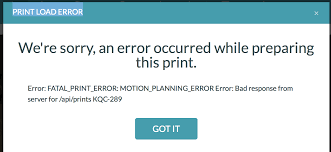
It stands to reason then that you should use vector images whenever possible, and for text I still find this usually true. However, vector images contain a lot of information. Vector images are constructed using anchor points, and with a complex illustration like the horse shown above there are about a bazillion of them (that’s a very scientific number). The Glowforge interface needs to read every single one of these anchor points, and so when I tried to upload this image, it took a small eternity. Subsequently, when I tried to print the image, it continued to fail. It was just too complex. The Glowforge could not process the information.
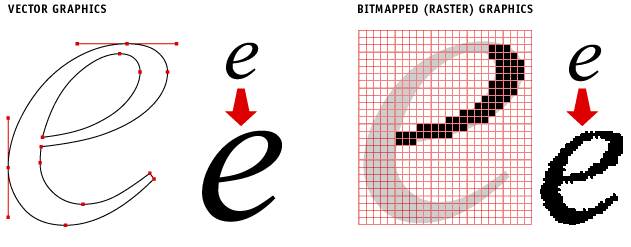
The workaround for this is to convert your image into a bitmap. I was at first, very suspicious. I did NOT want to end up with a blurry hour-long engraving. However, there is no need to fear. If you export your image correctly you will have no issues. Here are the steps for doing this in Adobe Illustrator:
1. Scale your vector image and text to the final size. You can use the transform panel to do this. Ensure your artboard is 12×20″. This will ensure that the Glowforge loads the image at the correct size and help you scale it visually if you don’t want to use the transform panel.
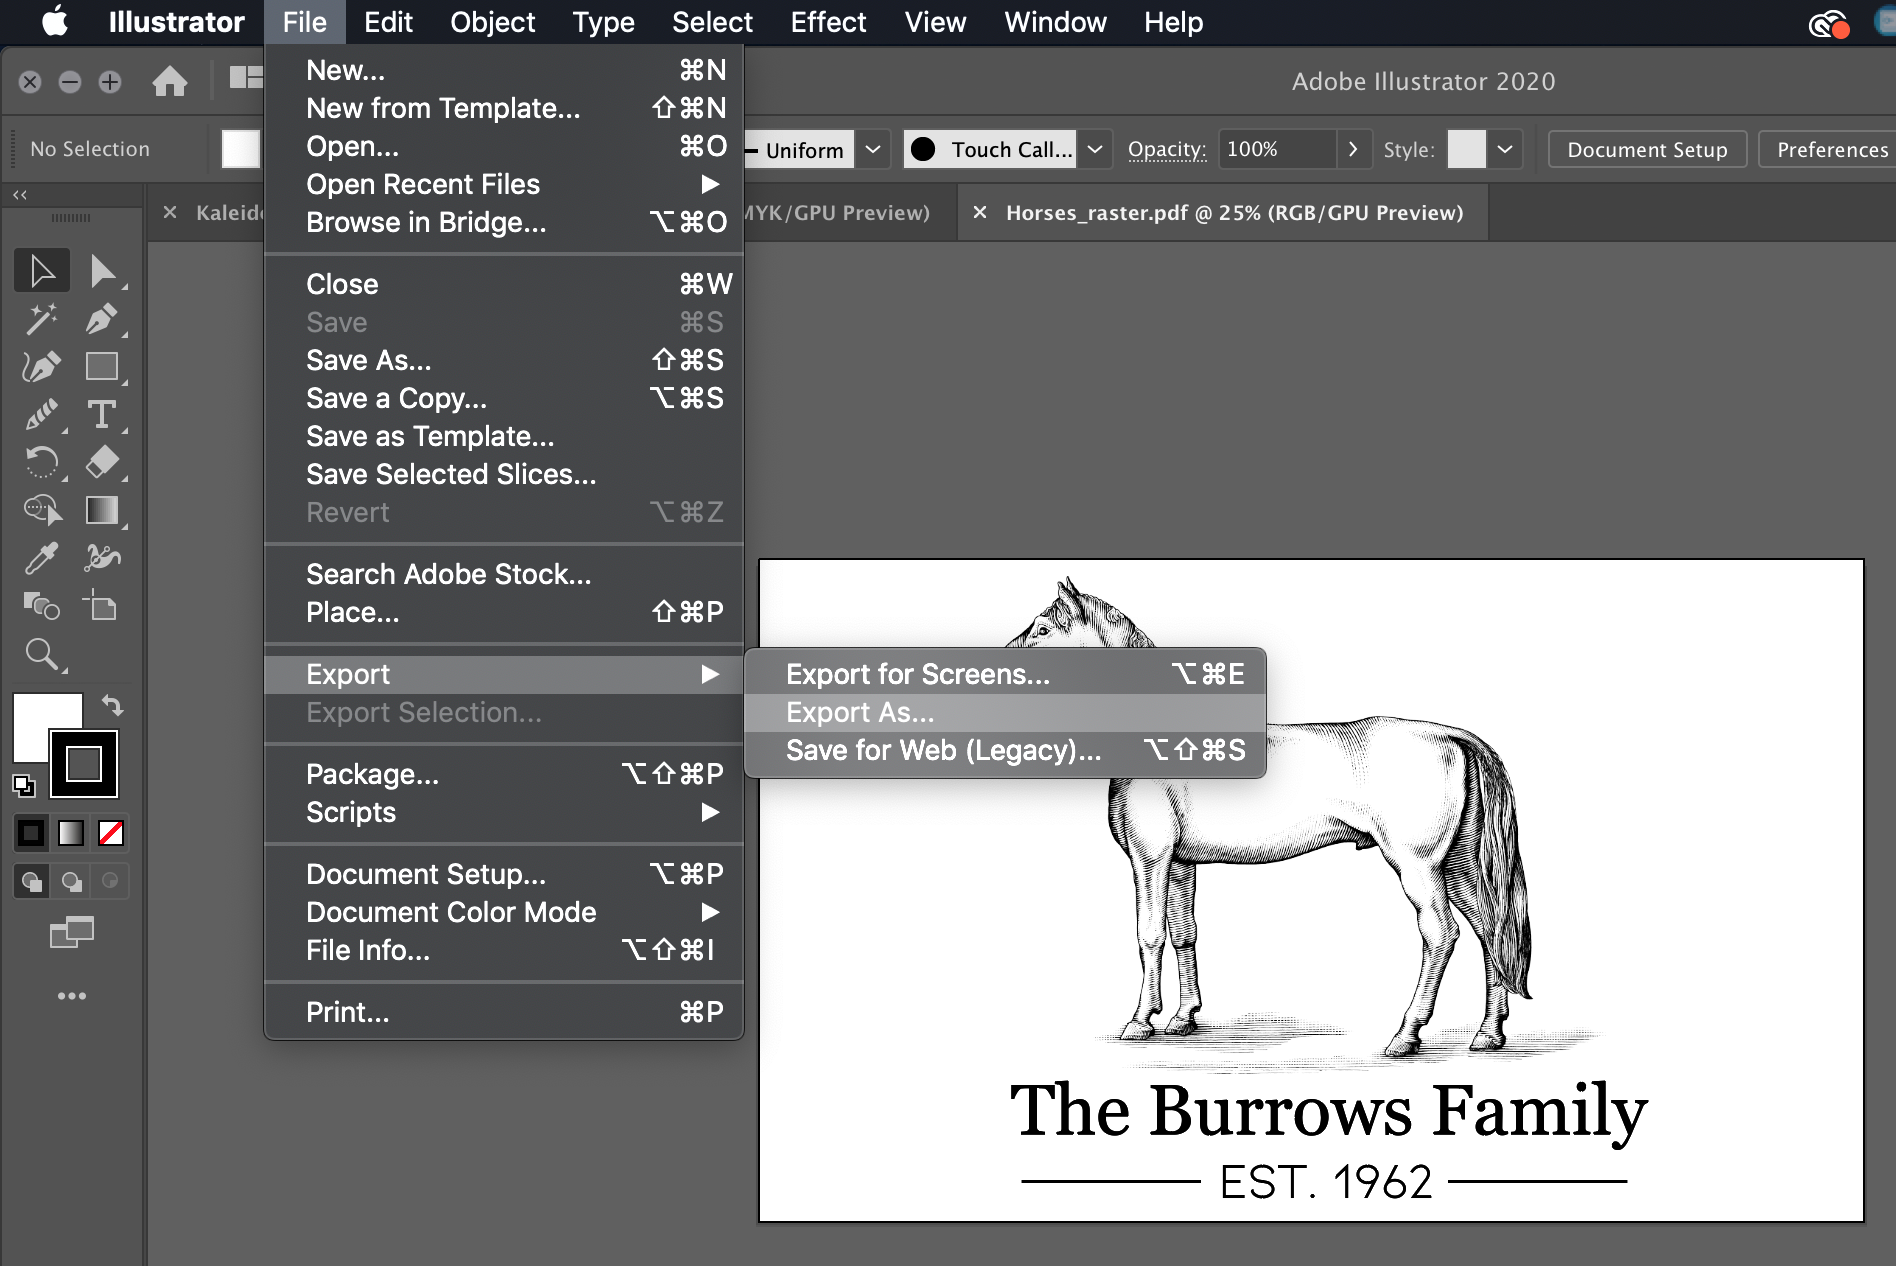
2. Go to File>Export>Export As
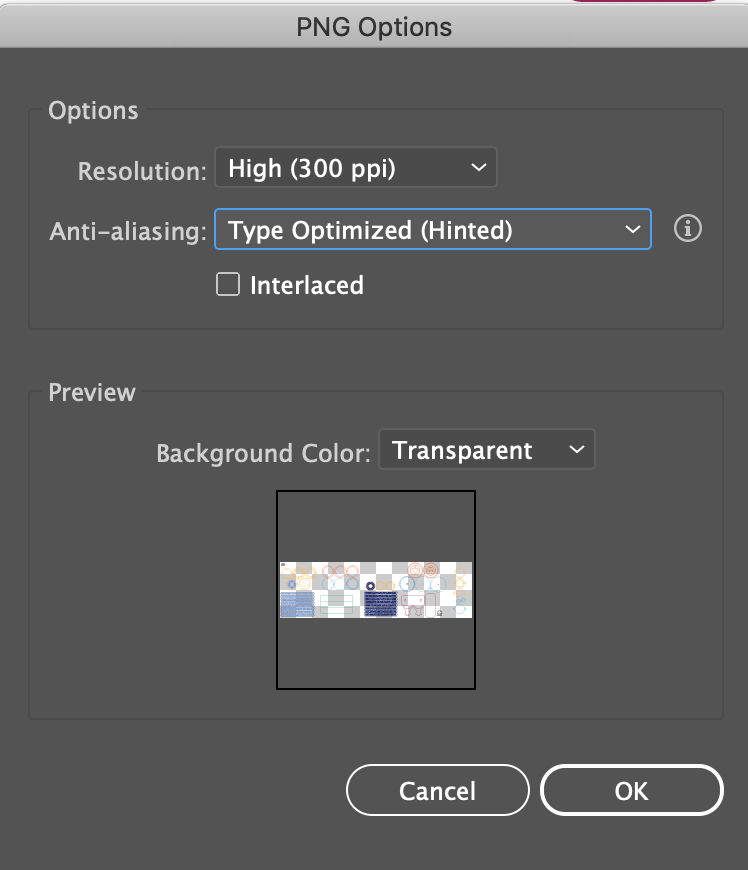
3. Select .PNG ( You do not need to check the option “Use Artboards” but you can if you choose.
4. Select transparent background. For resolution I believe you should choose 300DPI but 72 may be fine (web resolution). I’m not sure here, but 300 is generally use for printing so that’s what I chose. The resolution you choose may affect how the file scales. If you have any issues even with your image scaled to size try switching the resolution.
Why PNG?
You should choose .PNG over Jpeg when possible. The biggest advantage of PNG over JPEG is that the compression is lossless, meaning there is no loss in quality each time it is opened and saved again. PNG also handles detailed, high-contrast images well. Additionally, PNGs allow you to have transparent backgrounds (jpegs do not).
Setting Up to Cut
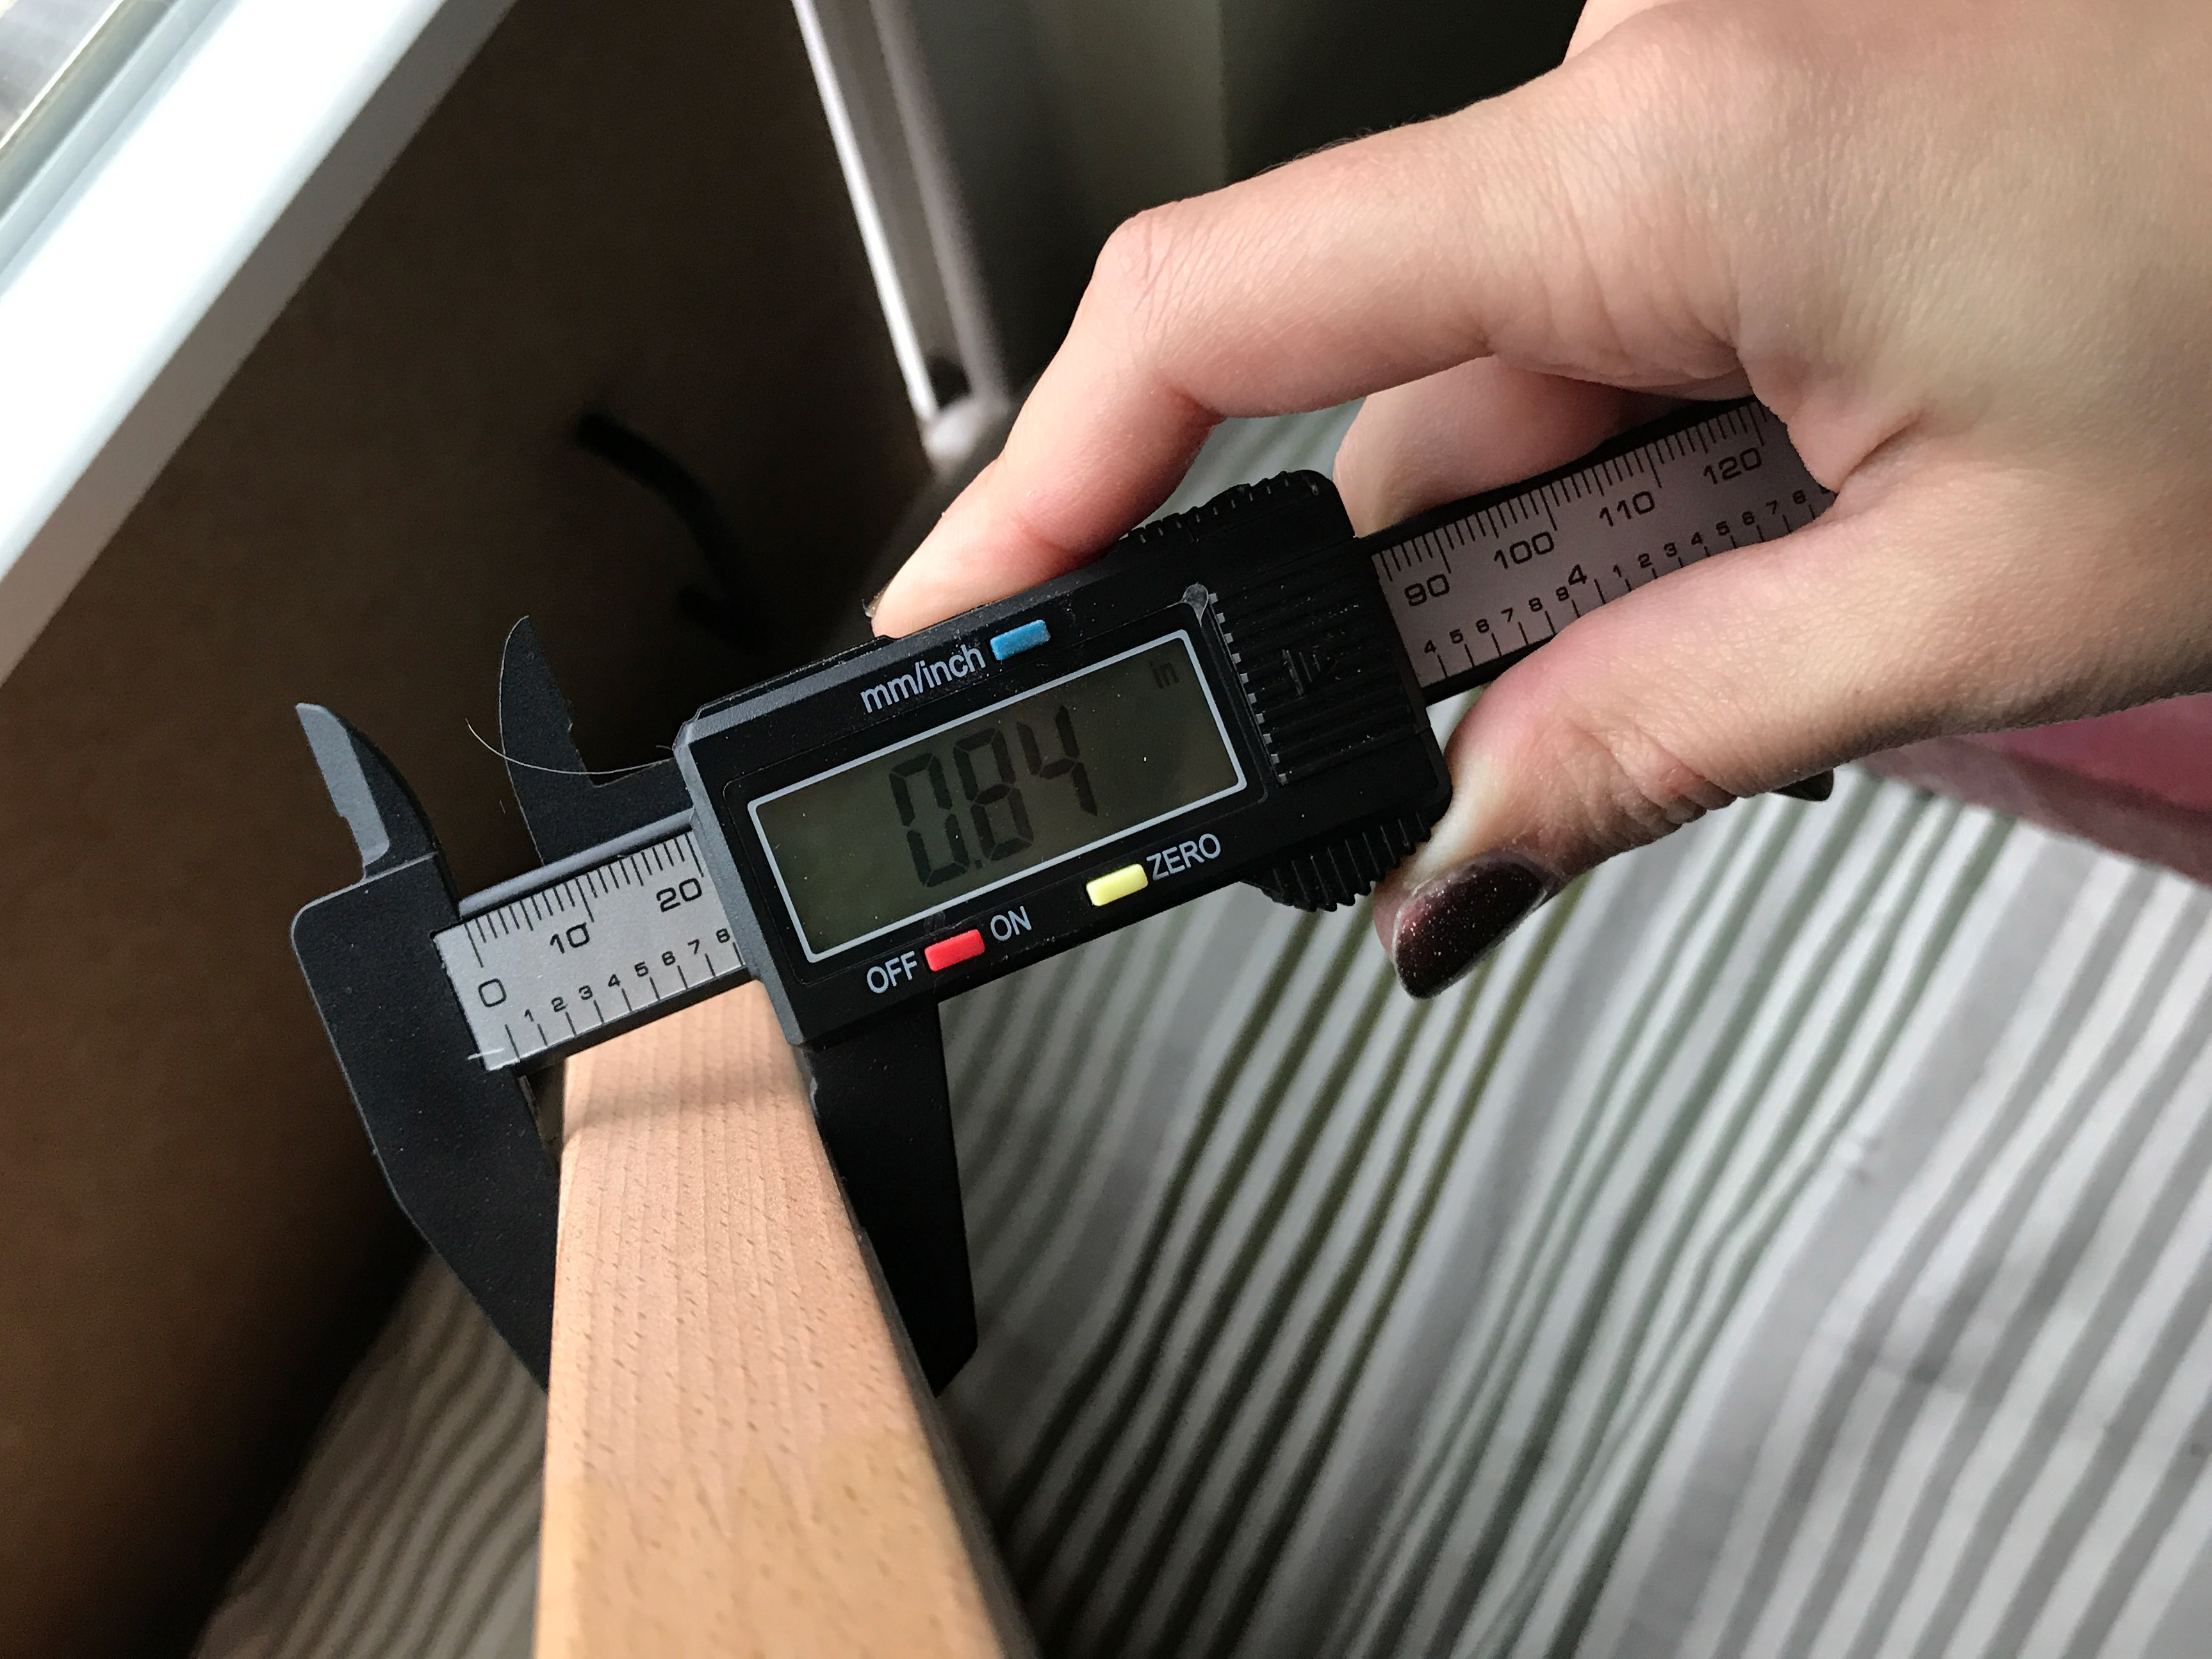
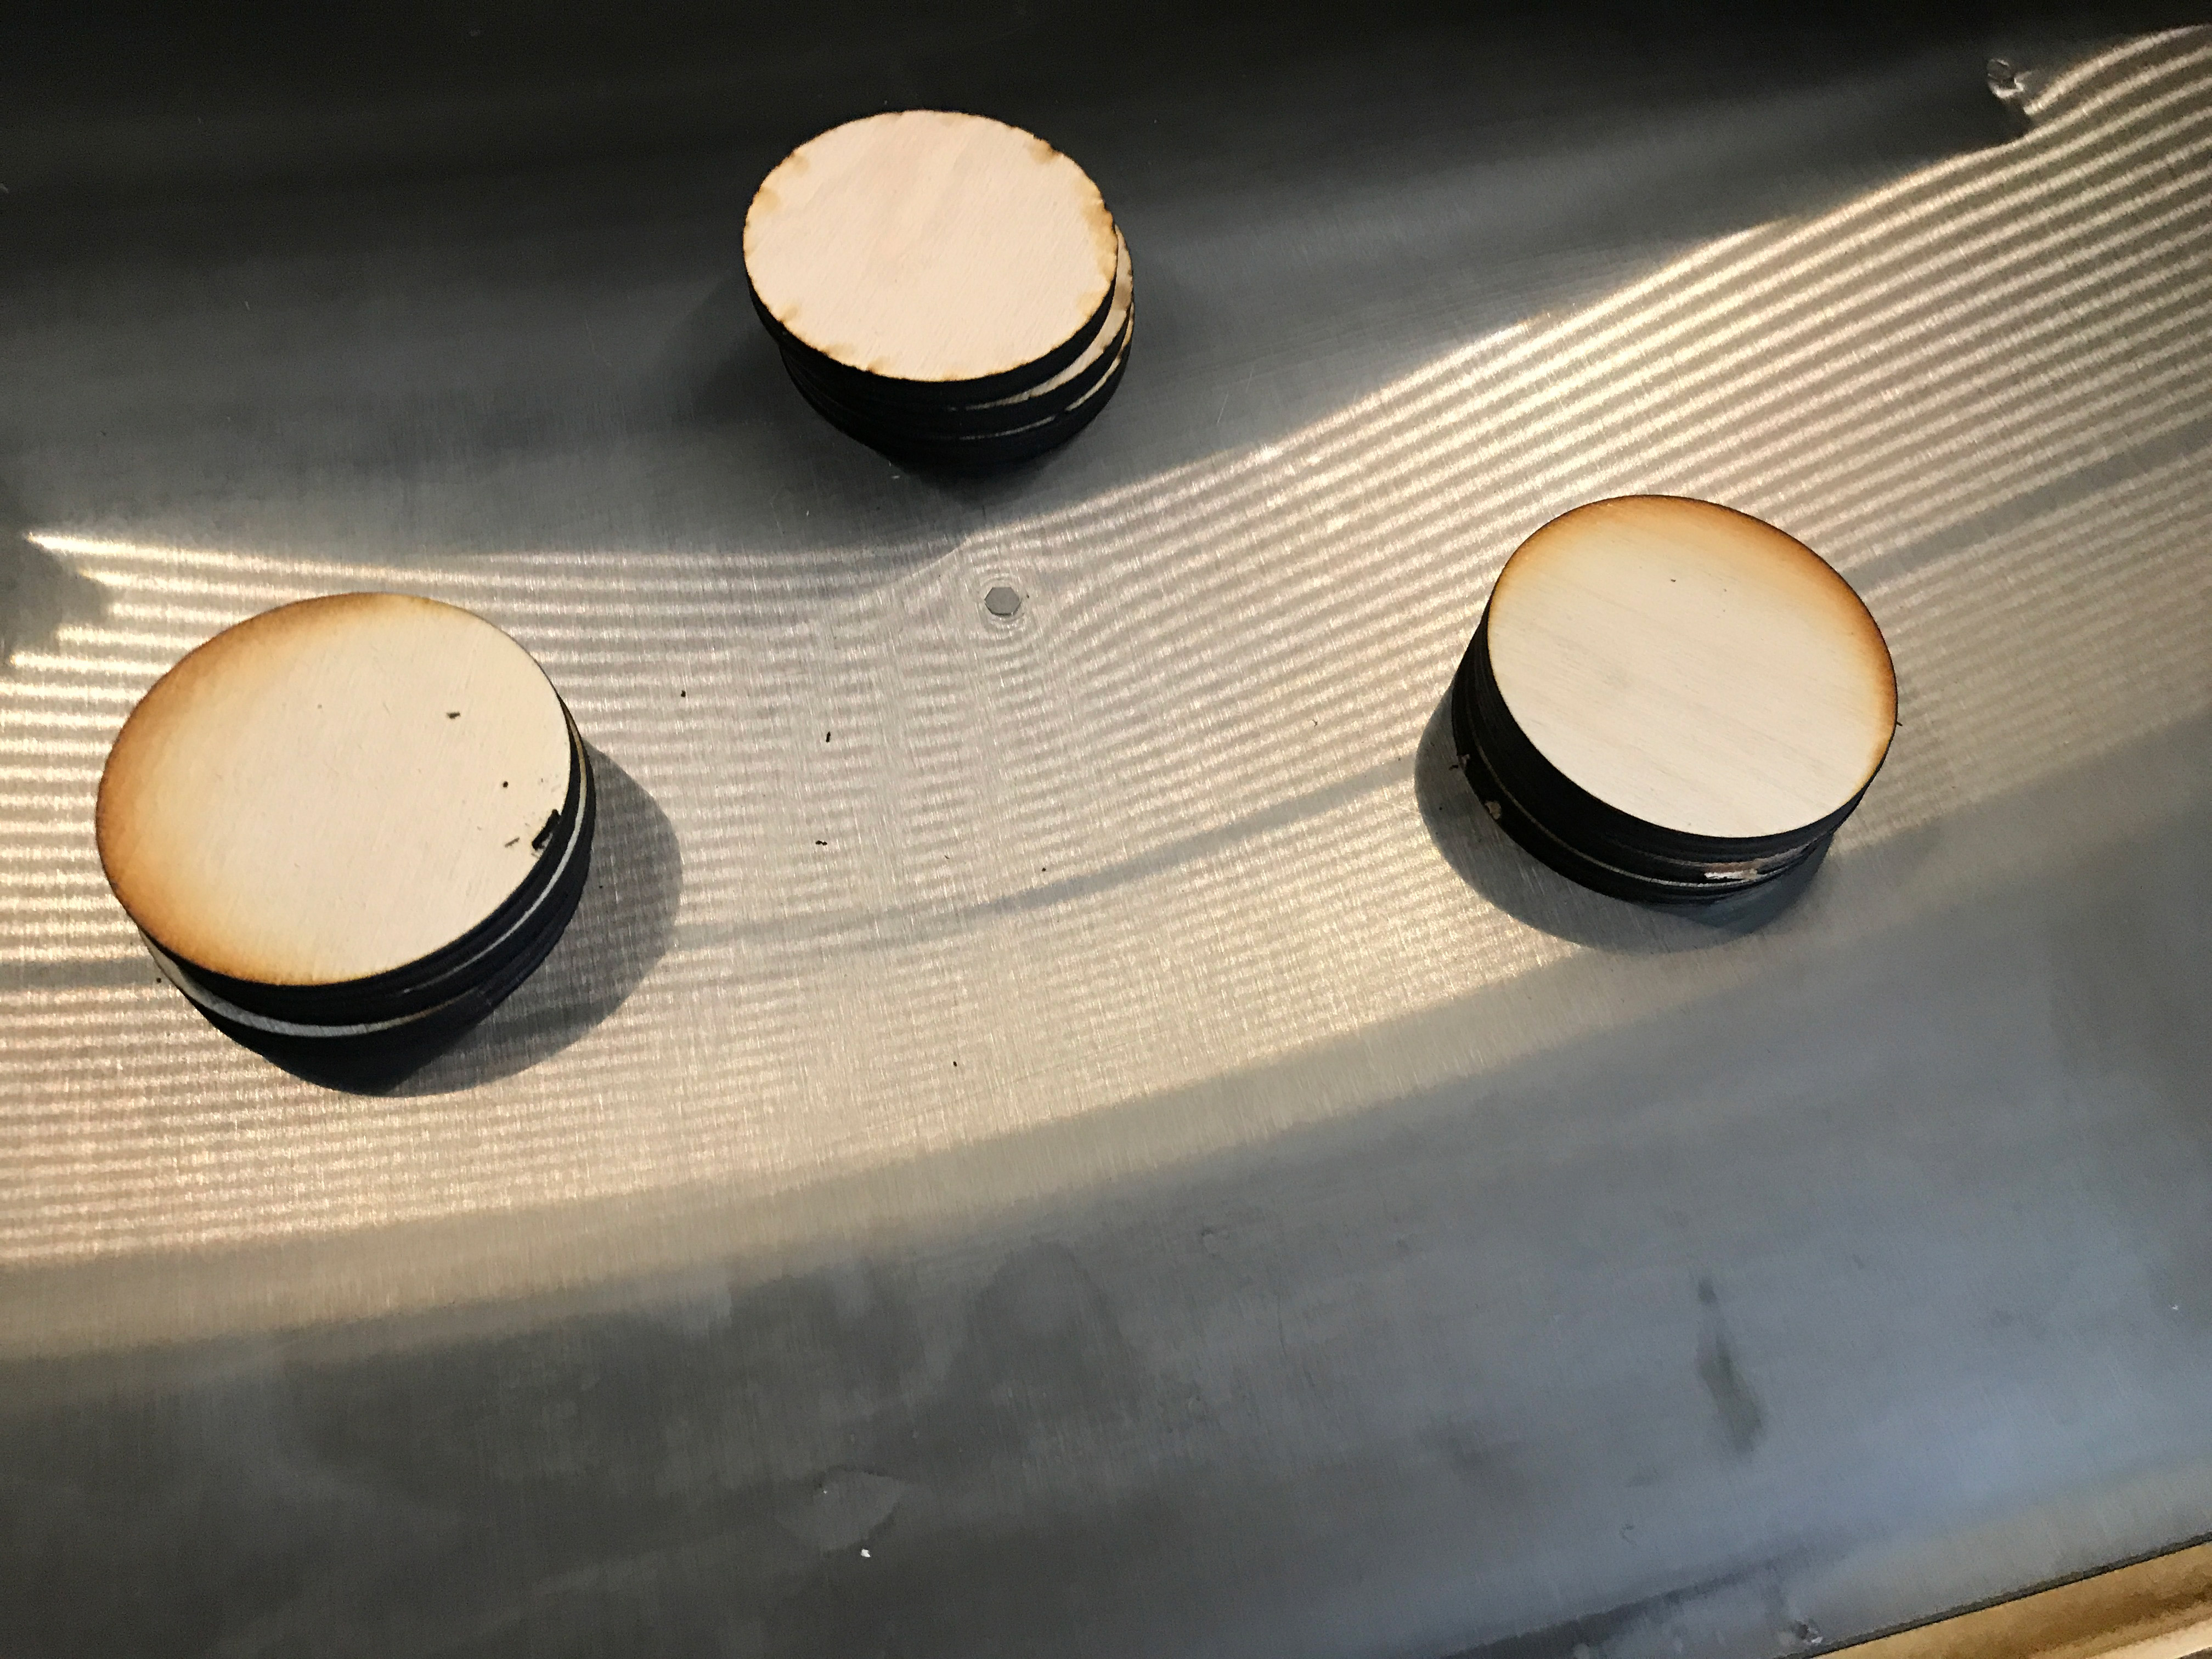
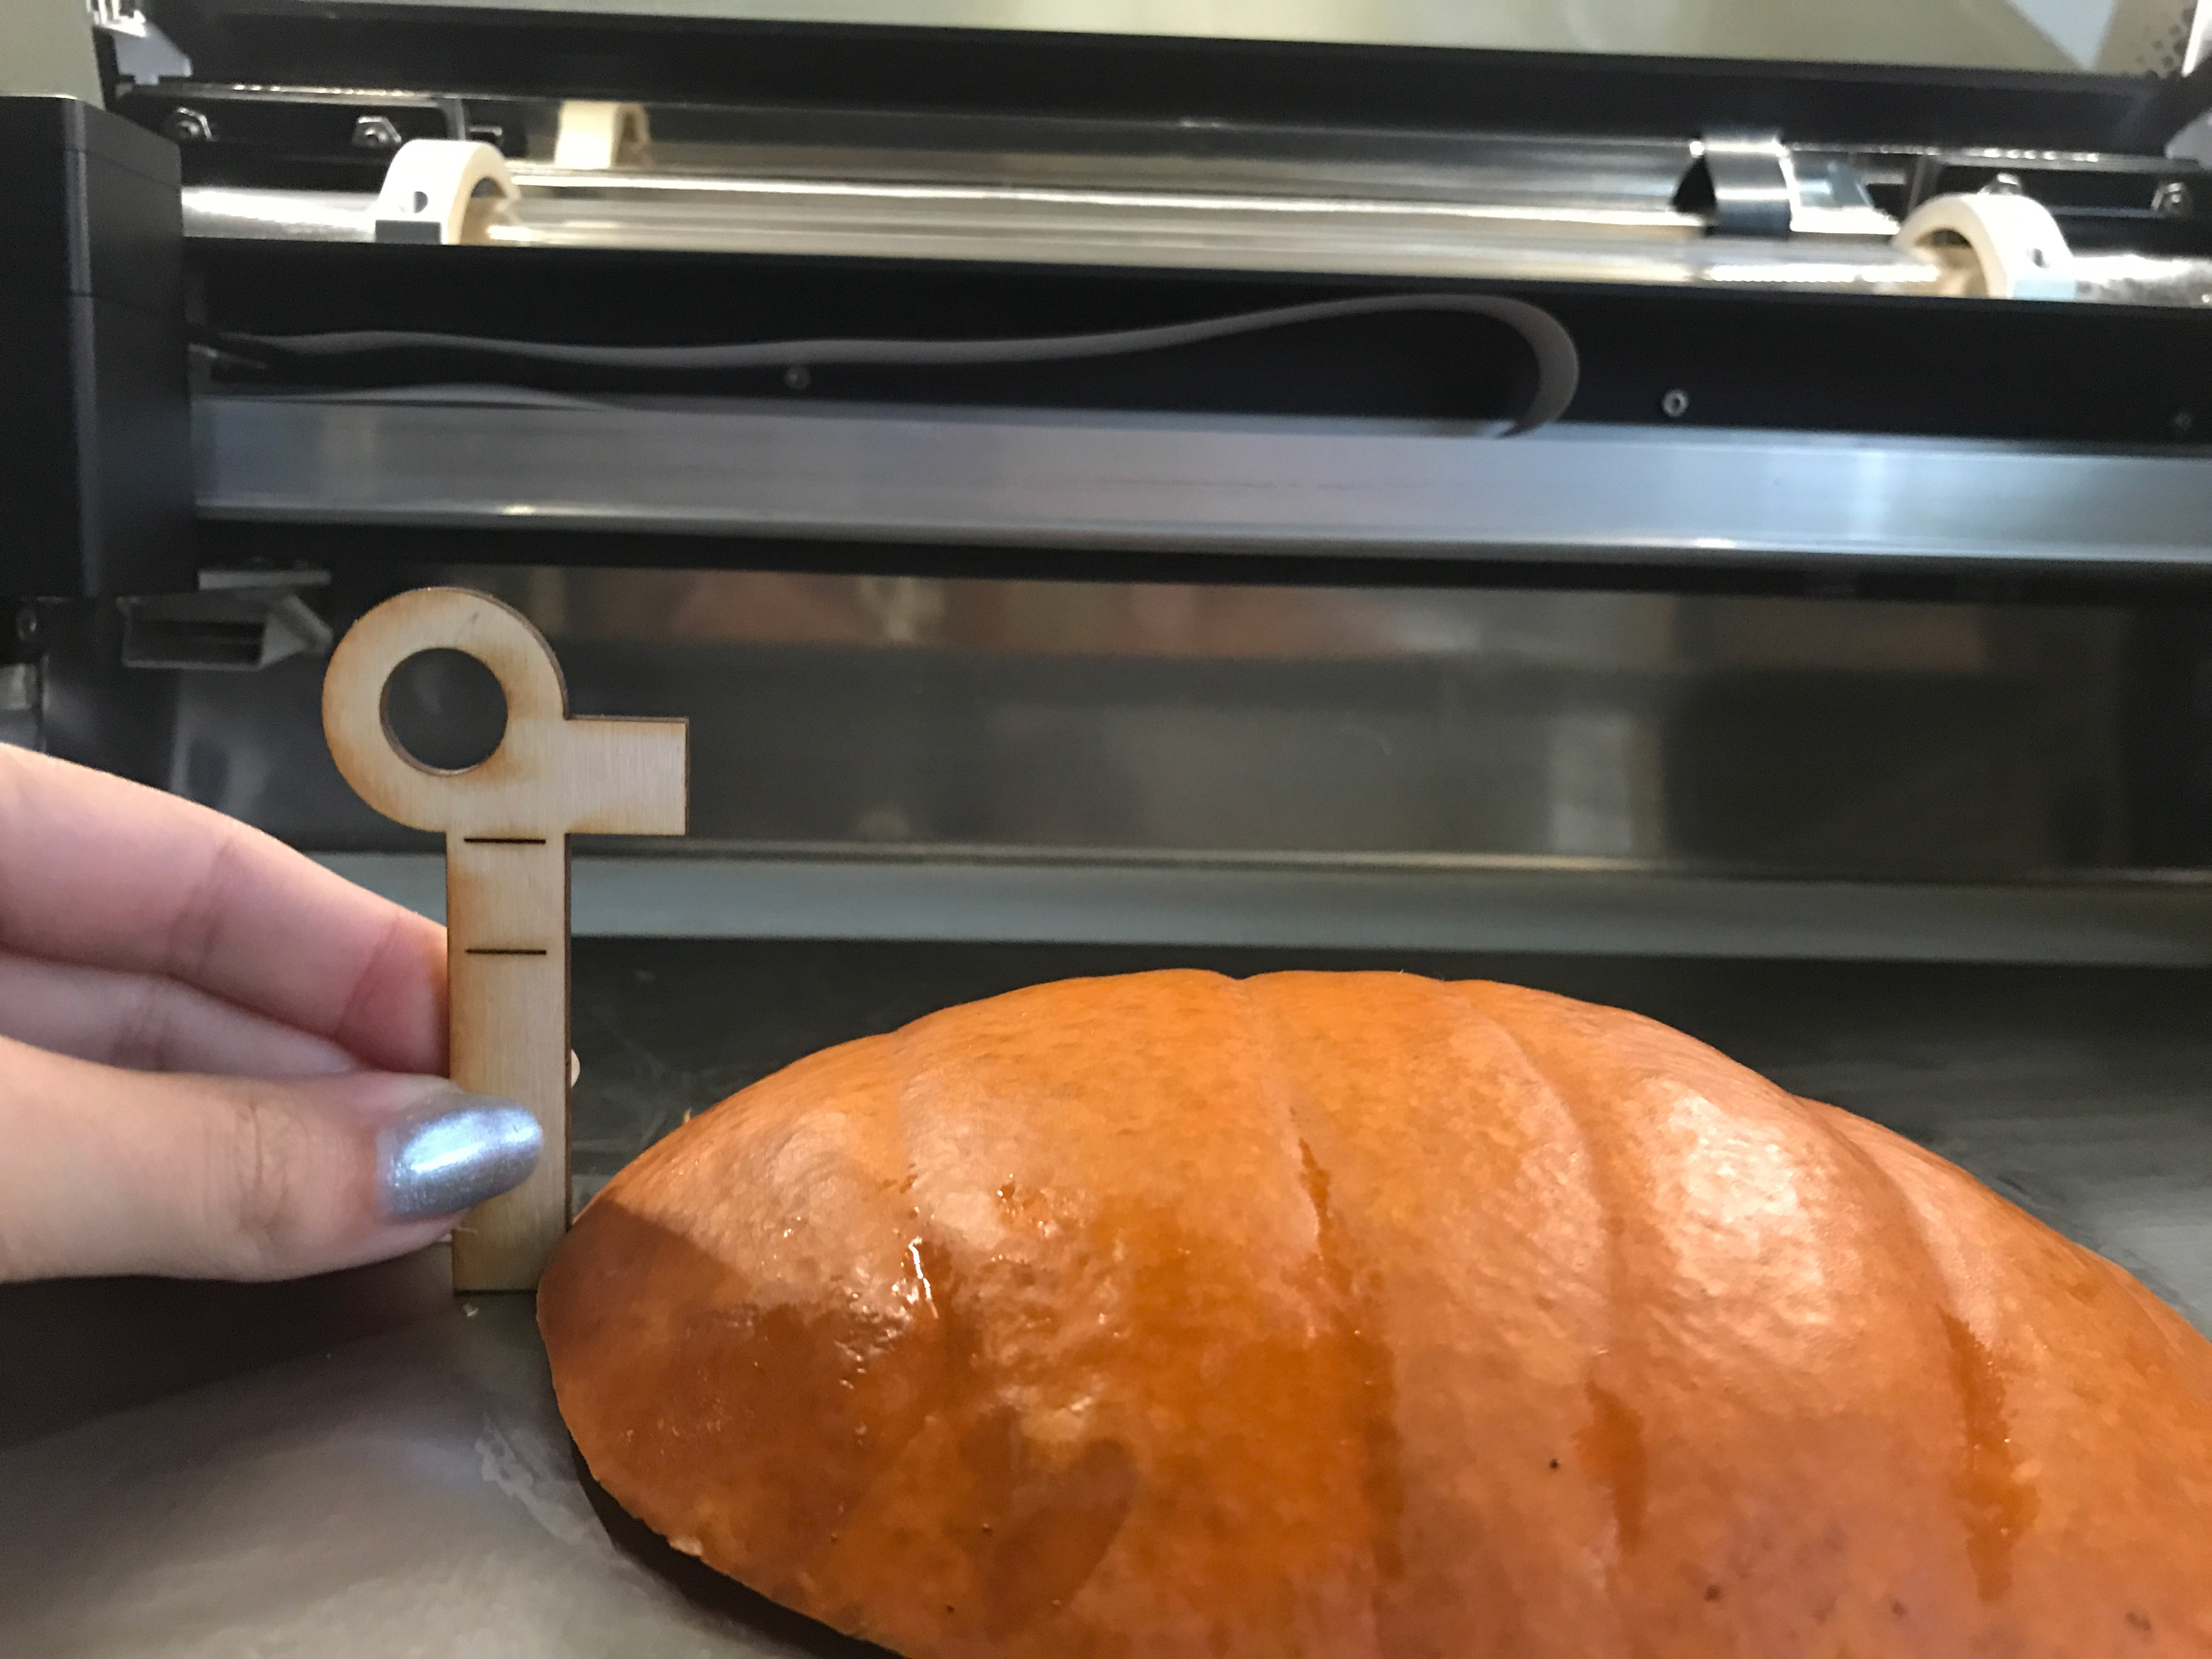
Measure your cutting board. This IKEA board is .84″ thick meaning we need to remove the crumb tray in order to engrave it. I used some circular birch scraps to stack the cutting board to the proper cutting height. You will want to use a focus height tool to ensure that your material is in range. In my previous pumpkin carving post I showed this tool and offered a link to download one, so the image below is from that post. Once you know your item is in range, you will want to ensure your design is centered, continue on to see my method:
Make sure your cutting board sits in the focal range (in between those two lines shown below). There are lots of great versions of this tool, try searching the forum or group for the different styles/options.
Alignment
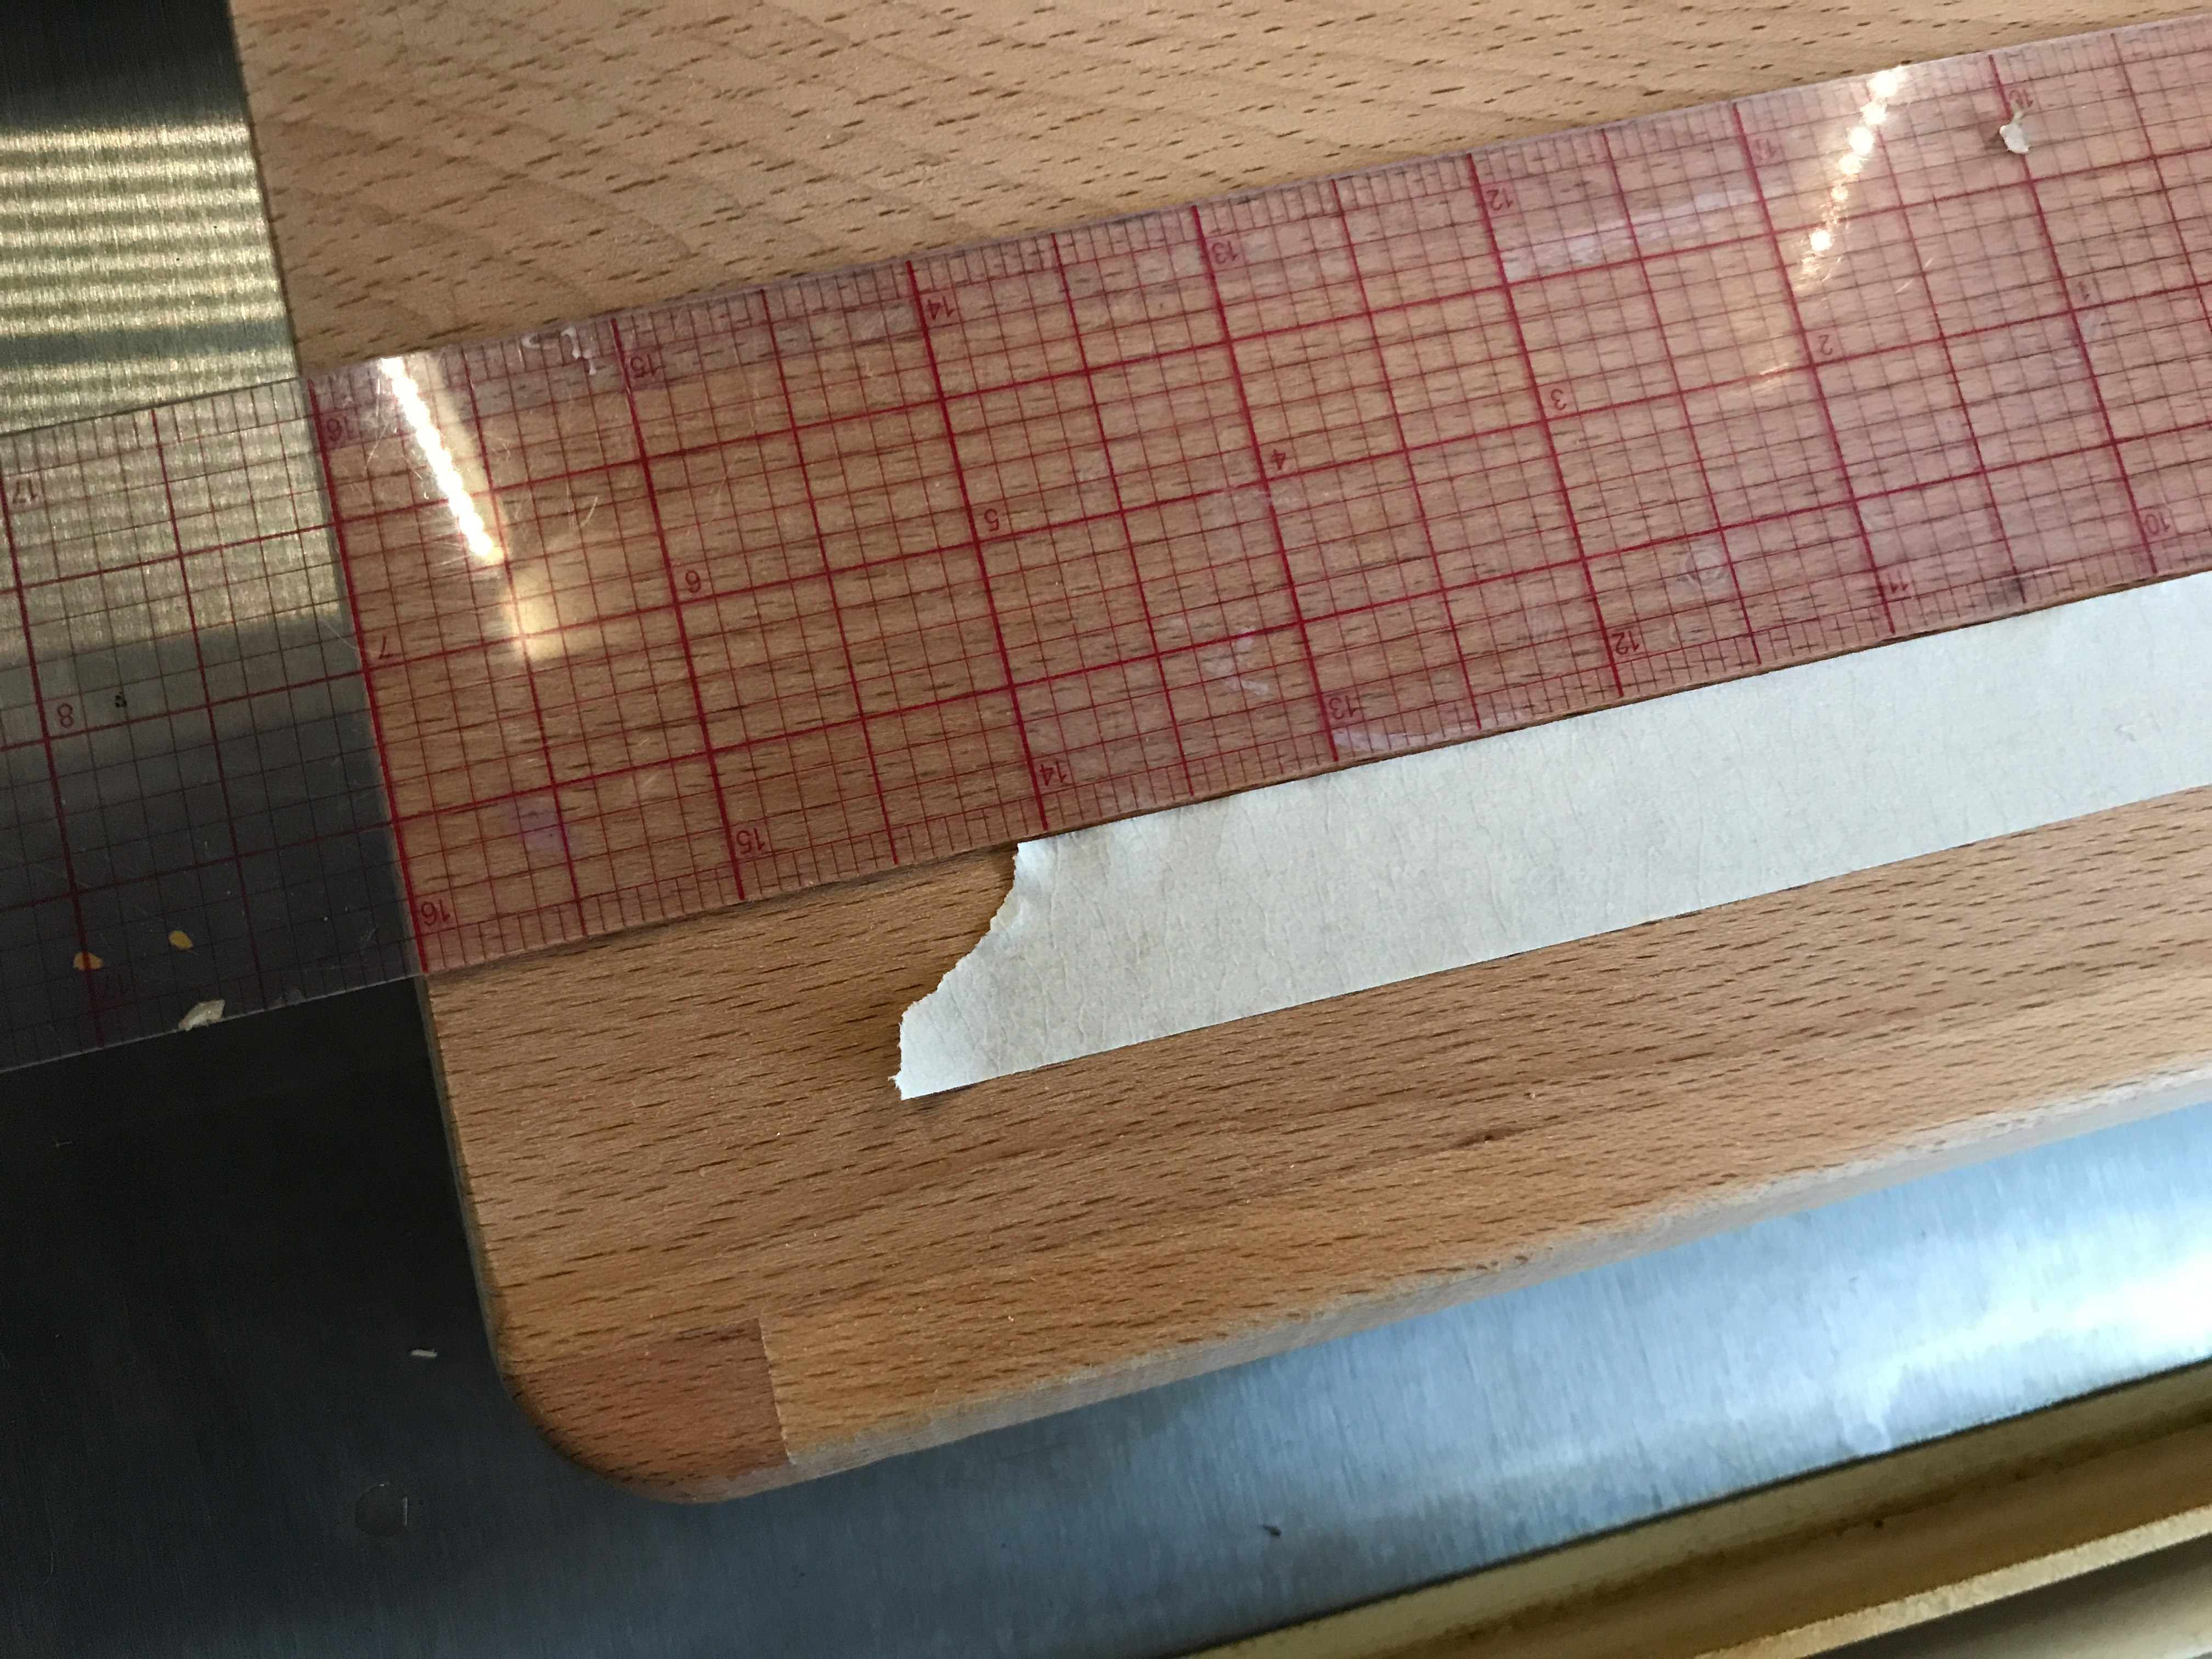
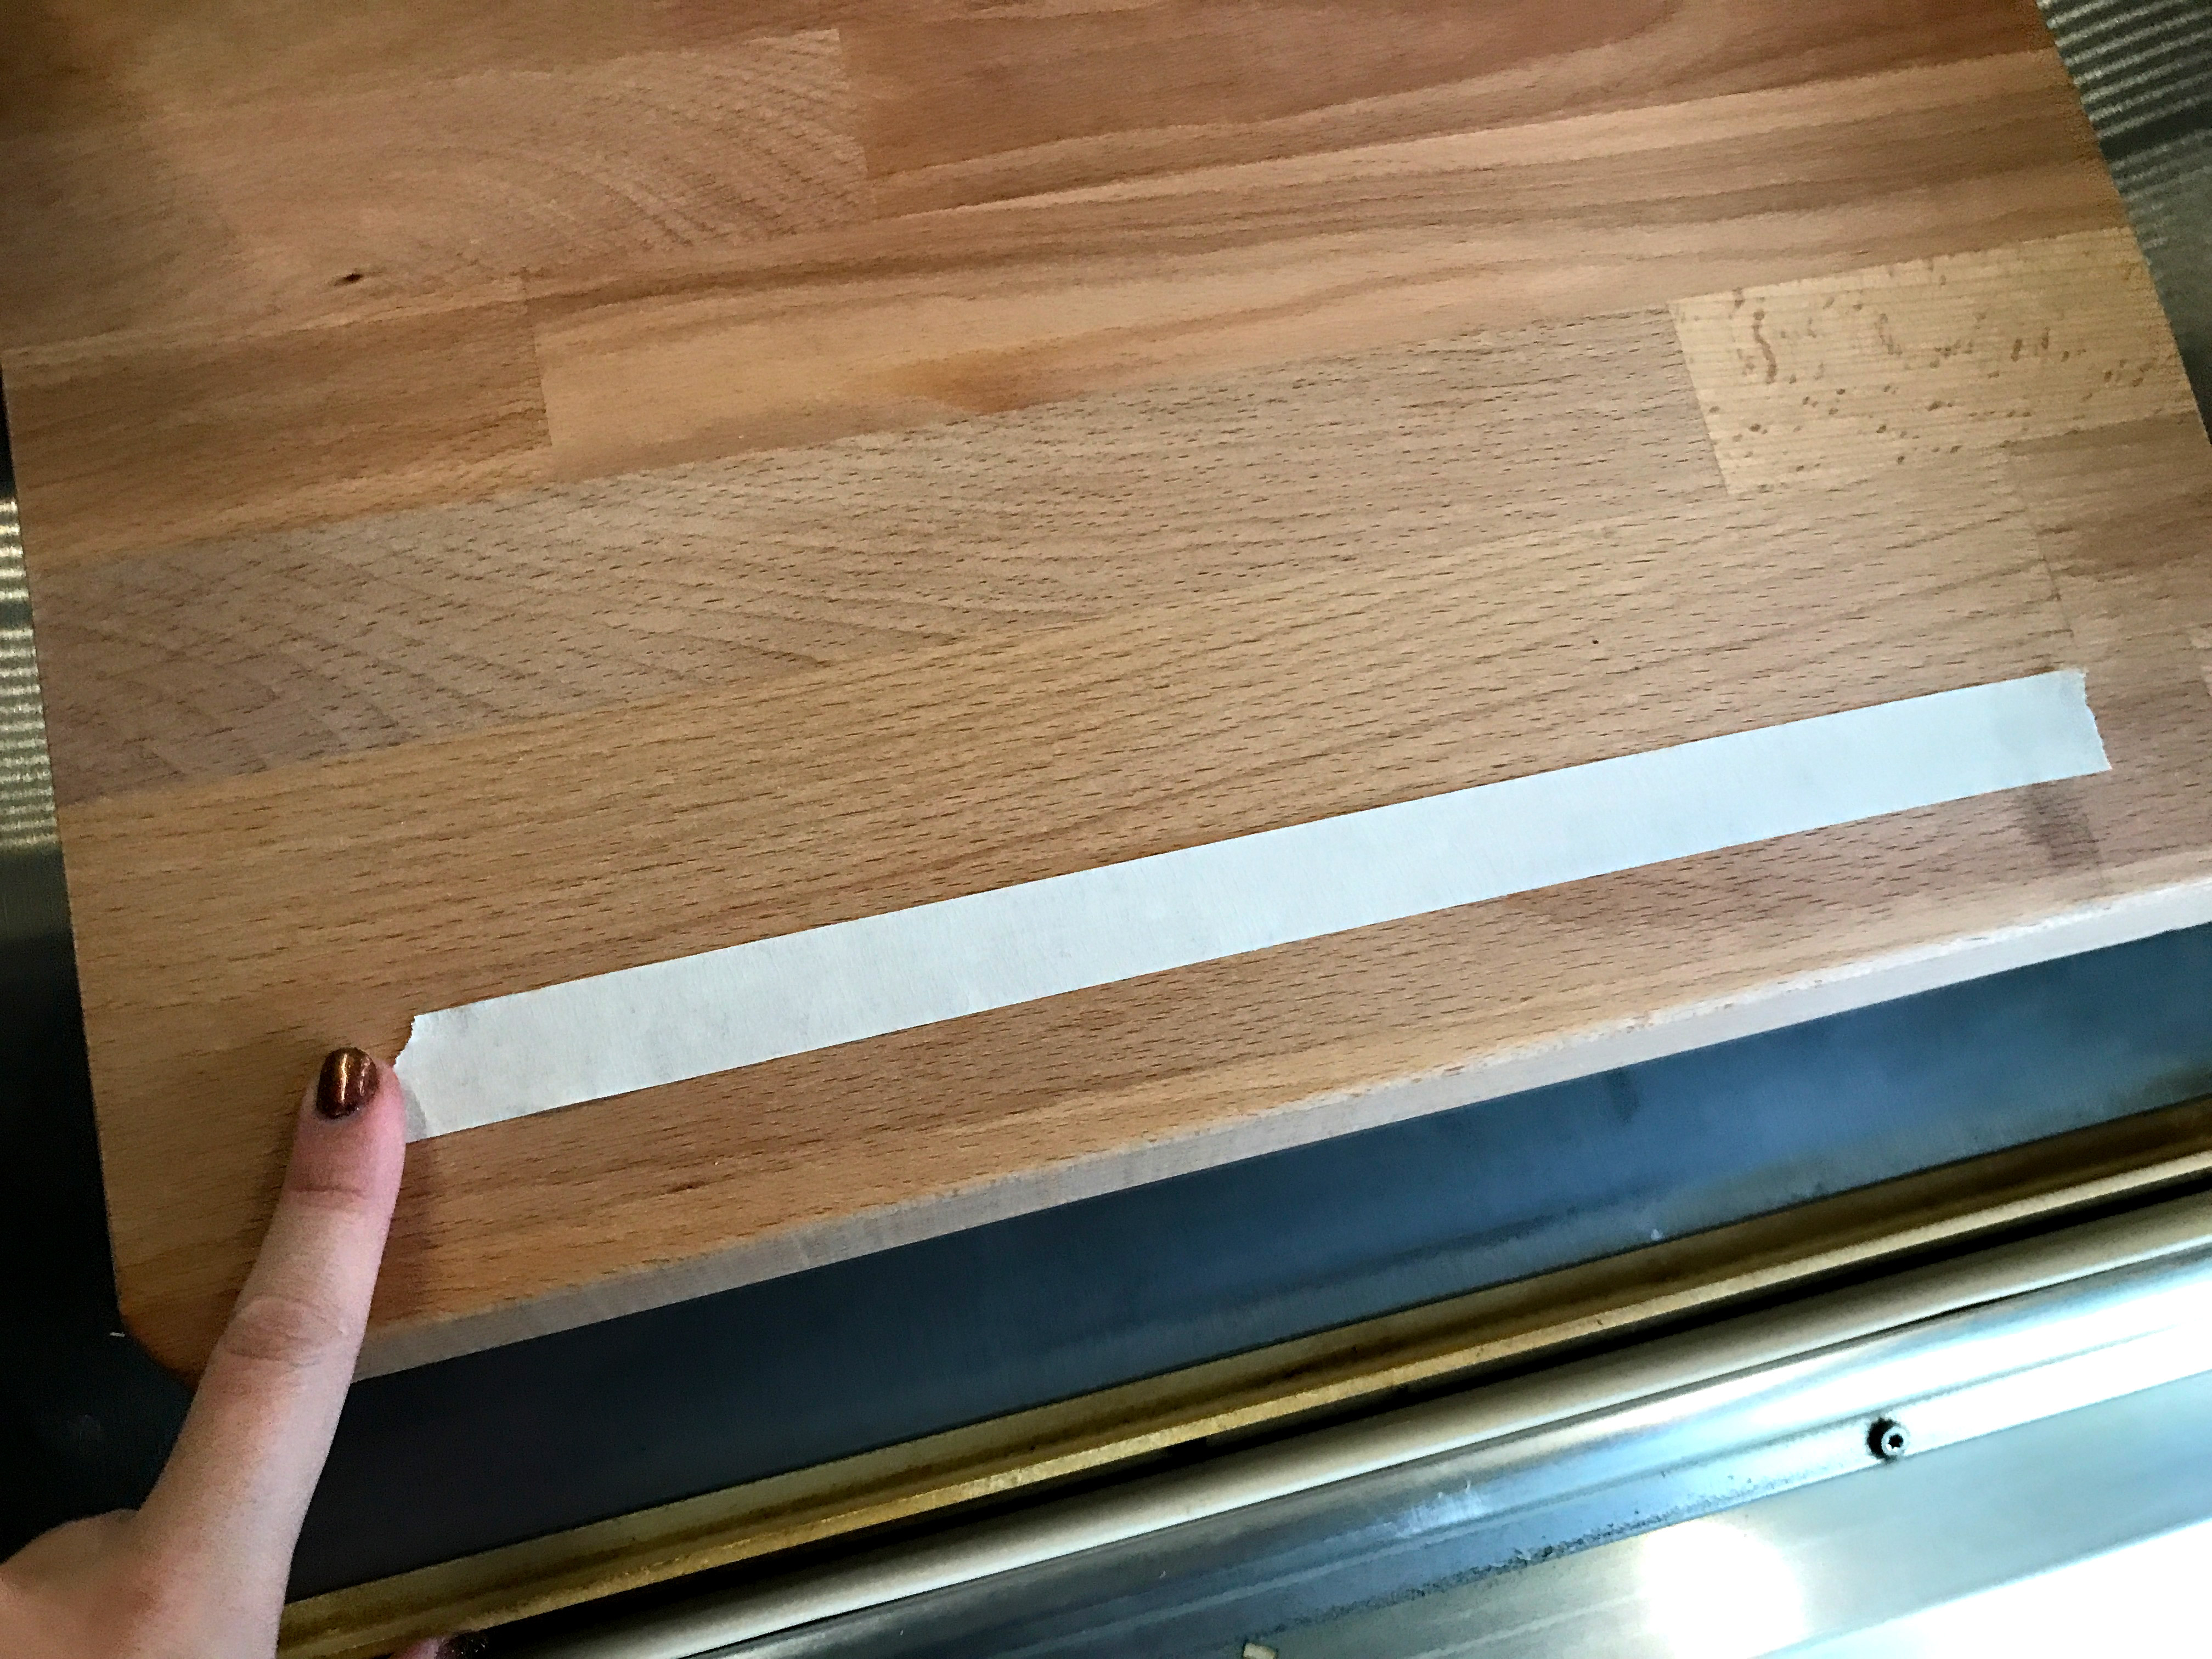
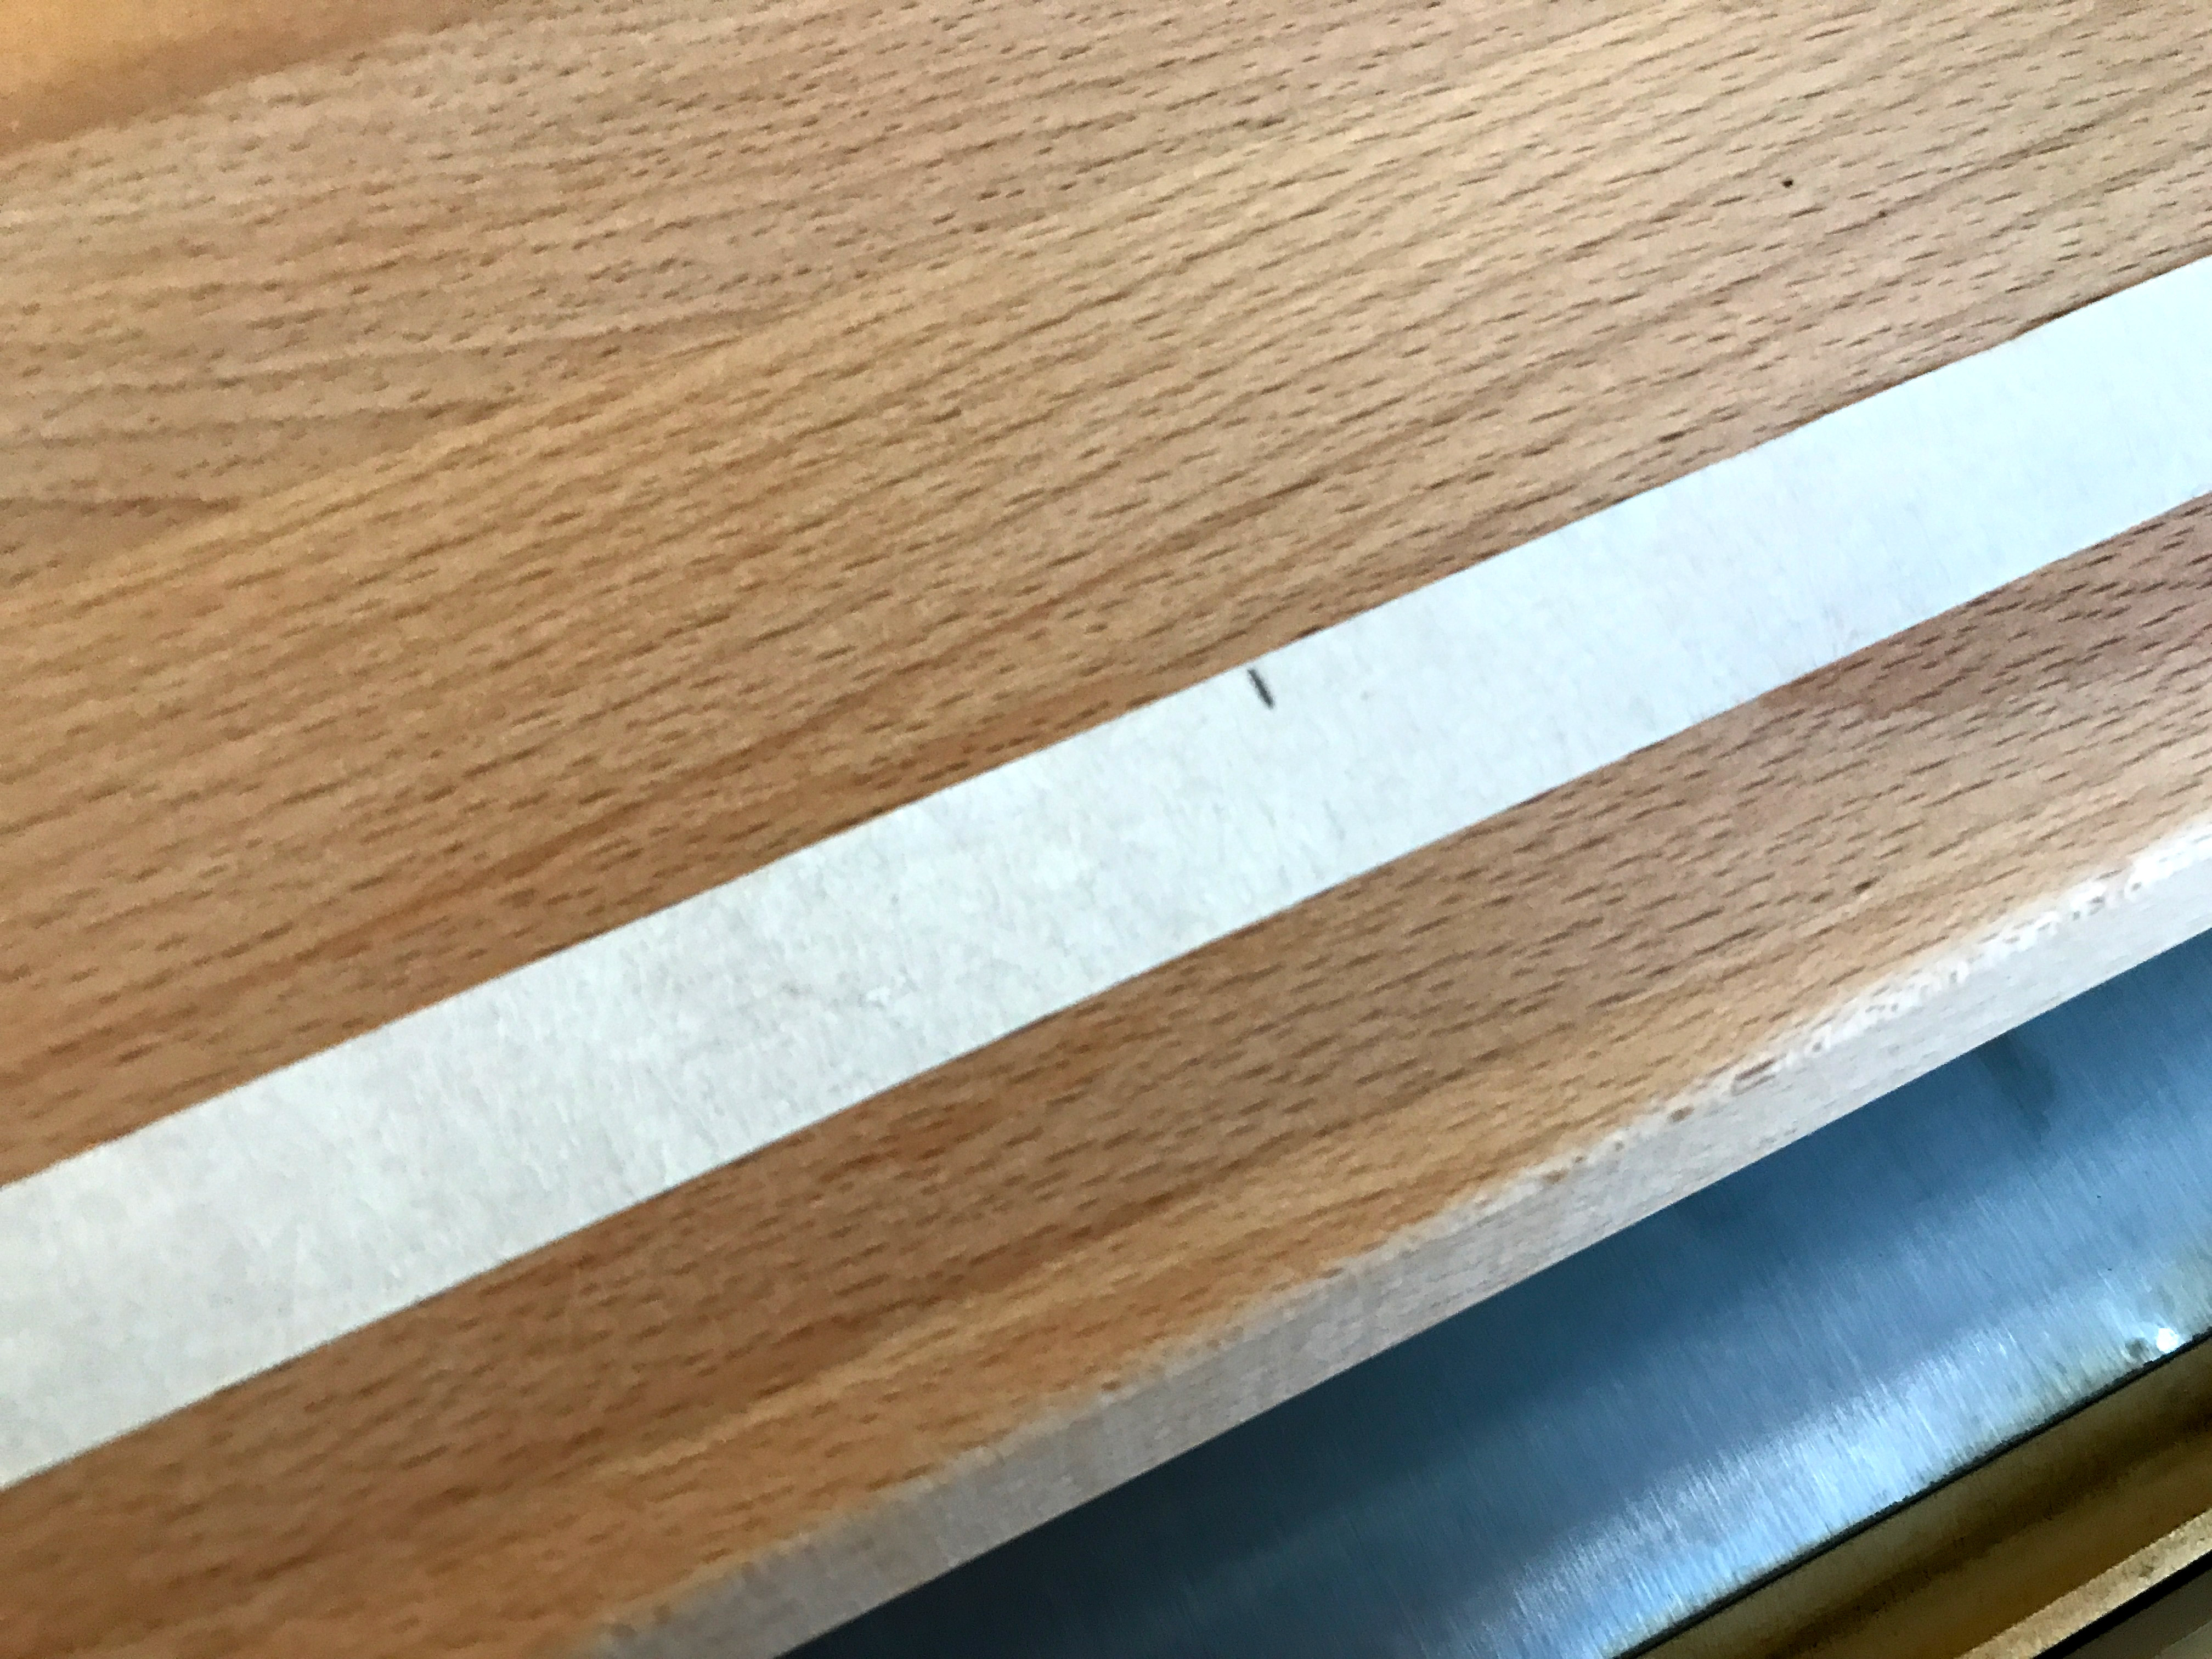
In order to ensure my design is centered and straight, I added a strip of tape to the board ensuring it was parallel with the edge. I used a clear grid ruler to make sure the tape was level. I then measured to the center of the board and marked the tape. My camera is very accurate, so I was able to then line up the design by eye in the GF interface.
TIP: If your camera is not super accurate you may want to add a large piece of masking to the center of the board and use a very, very low power score (think like 2-3) to check your positioning. I would add a crop mark or simple symbol to the center of my design in illustrator and color it a different color (so that it will be a separate function in the Glowforge interface). Line everything up in the camera/interface and then just lightly score the symbol to check it’s in the right spot. Adjust if needed, and then when it’s properly lined up, remove the masking (without bumping or moving the board), ignore the score/confirmation mark, and engrave your actual design. If you can’t trust your camera take the time to check your lineup or you risk wasting a nice board.
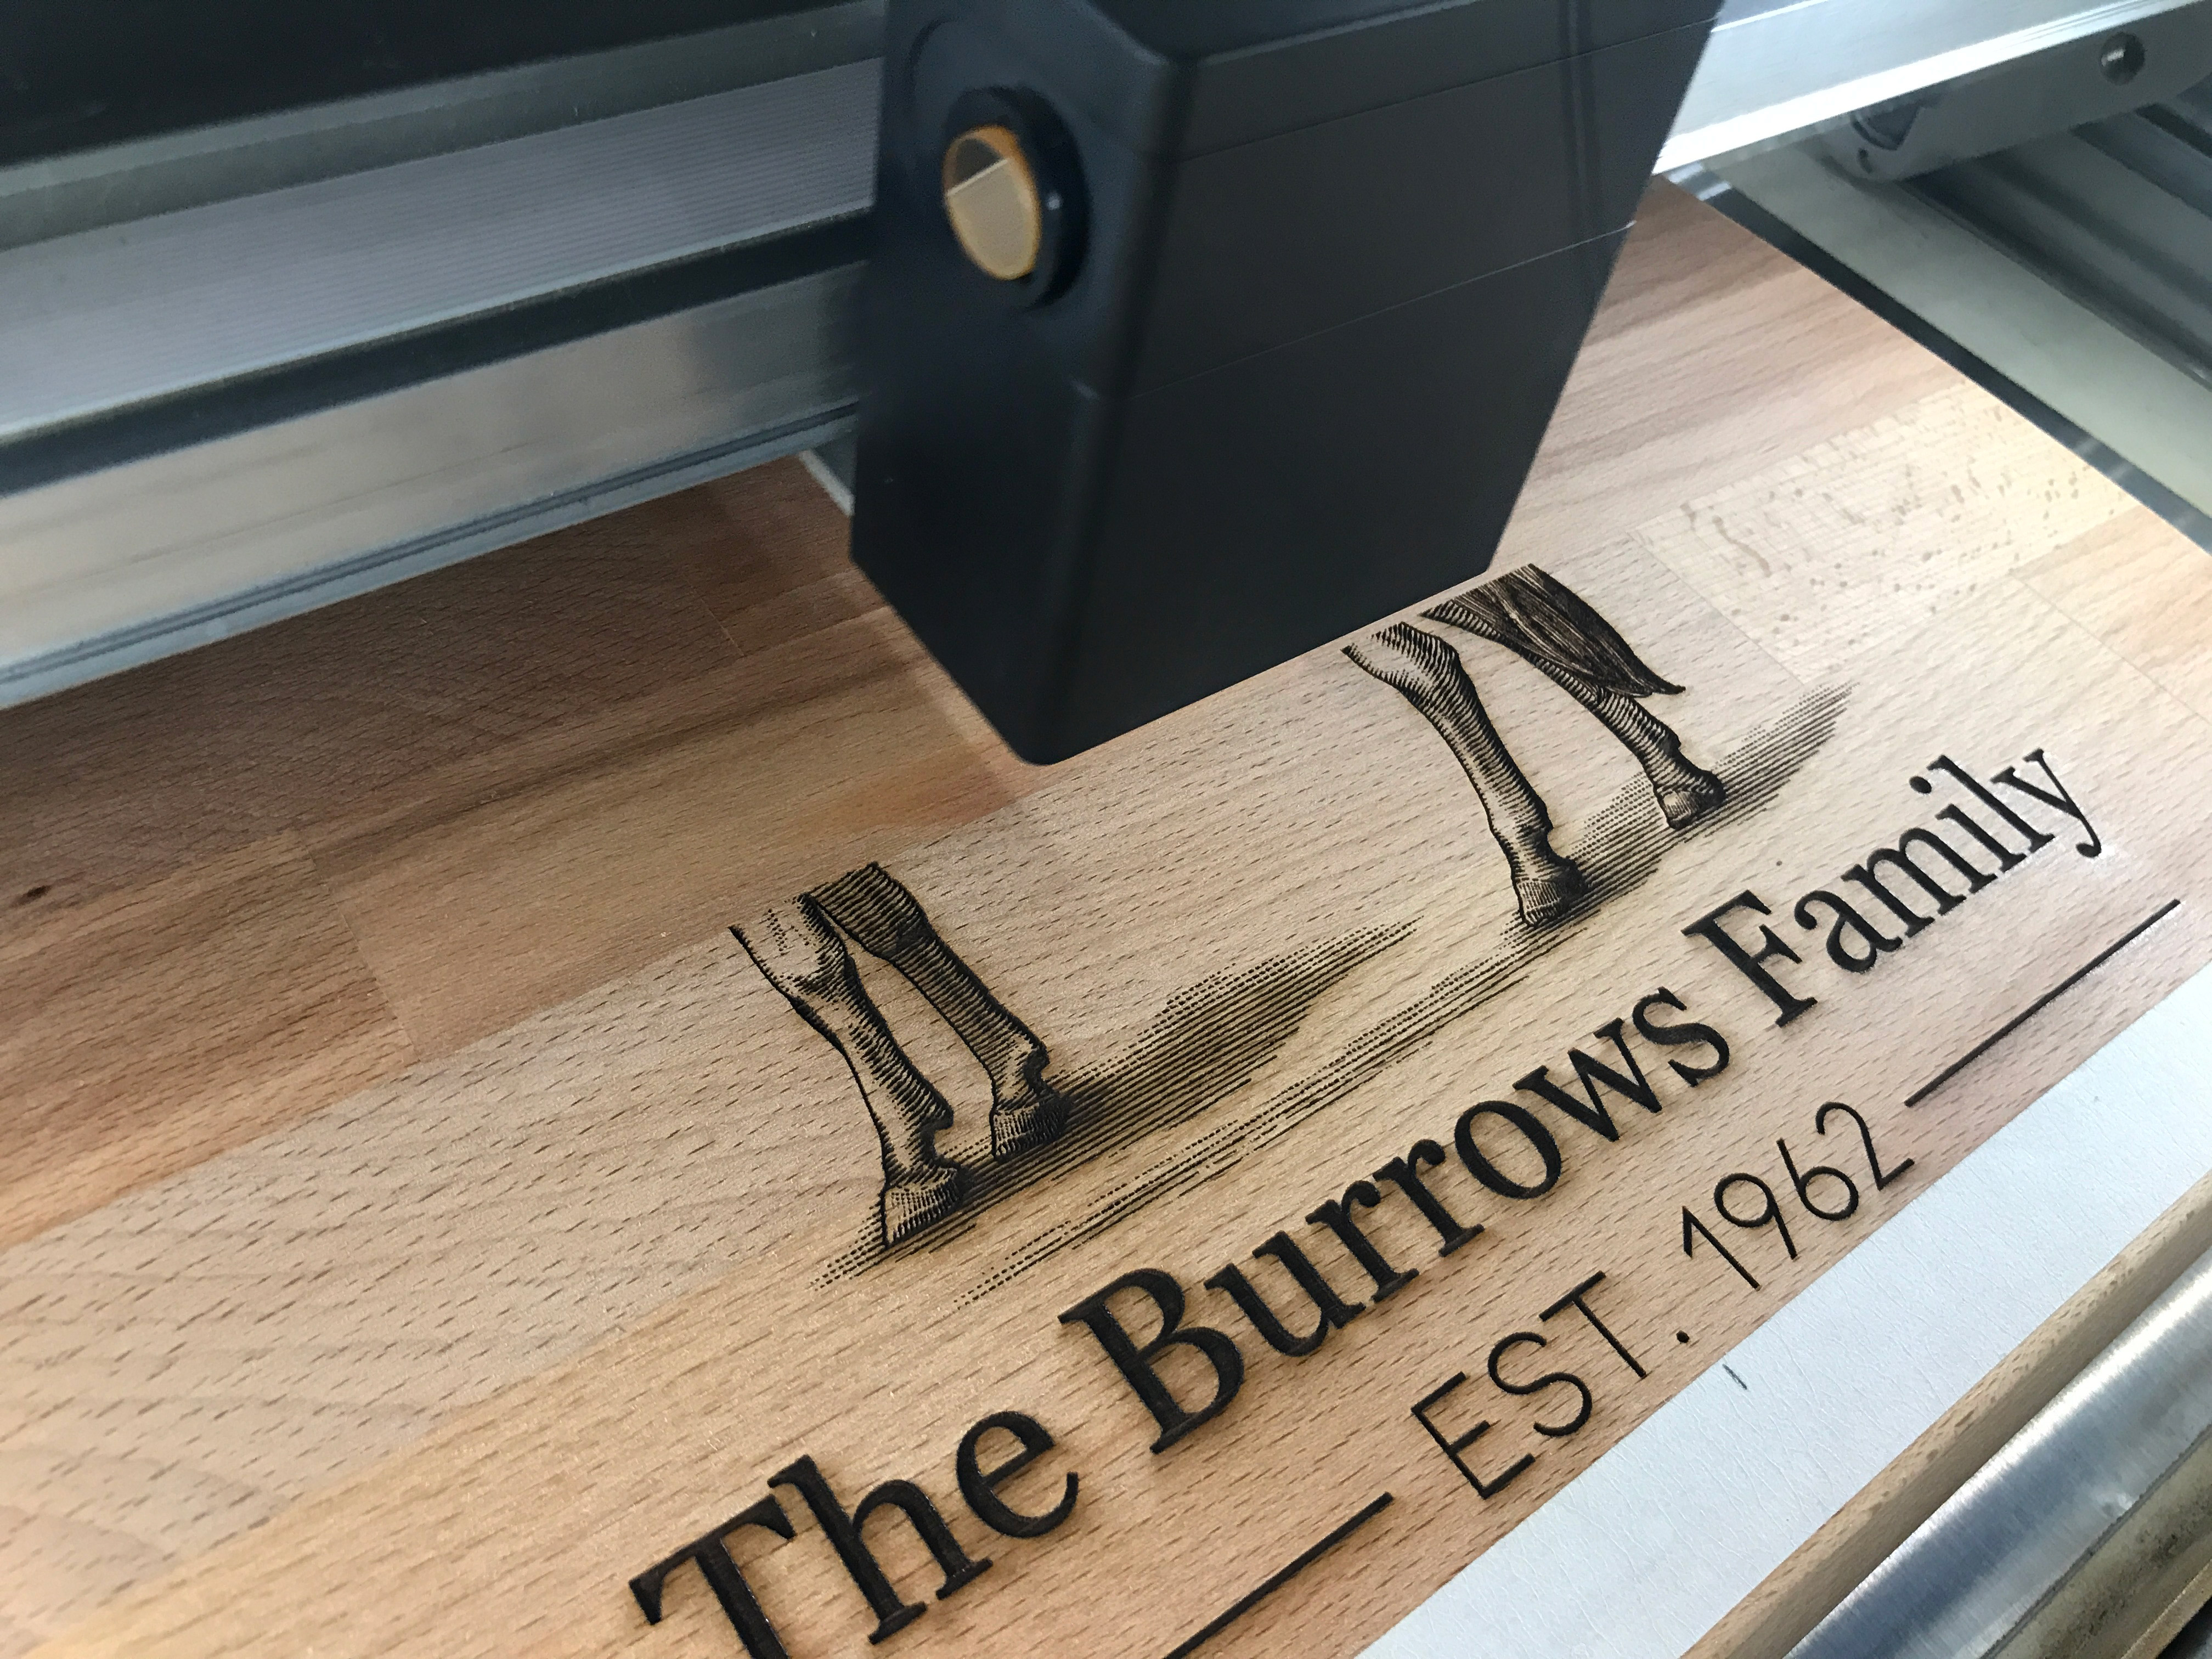
After you’re all lined up, engrave away! Below you can see my settings for this board. I chose not to mask. It’s easy to clean off any minimal char with a magic eraser or alcohol. After completing your engrave clean the board and oil it with a food safe cutting board oil.
NAVIGATE POSTS
Helpful Links
Latest Posts
Posts by Category
Explore Posts By Tags
Acrylic Adobe Illustrator Alcohol Ink Baby Room Beginner Post Book Binding BuyTheFile Christmas Felt freefiles Gifts Gilding Glowforge Holiday Jewelry Journal Kaleidoscope LED Notebook Resin Rubber Stamp Settings Sign Stamping Yupo
Get Your Own Glowforge Laser
If you have found this post helpful and would like to purchase a Glowforge of your own you can receive a discount using my referral link when you are ready to purchase:
Sign Up to Blog Newsletter
CONCLUSIONS
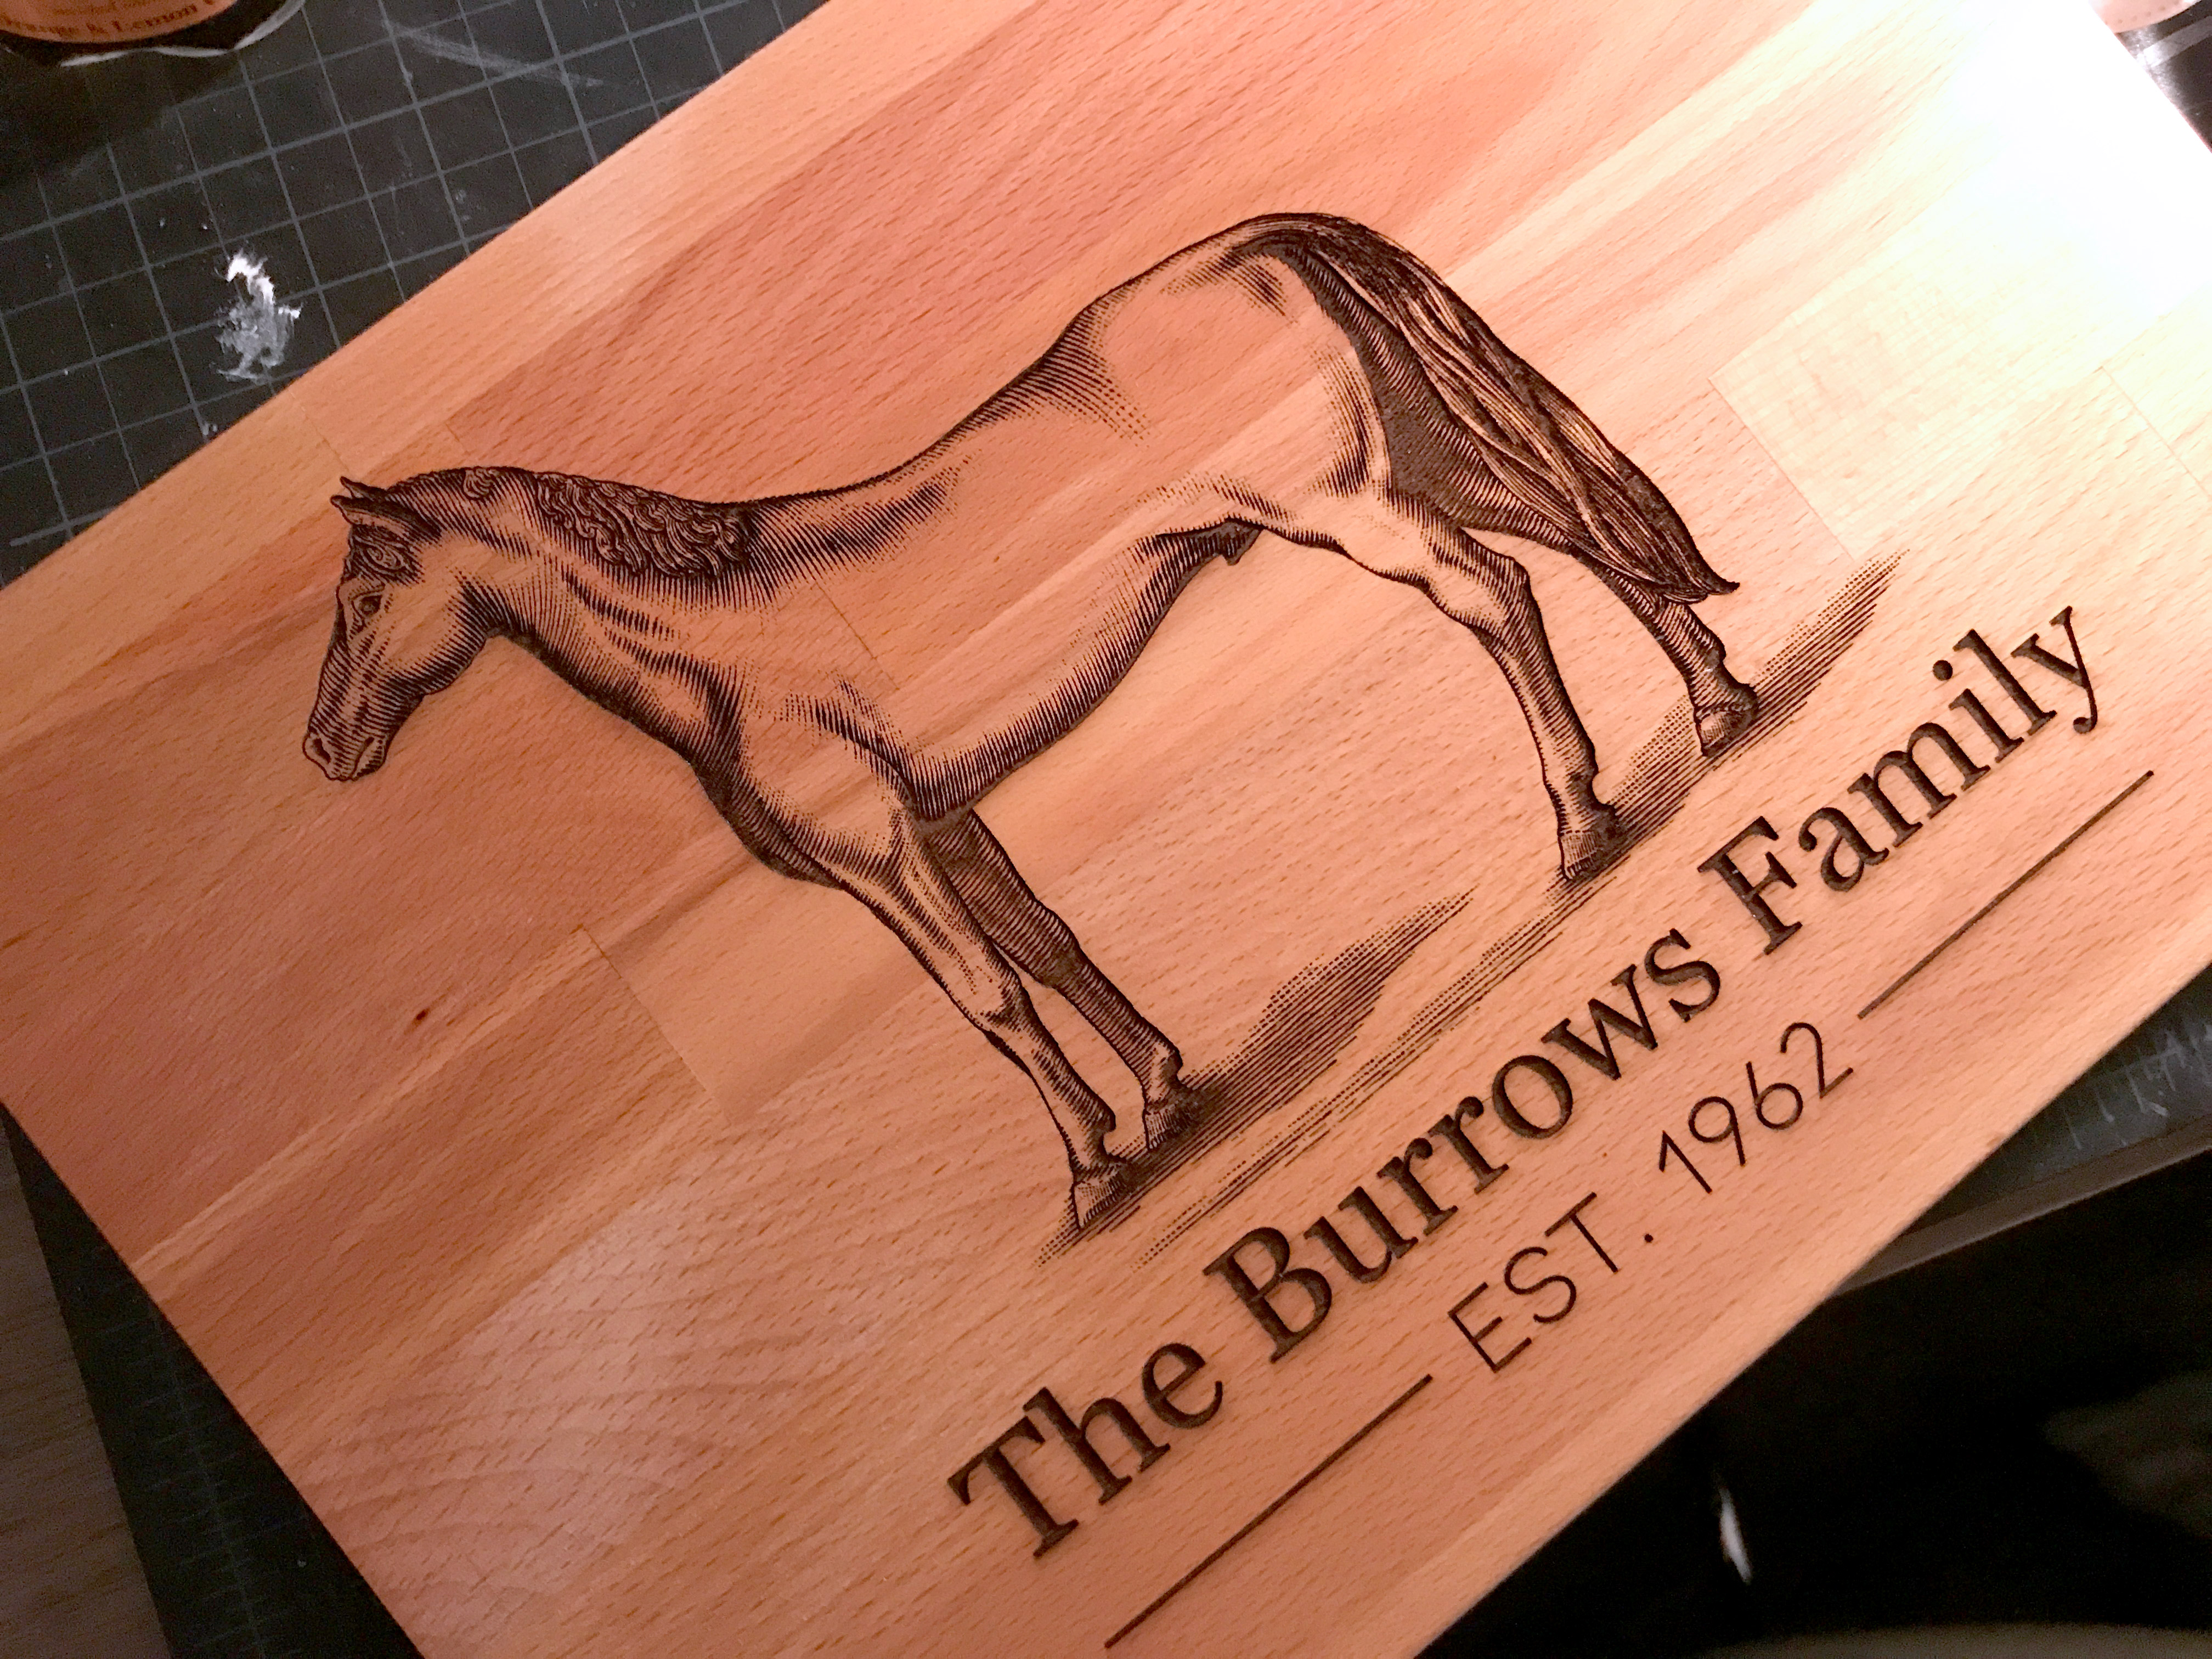
This is an easy and very satisfying project that makes a great gift. I highly recommend this as a first project for working without the crumb tray. Keep an eye out for unique and beautiful cutting boards and you’ll always have something for a last minute piece to sell or gift.
Where to Buy the Materials:
Some of these are Amazon affiliate links, so feel free to skip them if you’re not into that. As an Amazon Associate, I earn from qualifying purchases, but they do not cost you any extra:
Get 50% off your first Wish.com order with my code: mfvjgnw | I buy lots of odds and ends here, so if you need some small item and don’t mind waiting, this can be a fun shop to check out.
Cutting Board | Ikea has a variety of nice boards for engraving. For only $10 the one I used in the post is a steal. It’s heavy and looks high quality.
Cutting Board Oil | This is what I use – it’s food safe and easy to use.
Magic Erasers | Great for cleaning up any sappy char on your board. You can get these from the dollar store as well.
Obligatory Glowforge Discount Code Plug
If you found this post helpful and you plan to buy a Glowforge you can use my code (https://glowforge.us/r/QHDONFXB) for a discount of $100 off the Basic, $250 of the Plus, or $500 of the Pro:
Sign Up for Blog Posts Updates
And finally, if you’d like to be updated on posts like these in the future you can sign up for my email list. You will only receive an email if there is new content, and only once weekly in that case:
Thank you very much! I’ve been wanting to do this but hadn’t taken the plunge. Great instructions.