I’m currently working my way through some more “advanced” sign-making techniques. This post will primarily focus on one of the most annoying things in sign making – attaching everything together.
THE CITY OF VIRGINIA BEACH SIGN
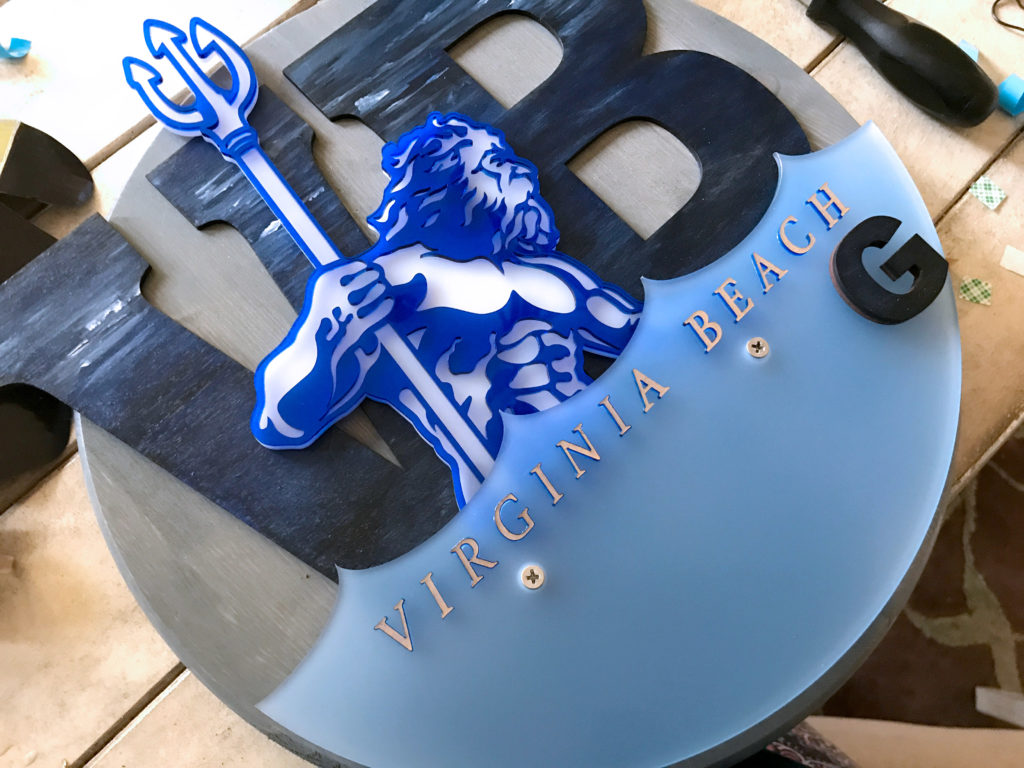
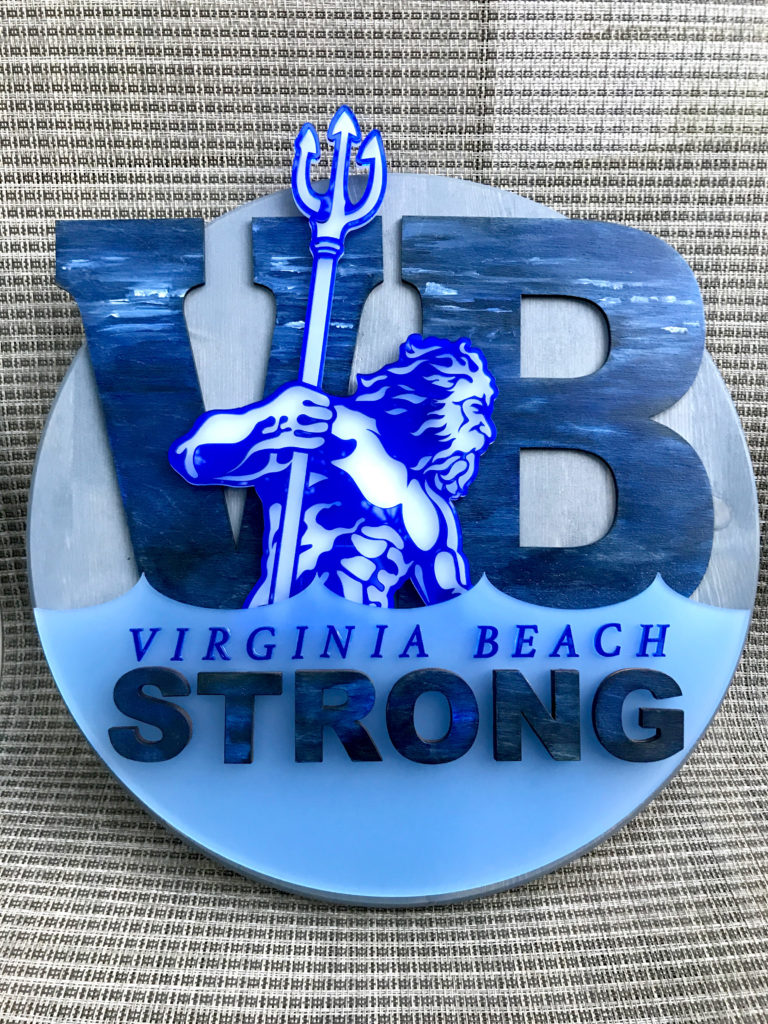
This sign was a sort of rush order I had to complete in a single weekend. It was given to our City of Virginia Beach client, in solidarity with our charity mission to support the Virginia Beach Tragedy Fund.
For this design, I tacked a lot of new challenges – but the main one was finding ways to attach all of the acrylic in different layers that were properly spaced. I’ll walk you through it step by step and explain the challenges I faced. I didn’t show the design process, or how I stained the wood round from Lowes – but those should be covered in previous posts.
The Process for this Design:
1. Illustrate and prep the file.
2. Cut all of the pieces – 5 layers in total. Wood > White Acrylic > Blue Transparent Acrylic > Frosted Blue Acrylic > Wood
3. Stage everything together to make sure it’s placed correctly
4. Paint and Stain all of the Wood Parts
5. Fuse the two Acrylic layers (white and transparent blue)
6. Glue together the layered wood pieces (you’ll see)
7. Assemble the topmost layers with the standoff
8. Enjoy
STEP THREE
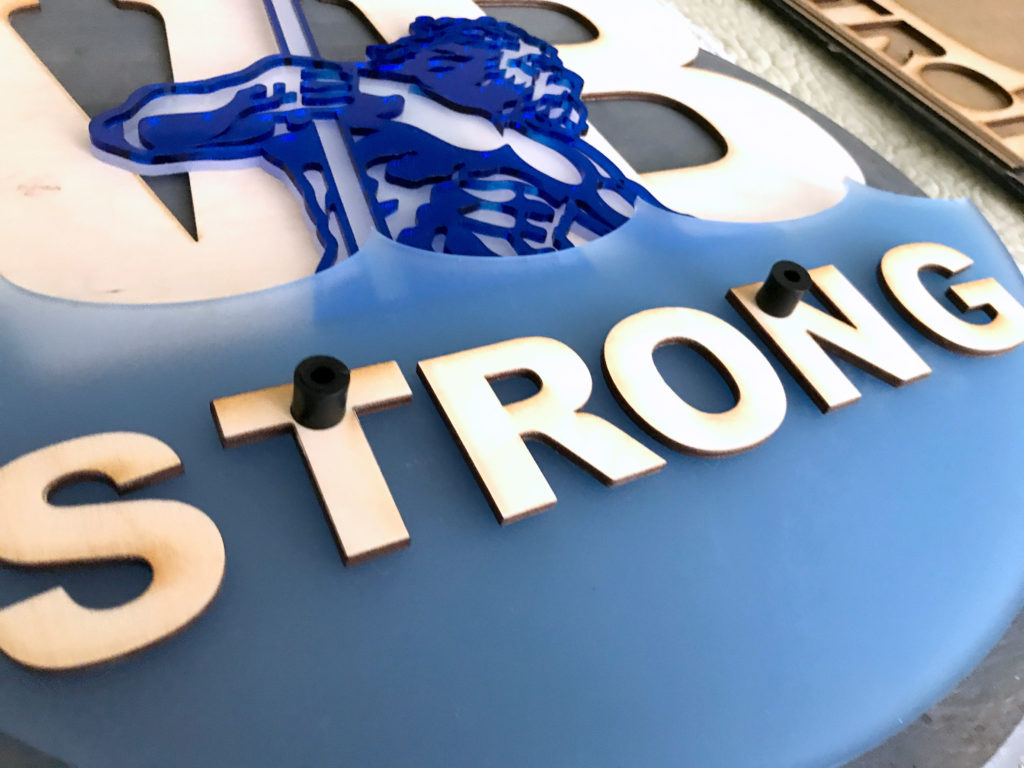
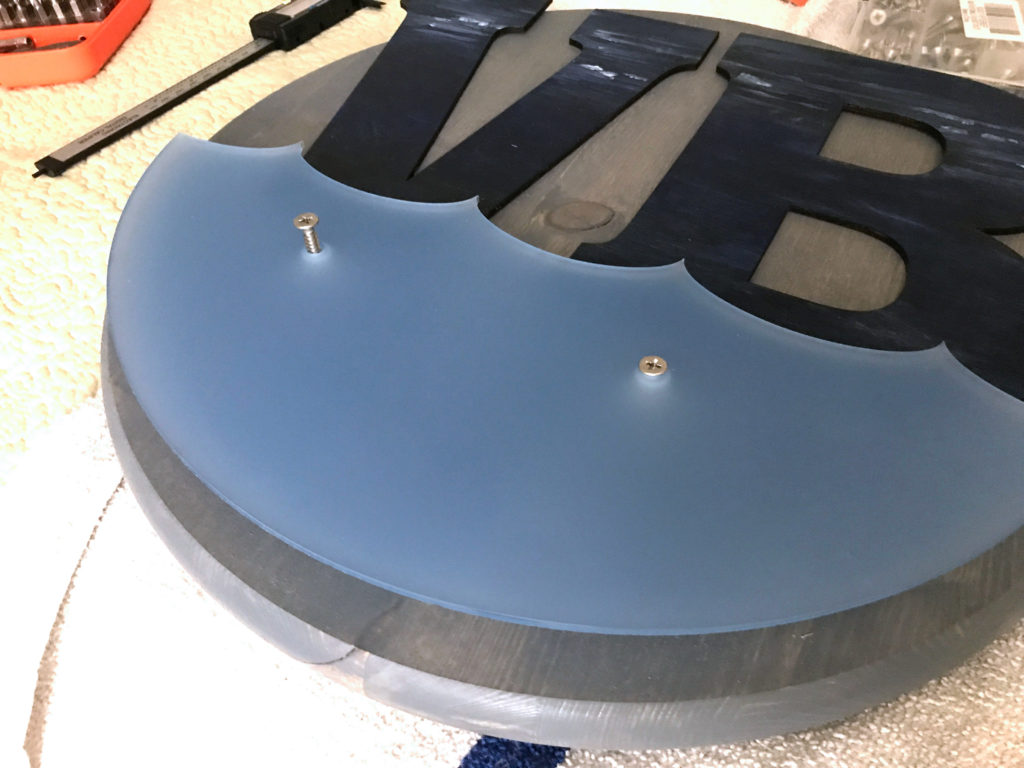
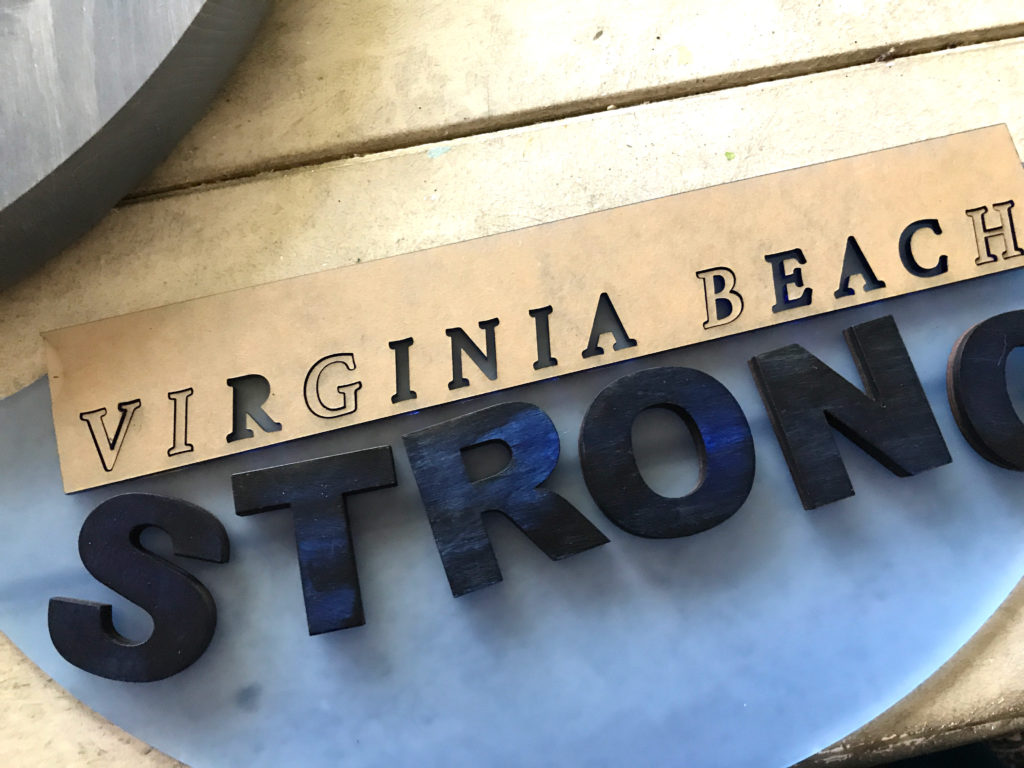
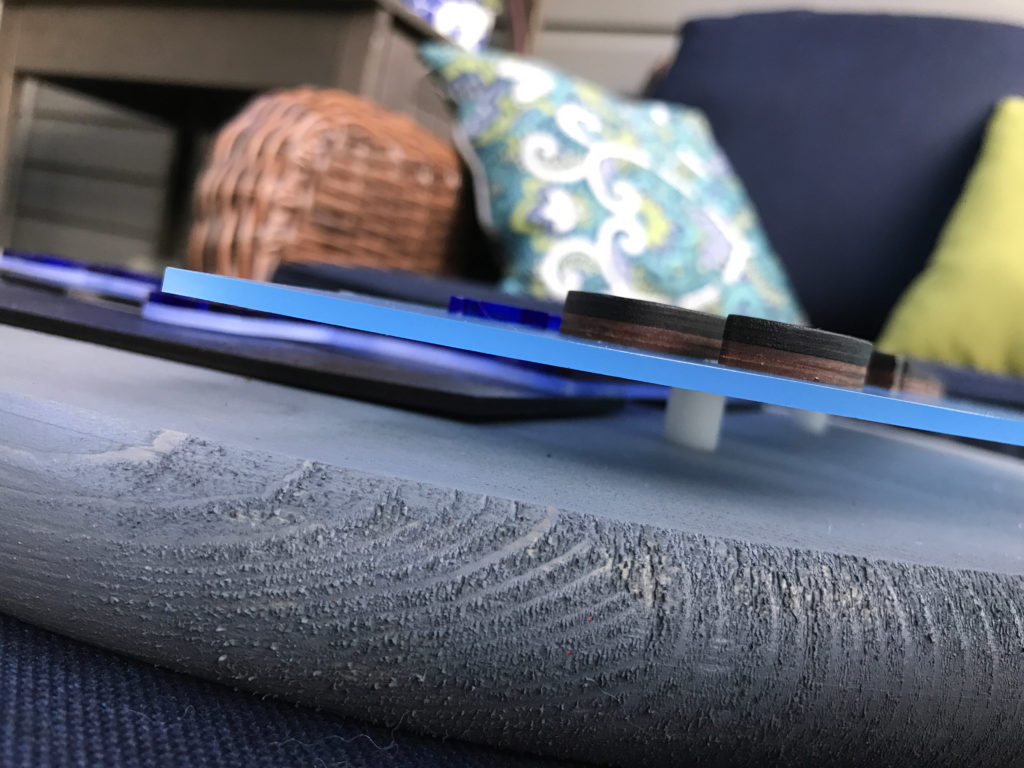
Yep, we are skipping to step three. Below you can see me staging all of the parts for this design. I was winging it for a lot of this, so at this point, I had not yet determined how I was going to get the blue wave layer to stand up above the rest of the design. I couldn’t just glue it down flat – as the layers below were not evenly supporting it. I want it to float elegantly above the rest of the design and so after a lot of puzzling I remebered, I had some little hard rubber tubes (stand offs) in my garage. I realized I could hide them behind the lettering – which would be perfect.
So I went back into my file – laid the lettering back onto the wave and determined where I needed to cut the screw holes. Dropped the wave back into the machine and cut the holes. If I had pre-planned to use stand offs this would have been done at the beginning in the cut stage.
STEP FOUR
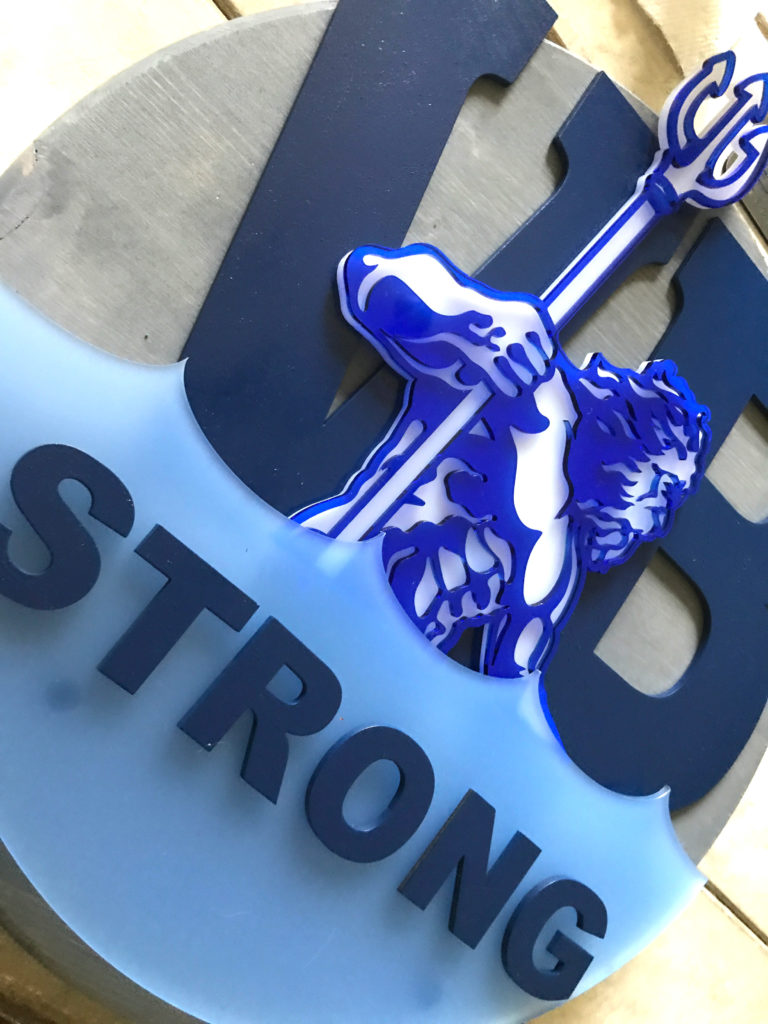
After staging everything and making sure all my initial math/sizing was correct I went back and painted everything. I started with a layer of spray paint and then went back in and painted details with acrylic paint before sealing with a satin clear coat. Not much photo process here – it’s pretty straight forward.
STEP FIVE (A)
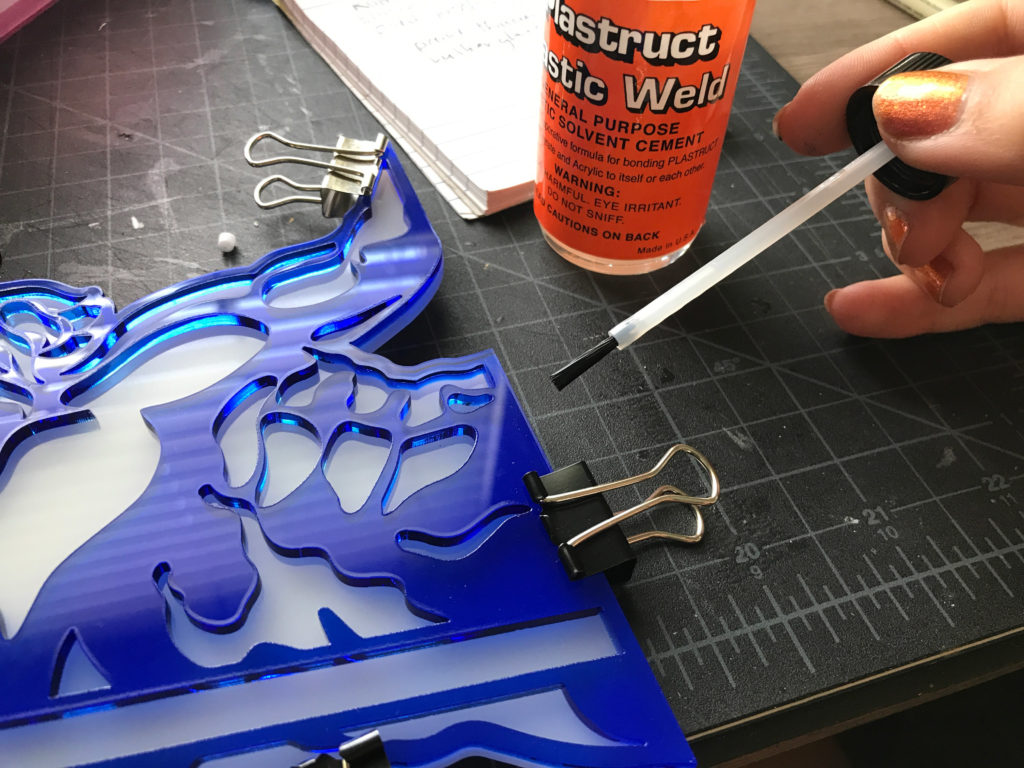
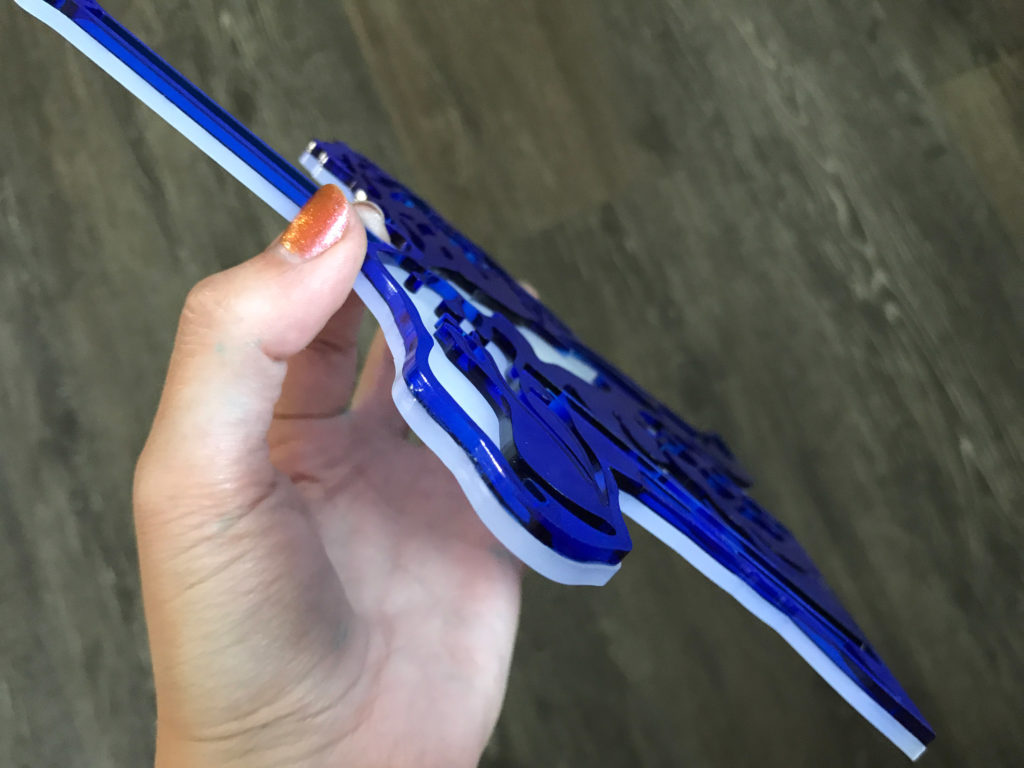
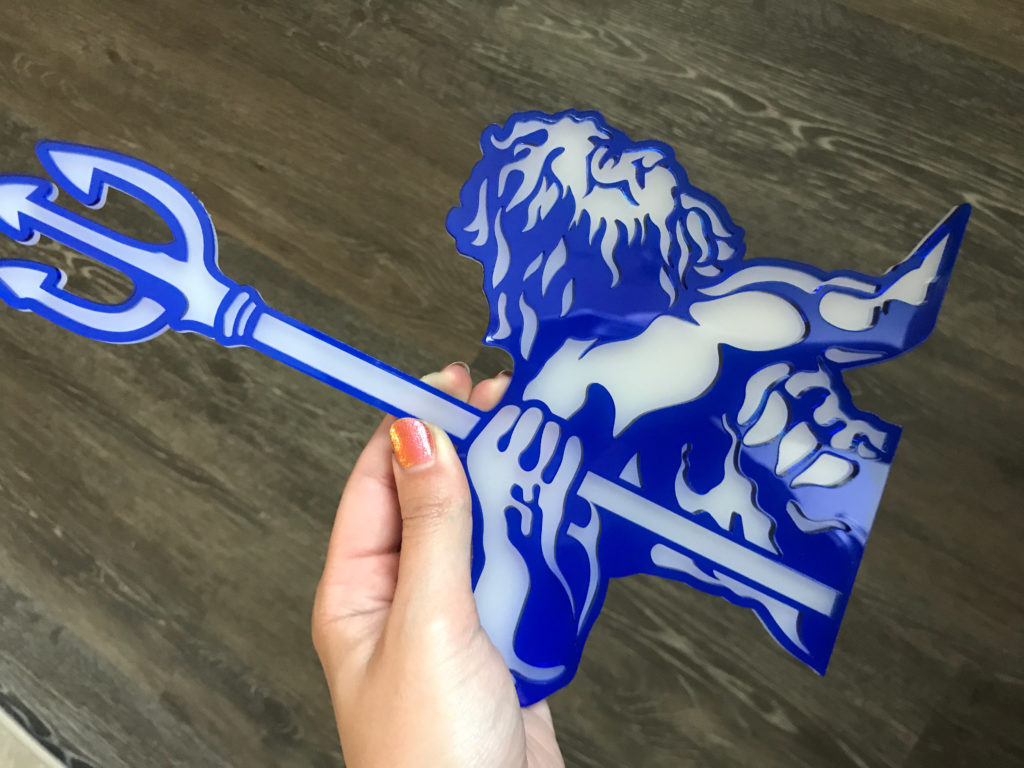
Another challenge was figuring out how to fuse my two acrylic layers. There are basically two methods and I’m going to show both. The first method is to use acrylic weld – a water chemical that will remelt acrylic and then fuse it. This creates a VERY strong bond when done correctly, but the challenge is you can see anywhere this stuff touches because it fogs the acrylic. Generally, this method is used when acrylic meets are right angles – it’s a powerful bond, and you won’t notice it in this application. However, in my design, it’s a bit more challenging.

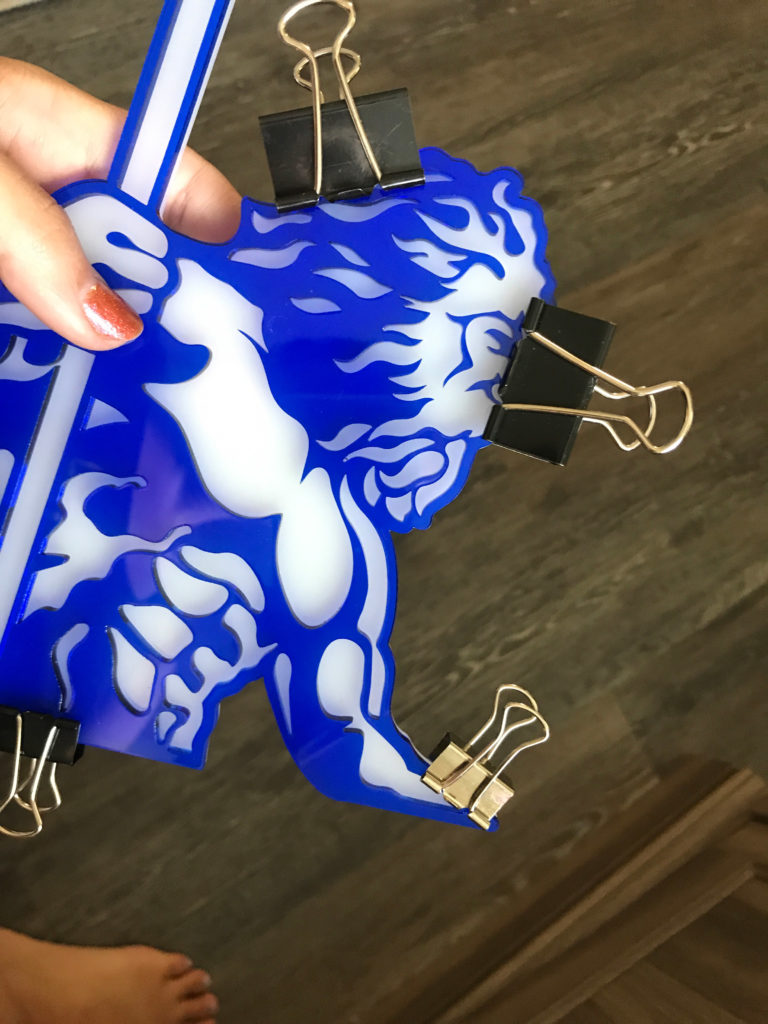
For my project I was not building a 3D structure – I was trying to fuse two pieces face to face. Luckily, my acrylic is transparent but not very transparent, so I will still be able to use the weld bond. The first step is to clip the acrylic together under pressure. I’ve used binder clips. Just be careful not to scratch – I should have left the masking on the sides, not in contact, but I wanted to see the color as I was staging so I removed it.
A couple of tips:
1. Do not try and paint the weld chemical directly onto the face of the material and sandwich it together after (like you might with glue). This stuff dries basically instantly when it touched the plastic and all you’ll have done is fog it up.
2. Watch carefully, you should see the product flowing quickly into the joint and you may see it through the acrylic if you used a translucent color like mine
3. Do not use this technique if your material is super clear (like clear, glass, or some fluorescent colors) as you will see fogging where it has flowed. My blue is dark enough that you can barely see it and only if you know what you’re looking for. This technique would work awesome for fusing opaque acrylic.
4. Apply your weld close to the clips where pressure is greatest. Let it dry then move the clips to other areas if you missed spots and apply more weld. You don’t have to do the entire piece at once.
STEP FIVE (B)
I’ve watched a lot of videos of sign makers making signs and something I noticed was that many of them used 3M adhesive on their acrylic when fusing face to face. The biggest advantage of this, is because the adhesive tape/sheet goes end to end you don’t see blobs of glue through translucent acrylic – the design looks evenly adhered. Also, all you have to do is peel it and stick it! No blobs of glue squishing out or transfers of wet adhesive to the perfect front of your design.
I tried and failed at this a few times – the issue was that the 3M just didn’t seem sticky enough. The acrylic was too slick. However, after some research I figured it out, so let me explain:
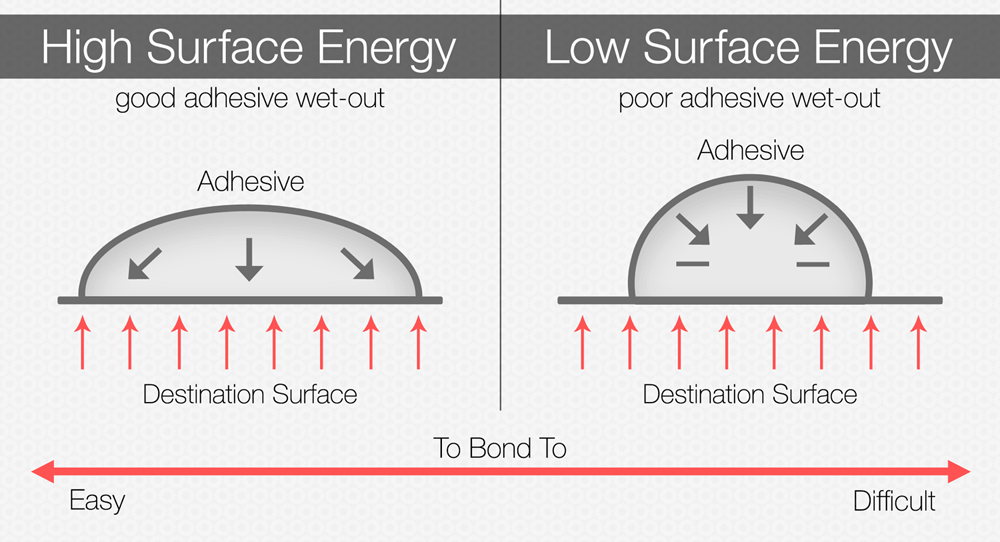
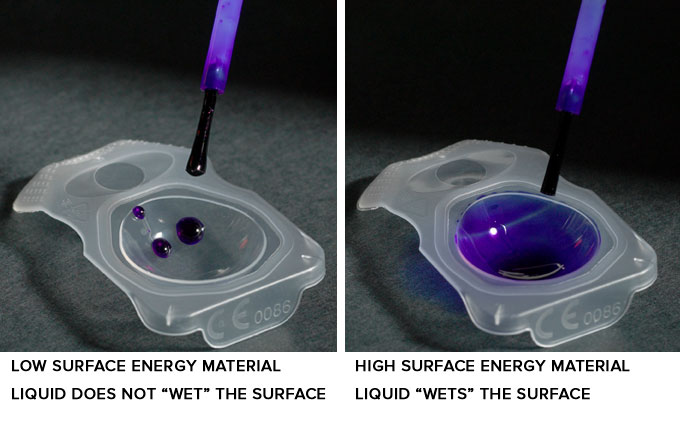
Plastics like acrylic and other slick materials like glass are considered LOW SURFACE ENERGY. This means they don’t have the necessary fiction/texture/whatever to help glue bond between them.
One way to determine if the item is High Surface Energy or Low Surface Energy is to wet the material. If the water flattens out or soaks in it is HSE. If it beads up nice and tight it’s LSE. You can learn more about this by reading this article.
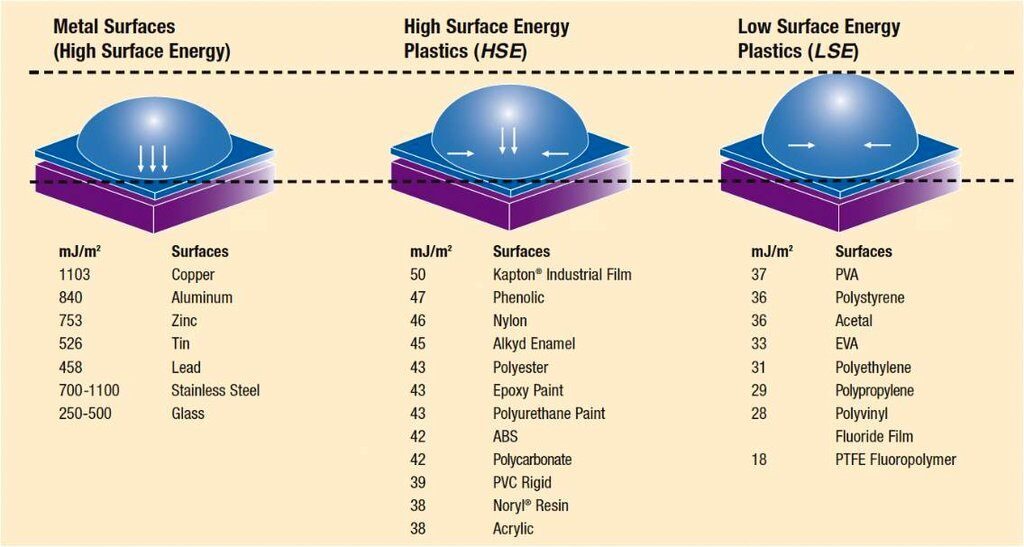
Because most Acrylic is LSE we have to purchase a very specific LSE rated adhesive sheet. Glues can be tricky as sometimes they will dry and then the pieces can easily be pulled apart. This next method I’m going to show will ensure that your transparent acrylic STAYS transparent. I’m not sure how well this works for truly clear acrylic, but this is still a great method for fusing acrylics face to face. If you scroll down to the Materials section you’ll see the two types of 3M adhesive sheet I’ve used. One is rated for LSE and that’s what you want for acrylic, metal (some are HSE though), glass and many plastics.
Now here is the best part. This adhesive can be applied BEFORE you put your piece into the laser to cut. Yep. It will not get gummy or melt. This is the same stuff that’s used on the back of the proofgrade veneer Glowforge sells. It is safe.
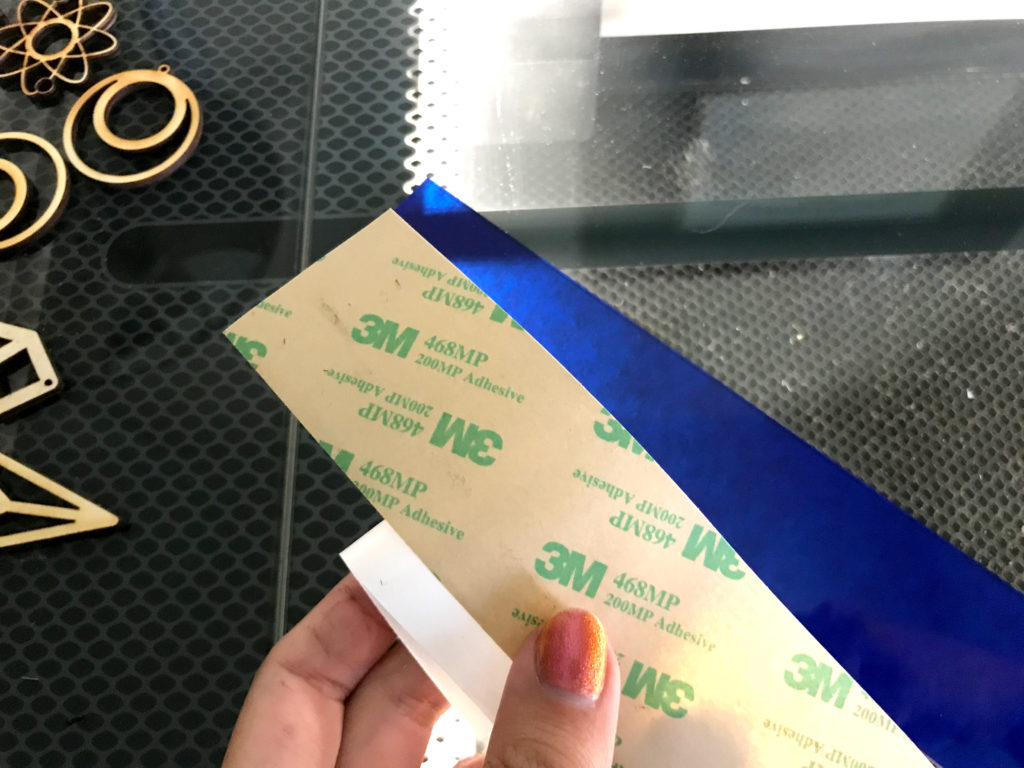
To apply peel back one edge and place it on your material then gently peel away the backing as you press it down. (It’s exactly how you would apply masking. The key is to minimize bubbles and get it even and straight. Then burnish it down. These adhesives are pressure sensitive. To get them to really bond they need to be pressed onto the material very firmly or put under a weighted flat surface to “cure”.
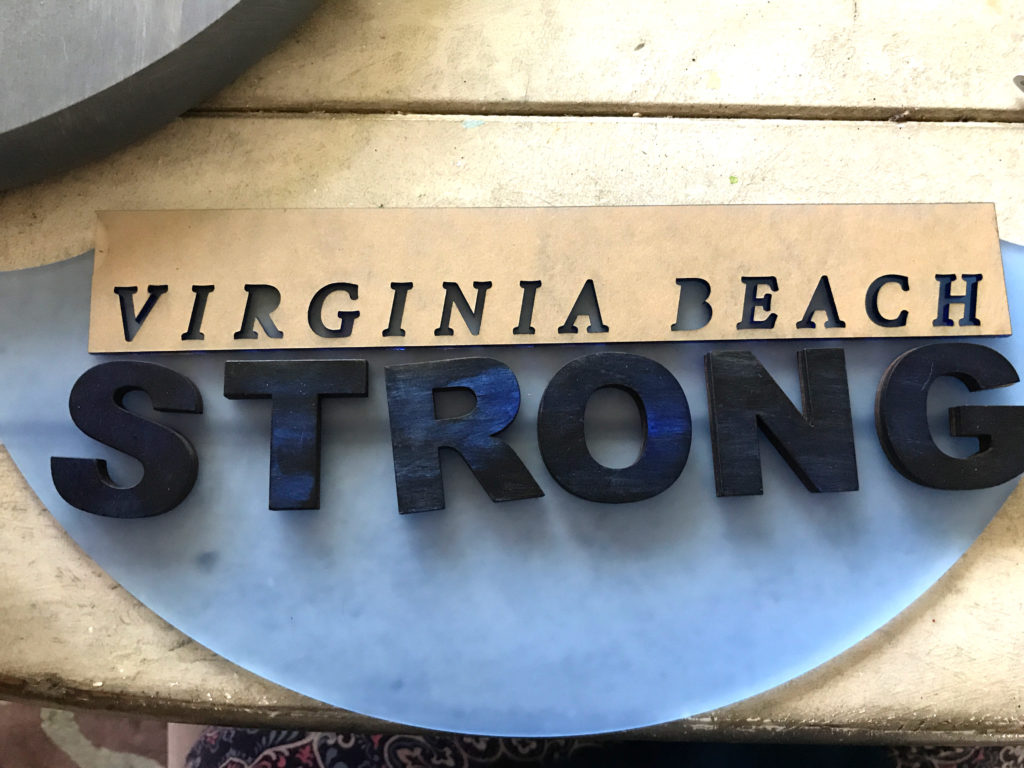
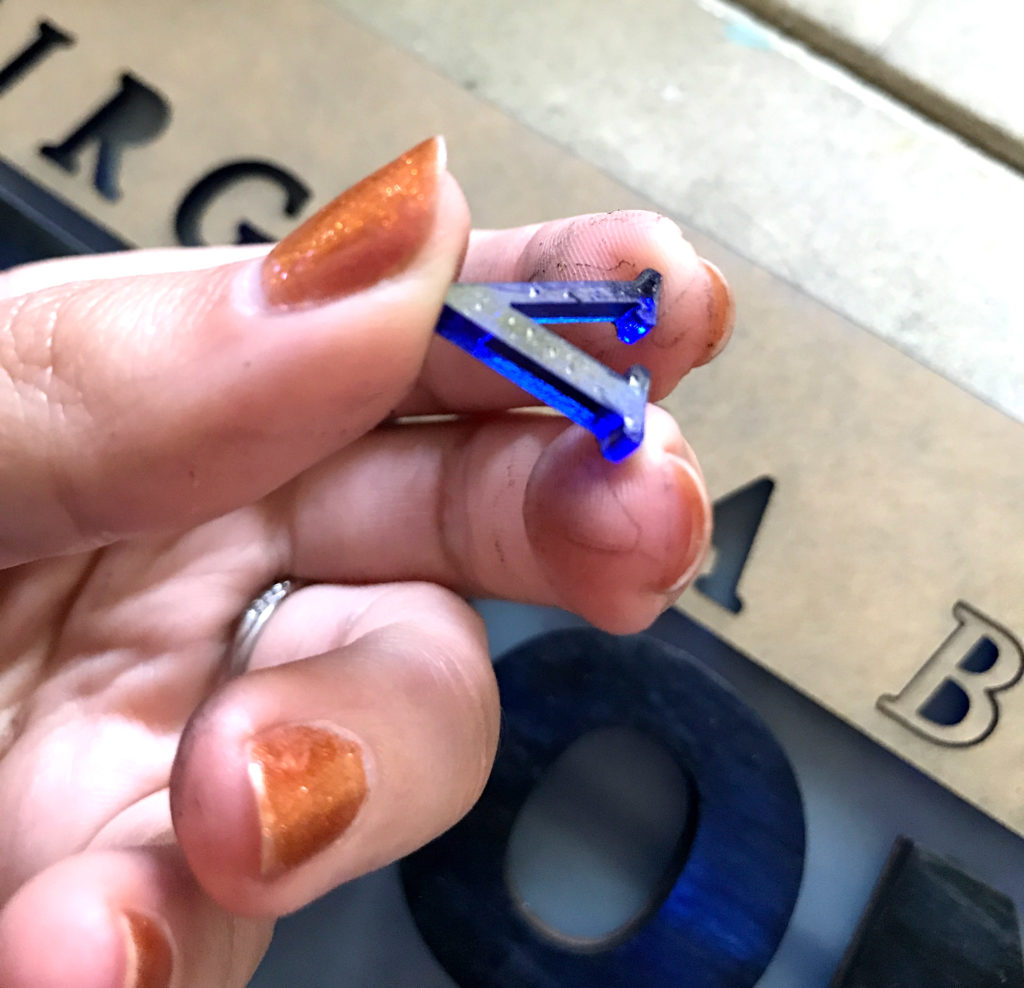
Once you’ve cut out your letters, you can use the negative cut to line everything back up.
STEP SIX
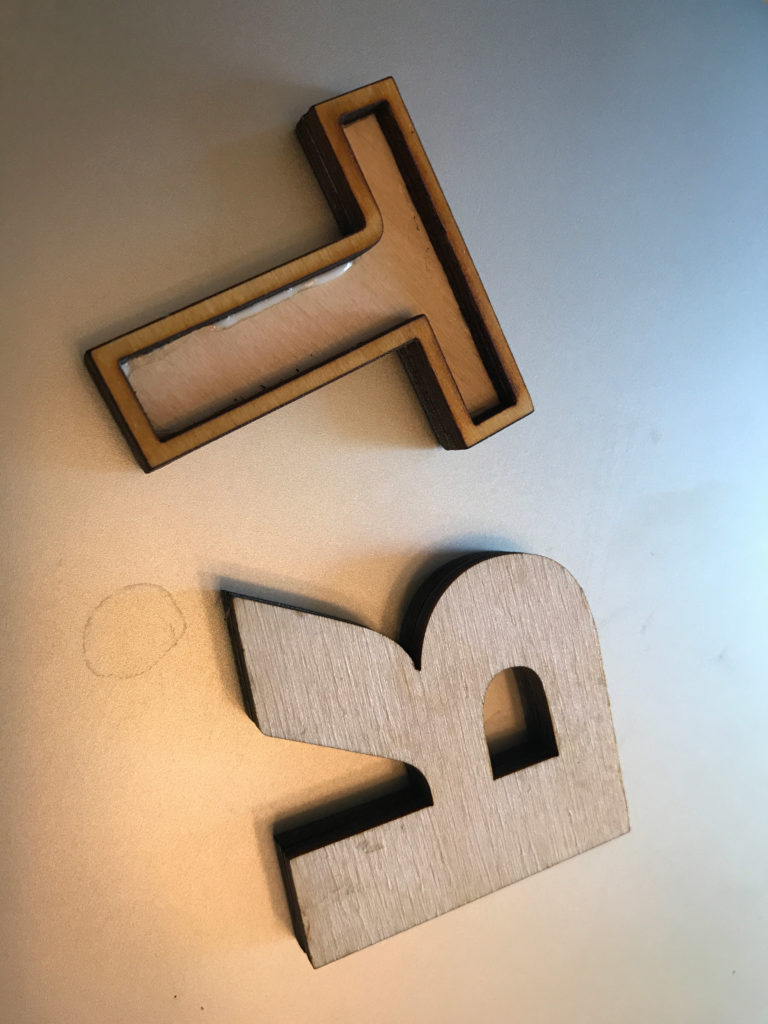
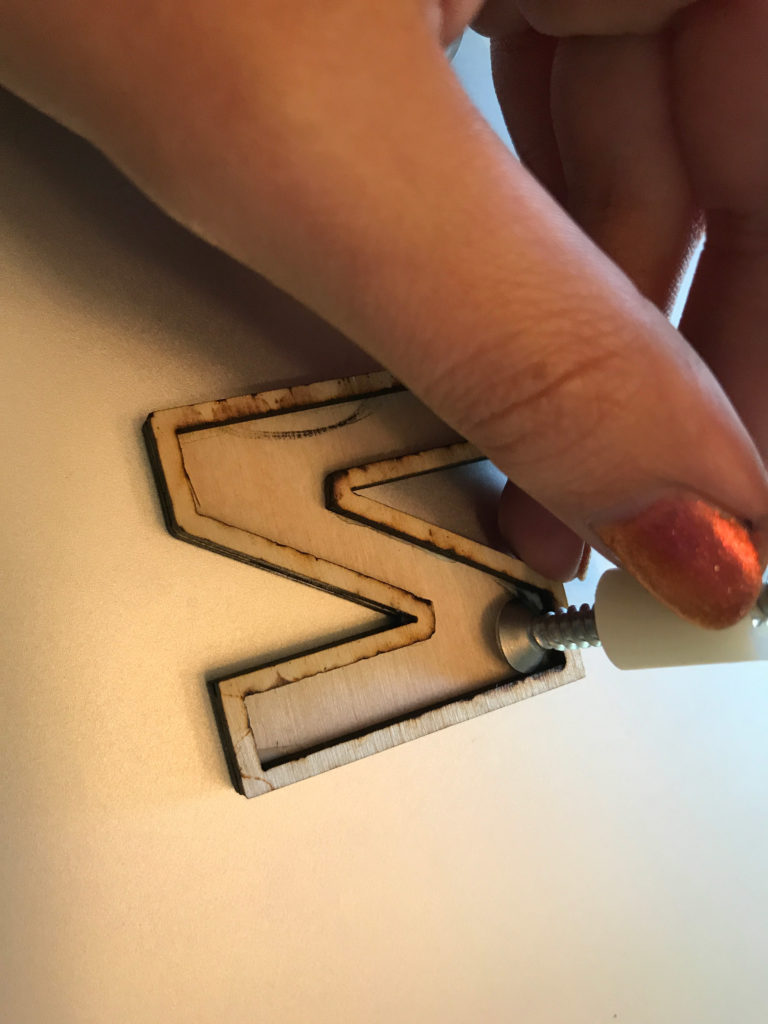
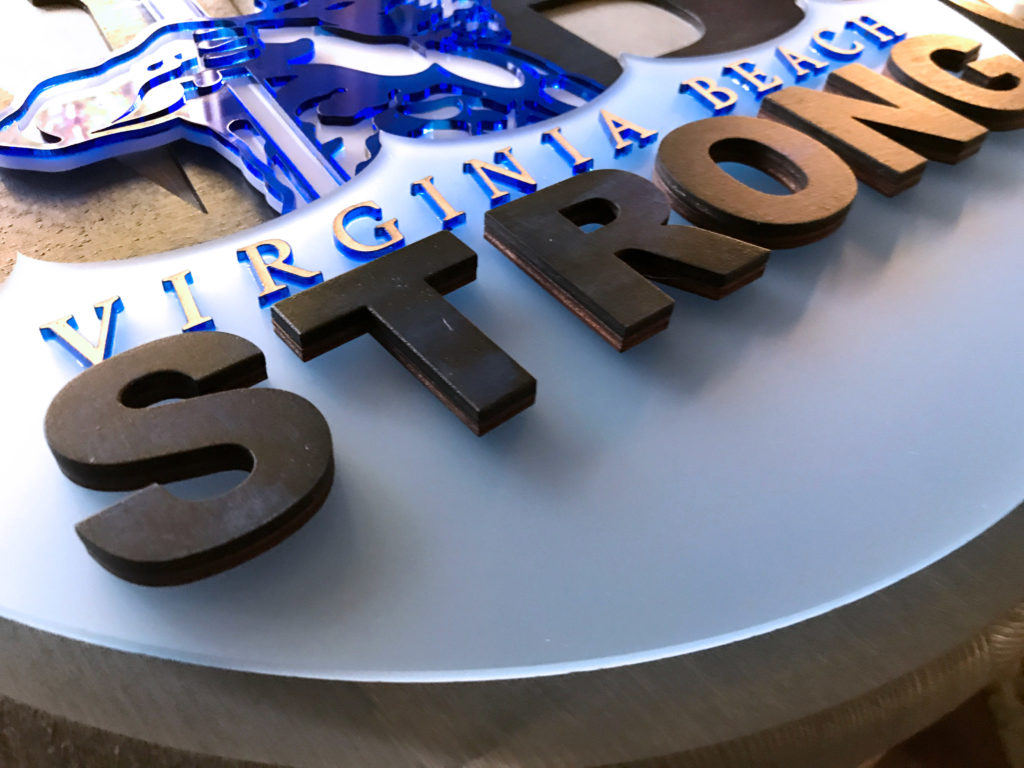
Now we need to work on the wood lettering. As I was staging the standoffs I realize that no matter what type of screws you use – they will stick out a bit from the surface of the wave. I cut the hole a bit bigger than the shaft of the screw so they would sit down (recessed) a little bit, but the thickness of the face of the screw is still thick enough to be an issue. I didn’t want to glue the letters directly on top and then have two of them uneven with gaps between the surface.
To solve this problem I went back into my design and for the two letters that were over the screws, I created a “hollow” version of the letter to use as a lip. I just cut the other letters again as a solid version so they would match in height.
STEP SEVEN
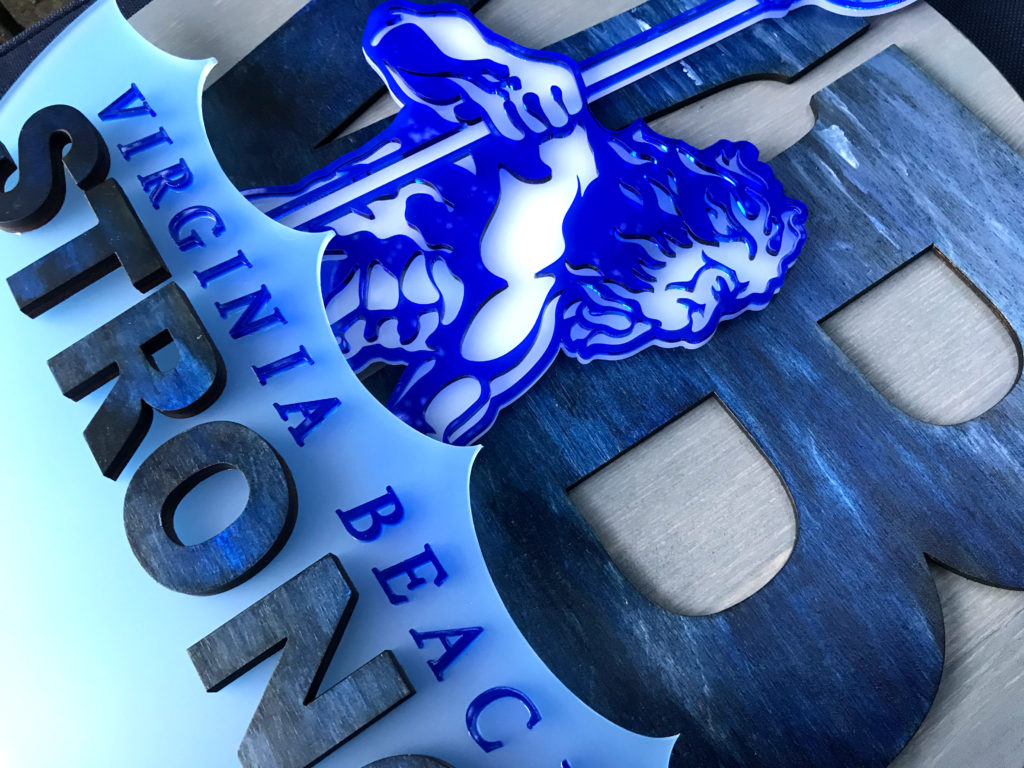
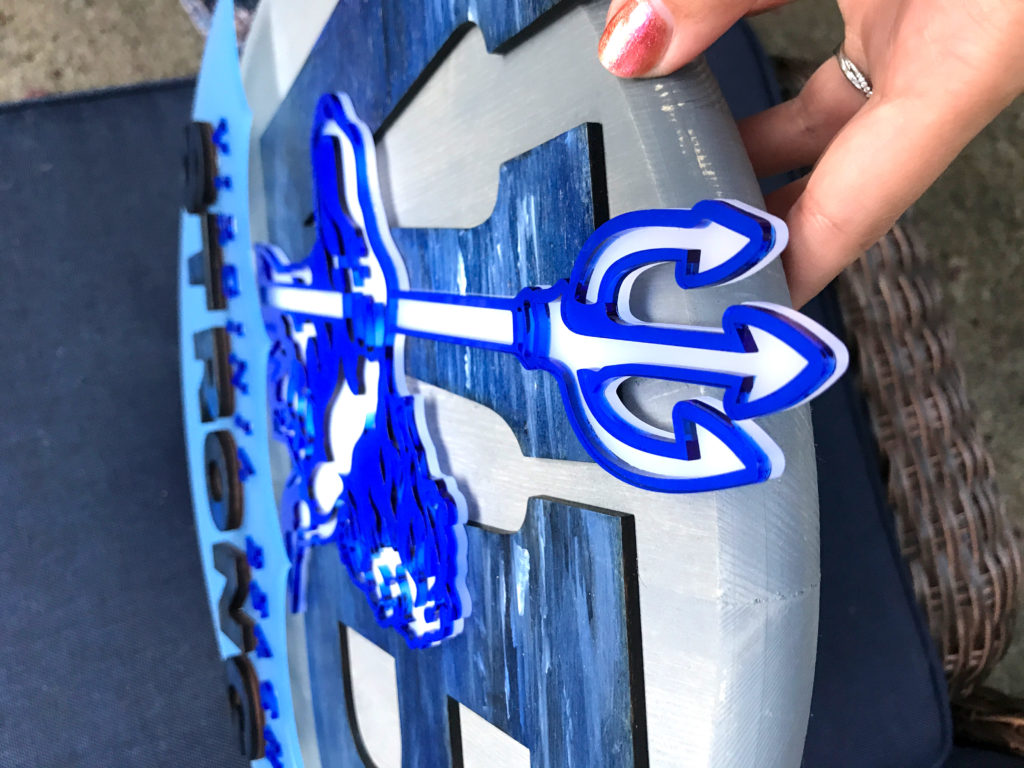
Assemble! Glue and screw and it’s done!
WHERE TO GET THE MATERIALS
3M Adhesive For Acrylic (LSE300) | This is the tape you want if you plan to fuse slick products that are hard to glue such as acrylic. The LSE in the name stands for LOW SURFACE ENERGY and is what you want to look for.
3M Adhesive for Other Uses | Now you can, of course, use the LSE tape above, but this one is cheaper so I have both on hand for wood projects. This one would be great for creating your own veneers. You won’t always see HSE in the name, so if it doesn’t say LSE assume it’s HSE.
Standoffs Space Variety Pack | These are awsome for evenly spacing layered designs.
Screw Variety Pack | I bought this to go with the spacers, so I would have screws of different lengths to match the standoffs.
LIKE WHAT YOU SEE?
Obligatory code plug. If you found this post helpful and you plan to buy a Glowforge you can use my code for a discount: https://glowforge.us/r/QHDONFXB
And finally, if you’d like to be updated on posts like these in the future you can sign up for my email list. You will only receive an email if there is new content, and only once weekly in that case:

