Naughty & Nice Valentine's Hearts
Project Overview:
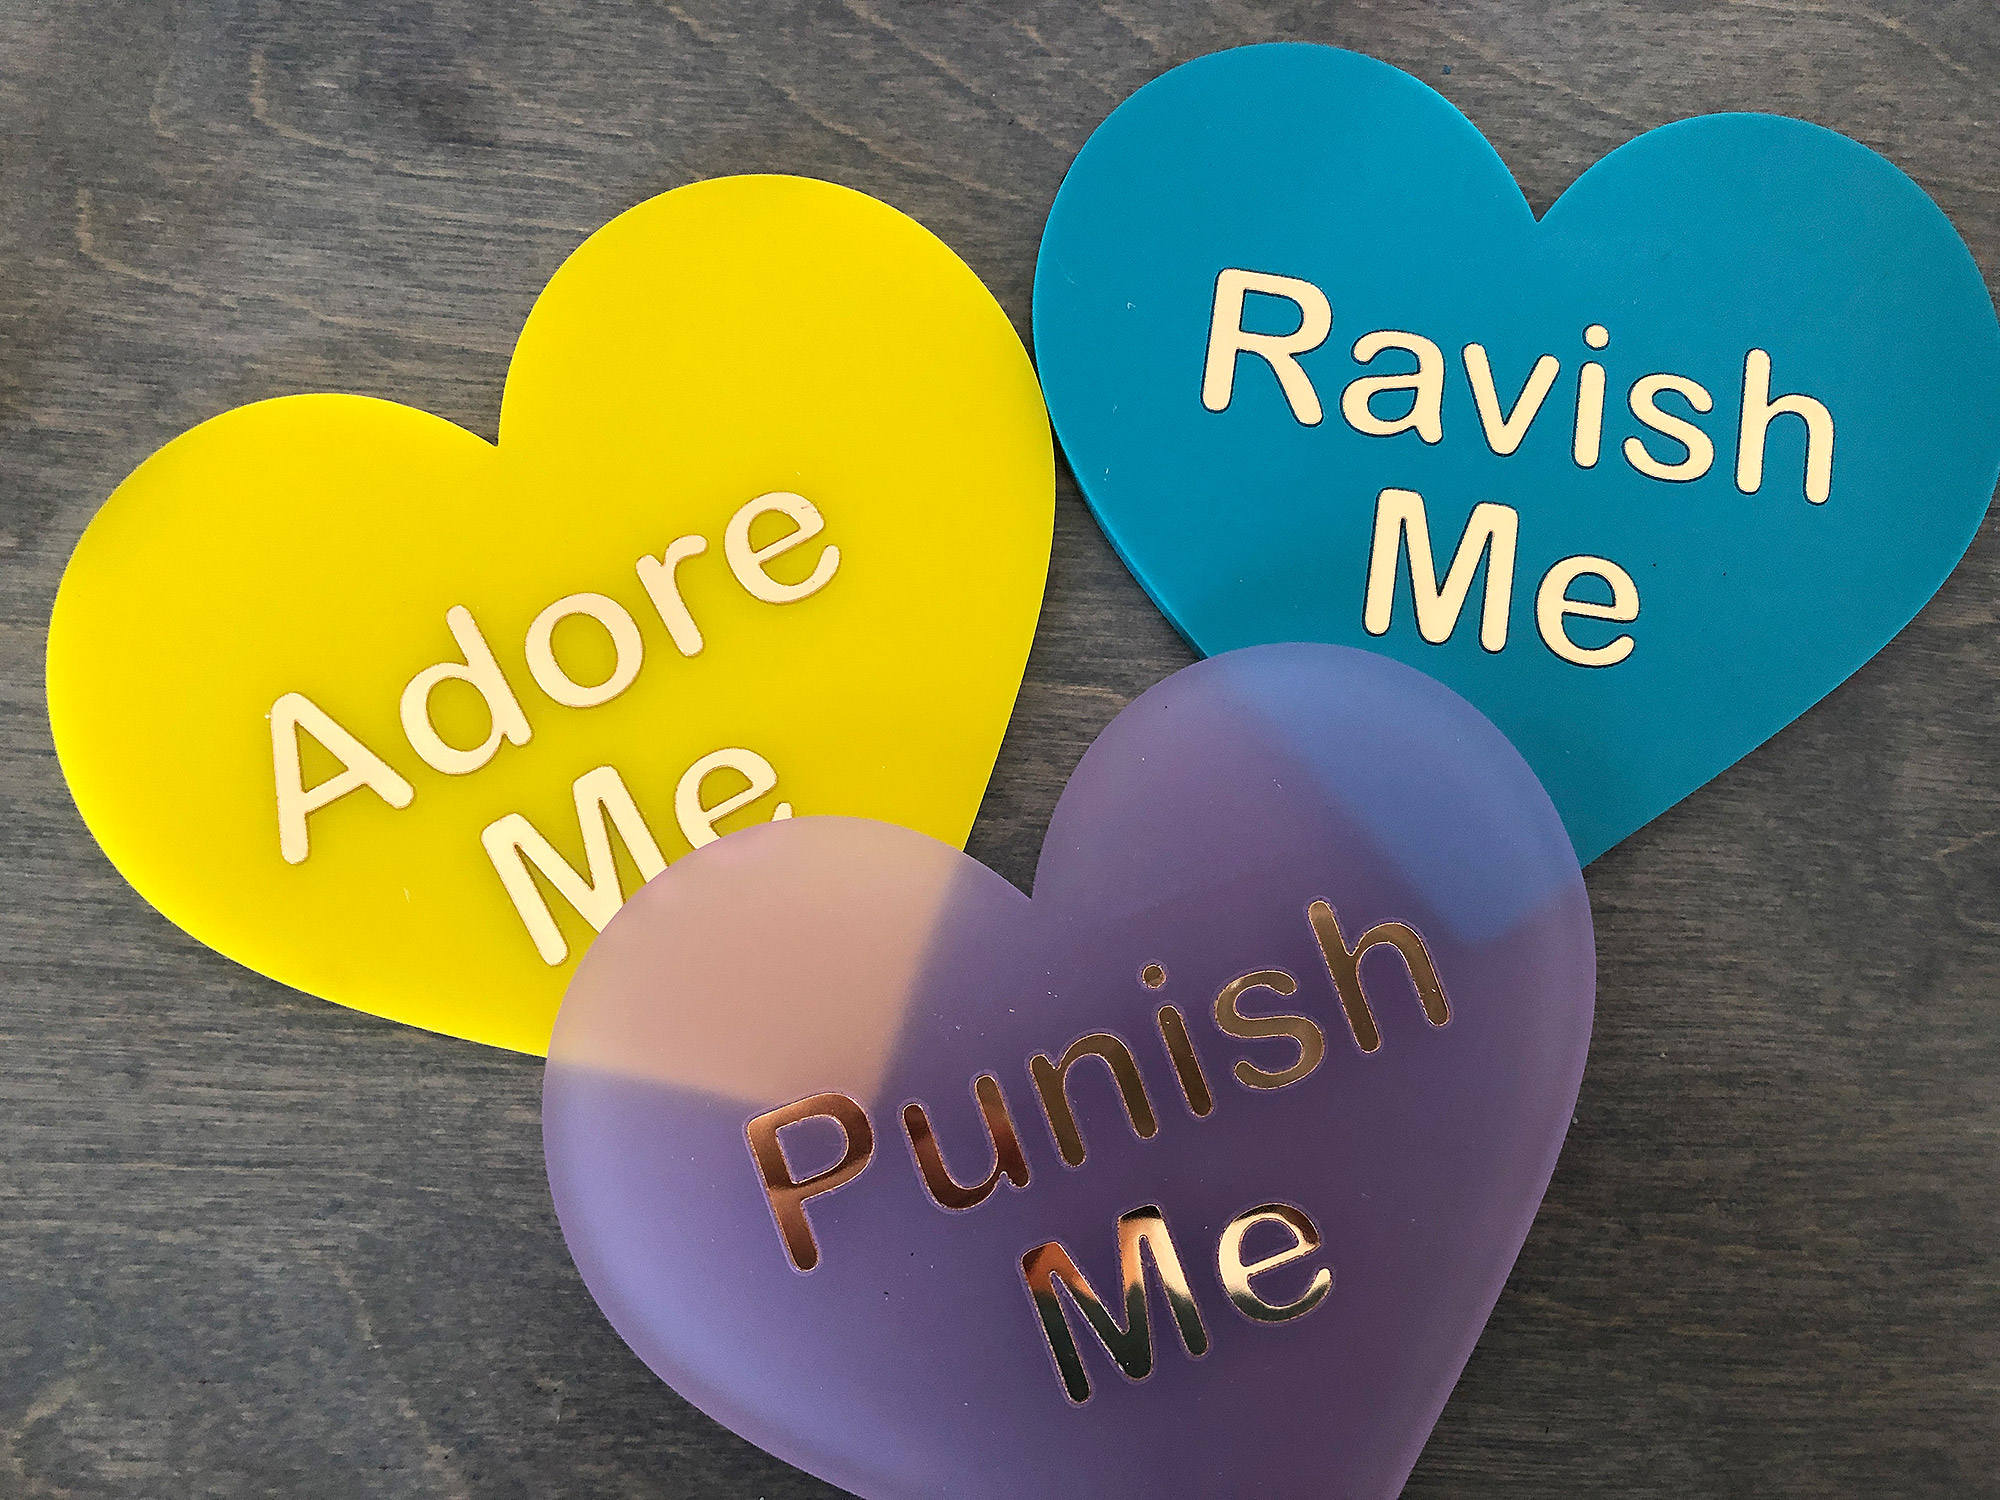
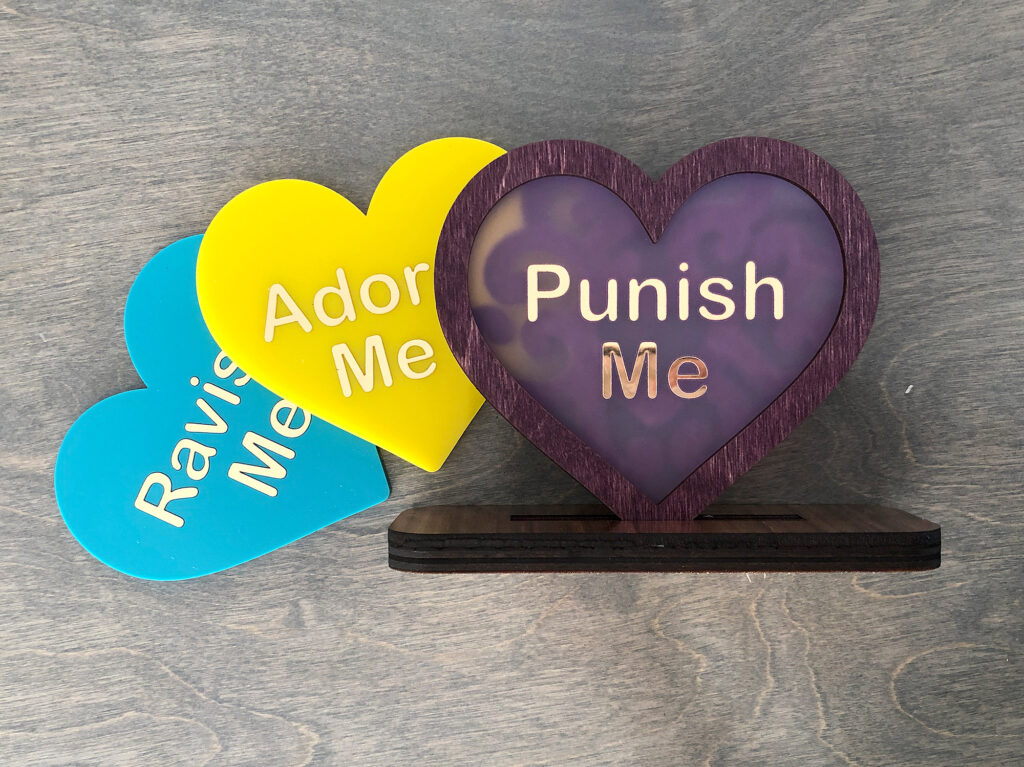
So, I wanted to put together a fun file for Valentine’s that was simple to make, but a bit different than what I had seen. I thought the idea of interchangeable candy hearts could be fun and decided to include a range of naughty and nice phrases. For the nice phrases they’d be a perfect little desktop accessory for just about anyone and for the naughty phrases, think of them as a fancier version of a love coupon book – something playful you could hide around the house or set on the bedside table to you know… *wink*
ABOUT THE FILE
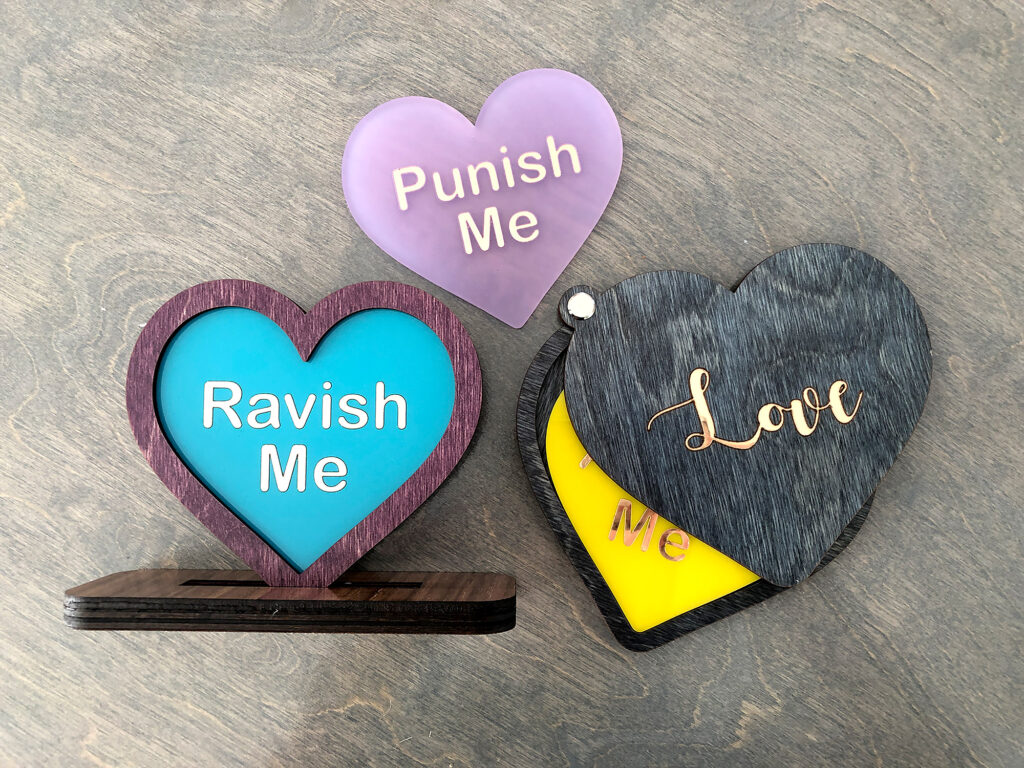
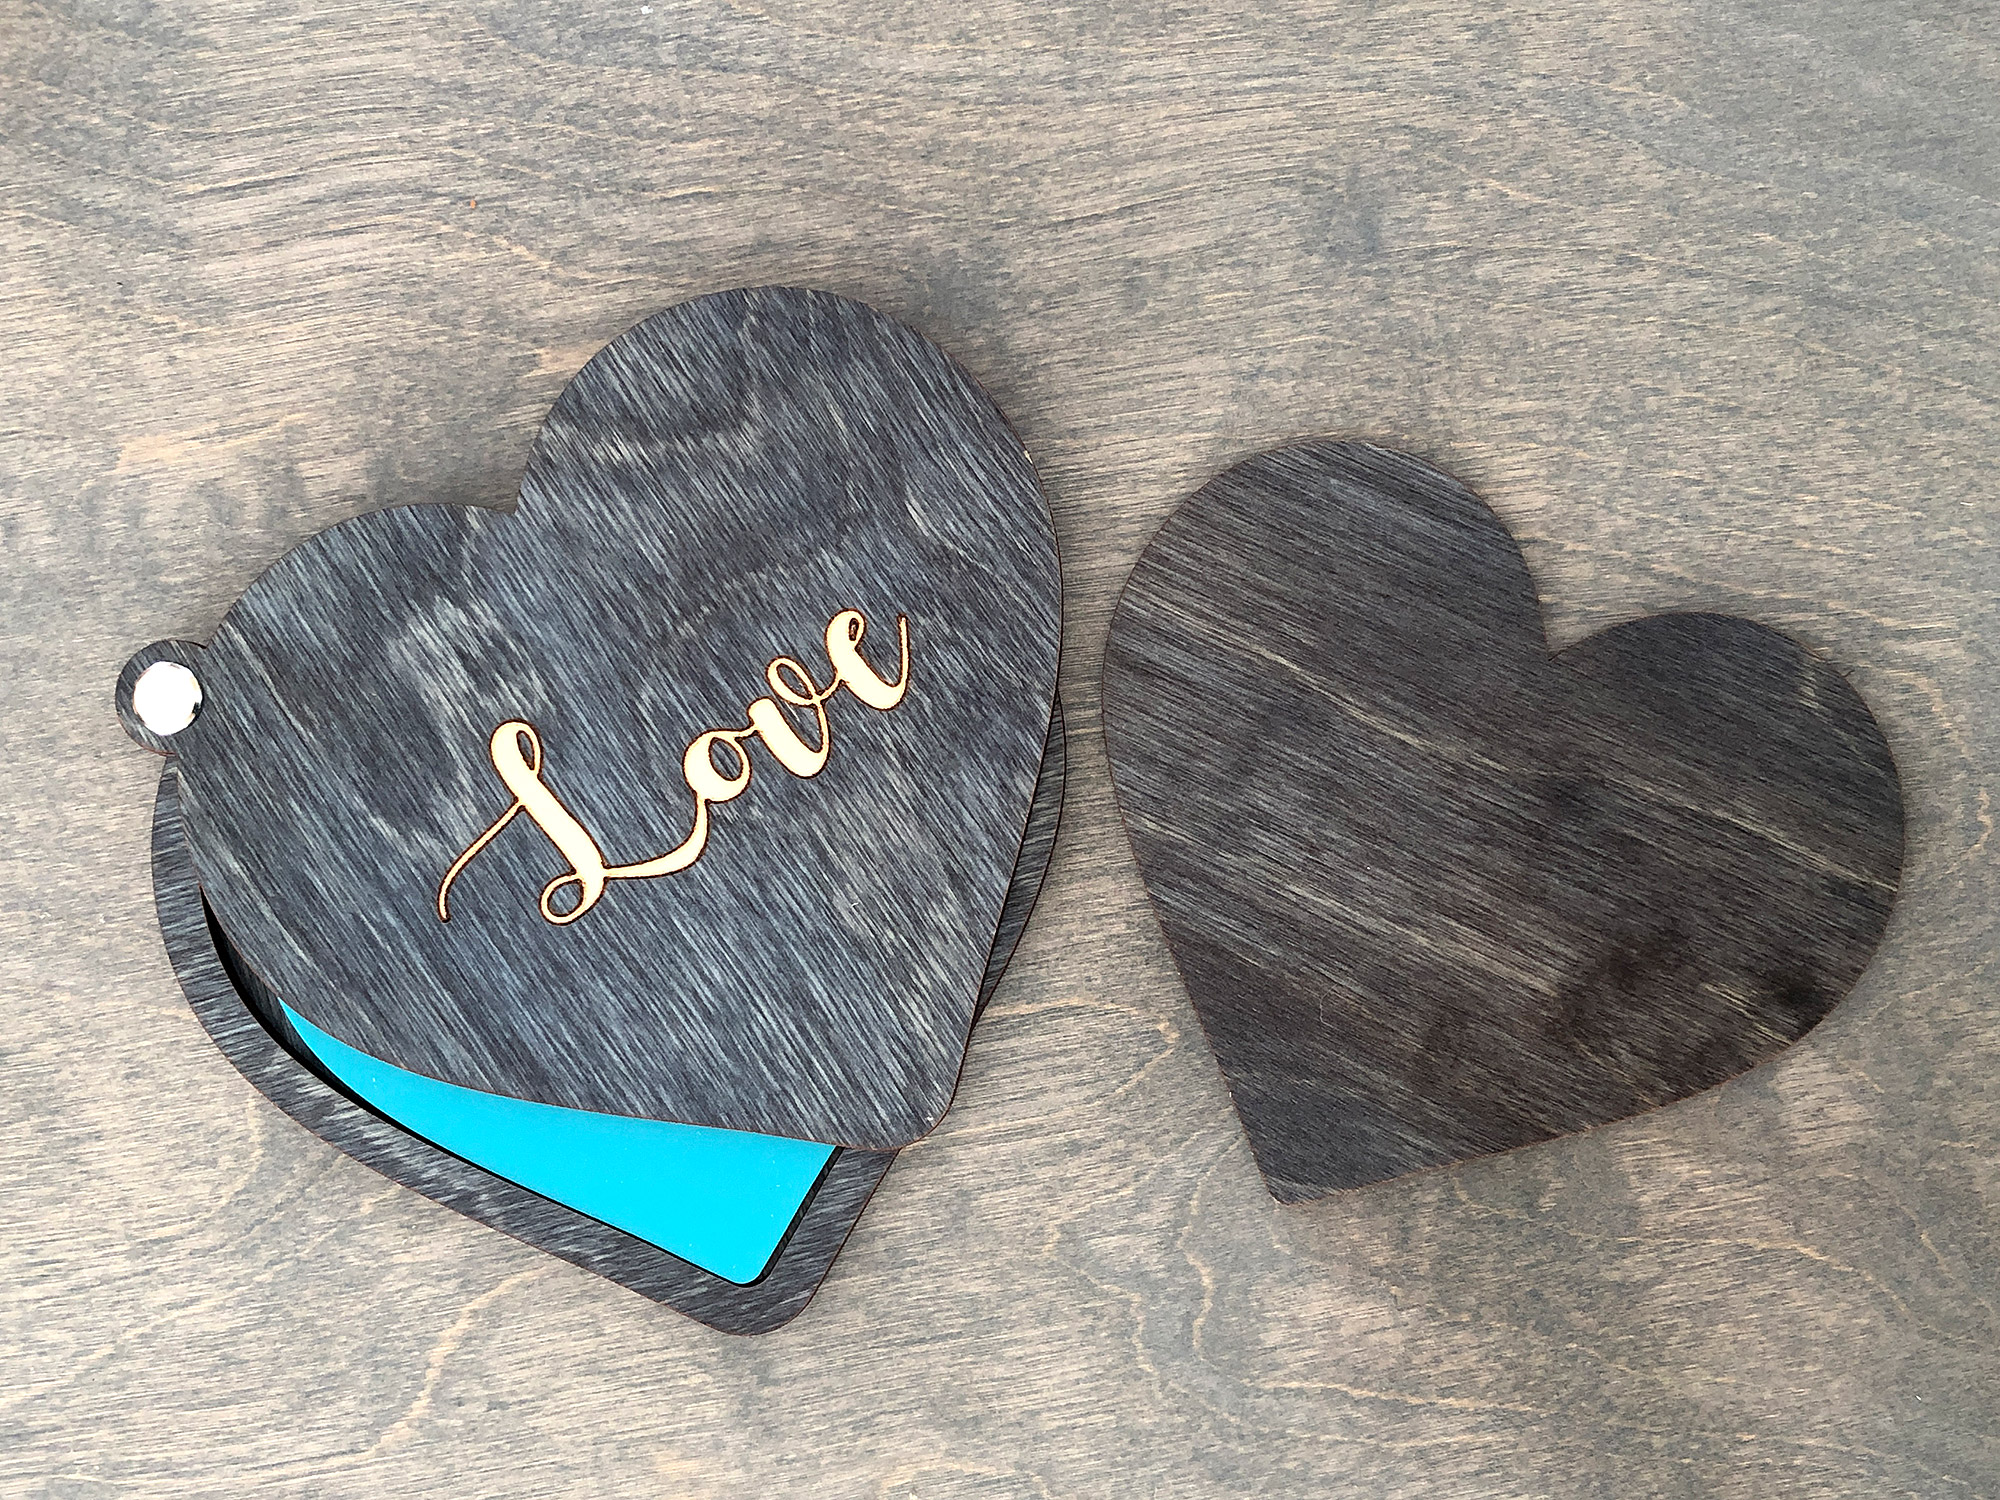
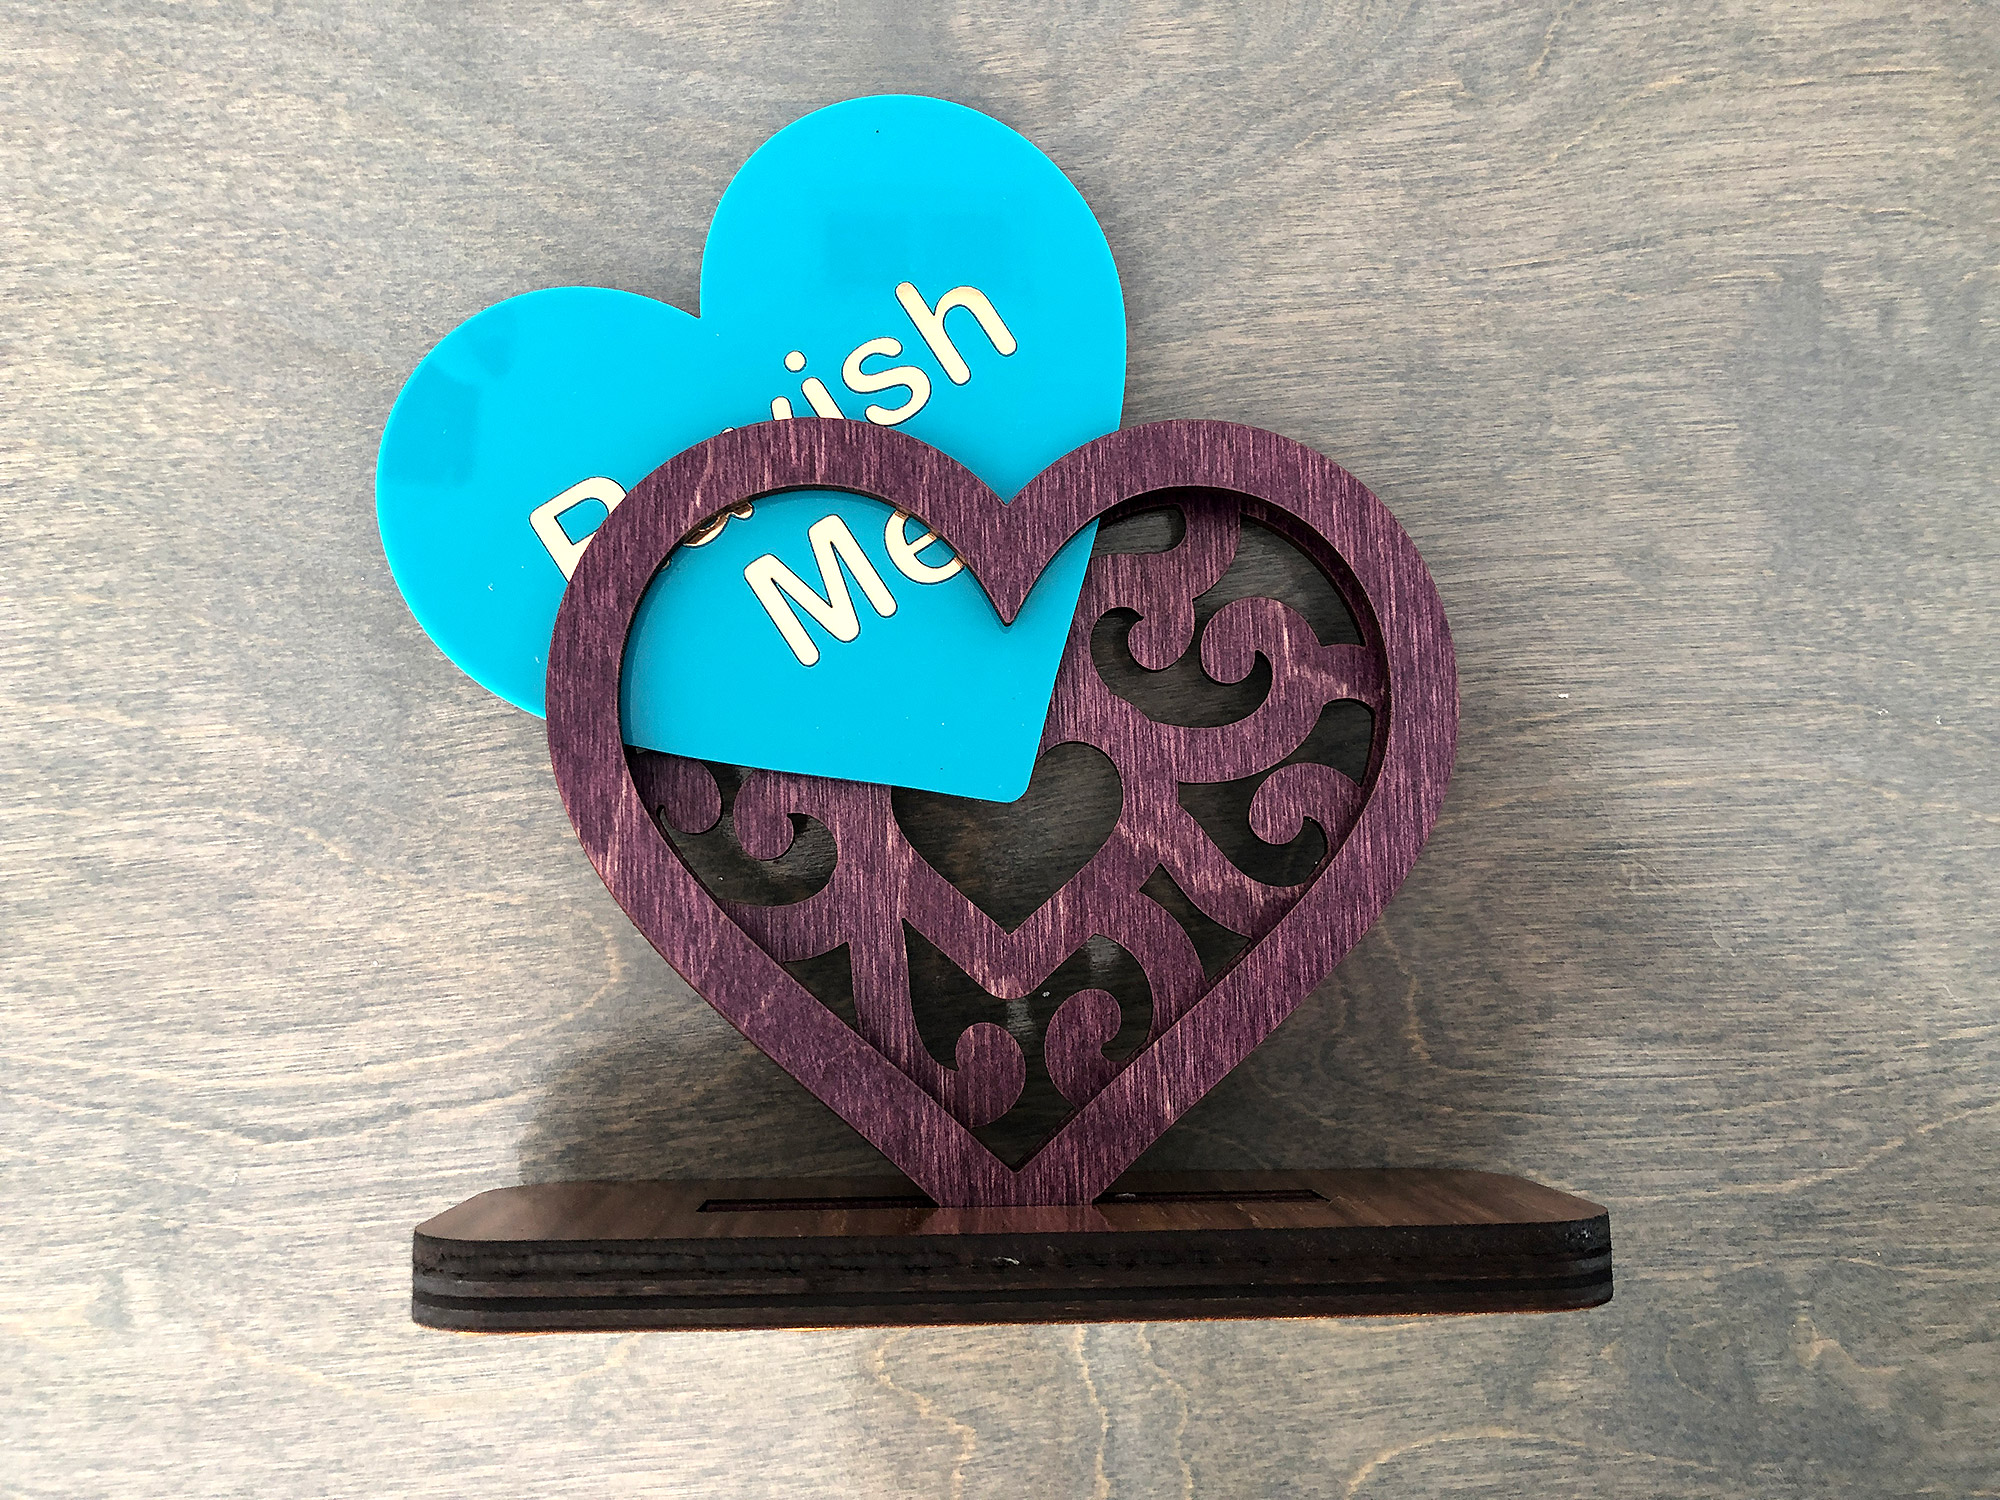
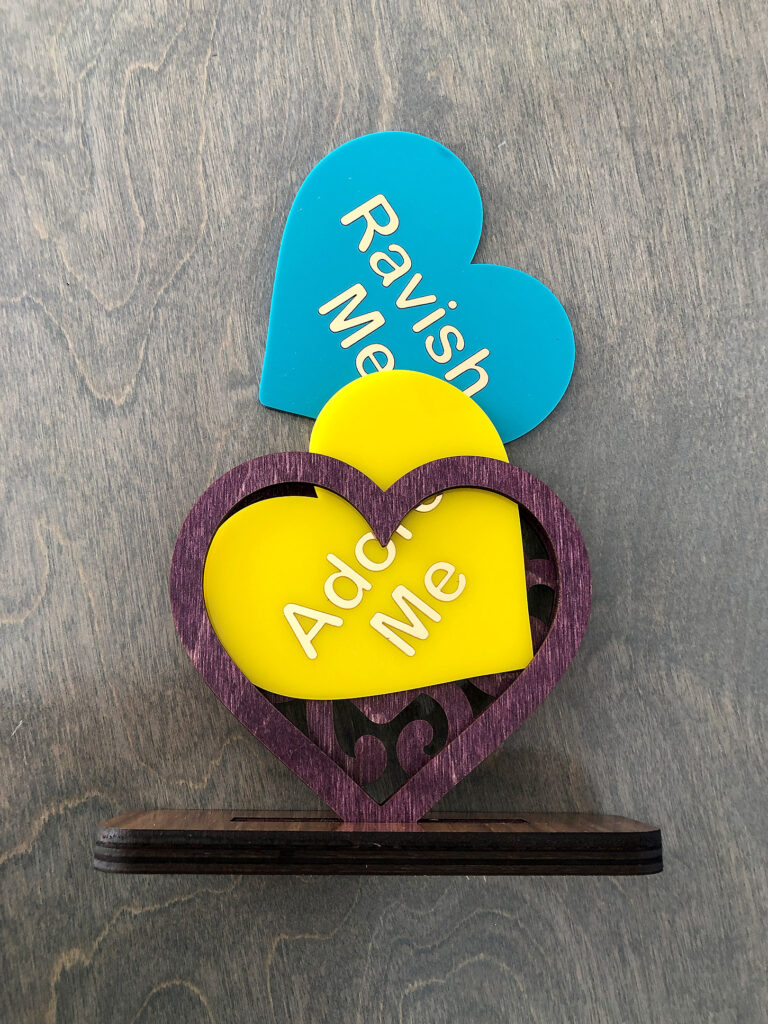
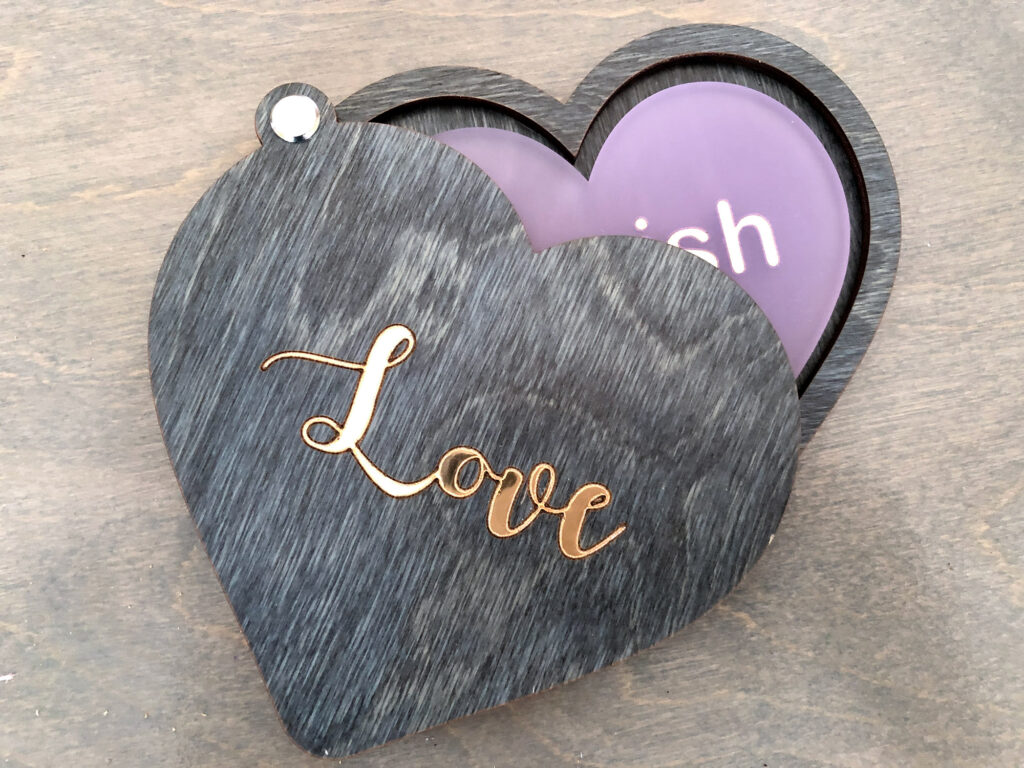
There are two designs in this set. One is small heart stand and the other a rotating “box” of sorts that fits a heart inside. Either design fits the phrase hearts in the set. The gray invite below was sized down to fit the hearts properly after this photo, so in the file the candy hearts will fit snugly in both designs. I set them up so that you could cut out both designs and a few hearts from a single sheet of 1/8″ material. For my example I chose to cut the main pieces from Colorshop wood and the hearts from various Acrylics I had around.
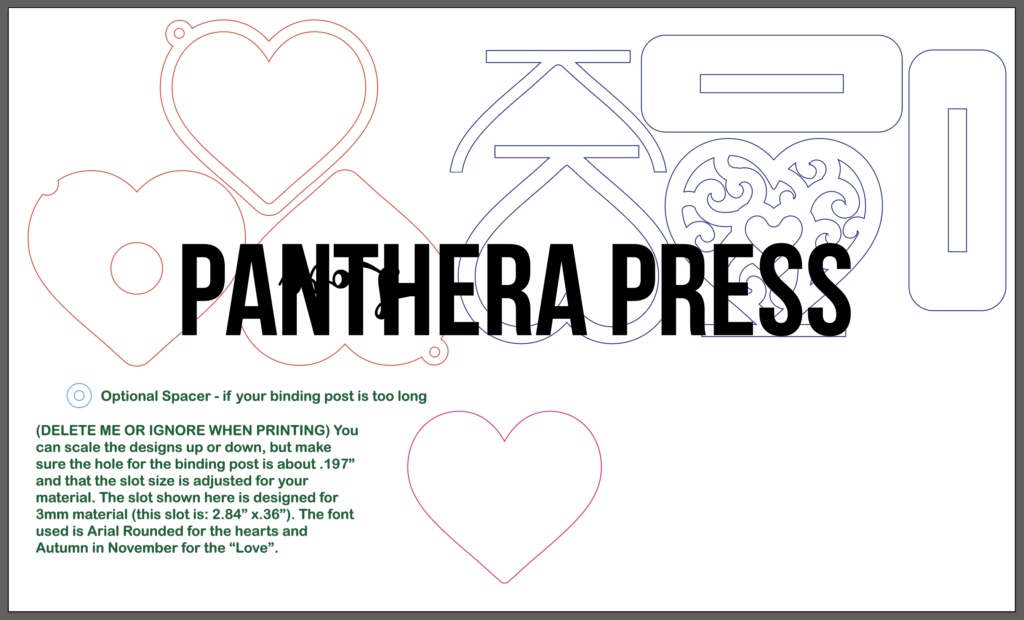
If you want to scale the designs up or down the only parts you’ll need to adjust are the slot size and the holes for the binding posts. Otherwise, the file should be very straightforward.
Get The File
You can grab the file for these two Valentine’s designs on my Etsy, they are sold as a set.
The naughty hearts do include a cuss word and phrases of a sexual nature, but they are in their own file so you may choose not to download them if preferred*
MATERIALS
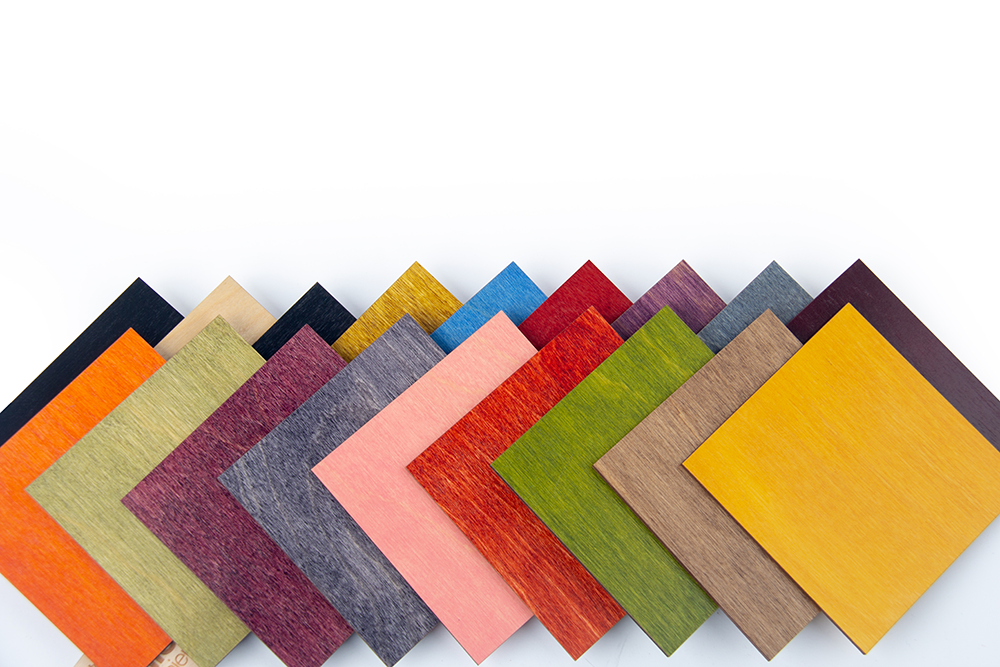
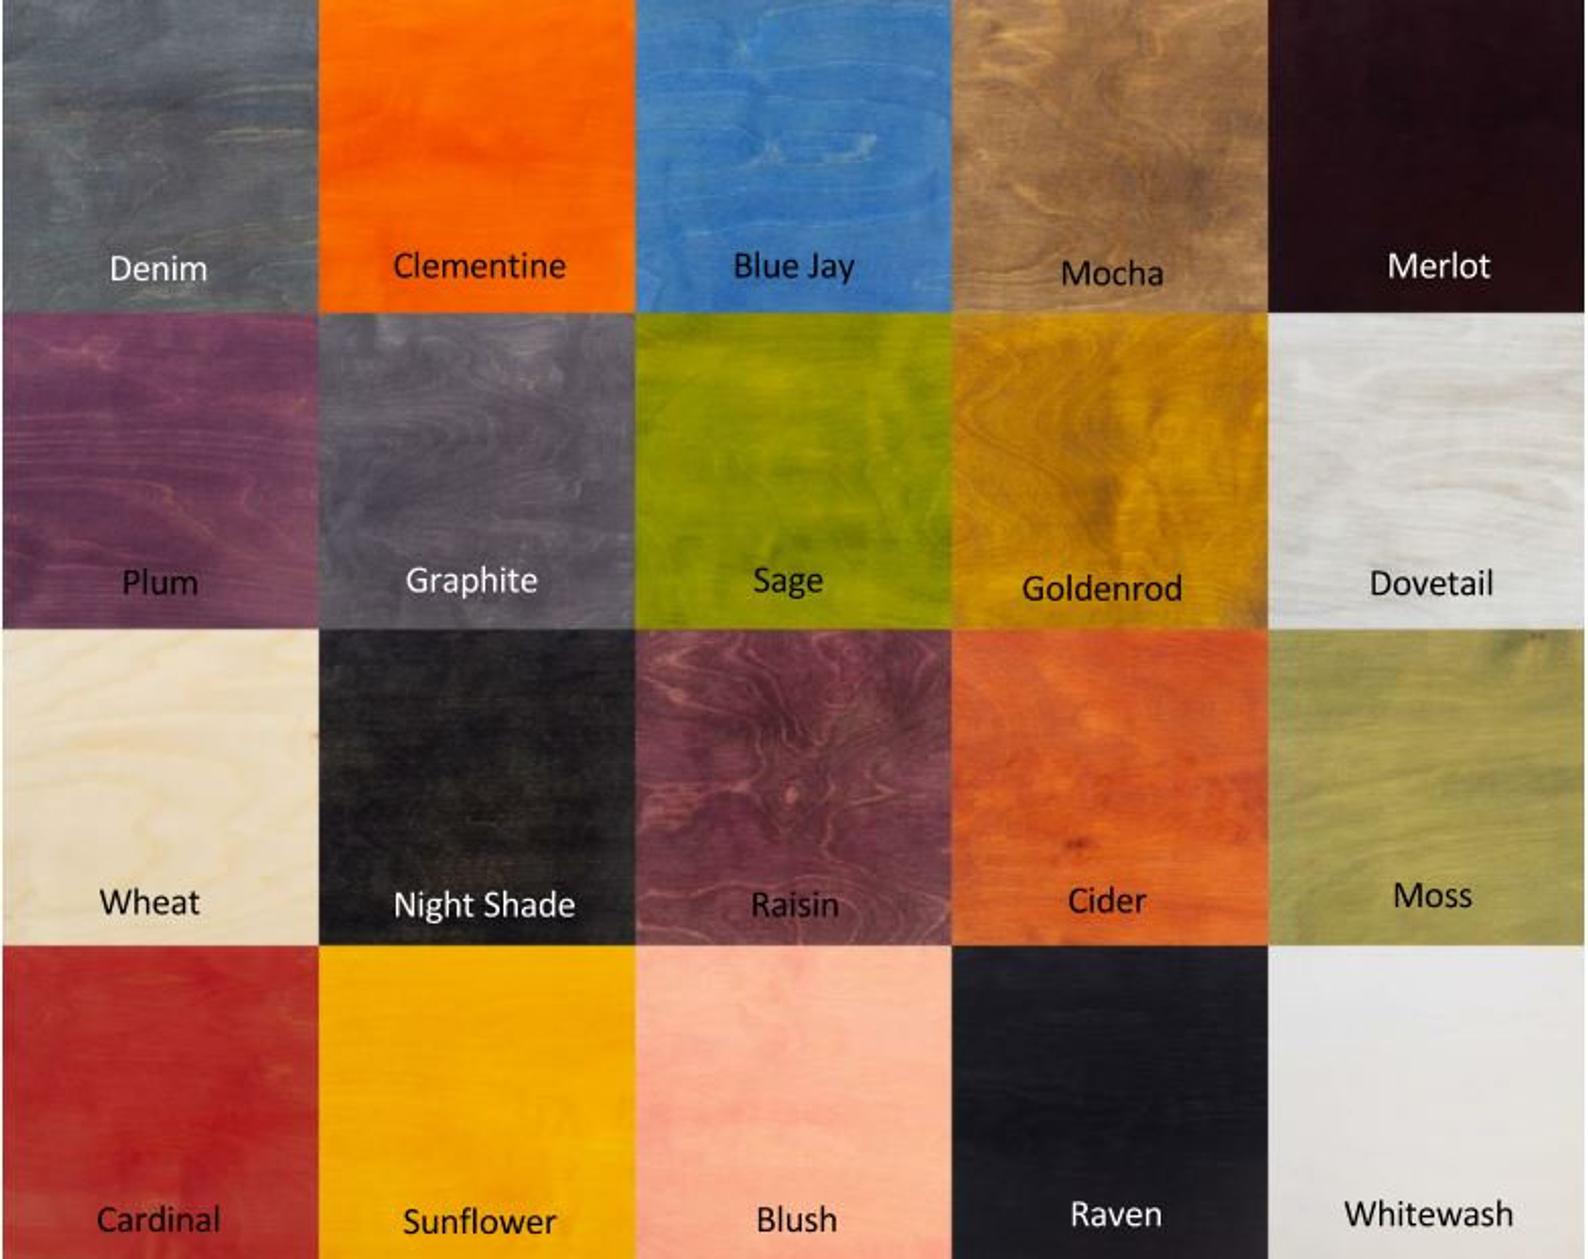
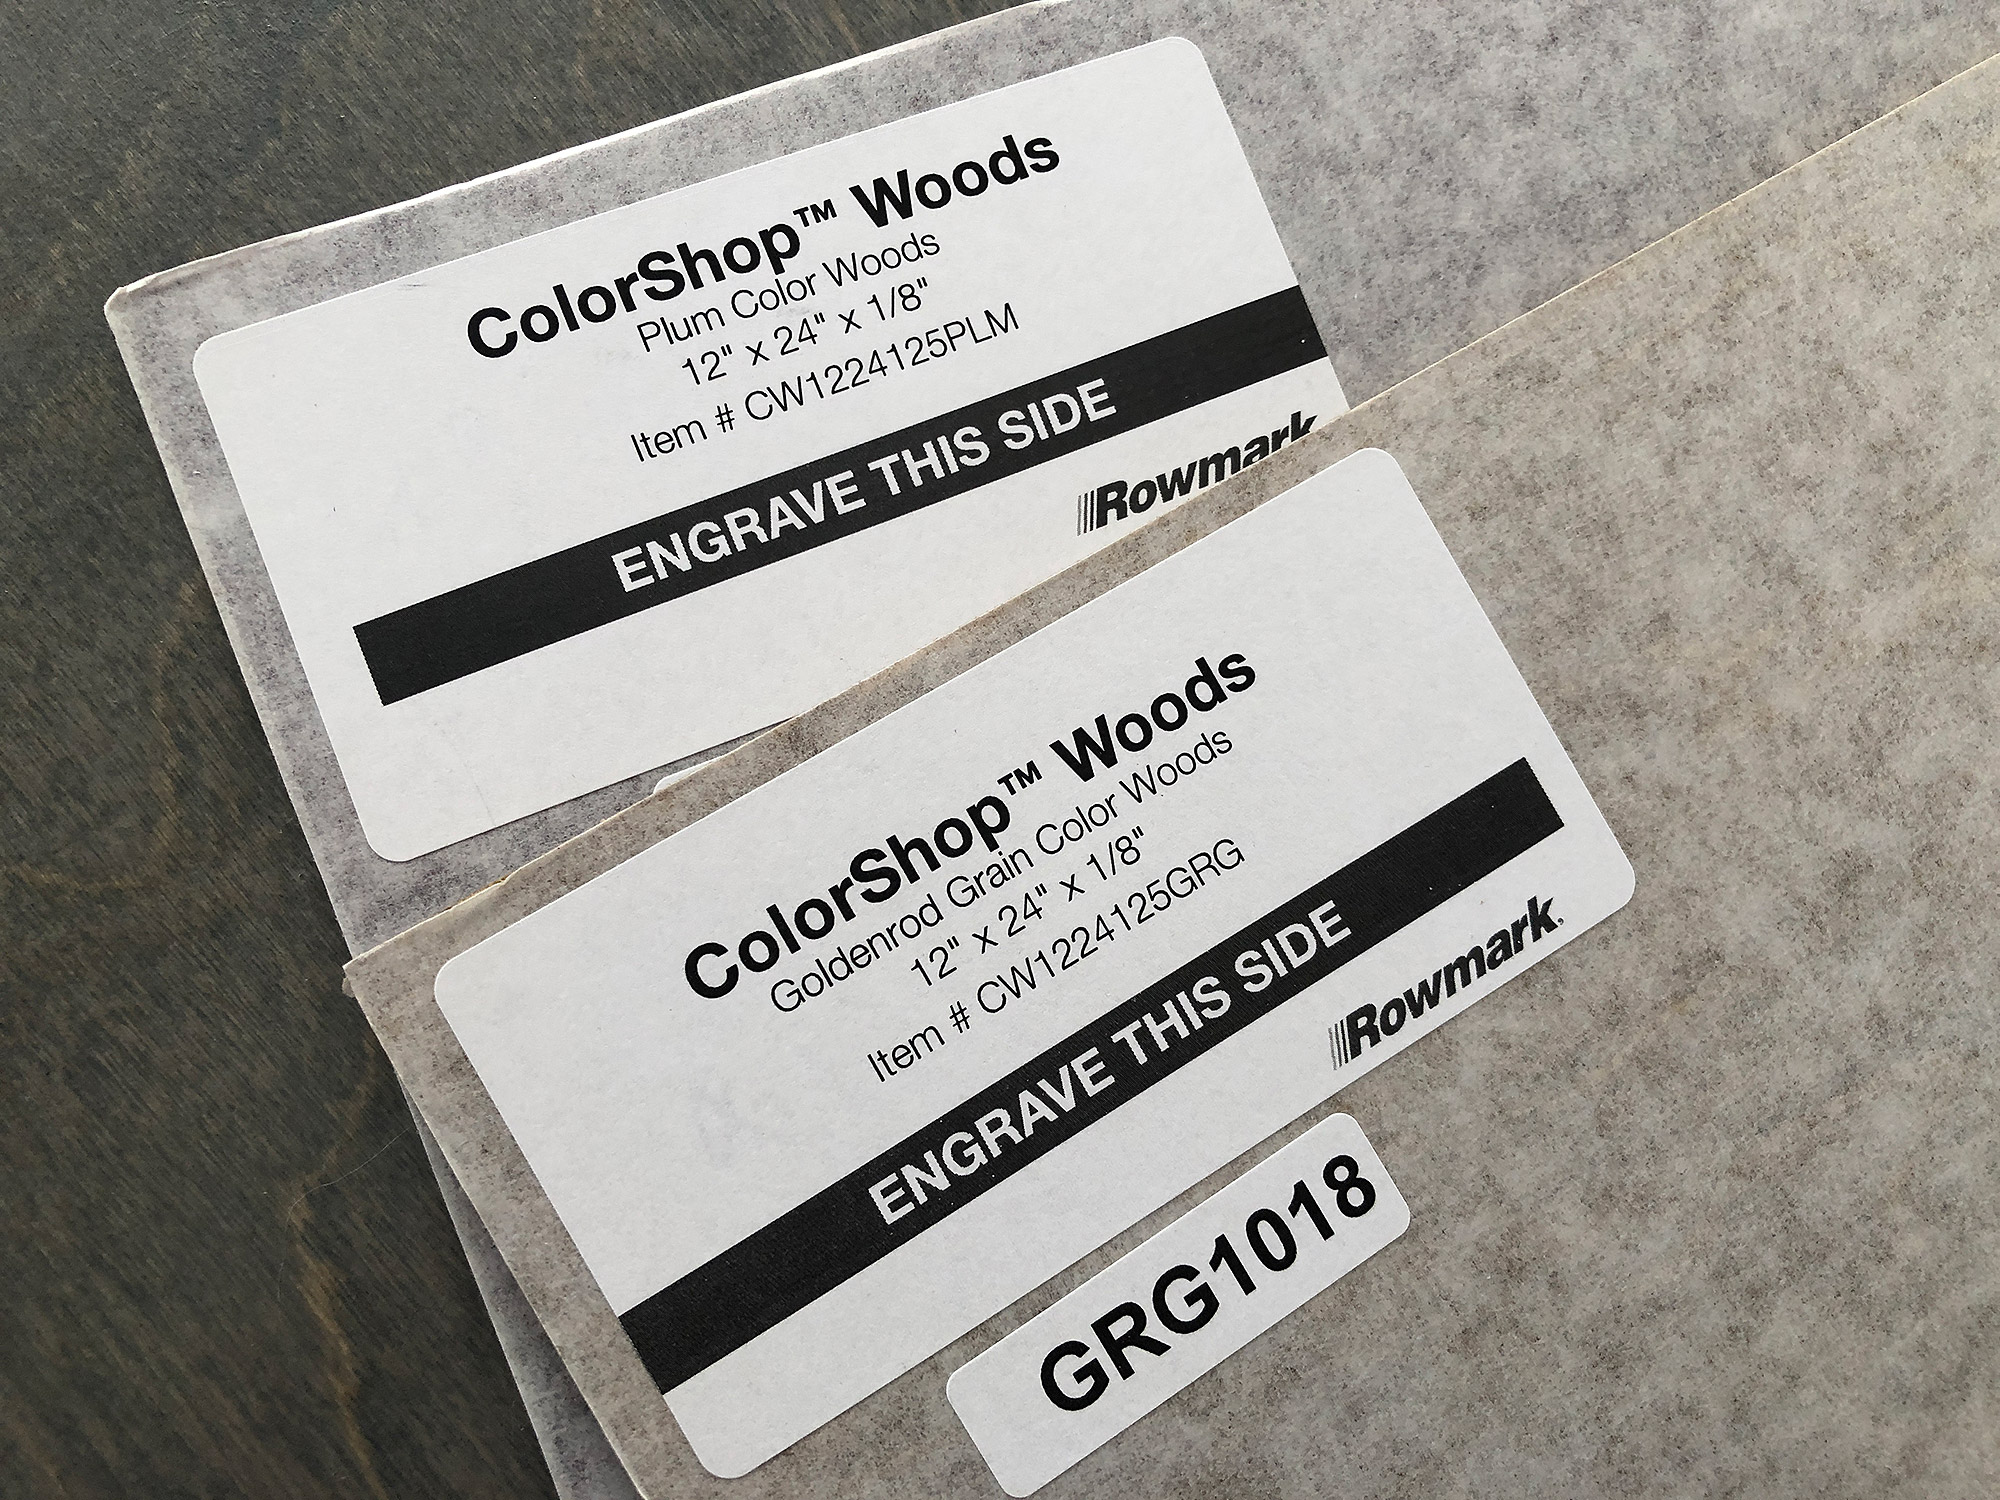
For almost all of my projects, I try to test both design concepts and materials. For this post, I have finally gotten around to testing a set of Colorshop woods I had in the studio. These pre-finished, pre-colored sheets are a product created by Rowmark using birch plywood. I had Denim, Goldenrod, and Raisin in the studio and thought they’d be a quick way of completing this project.
IN USE:
The Colorshop woods have a nice slick finish that isn’t too shiny and they cut find with my regular baltic birch settings of 160/Full. I did encounter one or two small glue voids, which is one of my least favorite things about baltic birch plywood. They come masked as well.
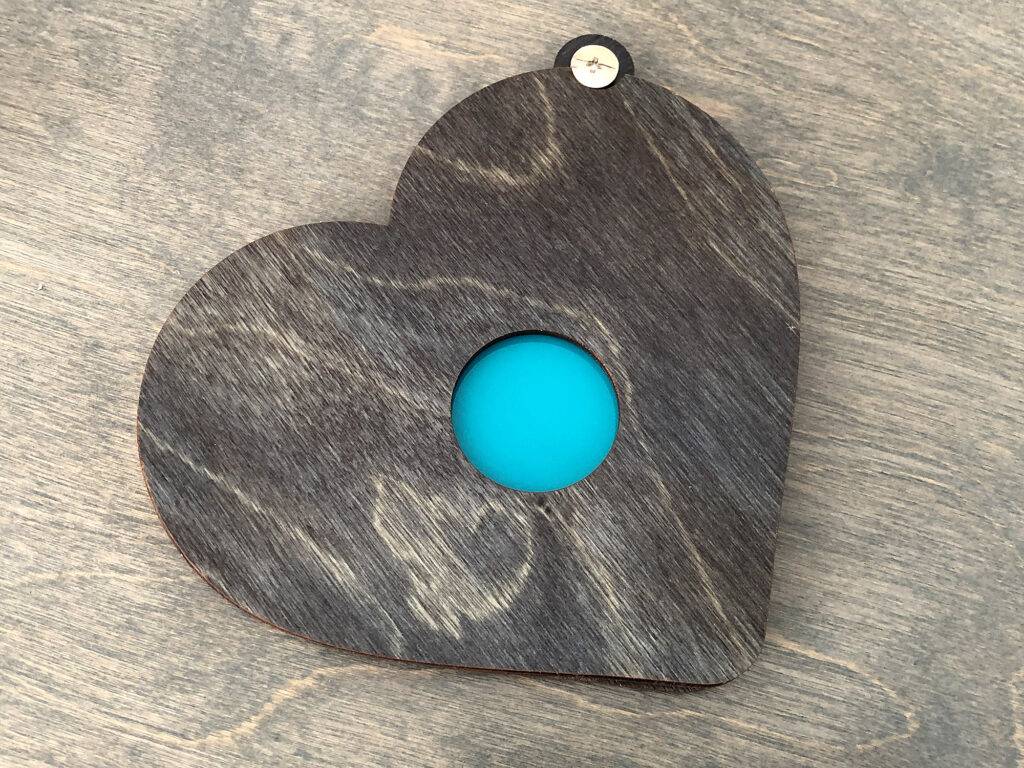
Each of the two designs, is made from just a few pieces.
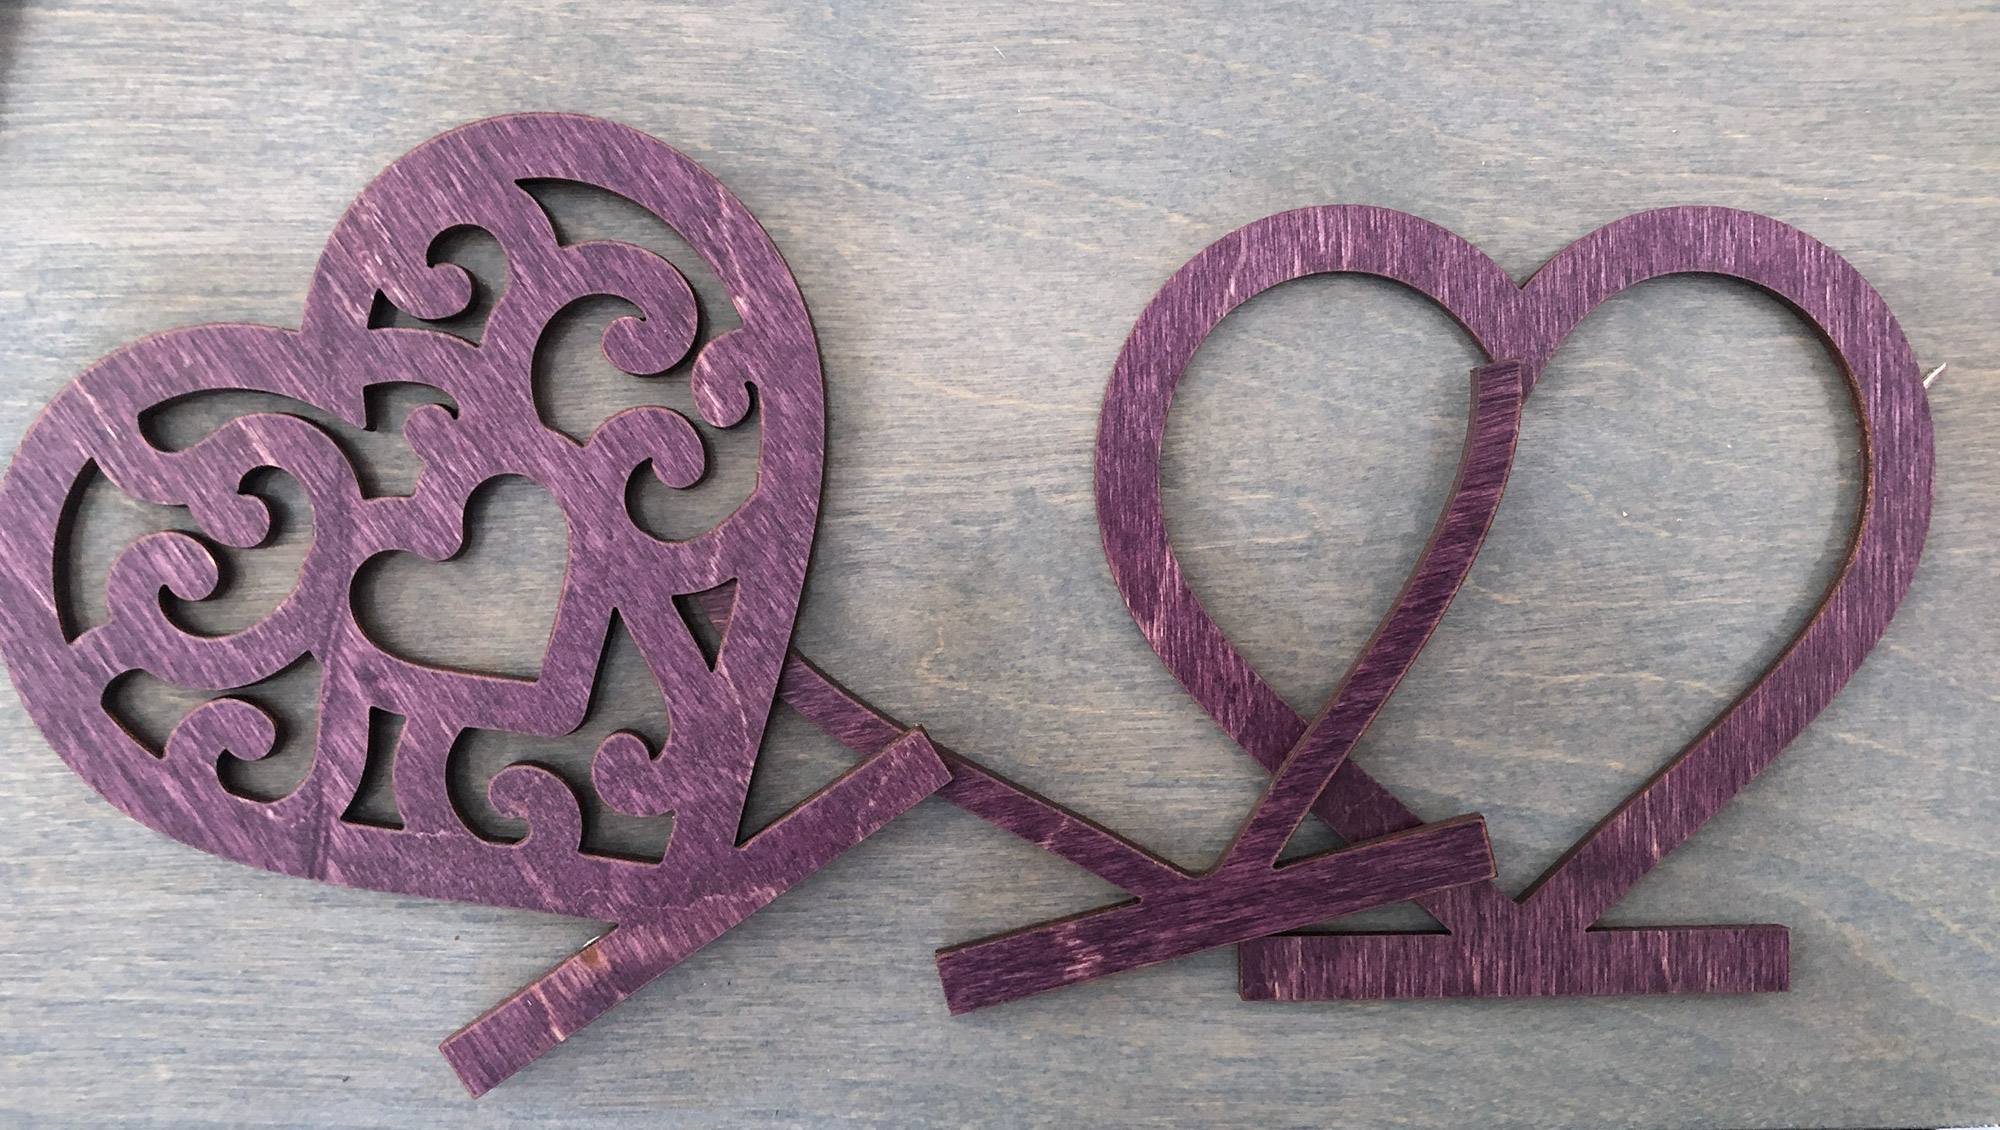
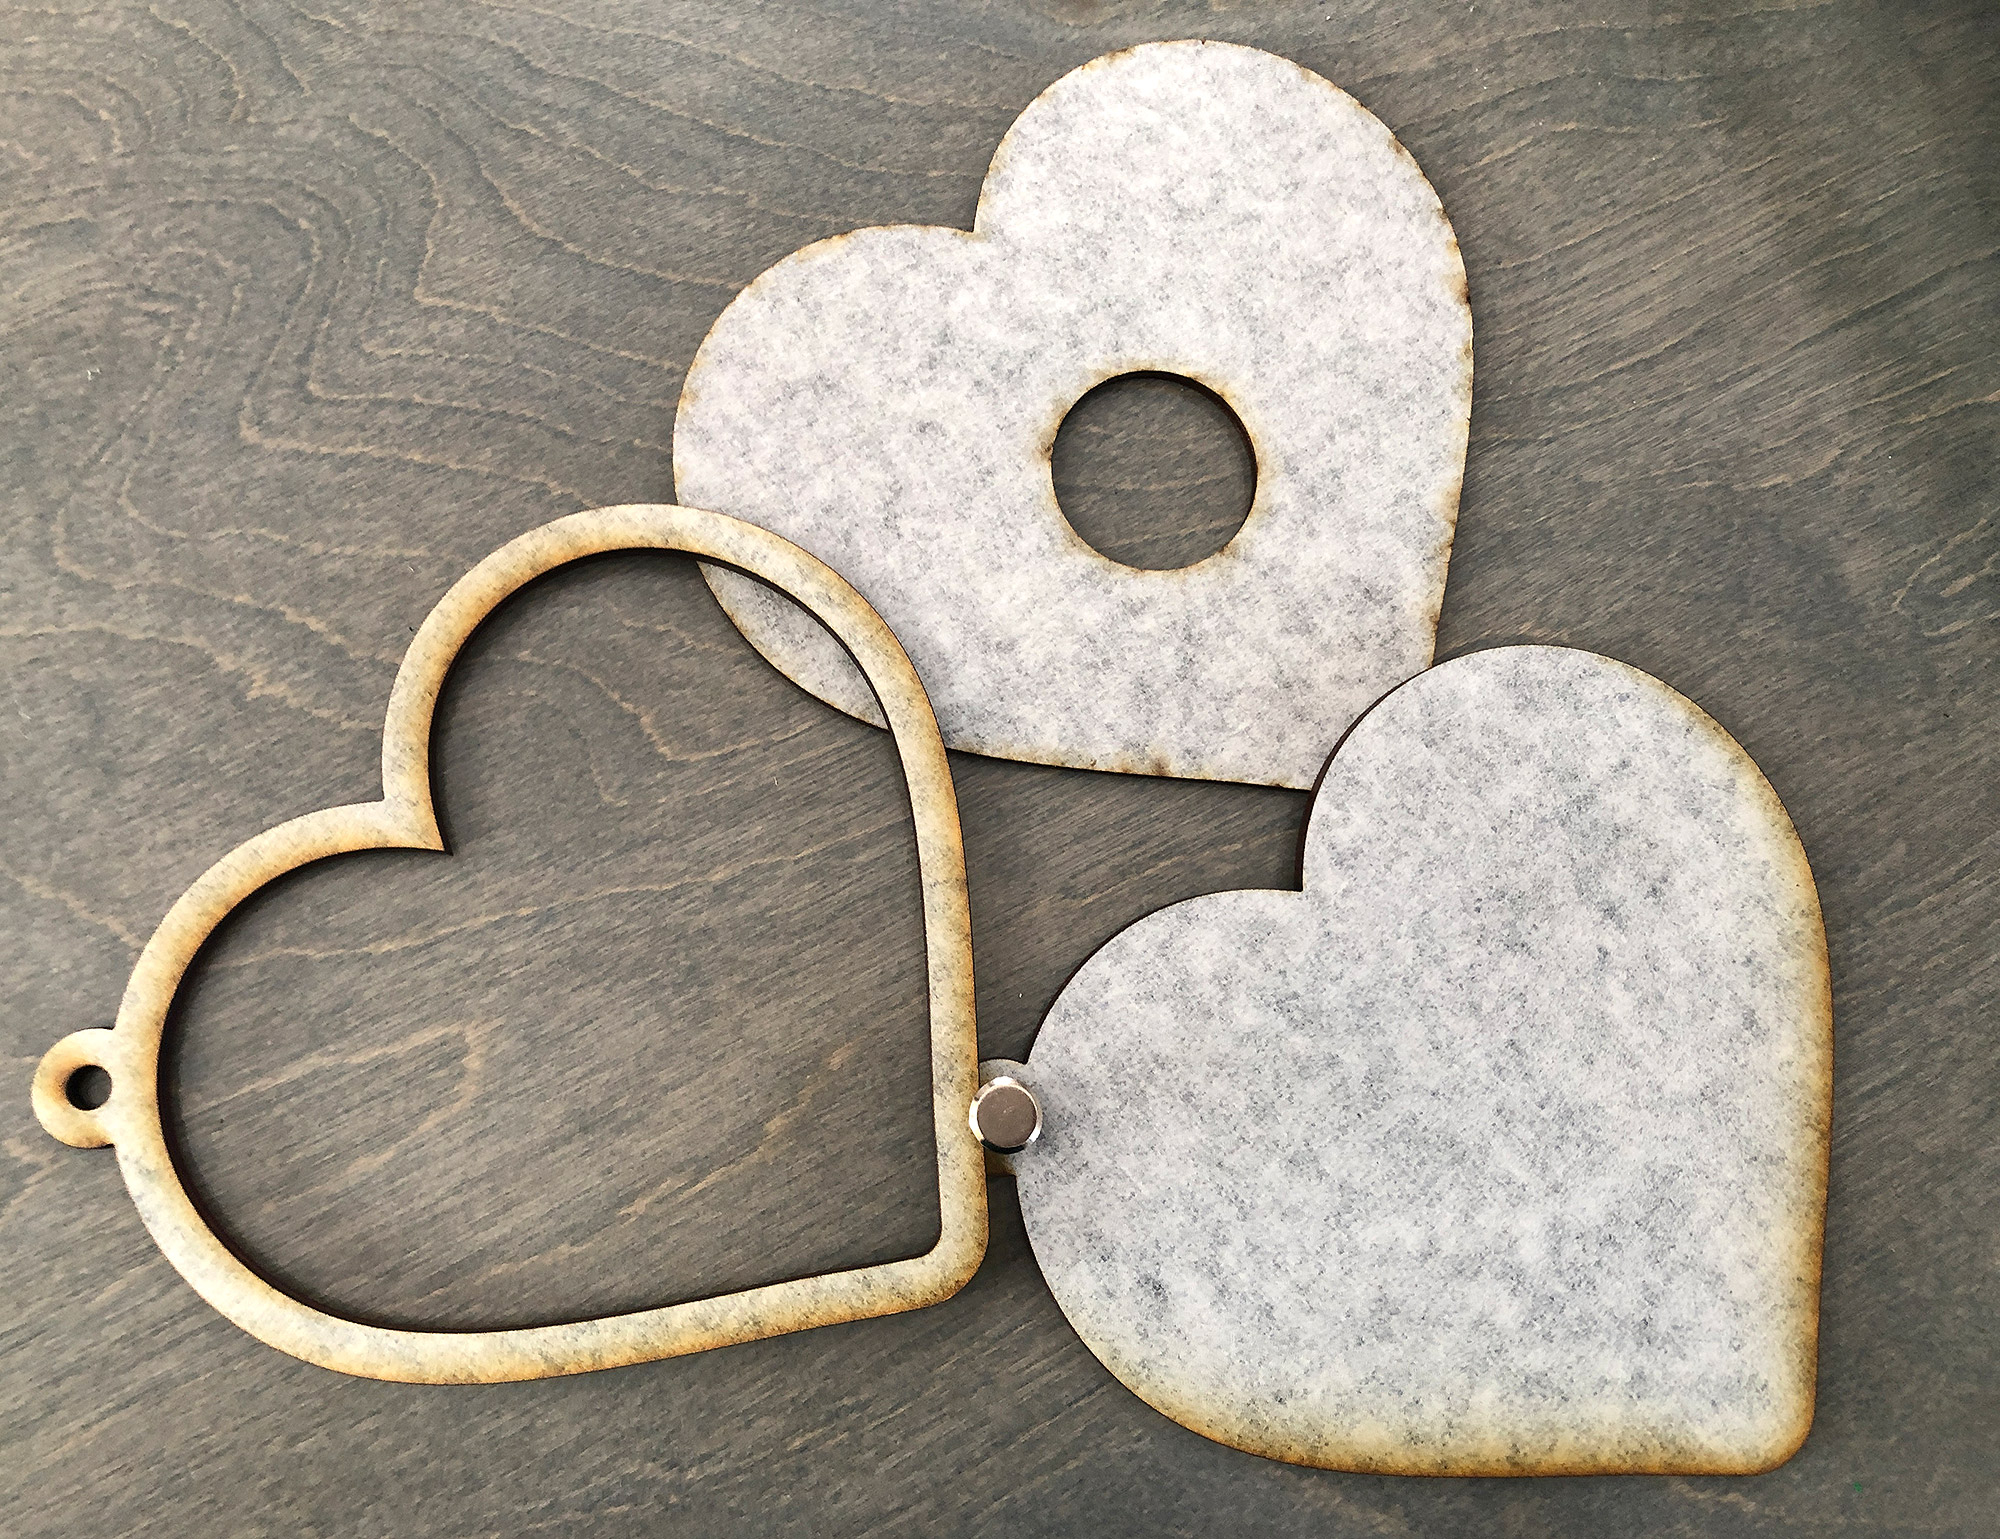

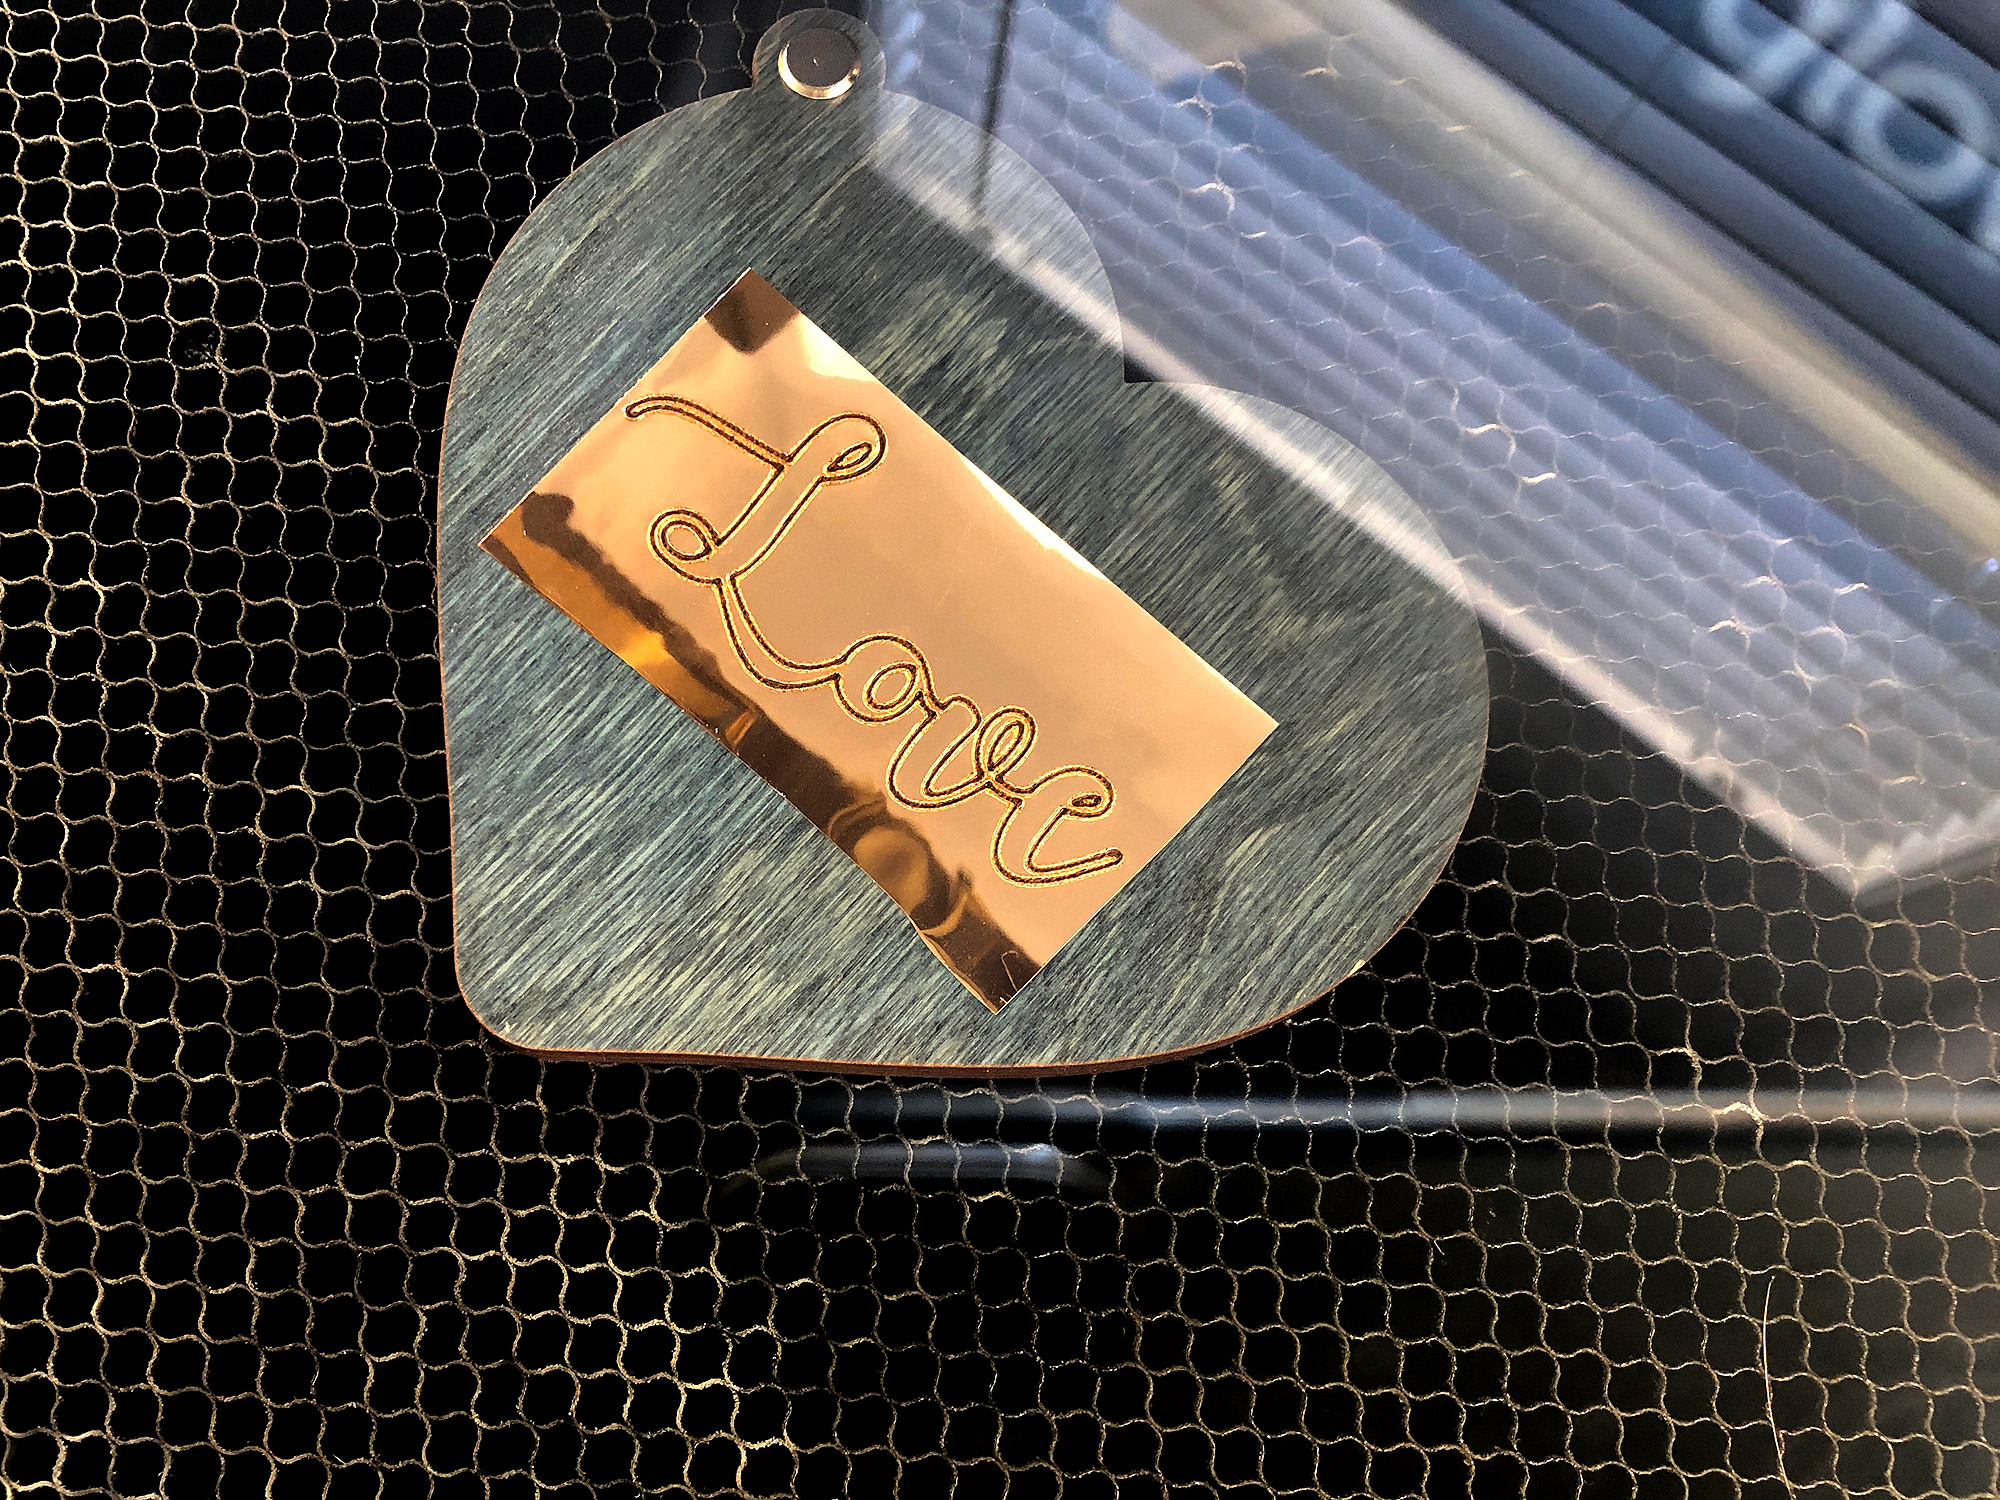
The extra heart piece that is produced when cutting Valentine’s box (yes I’m using the term box loosely, I cannot decide what to call this thing) can be engraved with a special message and use in either design.
Assembly
Rotating Valentine Box:
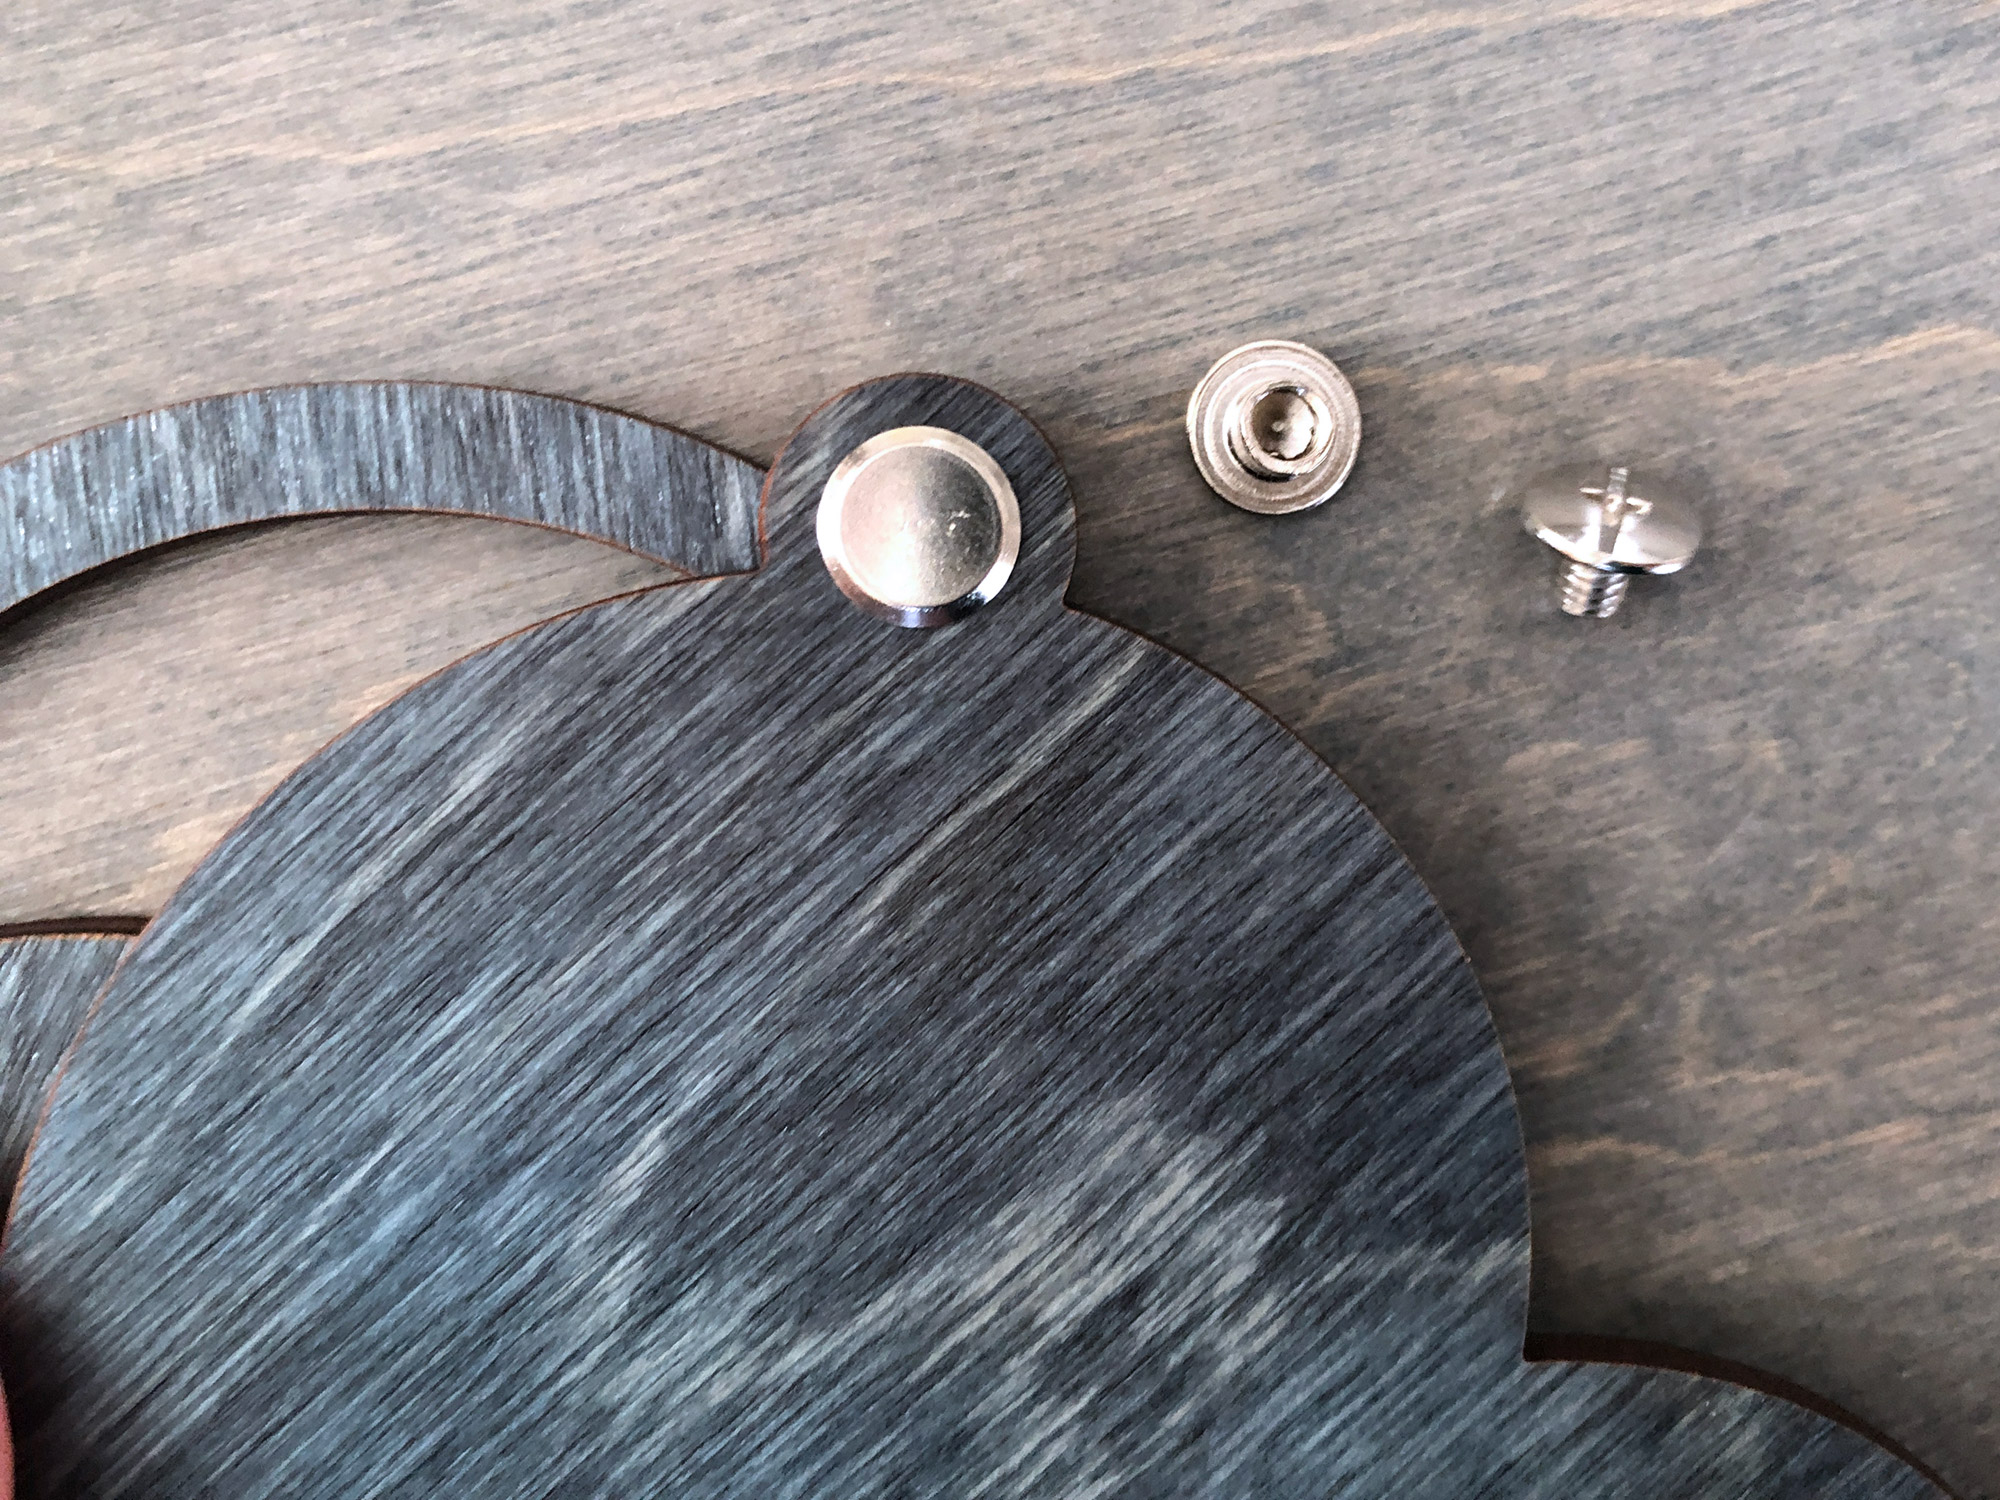
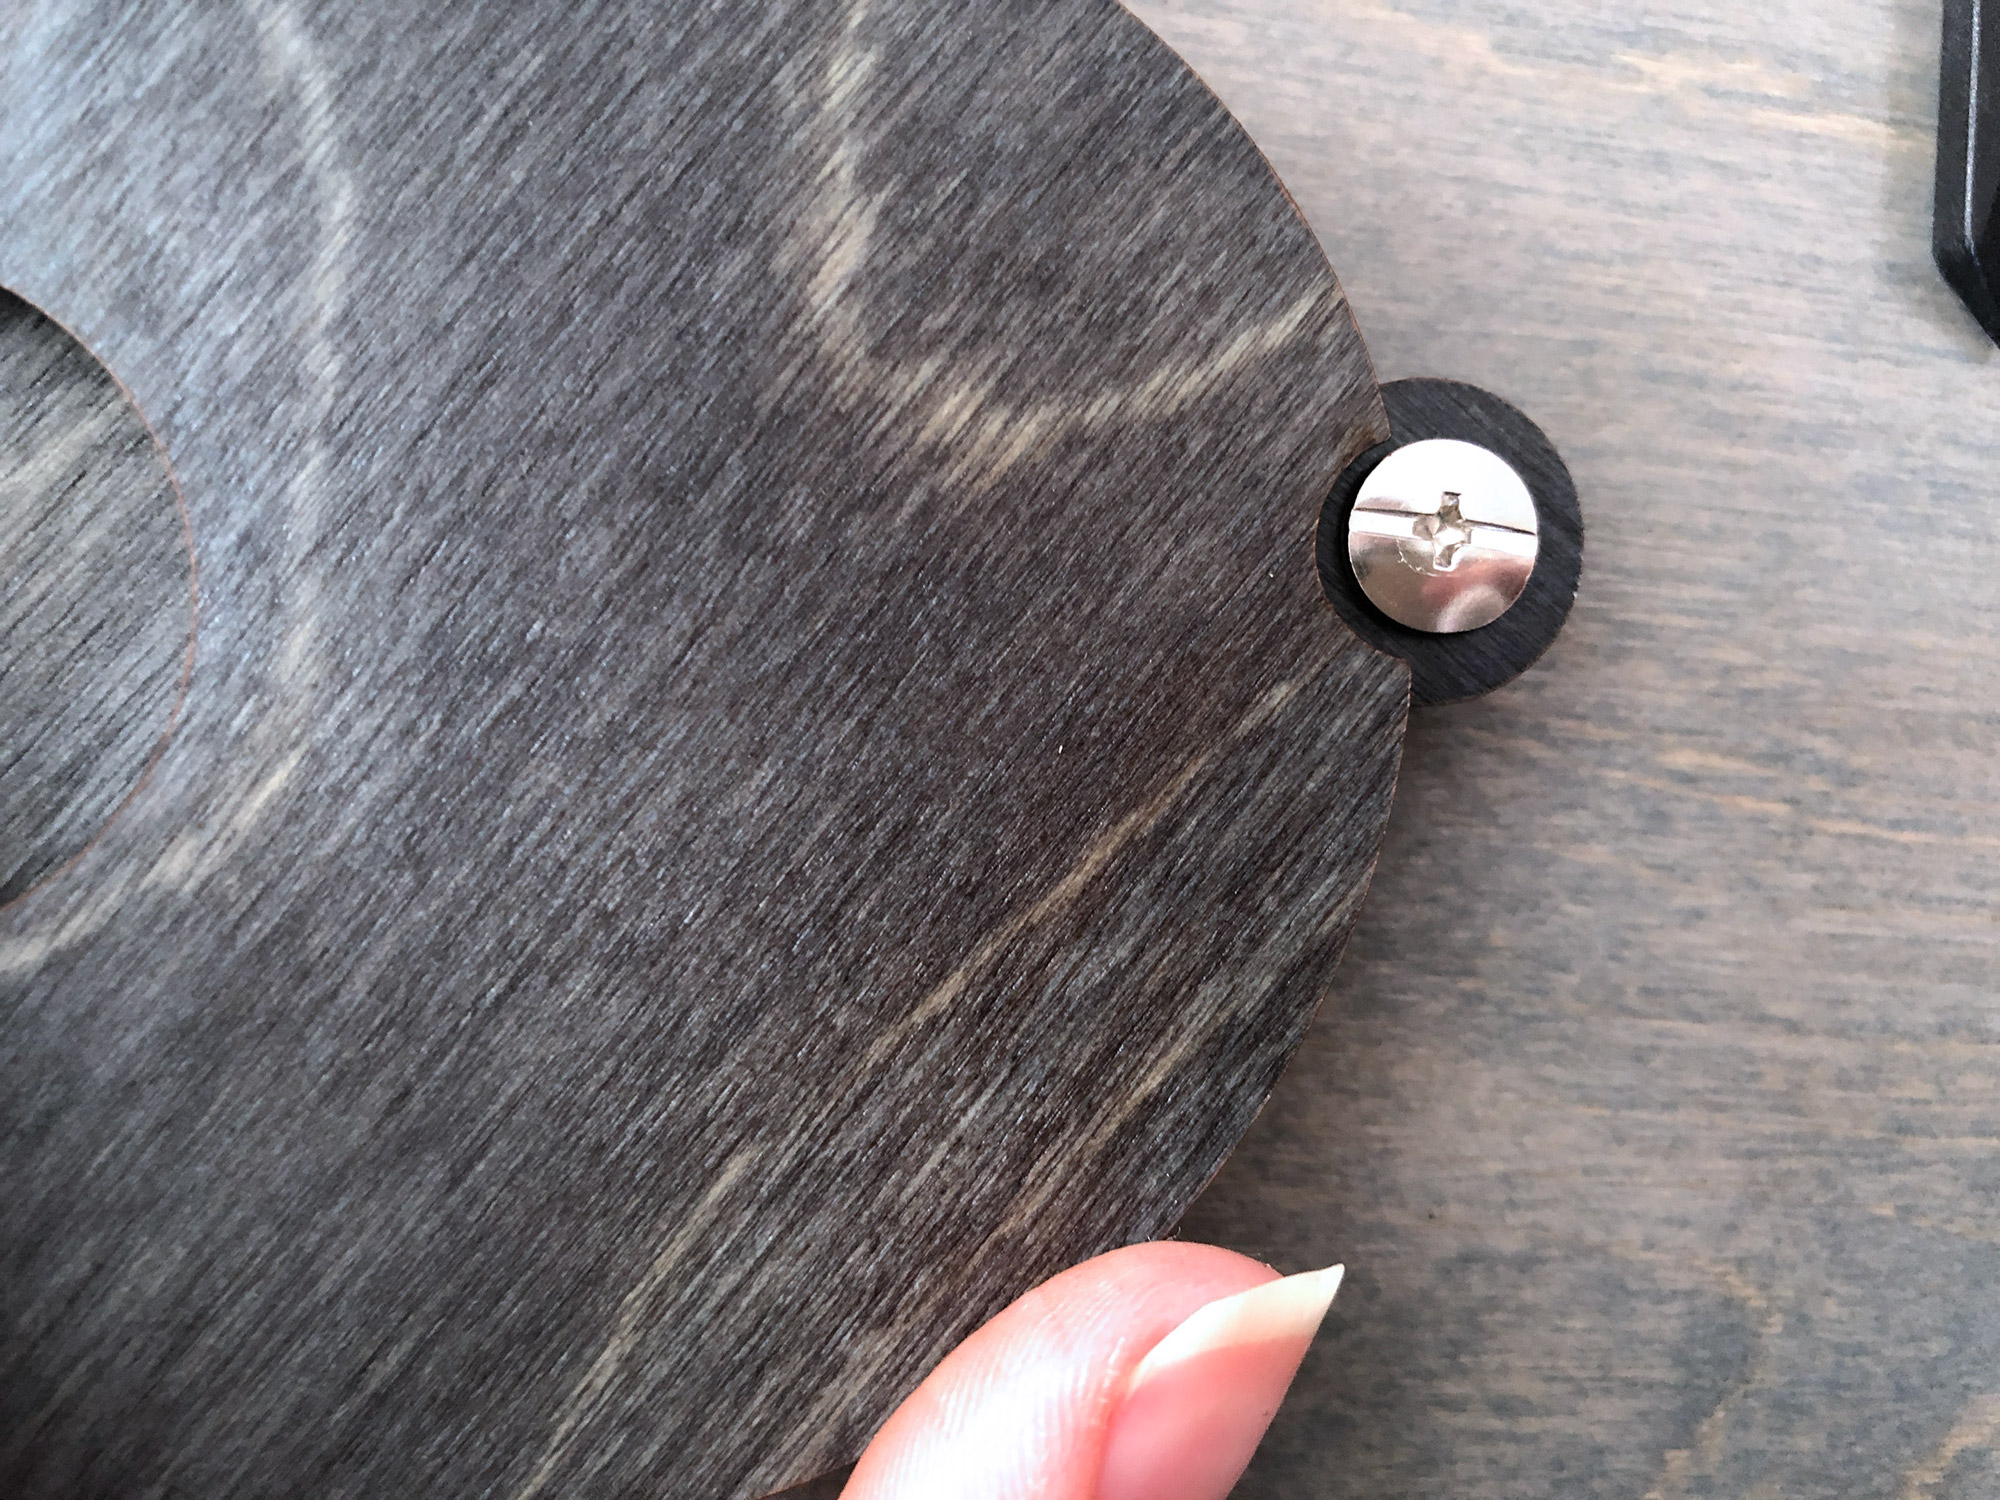
For the stand design all you’ll need is a bit of glue for the stand. However, the Valentine case requires a 6mm binding post. These are pretty inexpensive and I’d suggest getting a kit with multiple sizes for future projects. I use them all the time. Do note that the heart Valentine option has a little notch on the back plate that needs to line up with the hole so it fits.

Heart Stand:
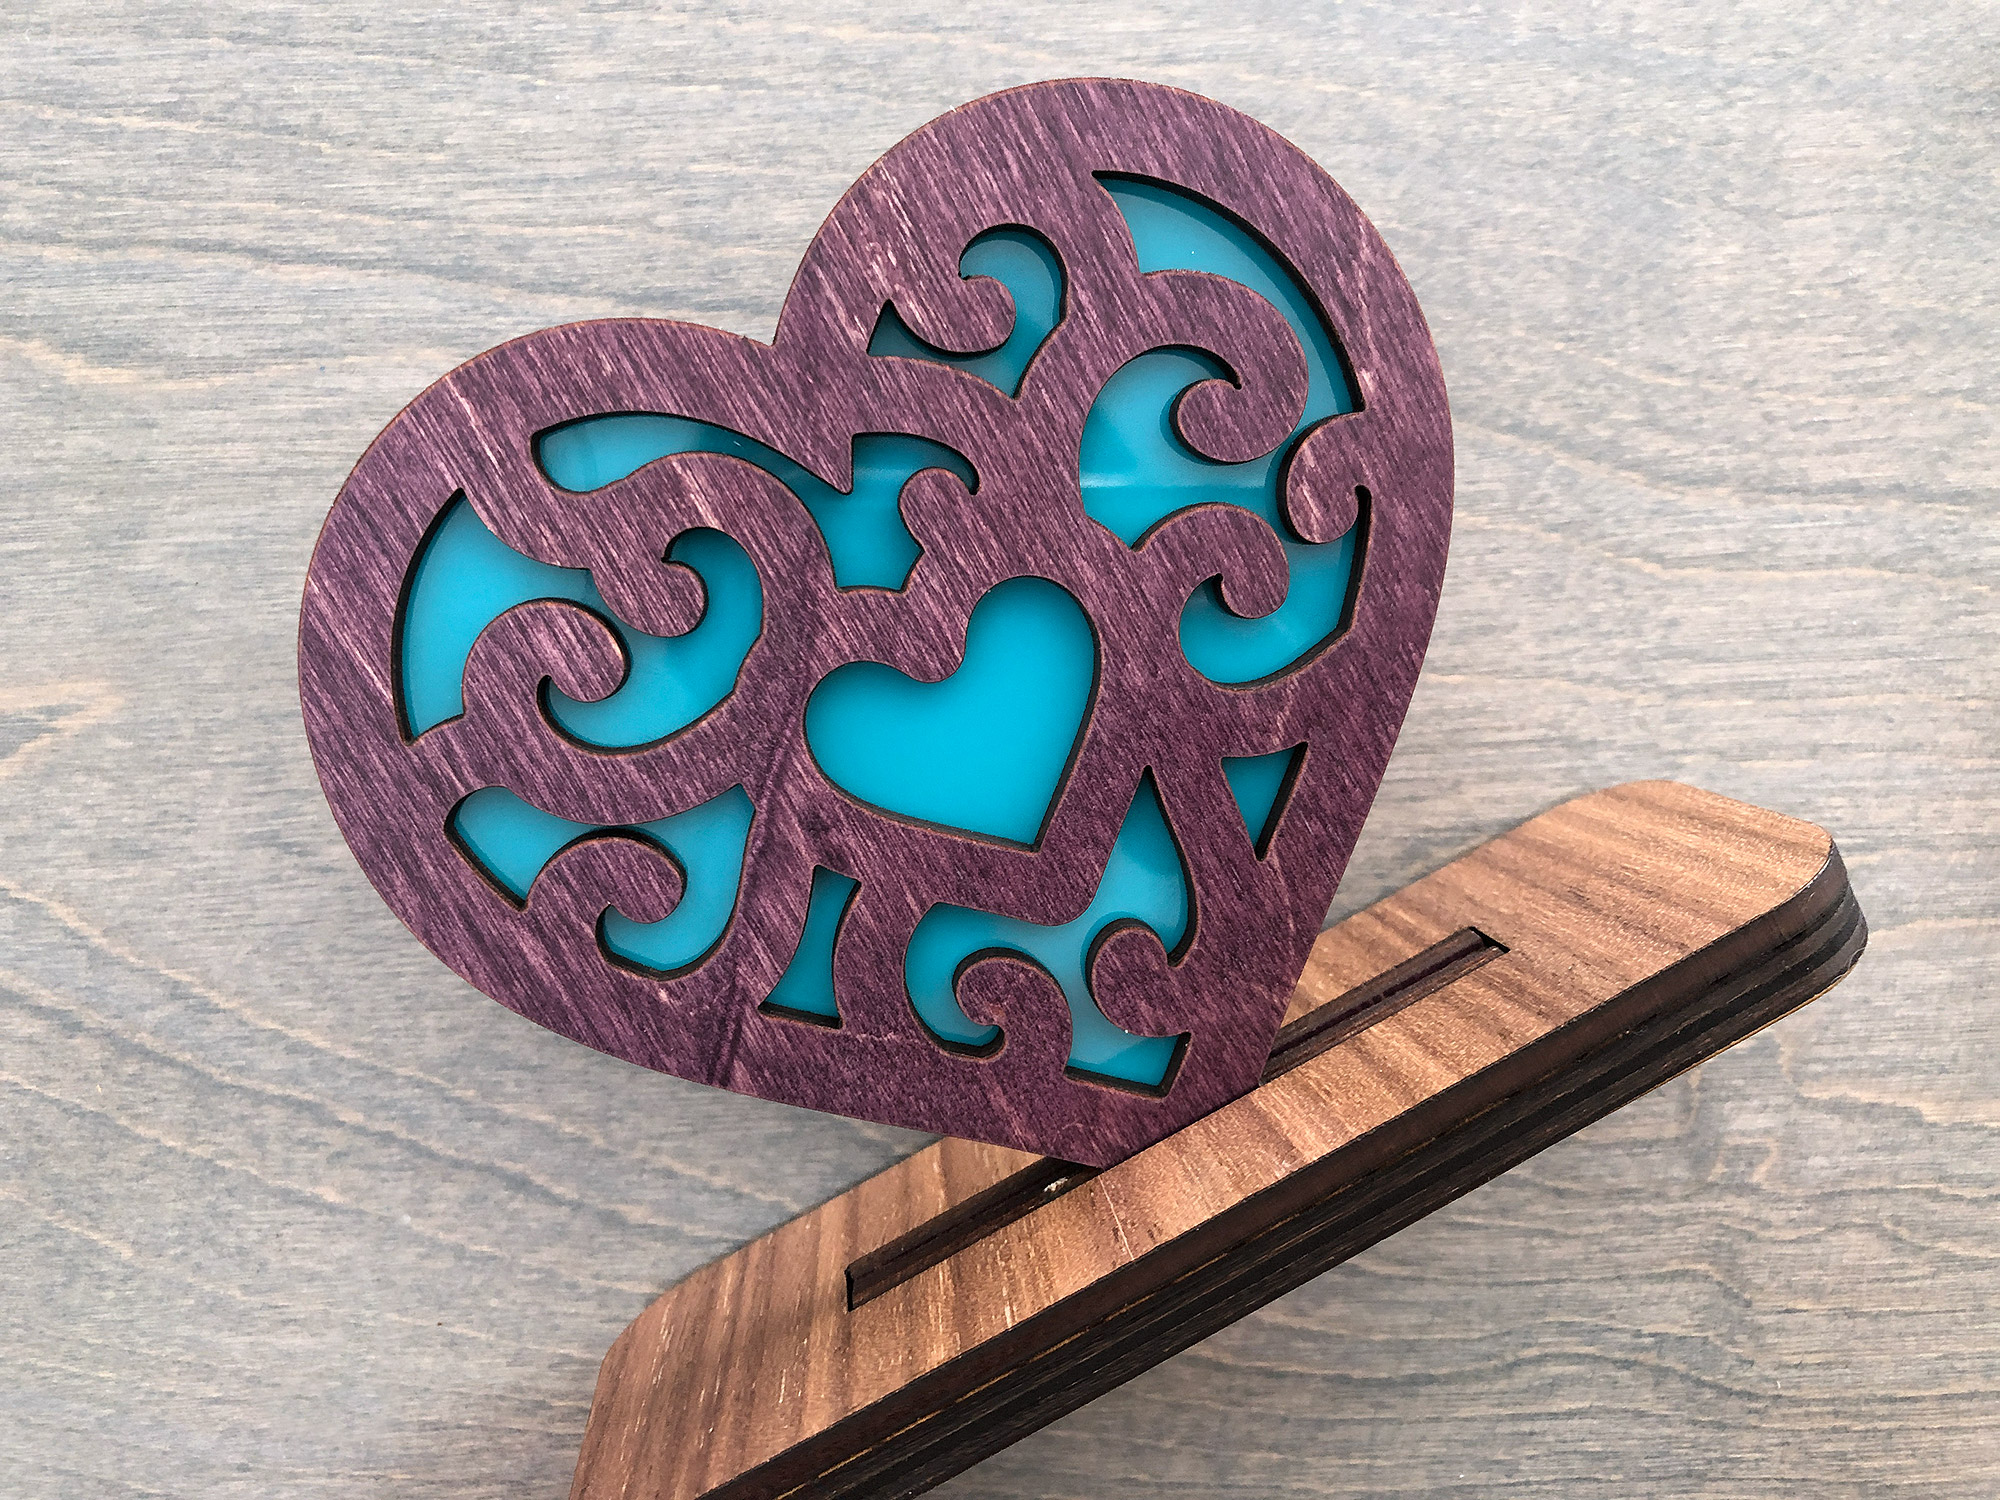
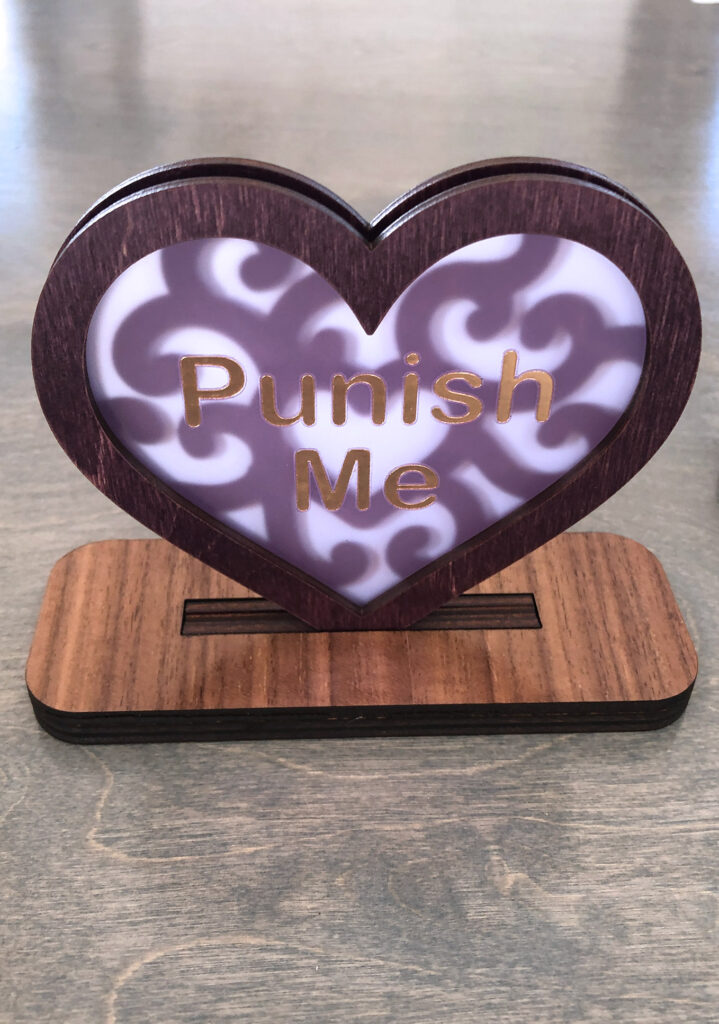
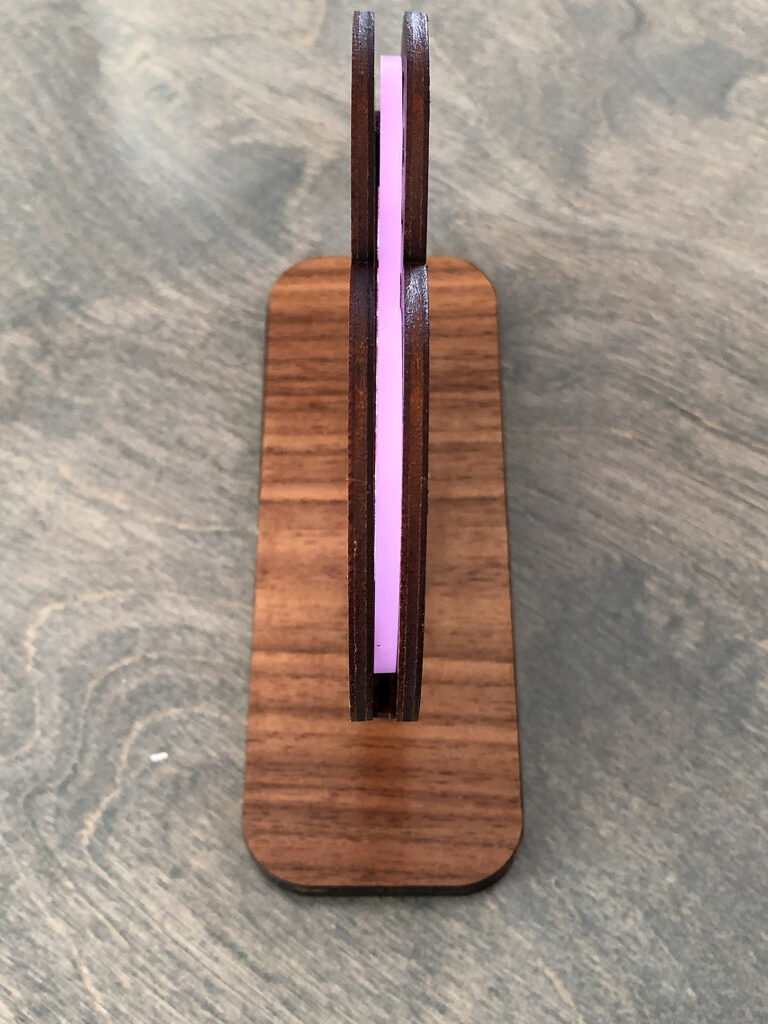
This design is very simple. You can cut the base from 1/4″ wood or two sheets of 1/8″ and glue them together as I have. (The base below is thicker than 1/4″ but I adjusted the file after). After gluing the stand you can just slot the three other pieces into the stand and add a teeny bit fo glue to make them more stable.

The Gold Lettering
Optional Text Option
I’ve shown this product before, and it isn’t necessary – you can easily engrave the phrases, score them and then pain, add vinyl, or handwrite your own messages. This gold laser safe foil comes in a few colors and can be found on both Etsy and Johnson’s Plastics Plus.
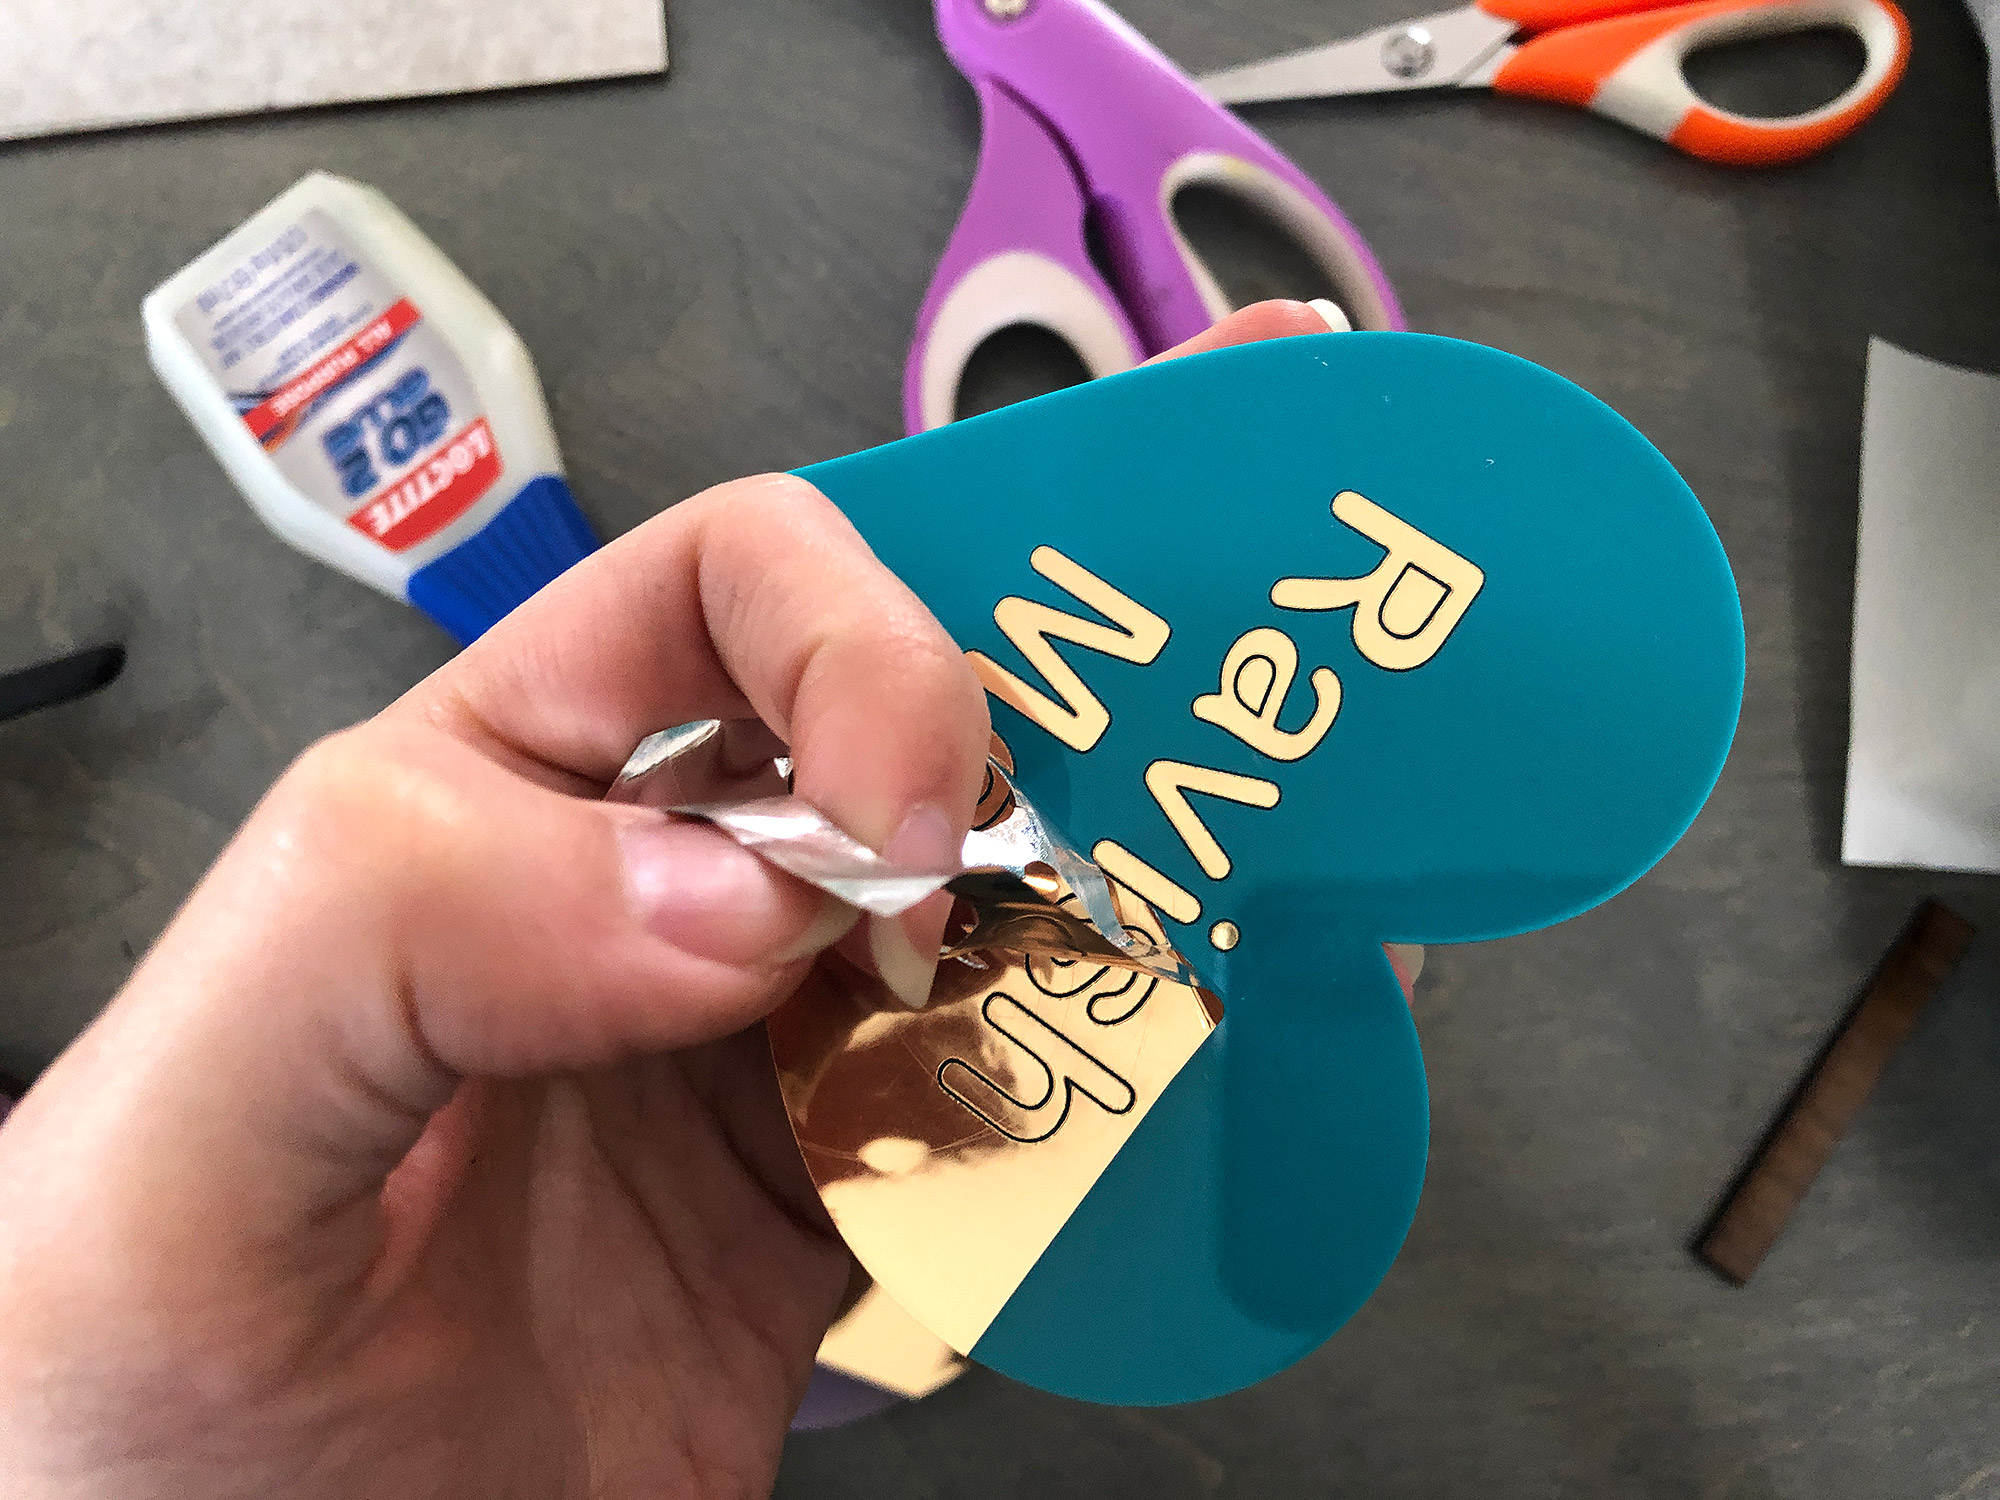
After cutting out your hearts remove any masking and apply the foil where you plan to put the text (or other designs). Then set them back into the laser, line up your text, and score it. My trick was to cut all of the hearts out, and then after cutting the last one I left the board in the Glowforge and dropped each heart back into the void to score. This made lineup easy as I could just layer the designs in the Glowforge interface and know they were perfectly aligned.
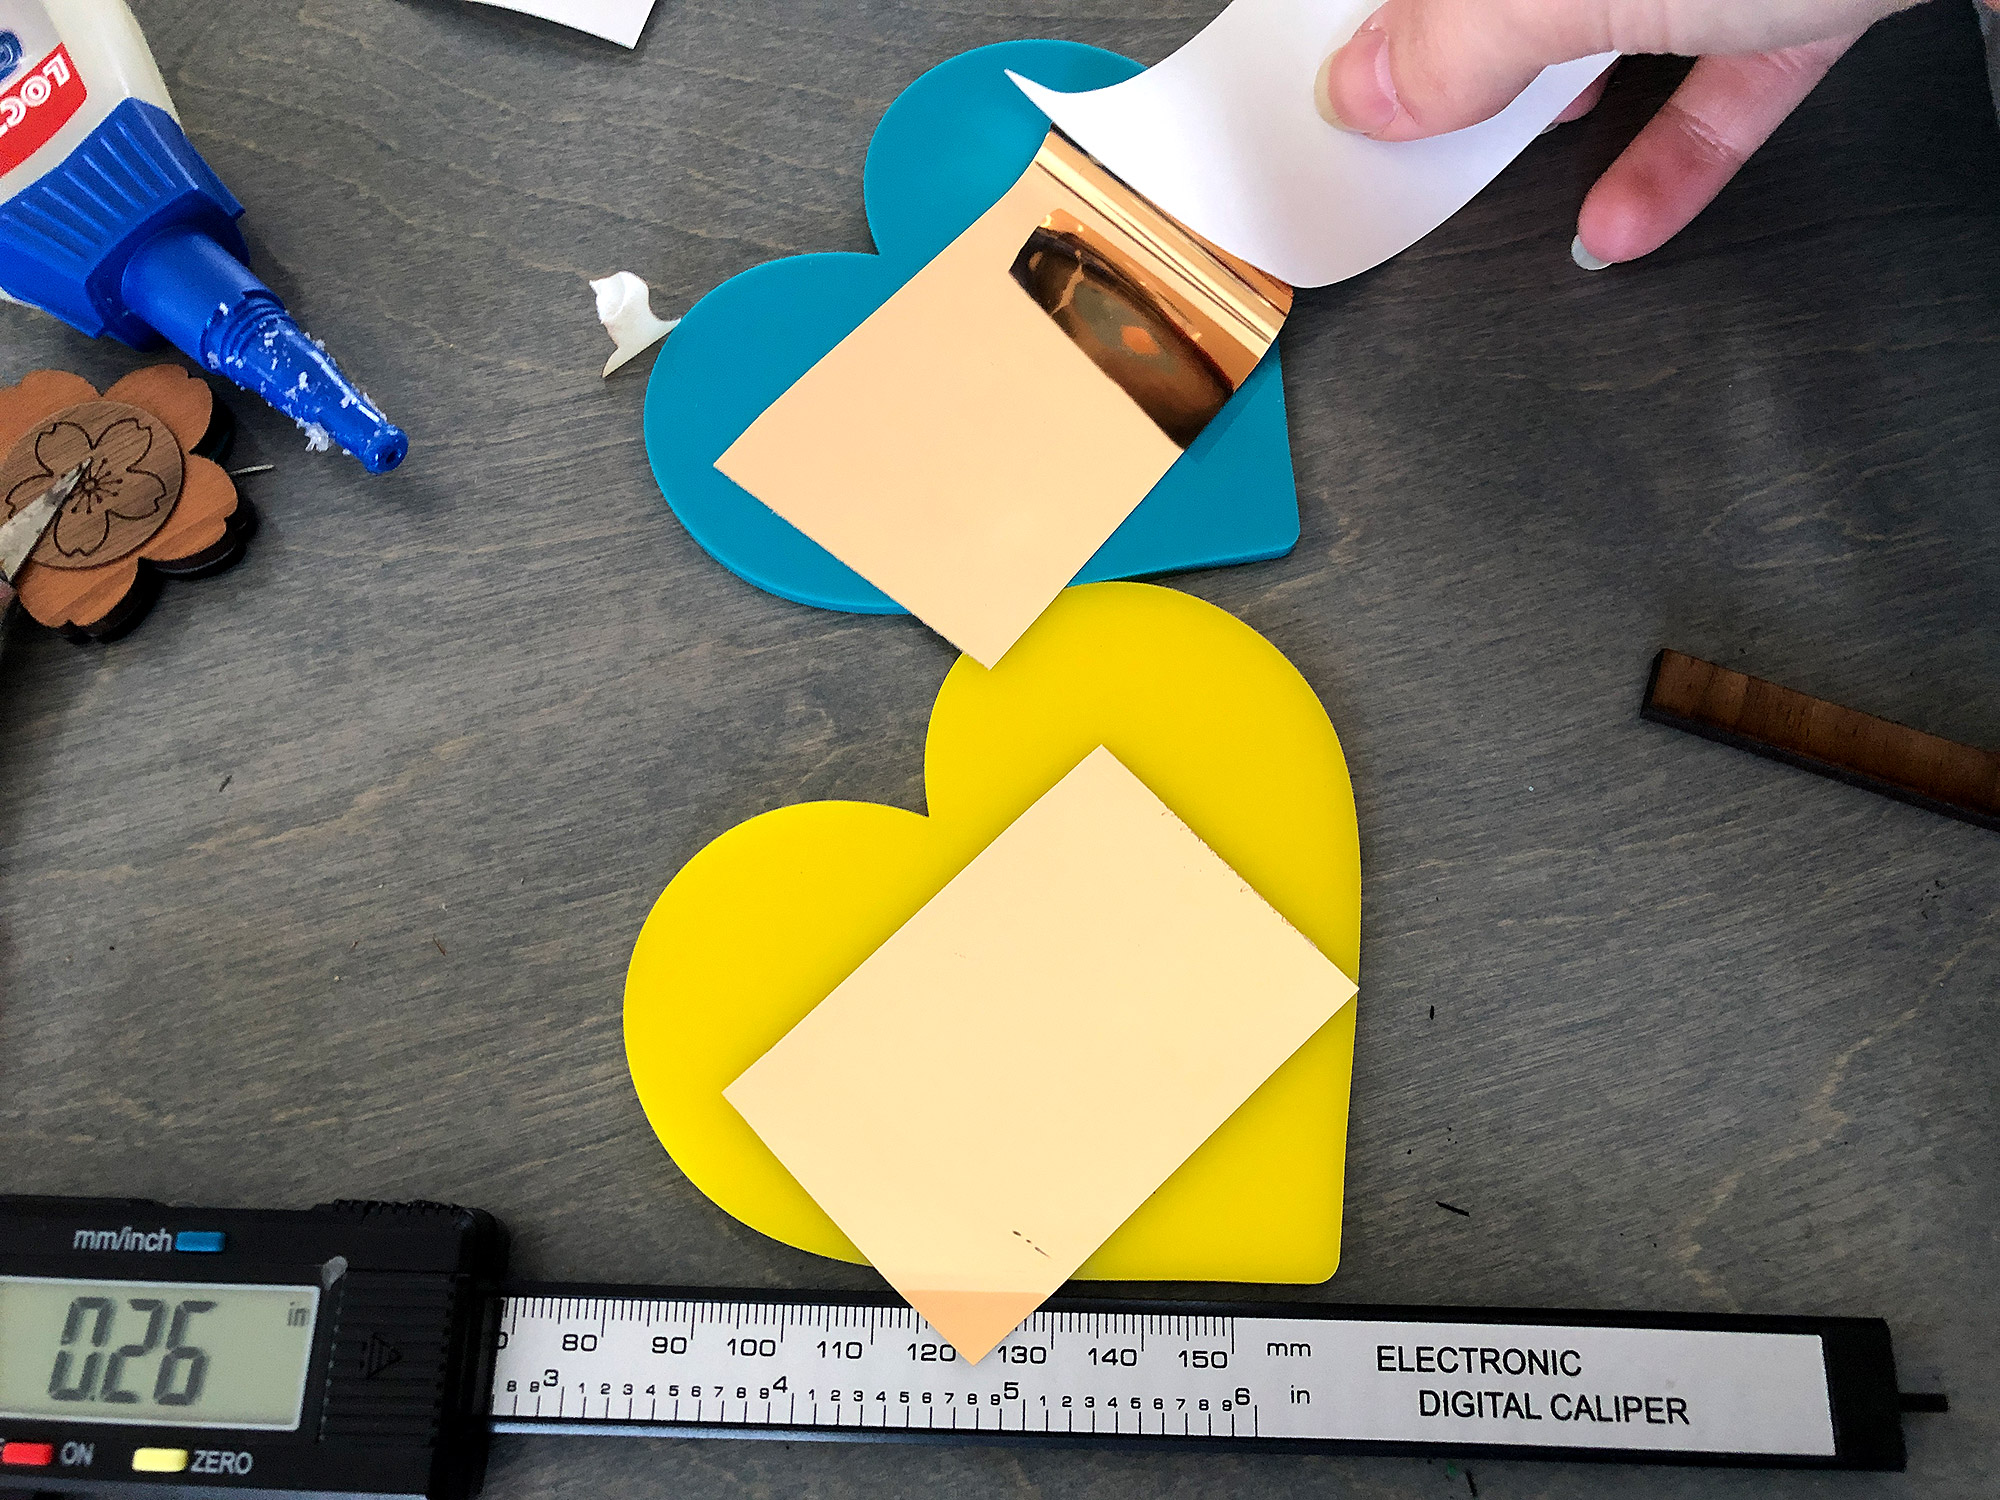
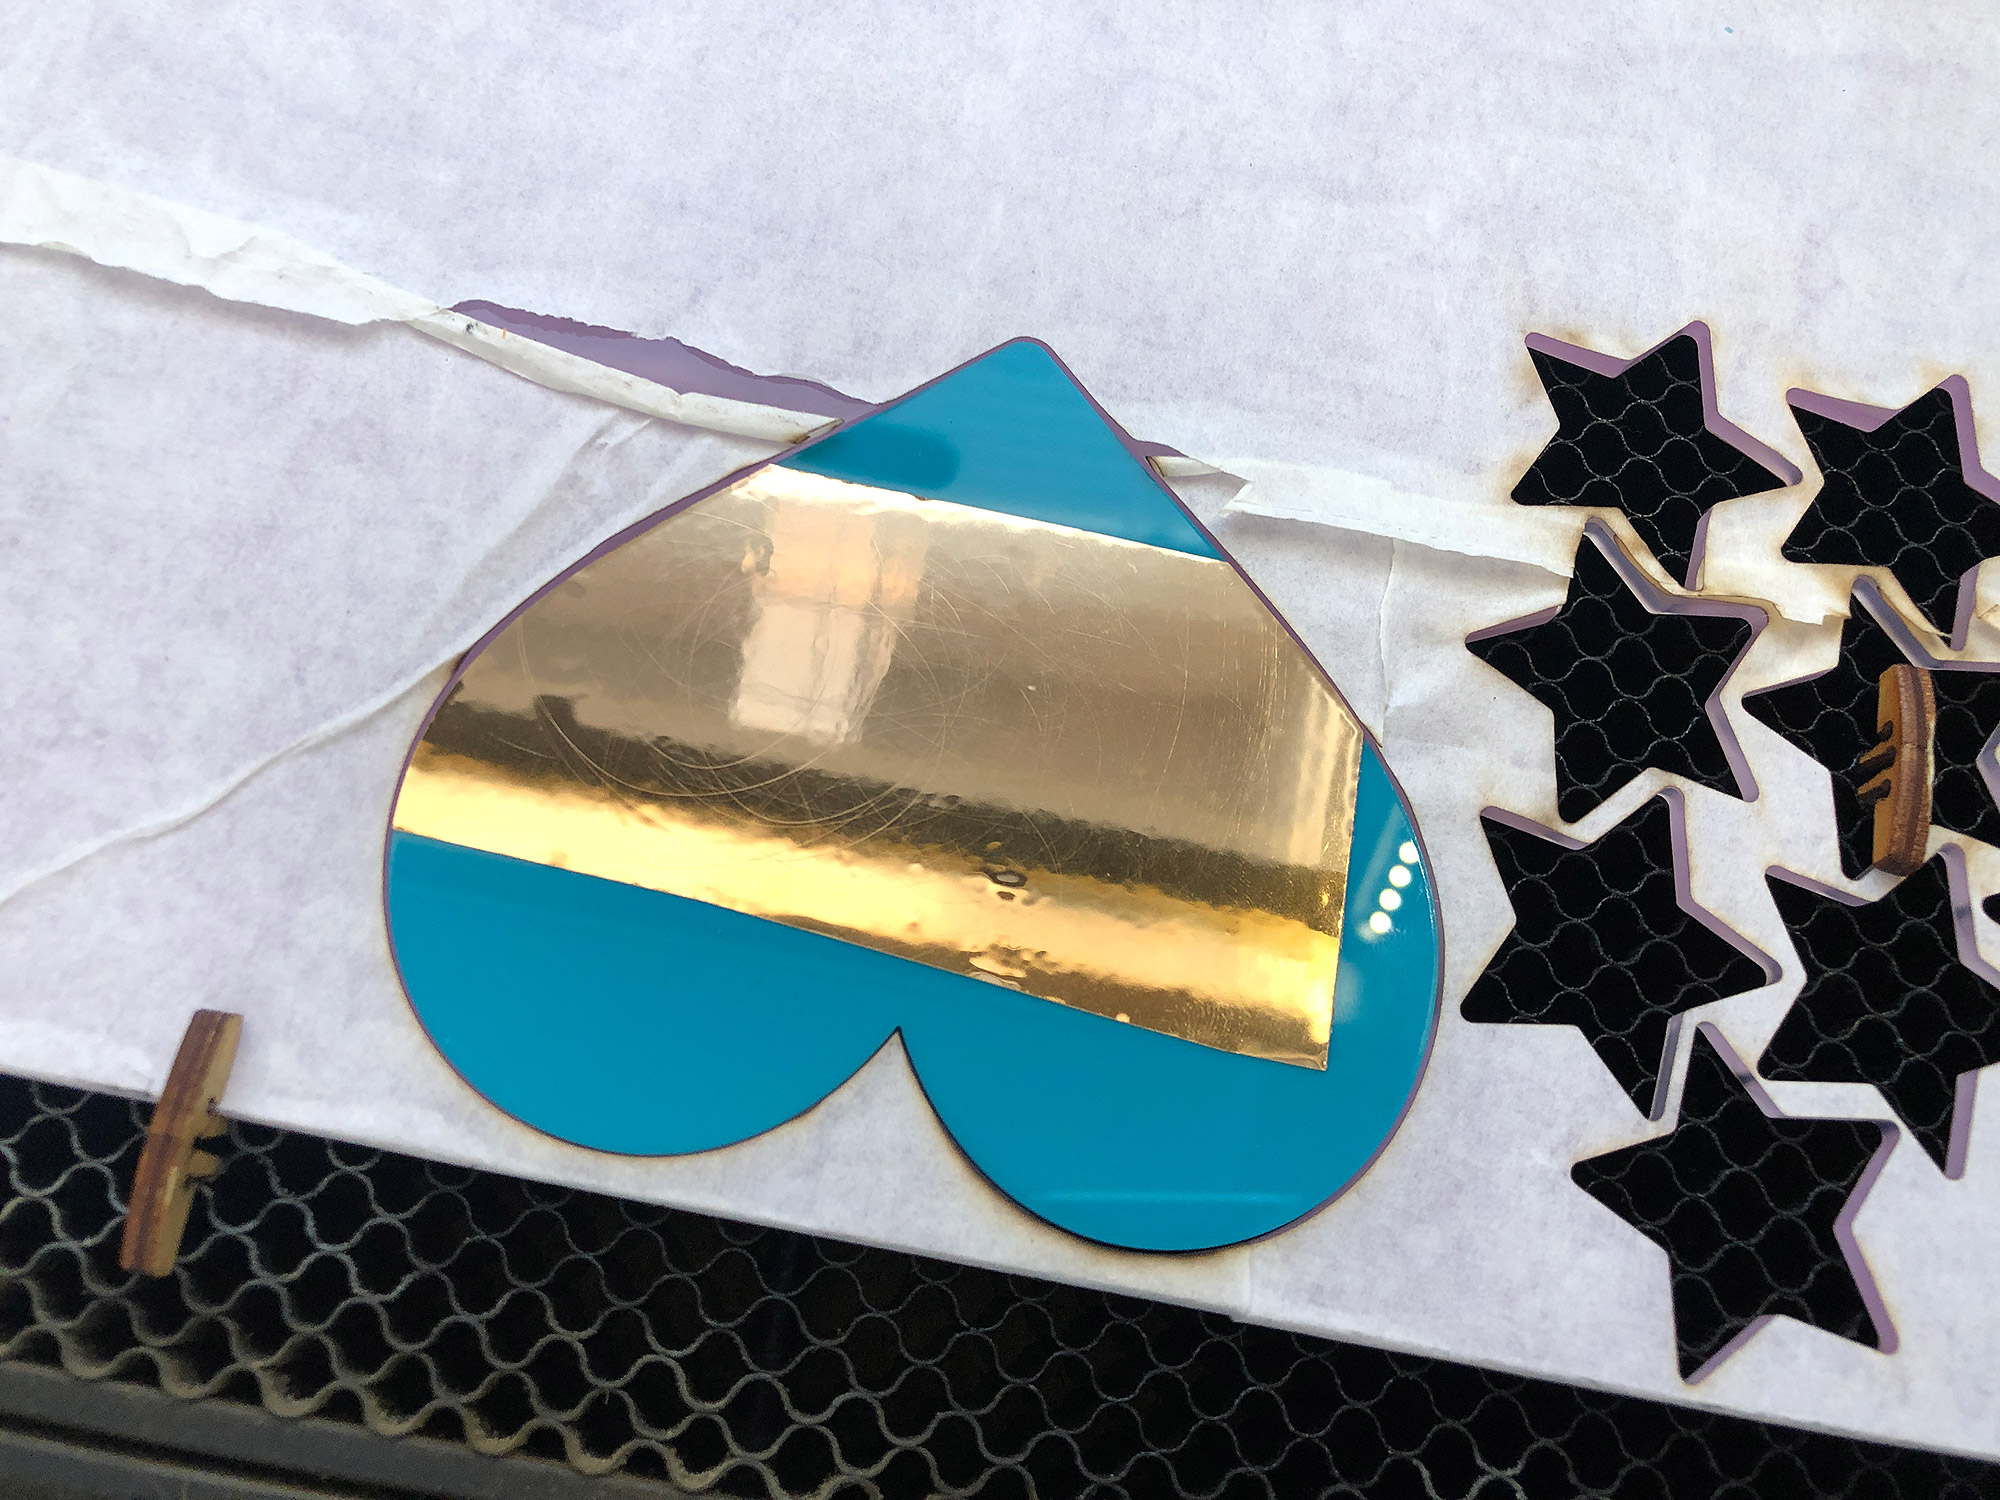
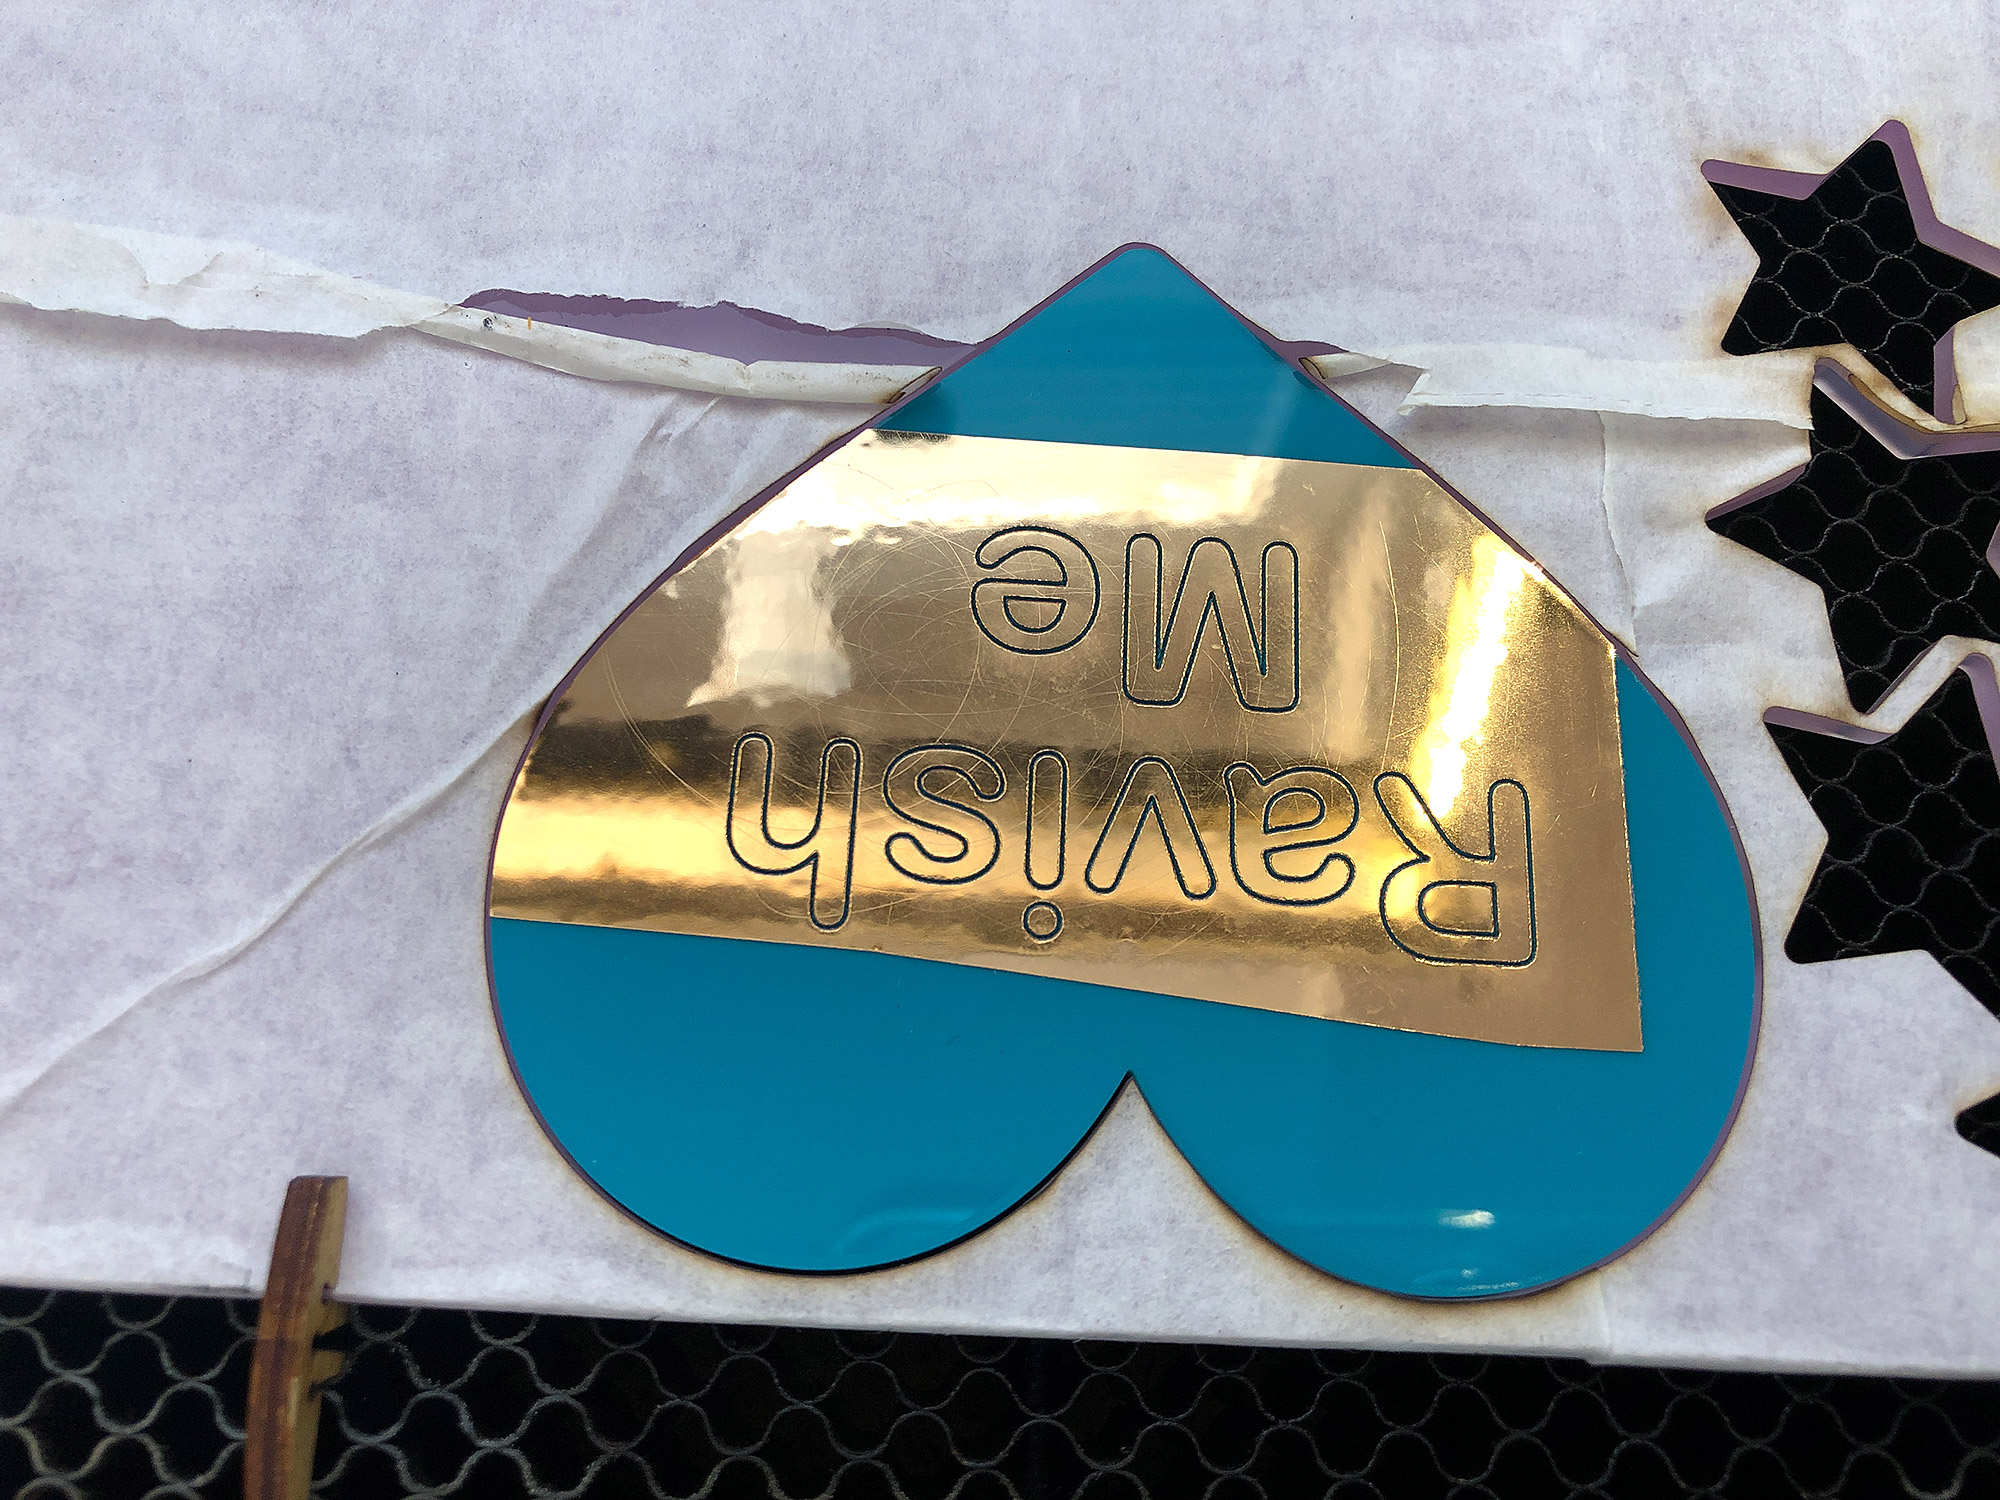
After scoring, simply peel away the unwanted foil. This adhesive is labeled as permanent, and it sticks super well, but can be peeled away pretty easy if you’re doing it on purpose. It works great on both acrylic and wood.
NAVIGATE POSTS
Helpful Links
Latest Posts
Posts by Category
Explore Posts By Tags
Acrylic Adobe Illustrator Alcohol Ink Baby Room Beginner Post Book Binding BuyTheFile Christmas Felt freefiles Gifts Gilding Glowforge Holiday Jewelry Journal Kaleidoscope LED Notebook Resin Rubber Stamp Settings Sign Stamping Yupo
Get Your Own Glowforge Laser
If you have found this post helpful and would like to purchase a Glowforge of your own you can receive a discount using my referral link when you are ready to purchase:
Sign Up to Blog Newsletter
CONCLUSIONS
This project is really simple to put together. The greatest challenge is figuring out the right adhesive, but as I continue to experiement I will add to this post to give you more options!
Where to Get the Materials:
Some of these are Amazon affiliate links, so feel free to skip them if you’re not into that. As an Amazon Associate, I earn from qualifying purchases, but they do not cost you any extra:
Get 50% off your first Wish.com order with my code: mfvjgnw | I buy lots of odds and ends here, so if you need some small item and don’t mind waiting, this can be a fun shop to check out.
The Acrylic
I get my acrylic from two different places Cerulean Tides & Johnson’s Plastic Plus – I don’t get a kickback or anything from either vendor they’re both just great suppliers!
Colorshop Woods – Here is the pre-finished wood shown in the post
Gold Foil | Here is the laserable foil shown in the post
Binding Posts | Here is the set I use
Obligatory Glowforge Discount Code Plug
If you found this post helpful and you plan to buy a Glowforge you can use my code (https://glowforge.us/r/QHDONFXB) for a discount of $100 off the Basic, $250 of the Plus, or $500 of the Pro:
Sign Up for Blog Posts Updates
And finally, if you’d like to be updated on posts like these in the future you can sign up for my email list. You will only receive an email if there is new content, and only once weekly in that case:

