Quick Project: Heat Transfer Vinyl Glitter Onesie
Project Overview:
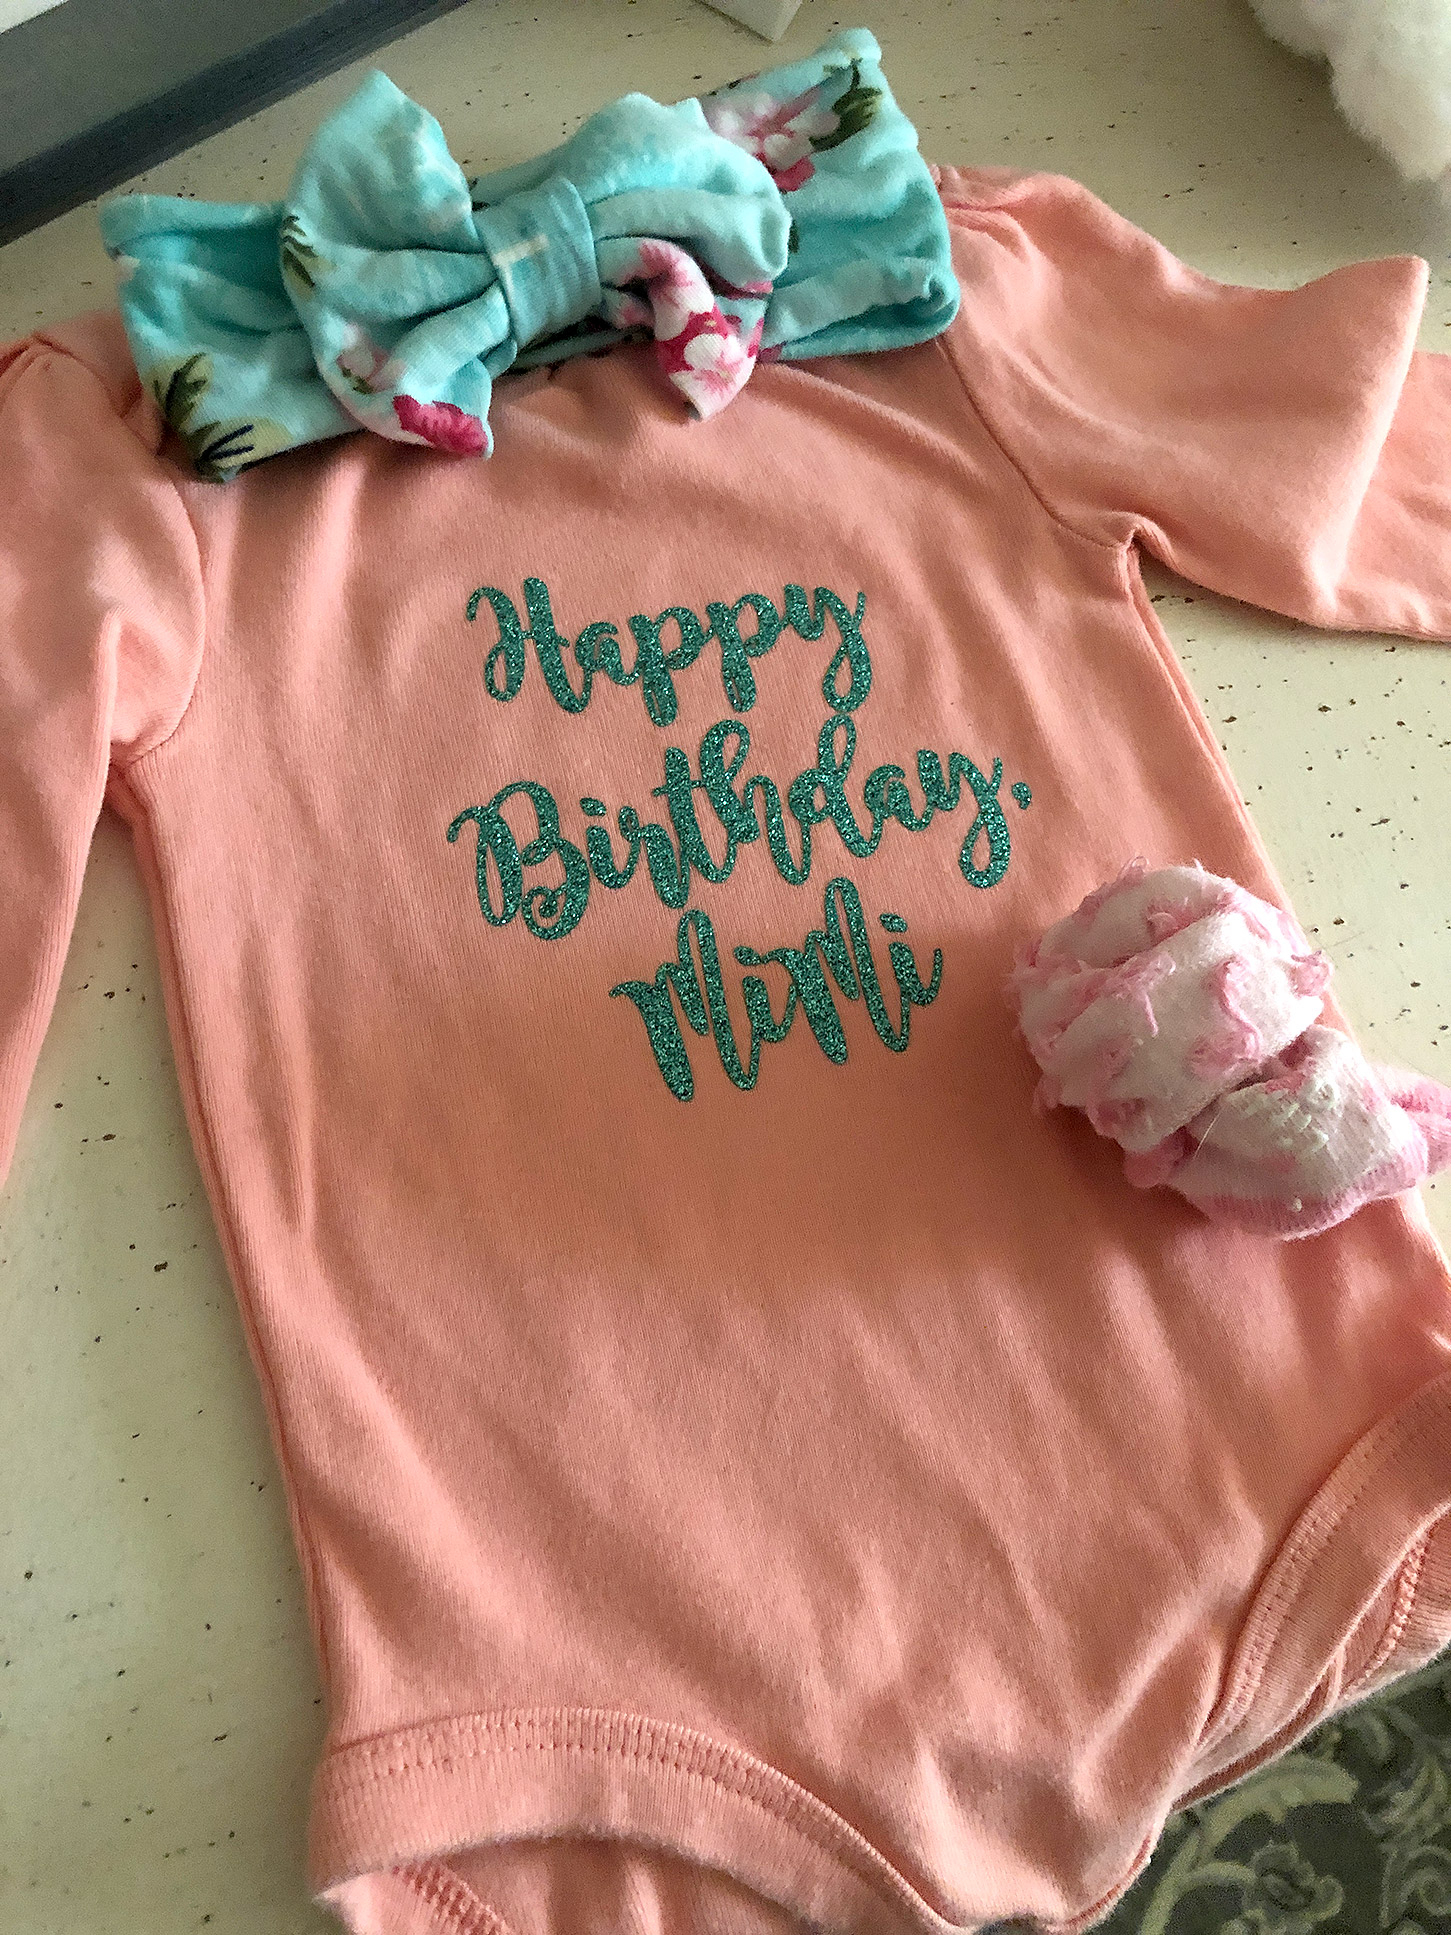
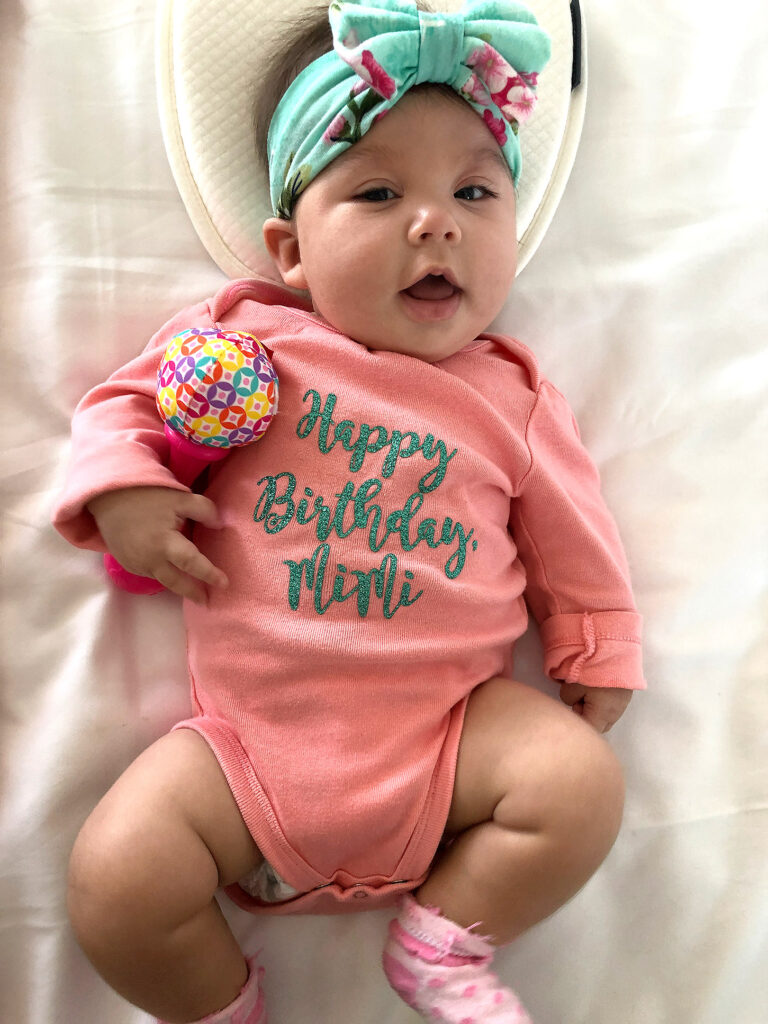
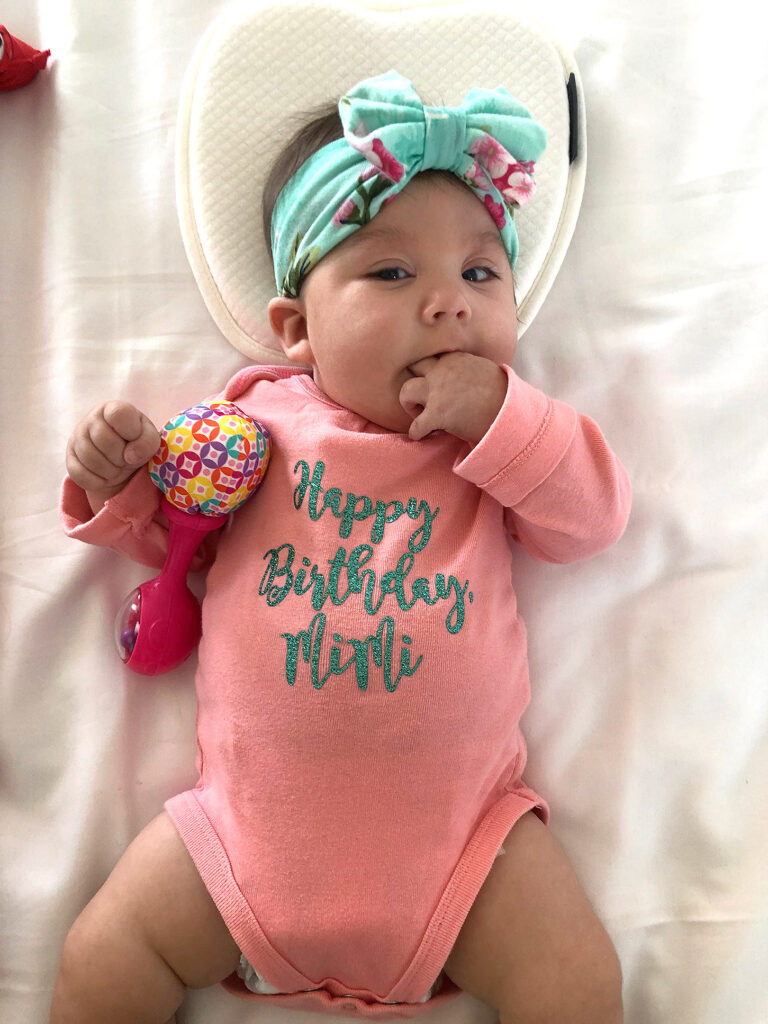
Motherhood is kicking my butt. In between moving, selling our home, working, and caring for our little baby I have not had much time to work on the glowforge. I did however manage to get out this real quick little project for my mom’s birthday – a “Happy Birthday, Mimi” onesie for her favorite (ie. only) grandbaby to wear on her birthday. HTV projects are a super quick, really easy last minute gift. HTV sticks to wood, cloth, and I imagine other items like faux leather (customize journals you can’t use in the Glowforge!)
SETTINGS
Why read my post when you can just get the settings now? For those who feel comfortable on their own here they are! For people new to HTV I would read on as there are a few tips on how to use the HTV for best results when lasering.
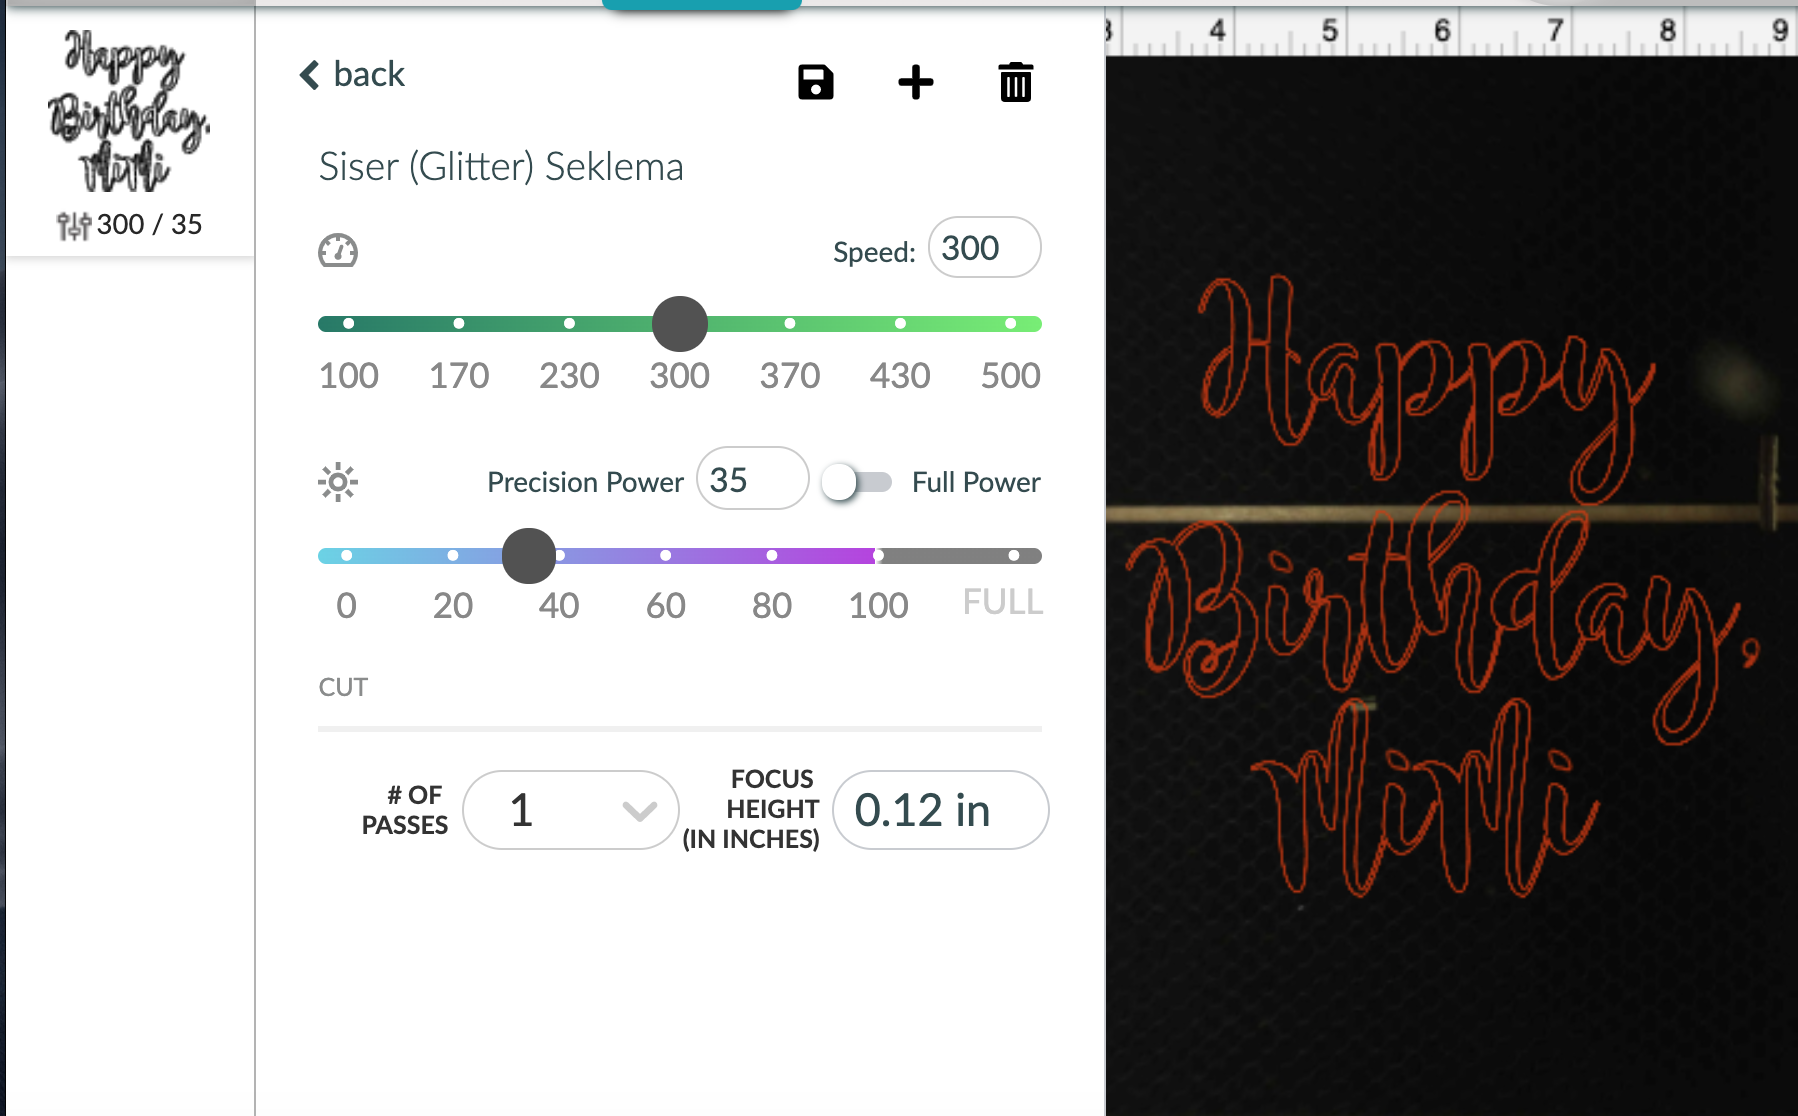
SPEED: 300
POWER: 30-35 (regular HTV is fine at 30, glitter usually is but you might need to bump it up)
Also, if you are looking for a more complex example of this process check out my previous HTV shirt post.
See how I applied HTV to wood in this post:
SETUP THE TEXT
So the very first step is to design your text in Inkscape or Illustrator. I don’t use inkscape so Illustrator it is. Essentially, type out your wording in the typeface of your choice and get it arranged and sized how you want. Then Expand the type (Type Menu > Create Outlines) and fuse it together using the pathfinder panel.
Do you see the little overlaps in the text below? We need to eliminate them or they will cause issues with the Glowforge. Anytime you have overlapping shapes in the Glowforge interface it will ignore the area that overlaps when you engrave. Similarly, if we were to cut it would cut out each letter, basically chopping the design up into a useless mess.
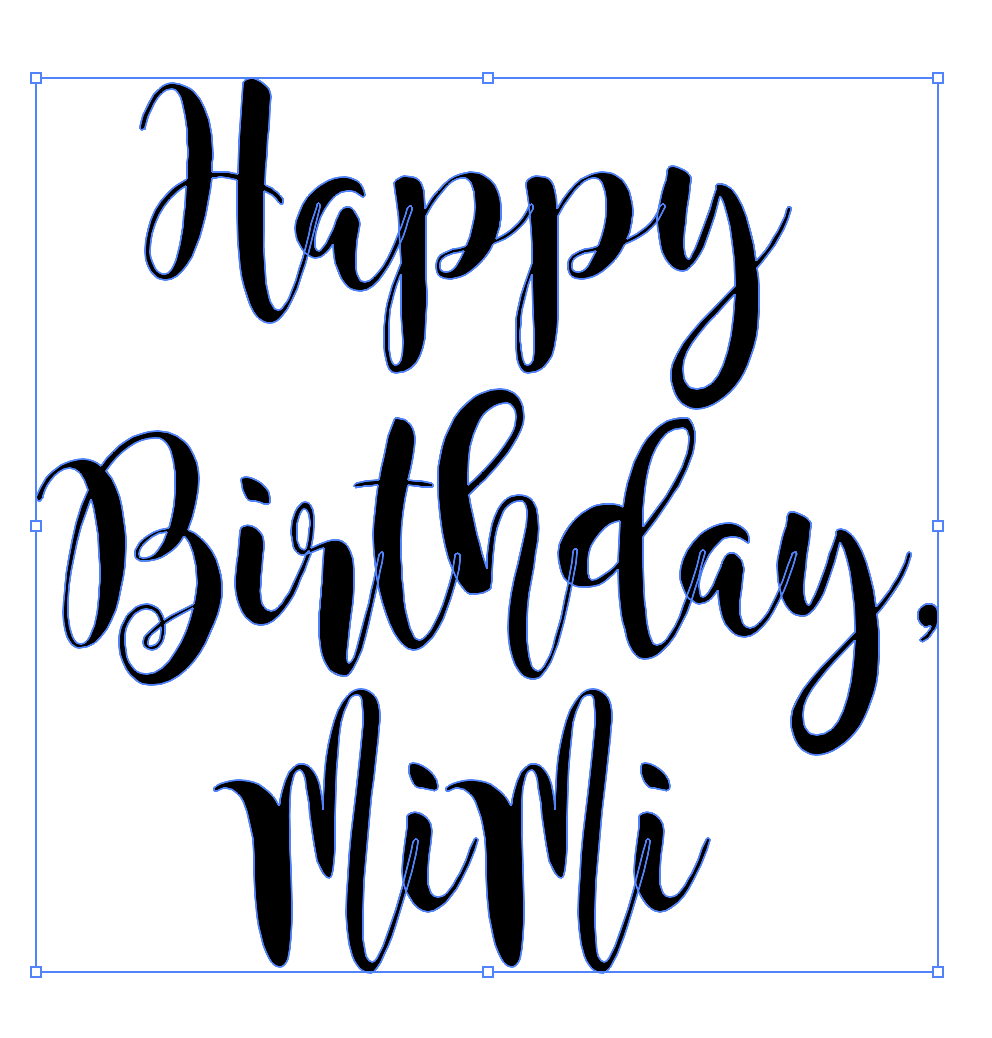
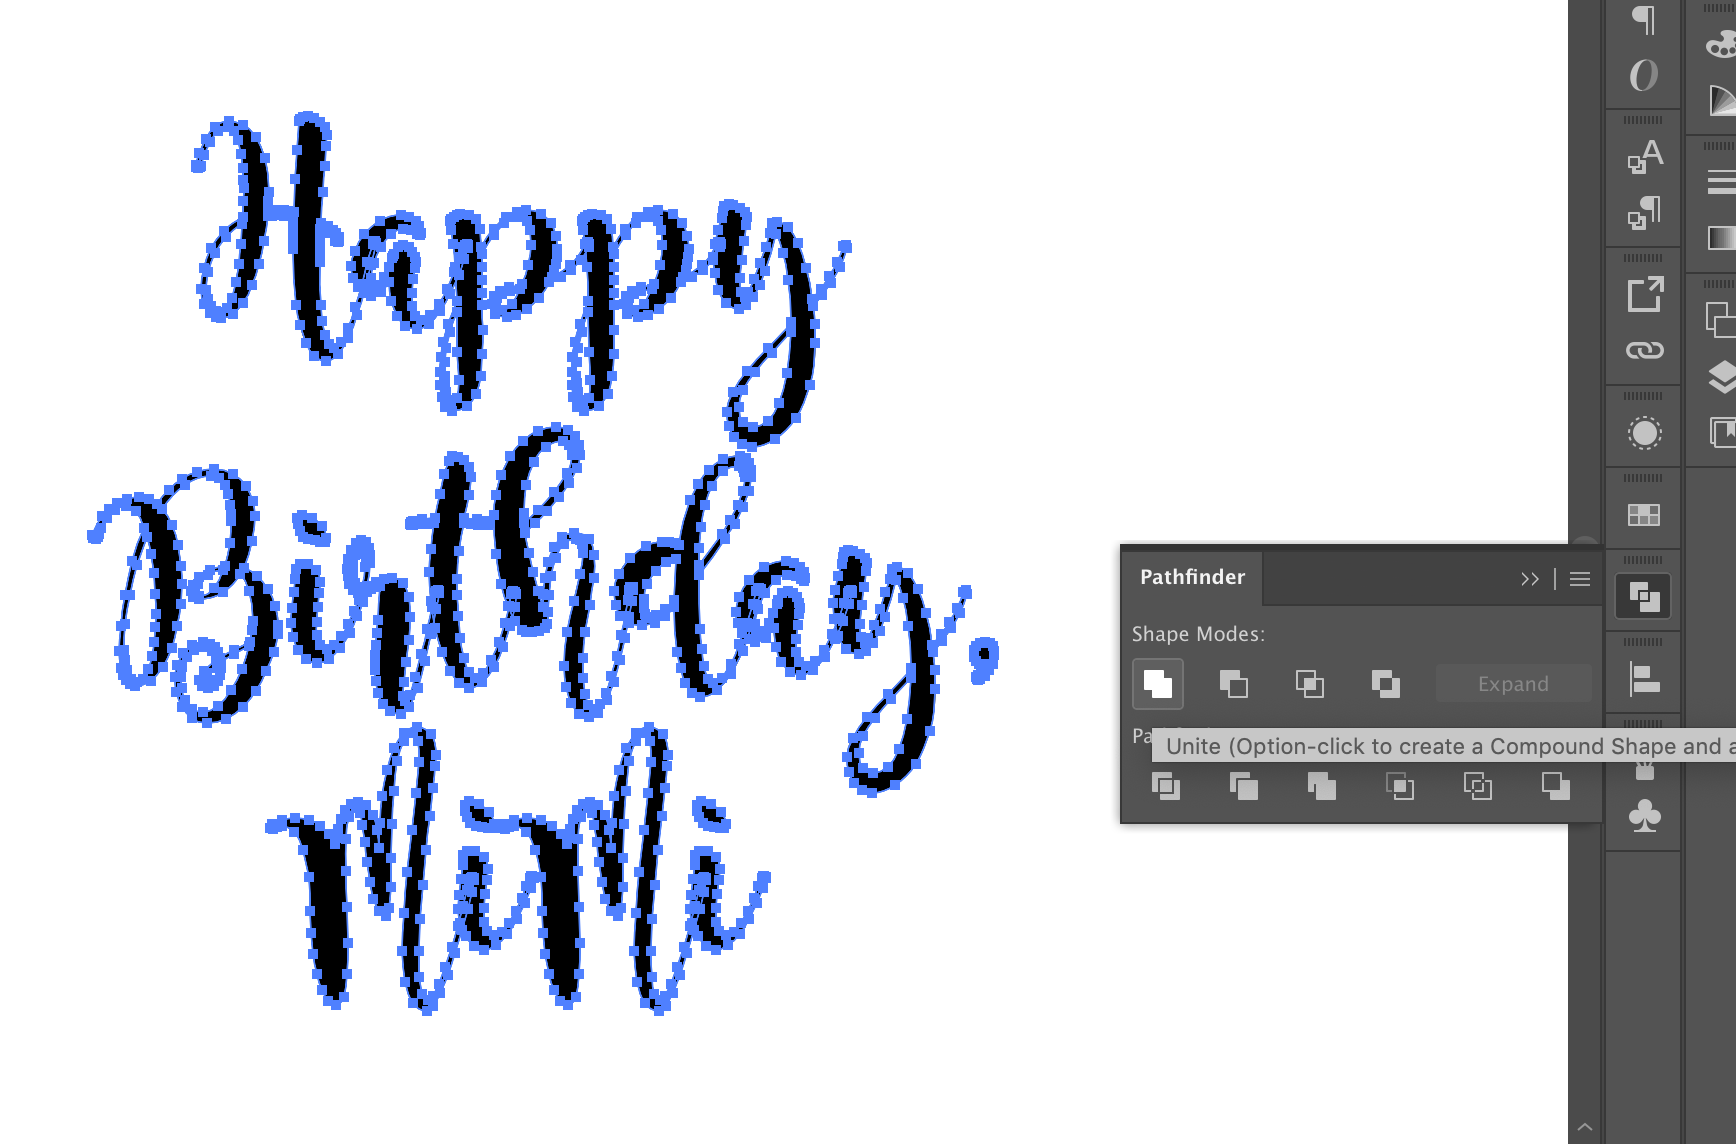
To solve the overlaps we just need to highlight everything, go to the Pathfinder panel (if you don’t see it go to the Window menu at the top and find it there), and click Unite.
CUTTING THE DESIGN
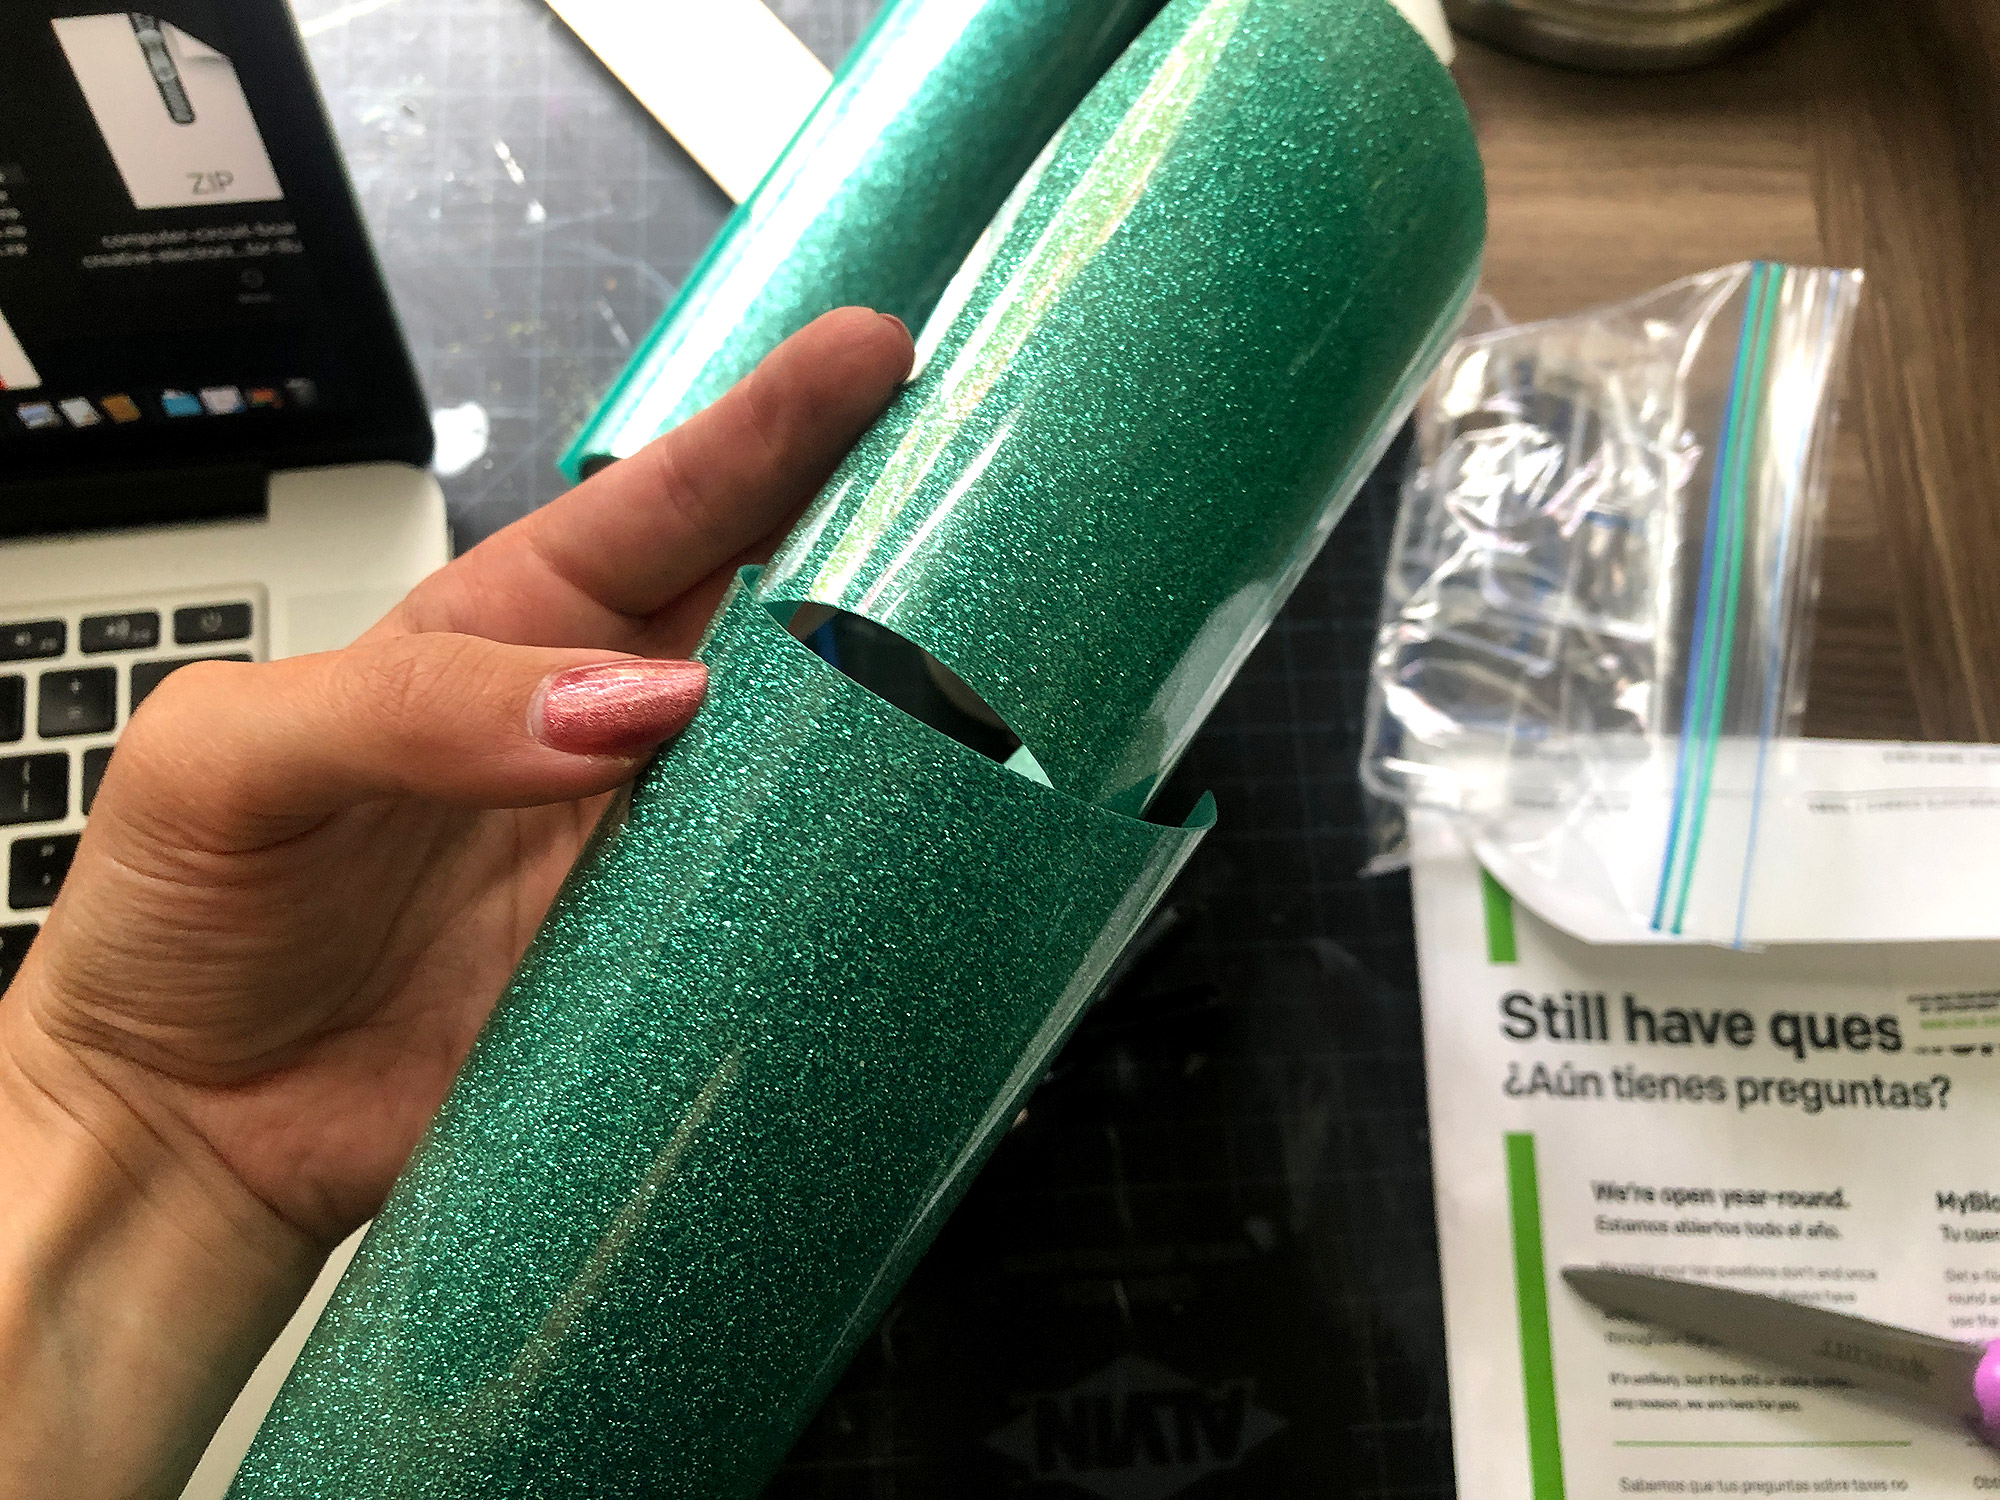
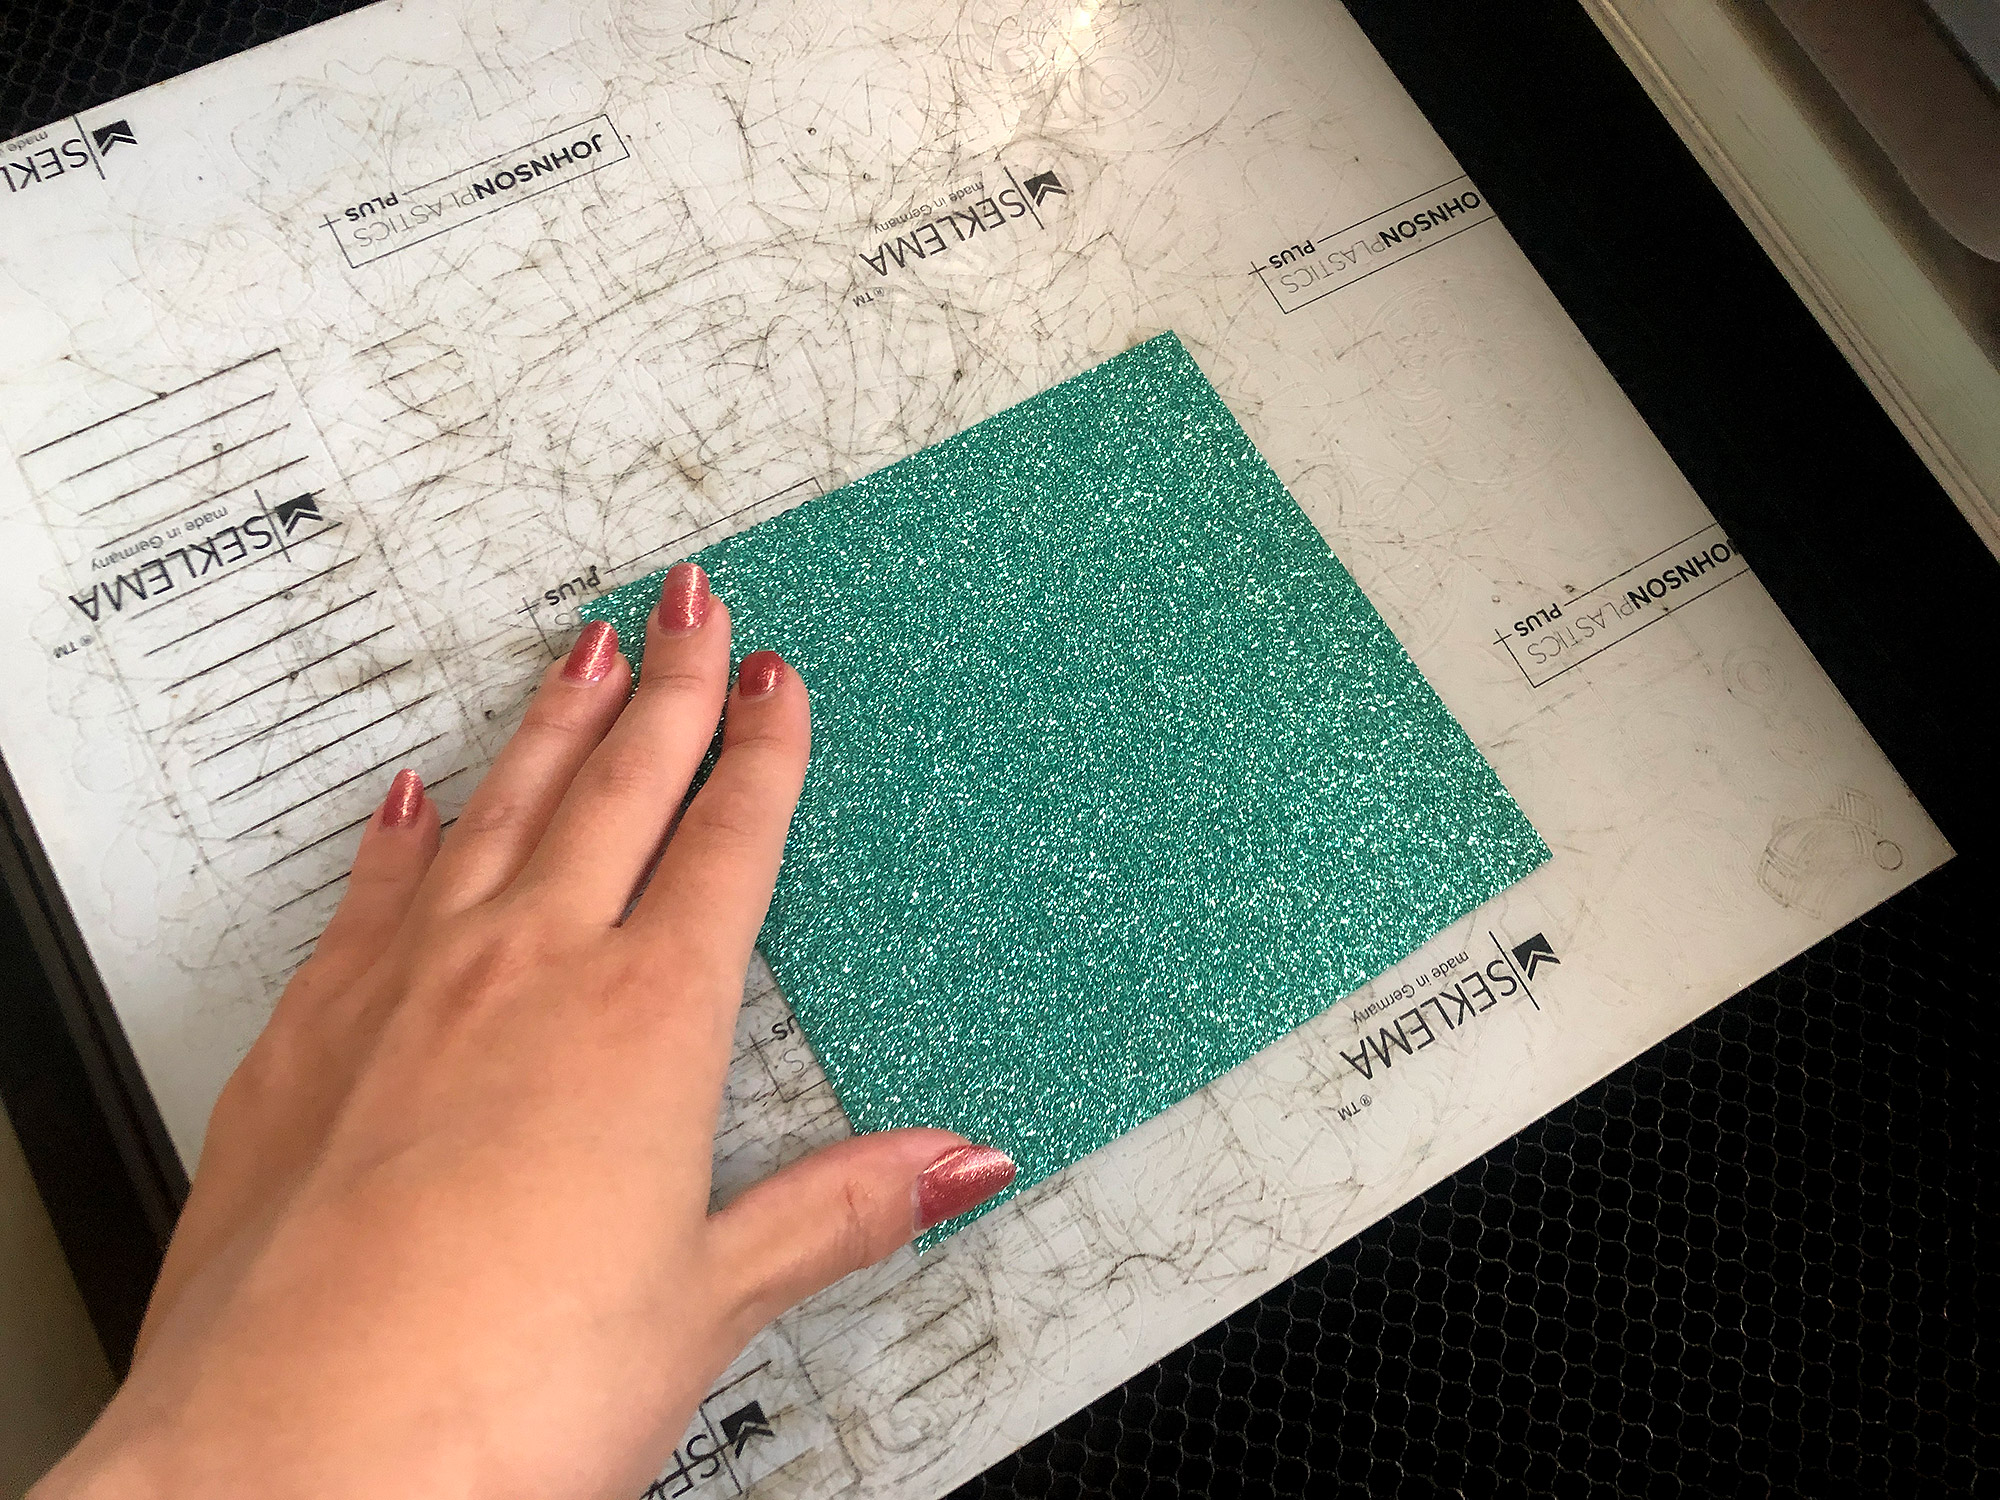
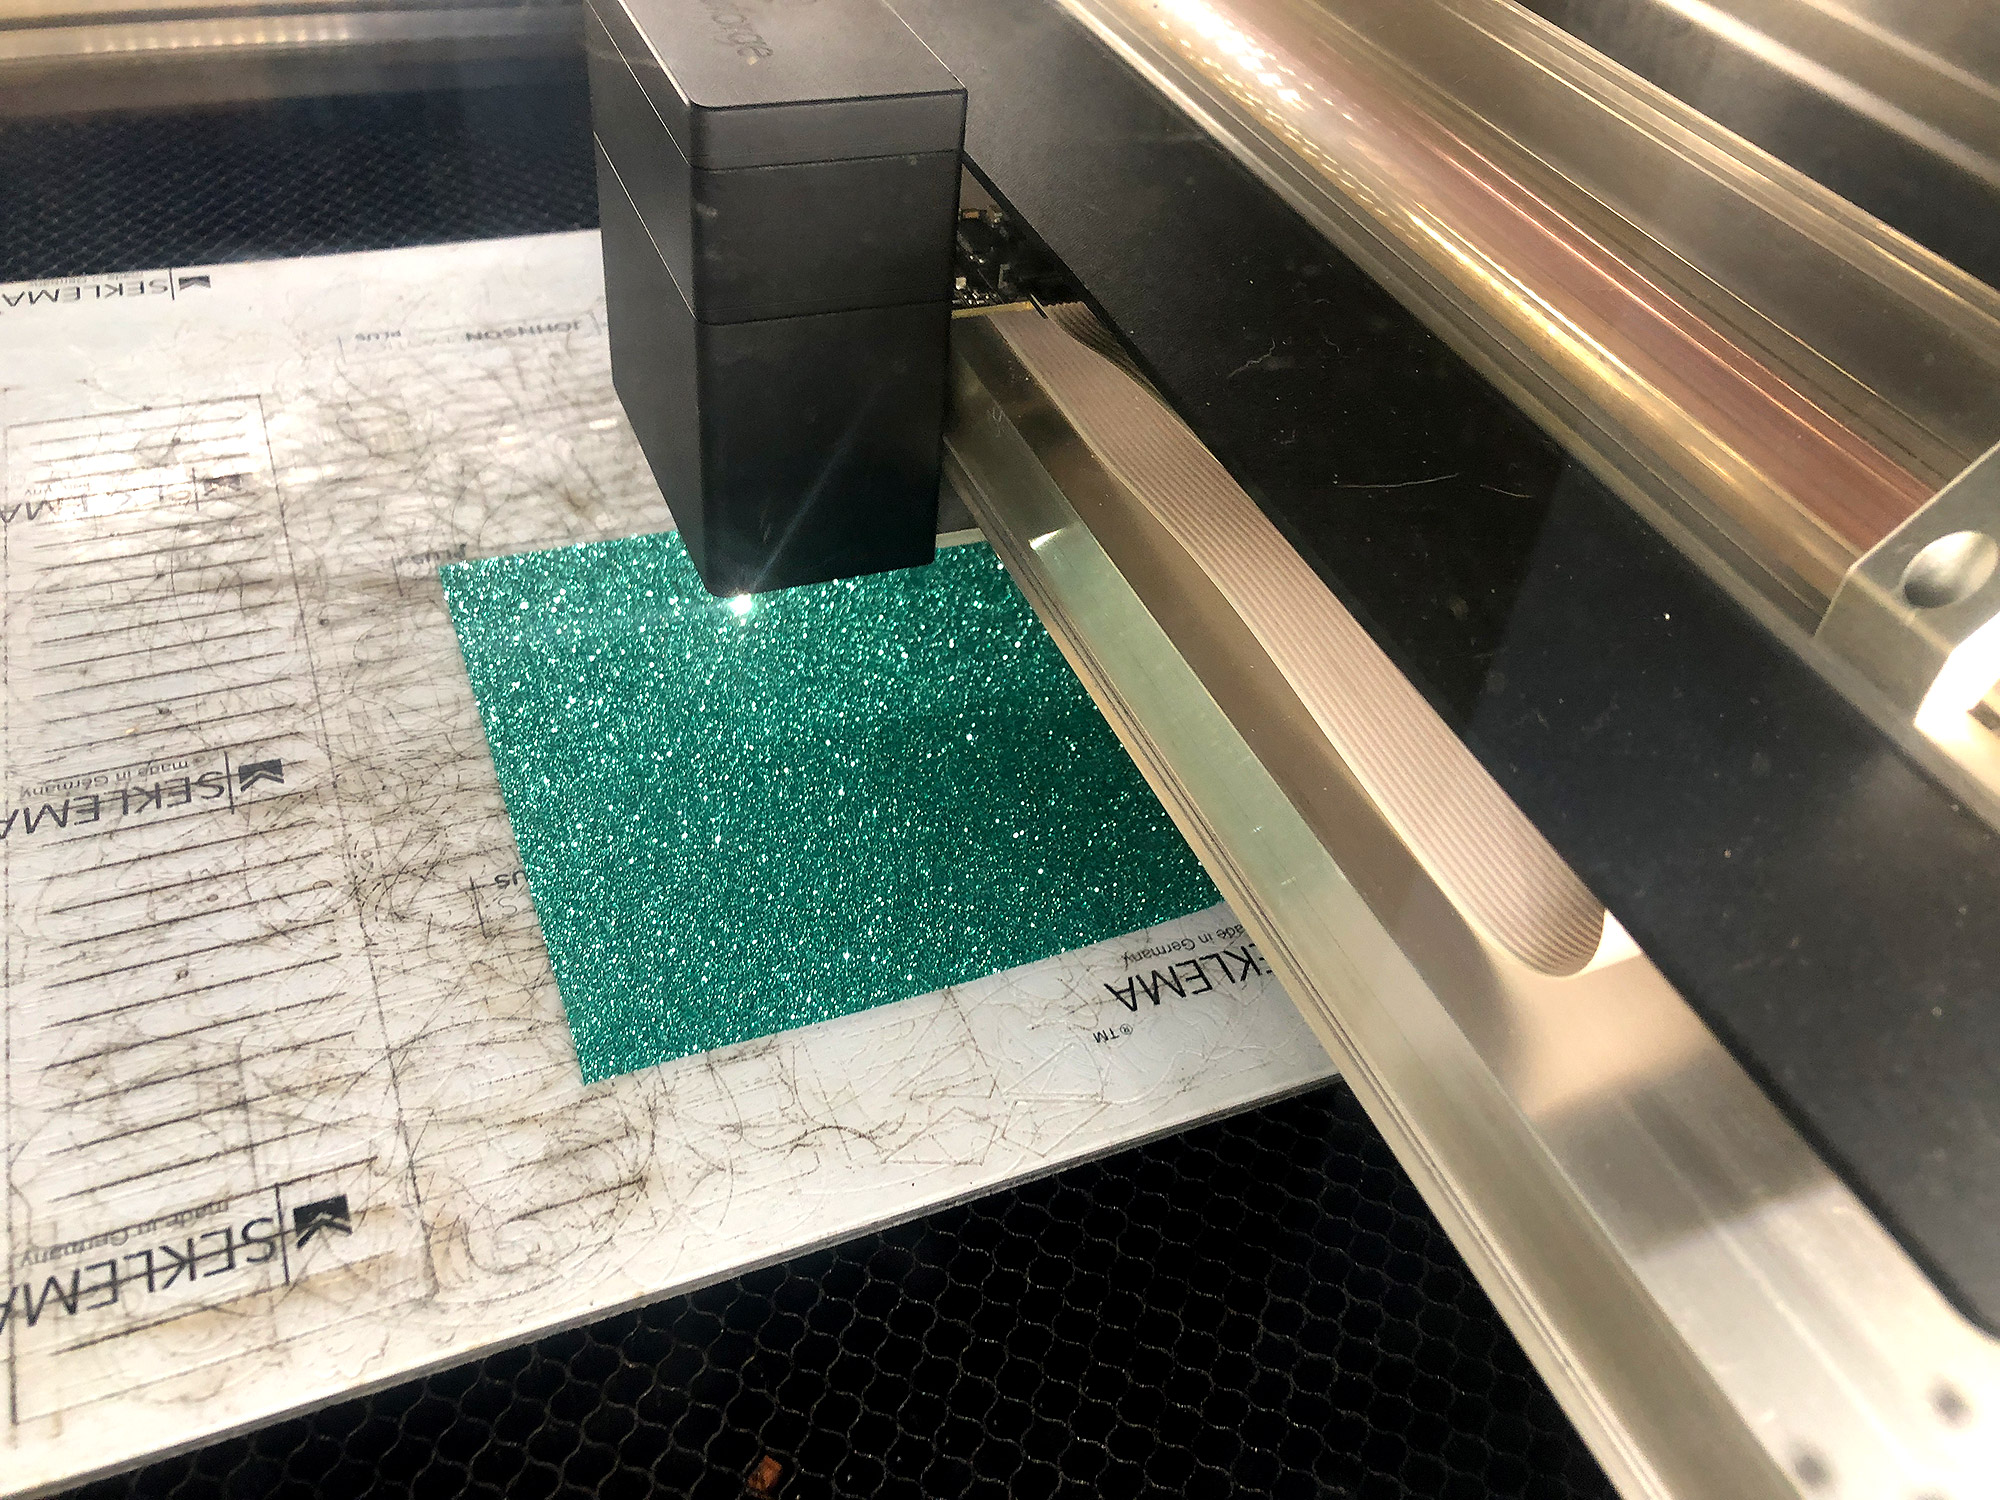
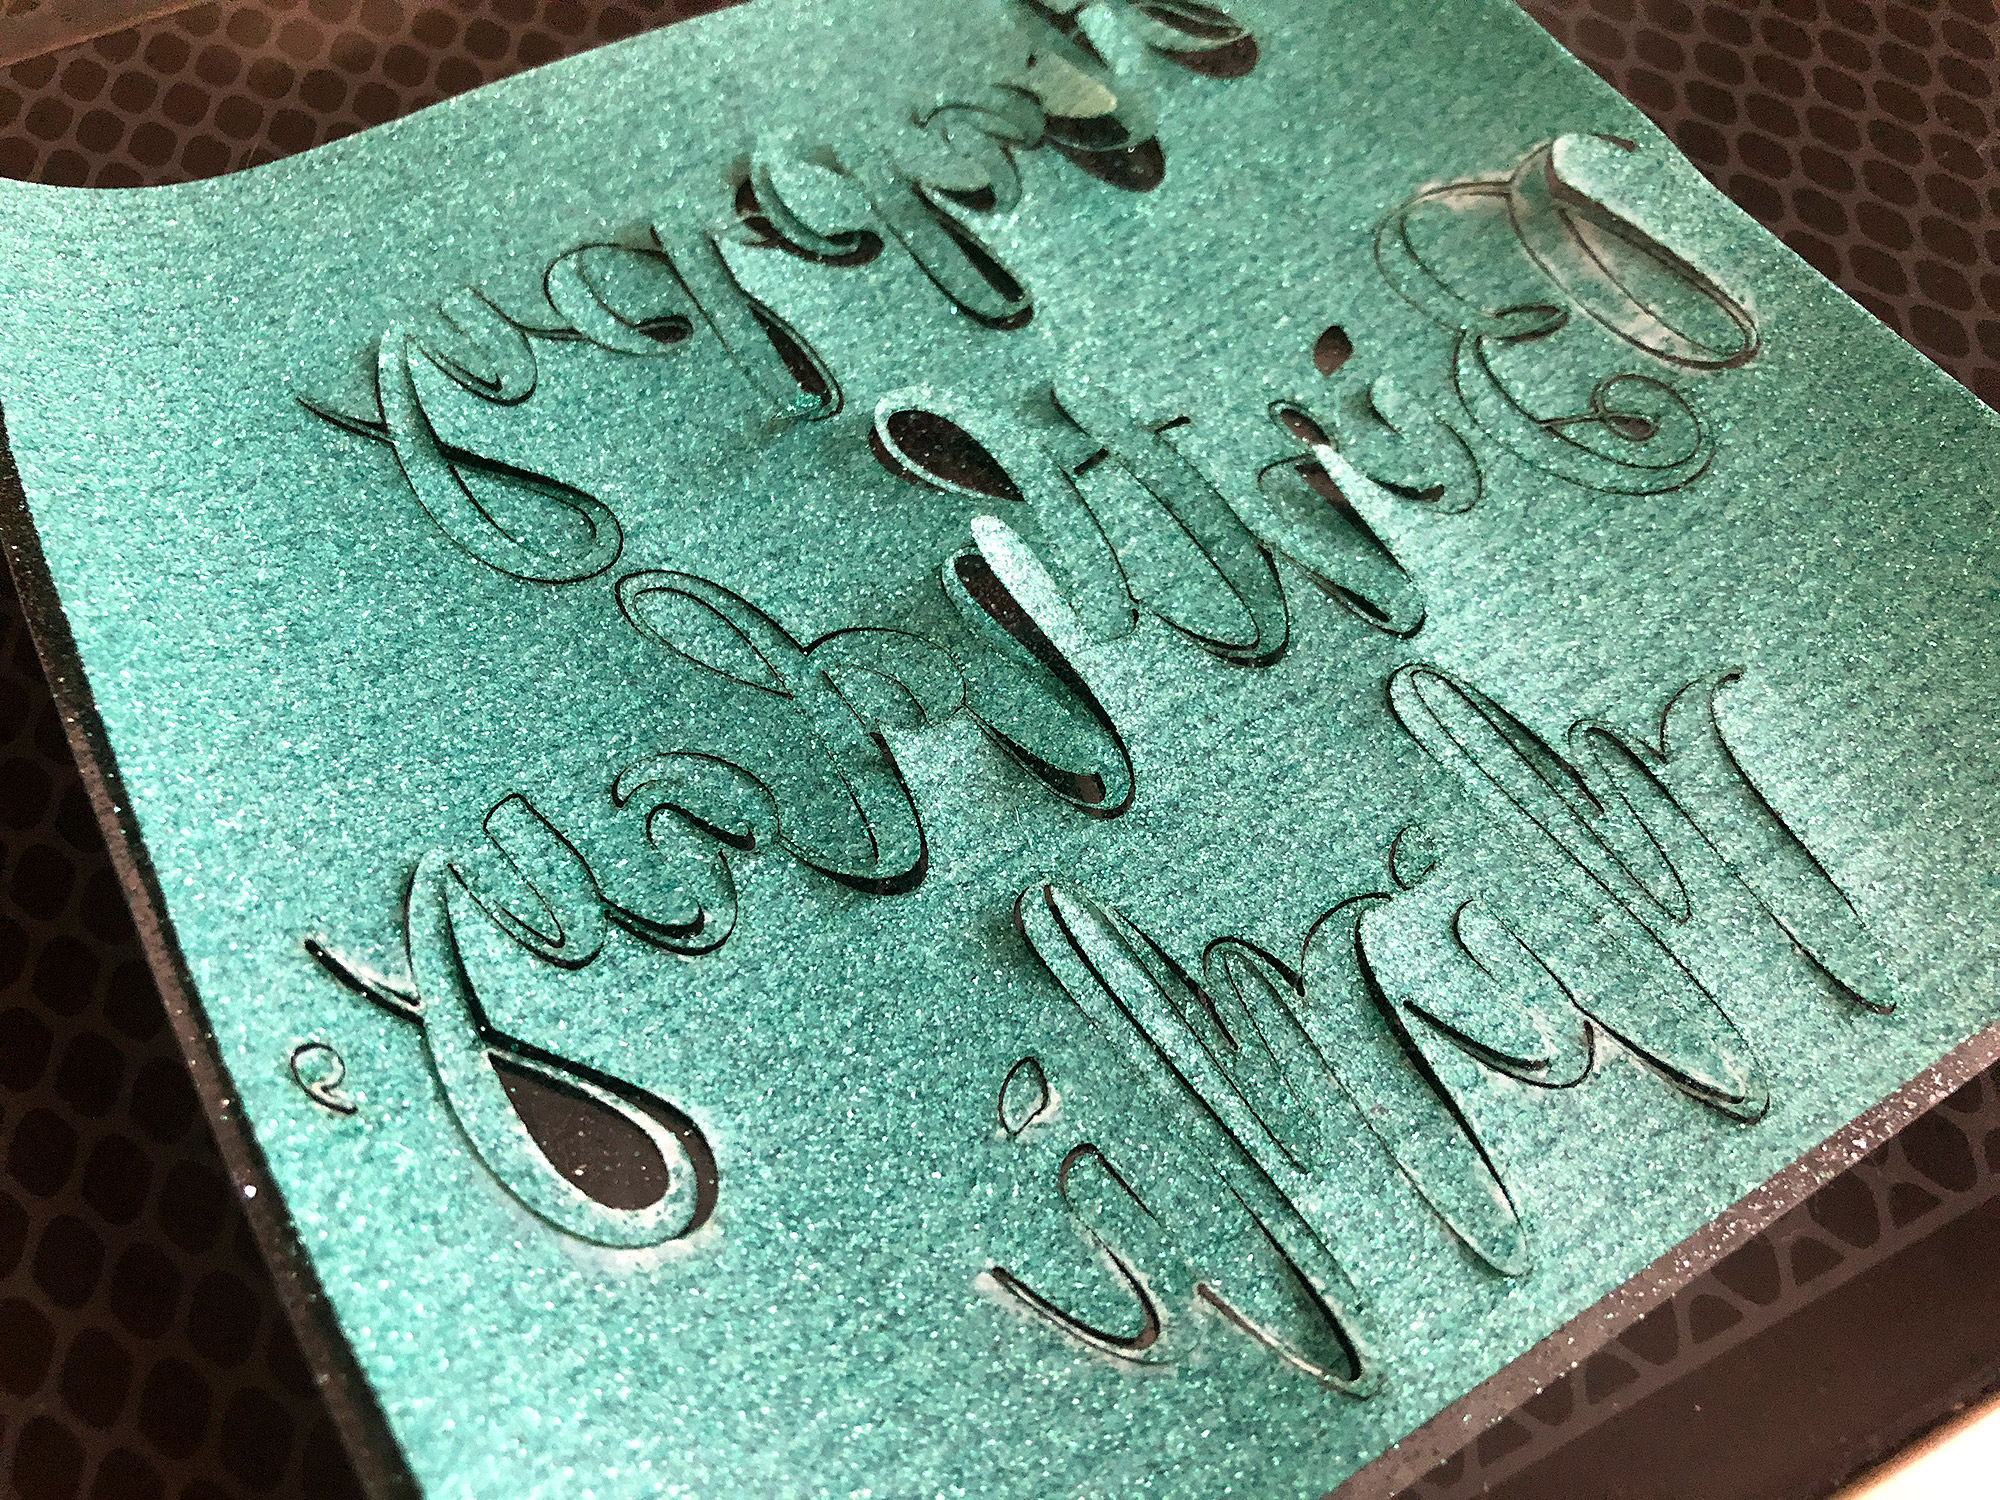
Now we move to cut. I tried two different methods. For one, I peeled the HTV off the clear carrier sheet – this made it much easier to lie flat – but for any design with any sort of intricate details it makes it super hard to keep the design together. If you’re cutting large basic shapes, feel free to peel it from the backing sheet. When I peeled it from the backer sheet I just stuck it to my Seklema (sticky and laser safe) mat.
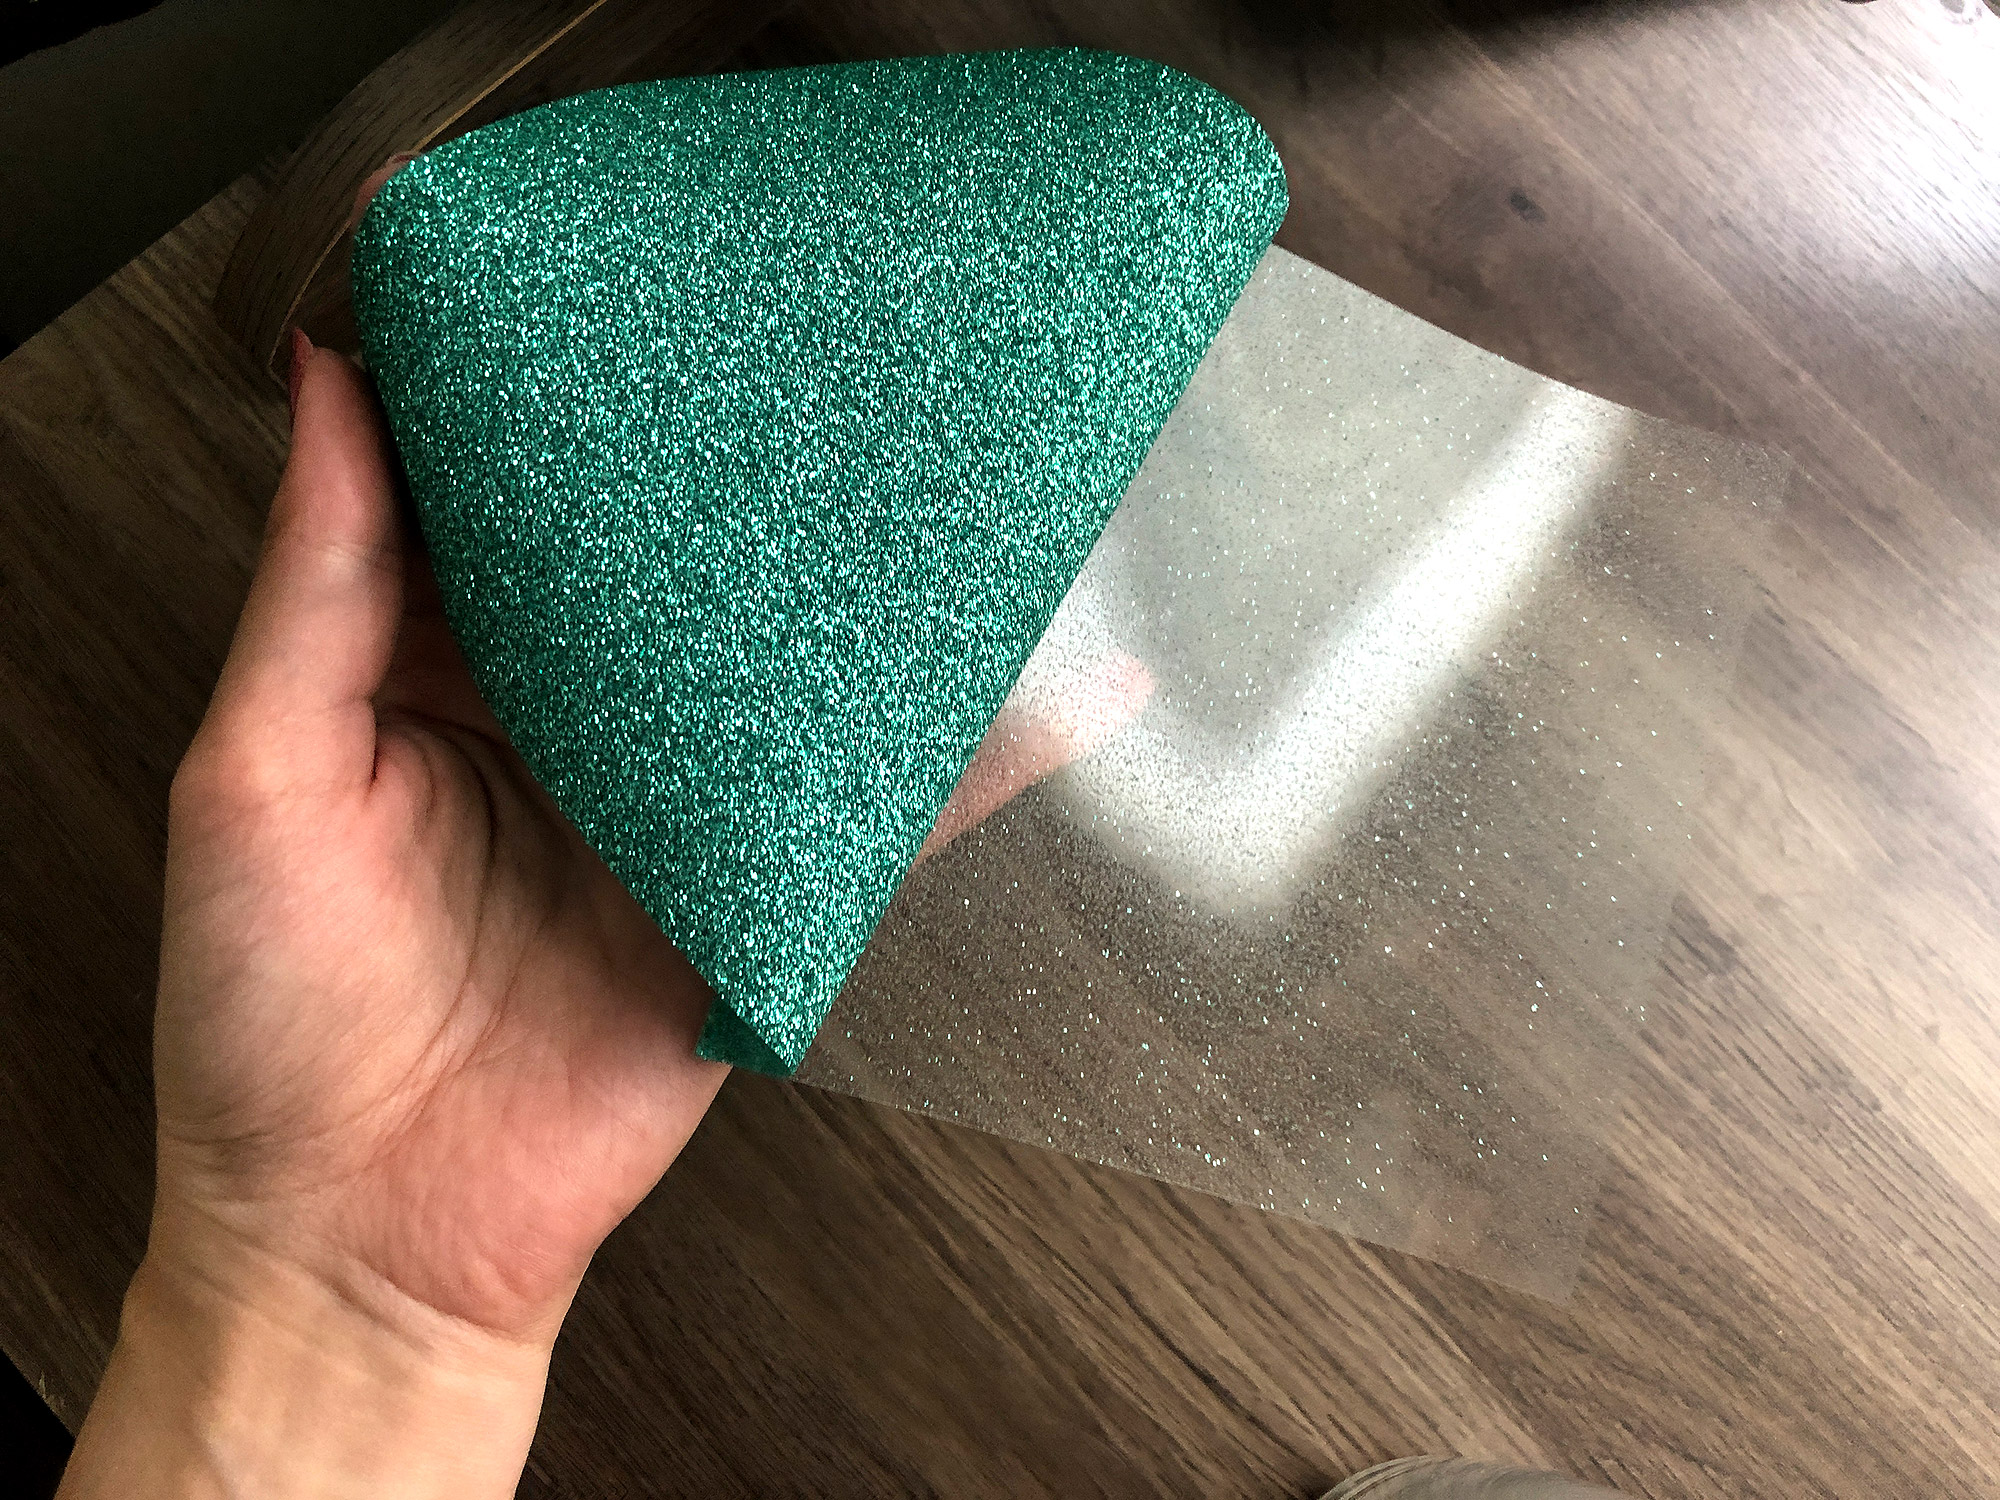

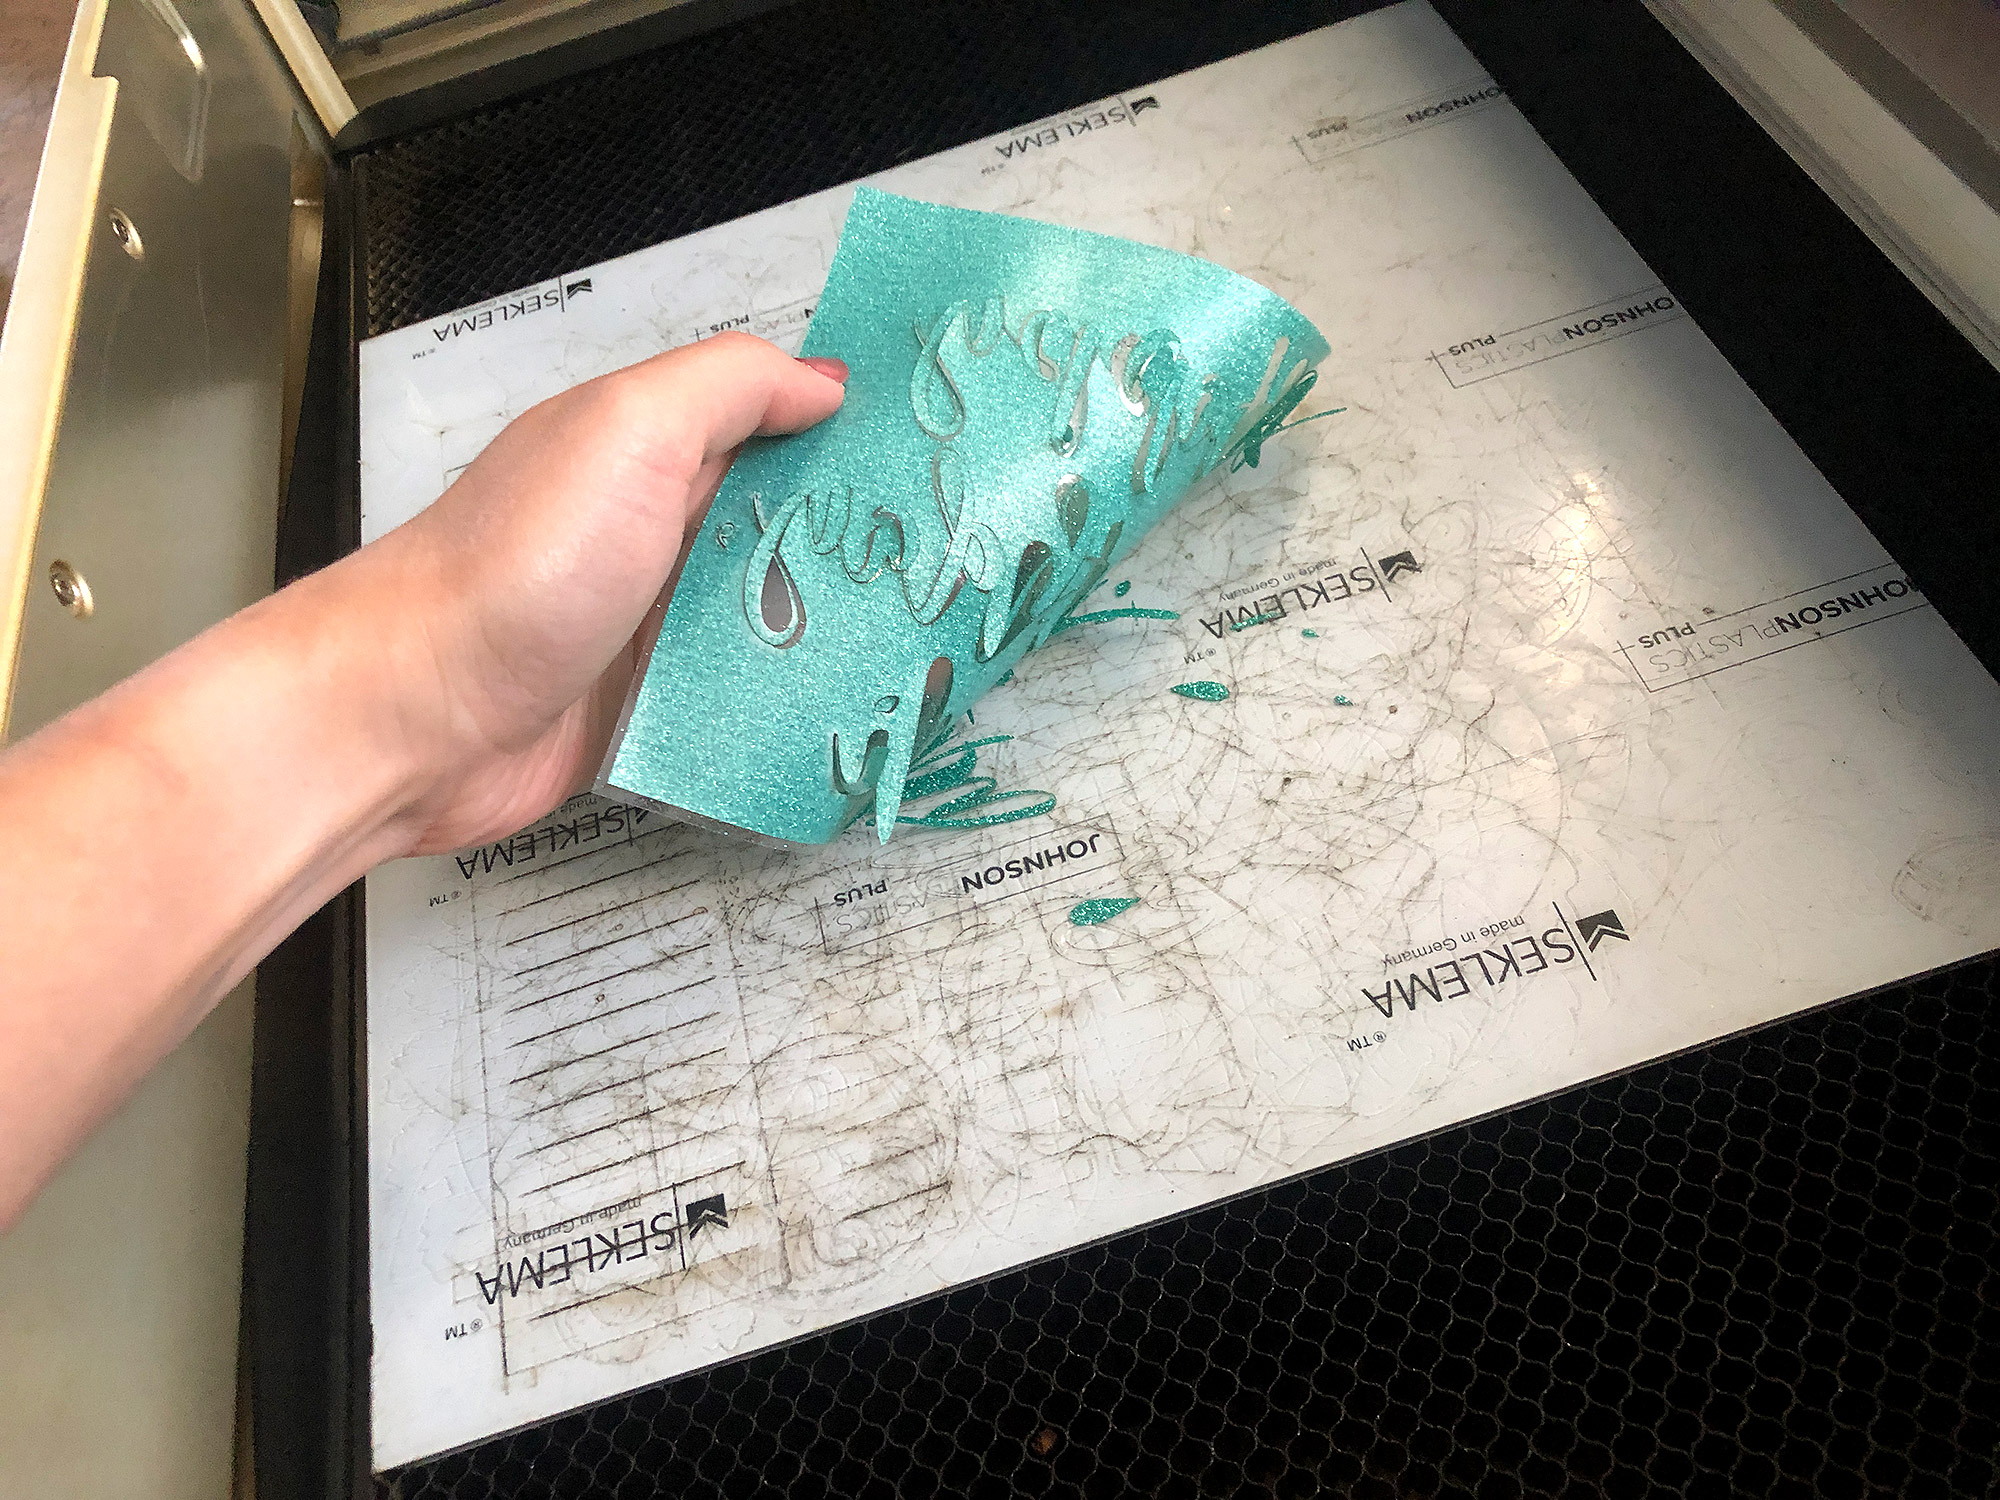
After laser cutting I re-applied the backing sheet and tried to lift it off the mat. This did not work. The delicate areas pulled away and the design was basically all warped.
CUTTING - A BETTER WAY
For my second attempt I did a few things differently:
1. I left the backing (carrier) sheet on
2. I reversed my design and cut from the back (so that I wouldn’t cut through my carrier sheet
3. I applied my HTV right to the crumb tray carrier sheet down (wrong side up). Because the carrier sheet makes it want to curl up, I had to use magnets to hold it down. Just remember to set your focus height correctly if you are using a Seklema mat – this is a good time to test out the set focus which works well for this project.
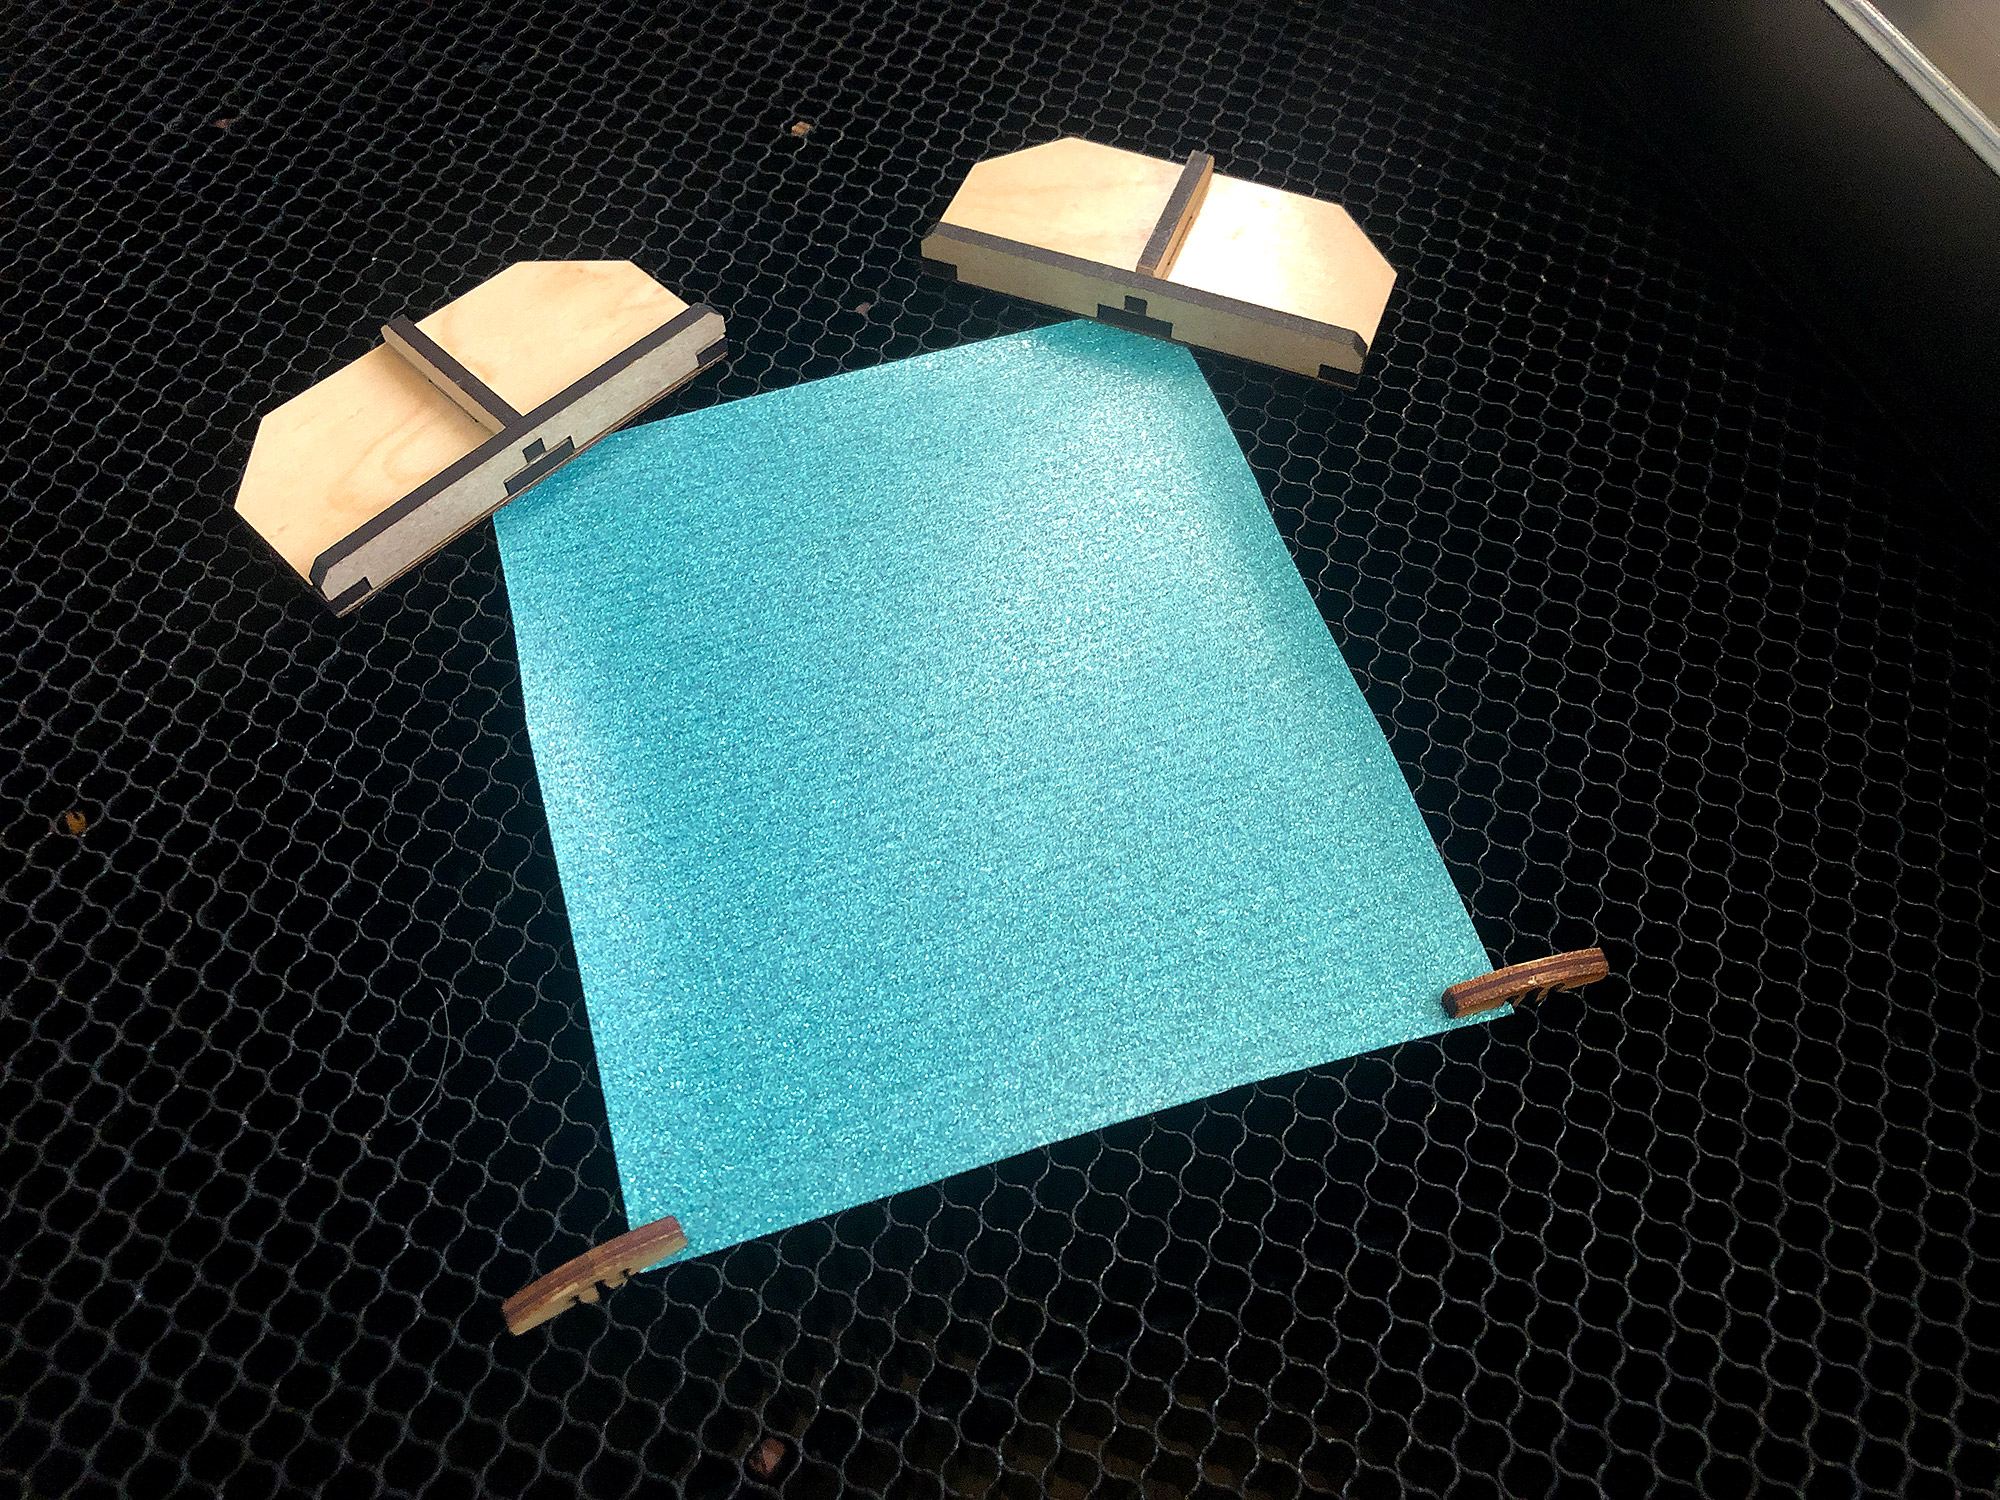
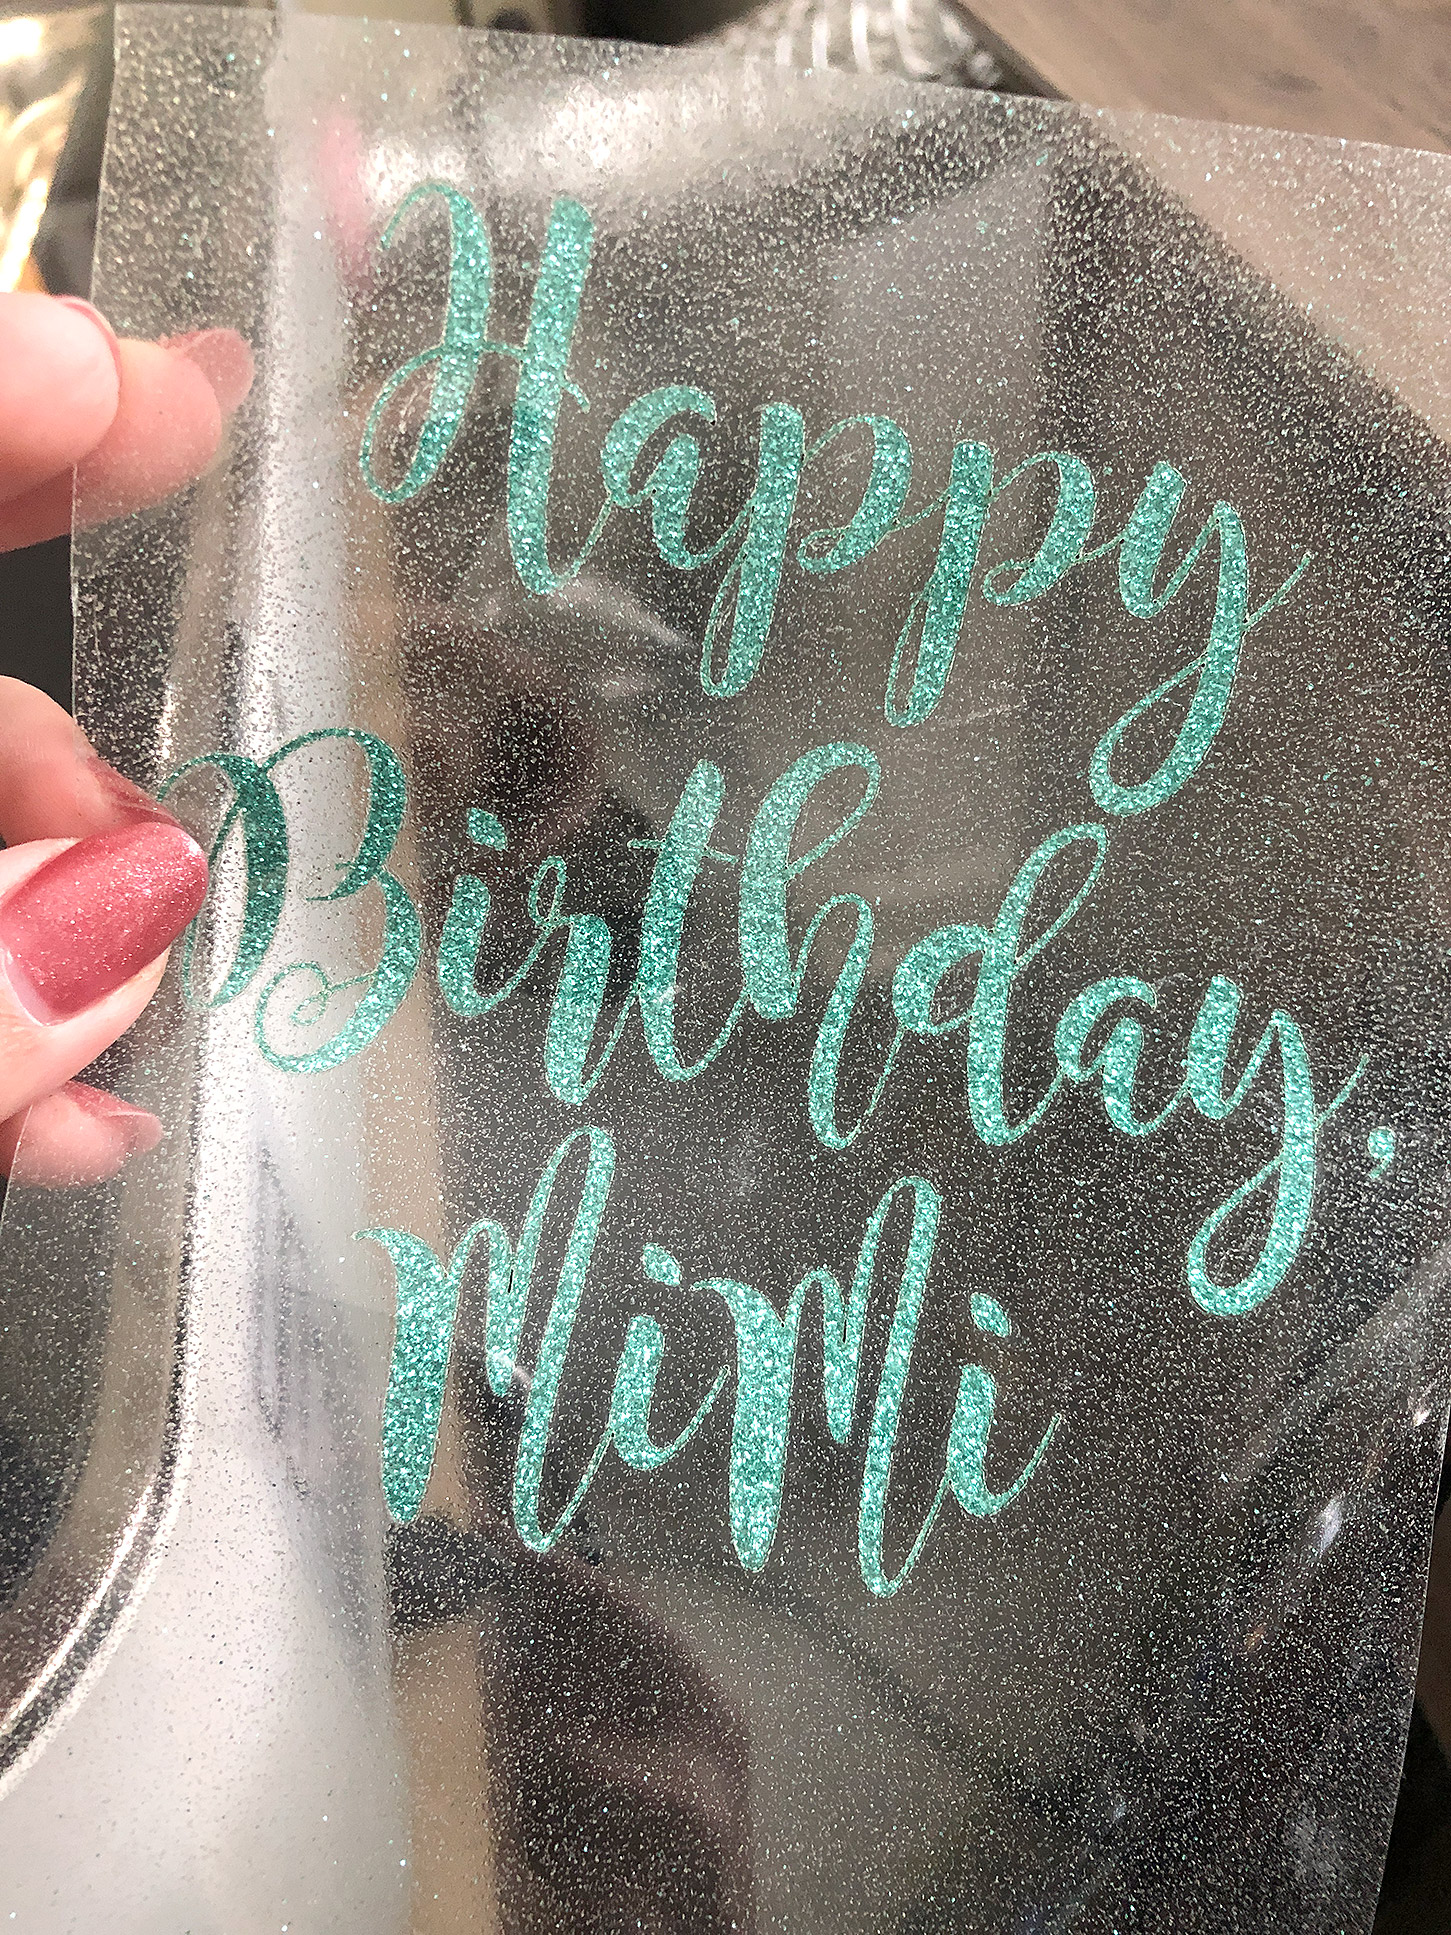
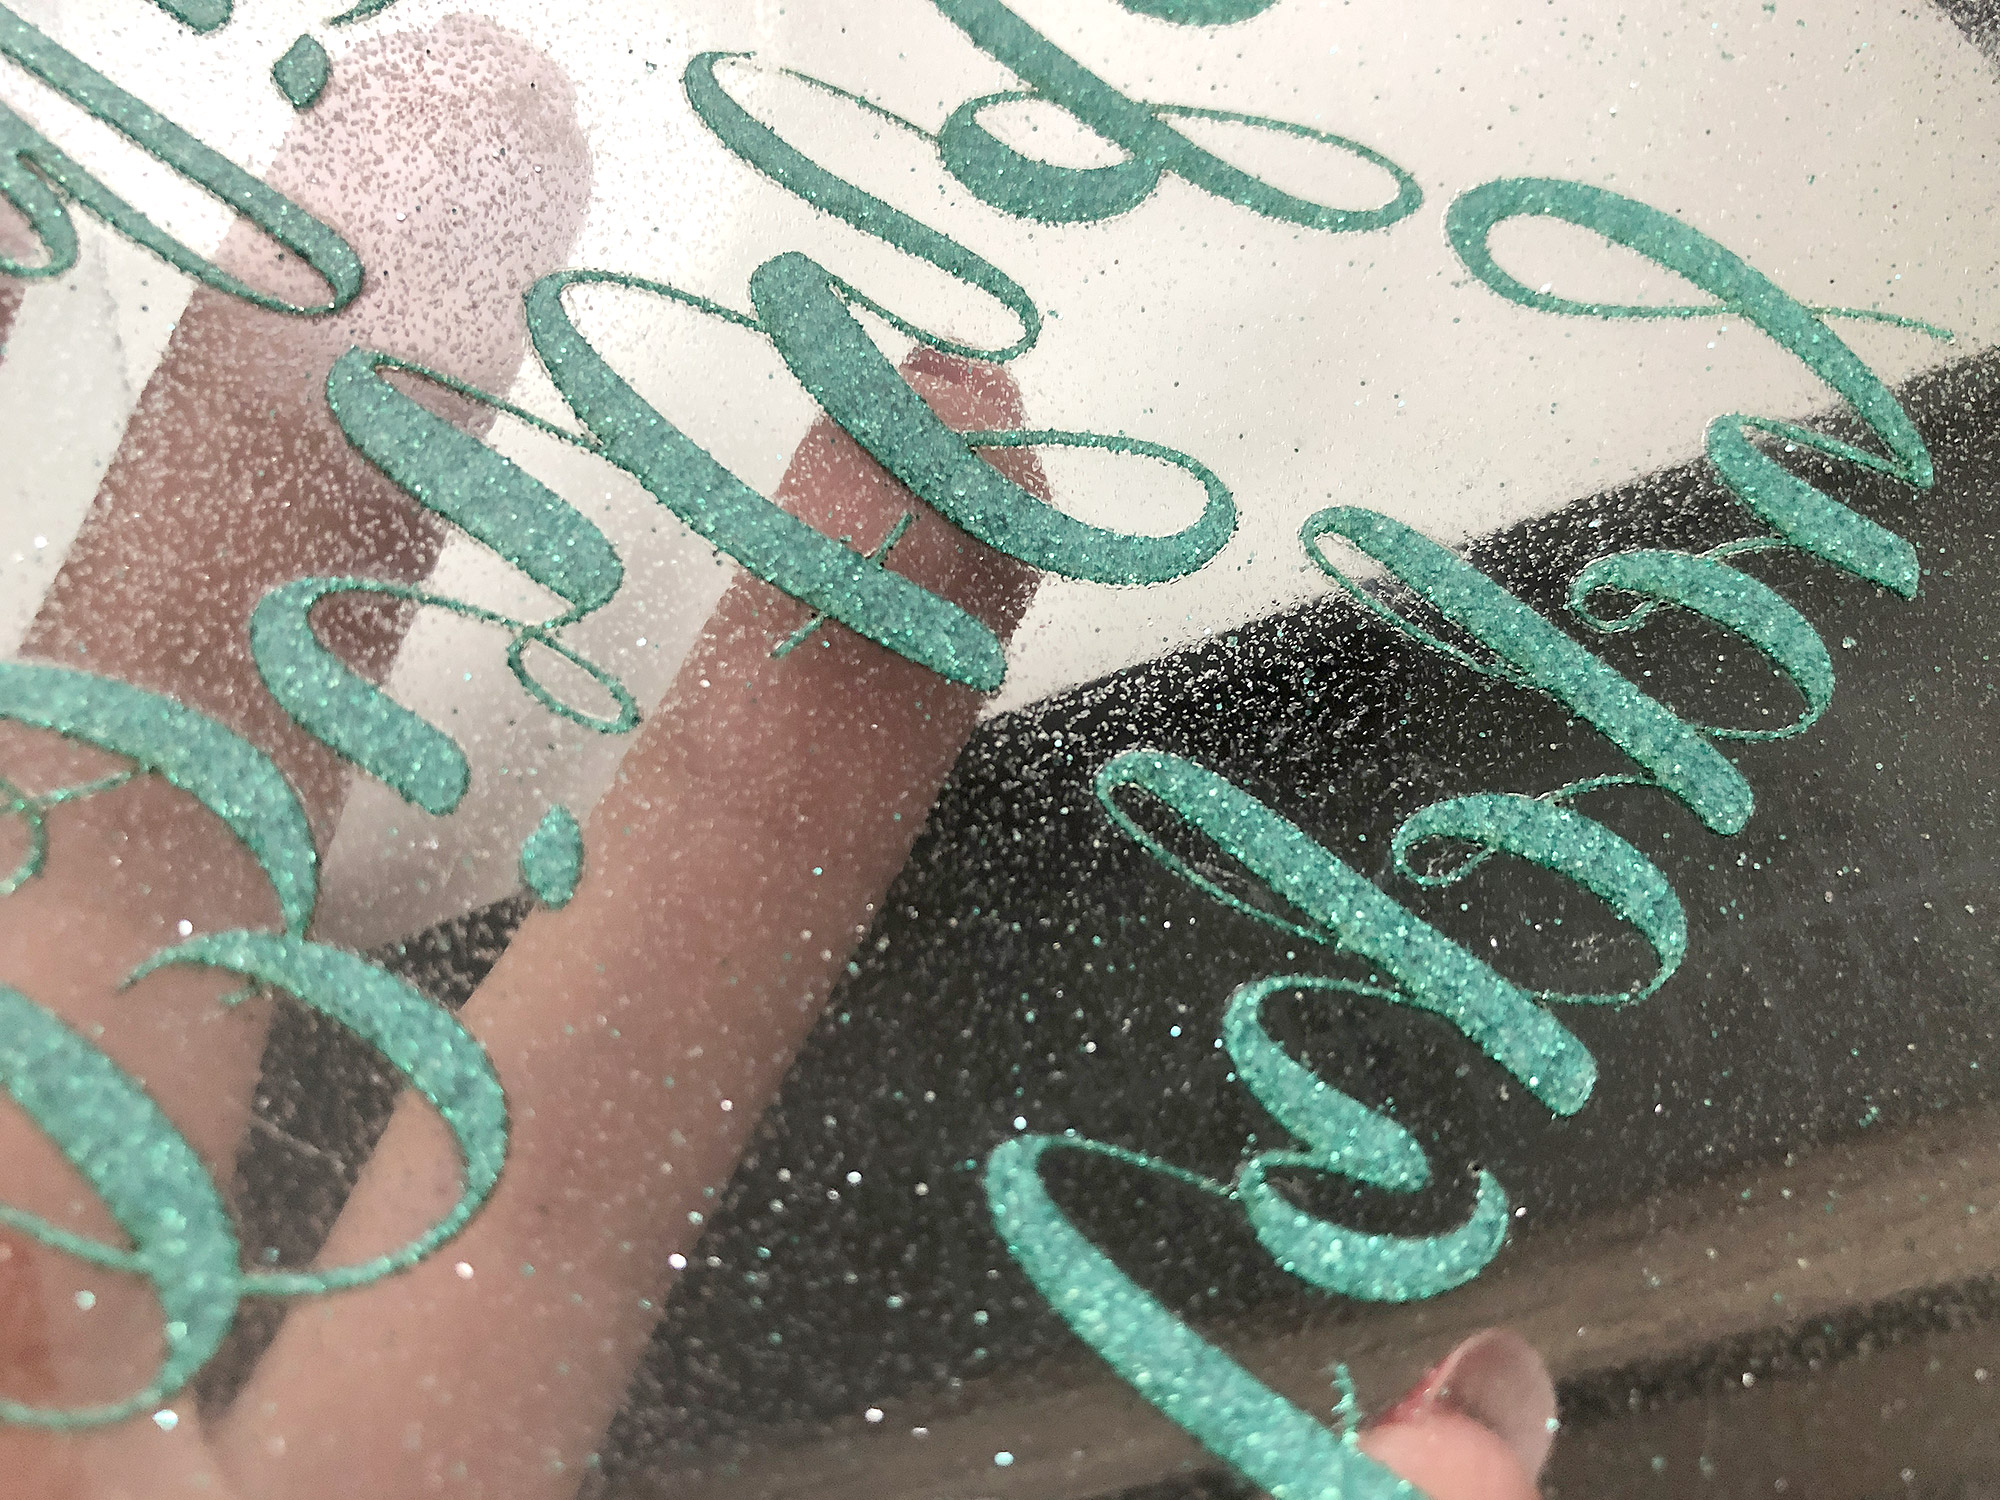
This worked MUCH better, however once I took a better look at the design I realized my text was too thin. It probably would have been ok, but there were a few areas that broke when I weeded away the excess. So I went back into Illustrator, added a stroke, expanded it, and then re-united everything in the pathfinder panel.
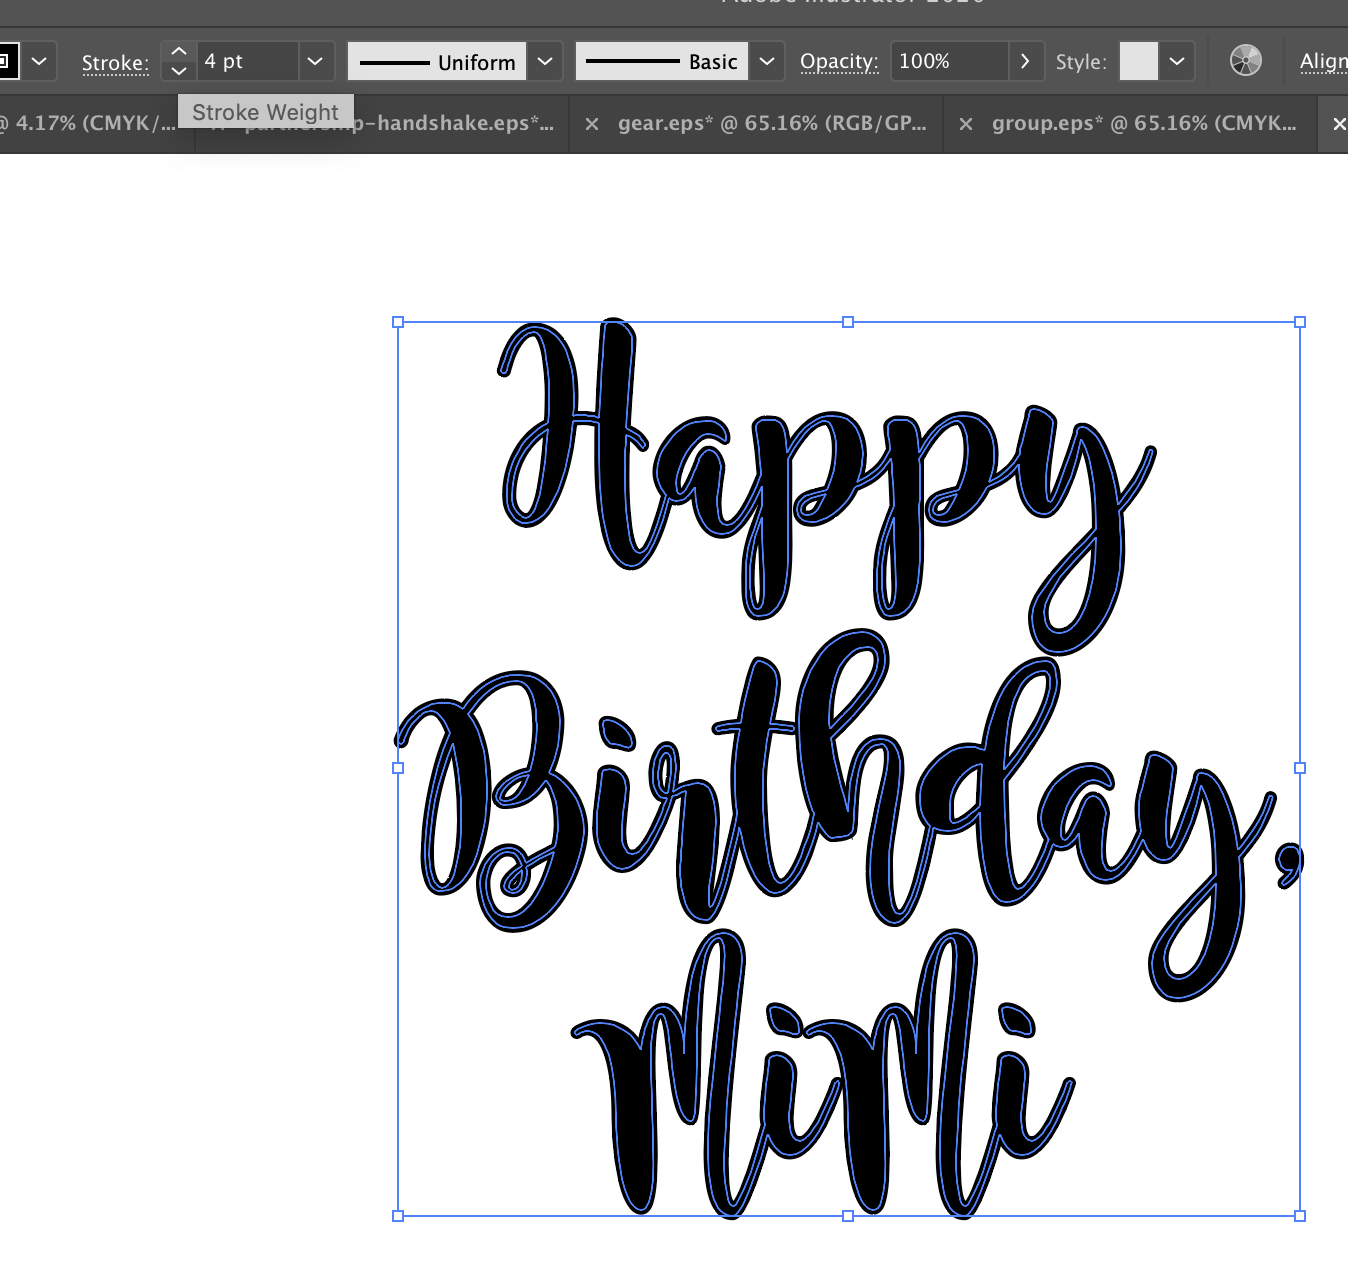
You can see I used a 4pt stroke. Then all you need to do is go to Object > Path > Outline Stroke before returning to the Patfinder to fuse it together
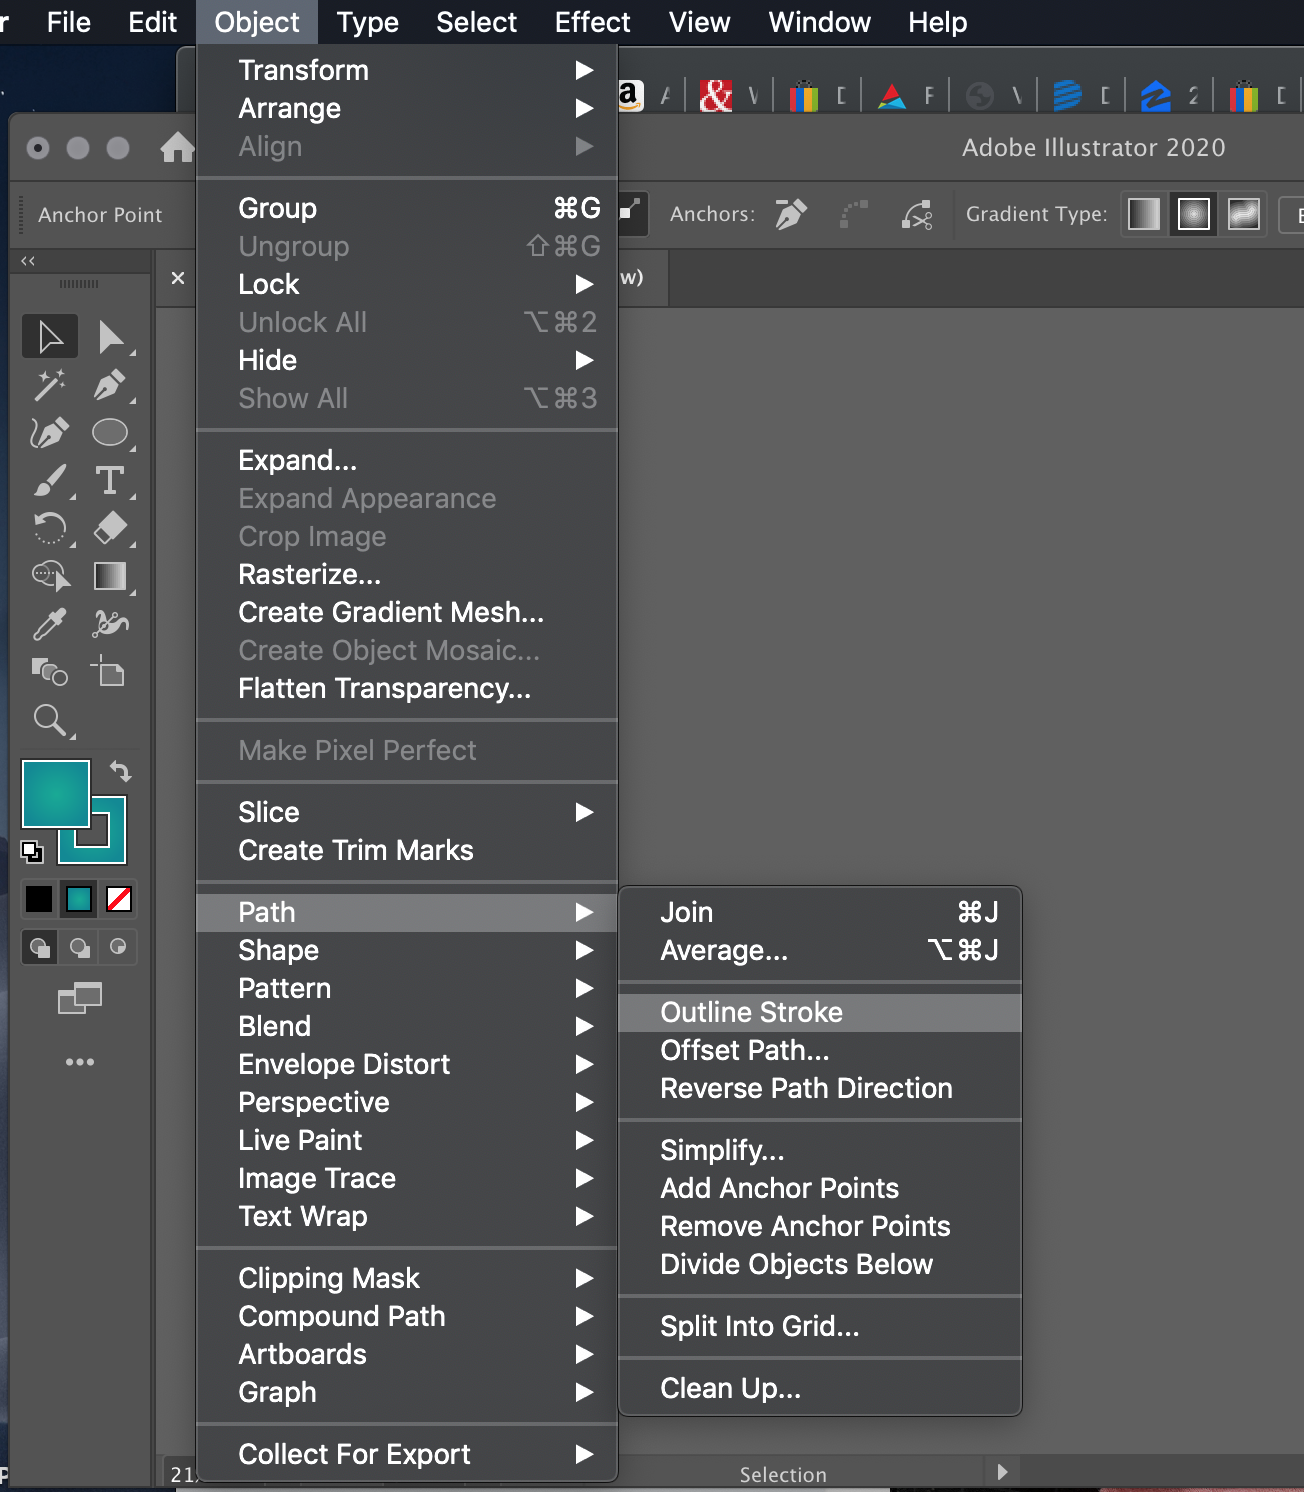
Make sure to reverse your design as well using Object > Transform > Reflect
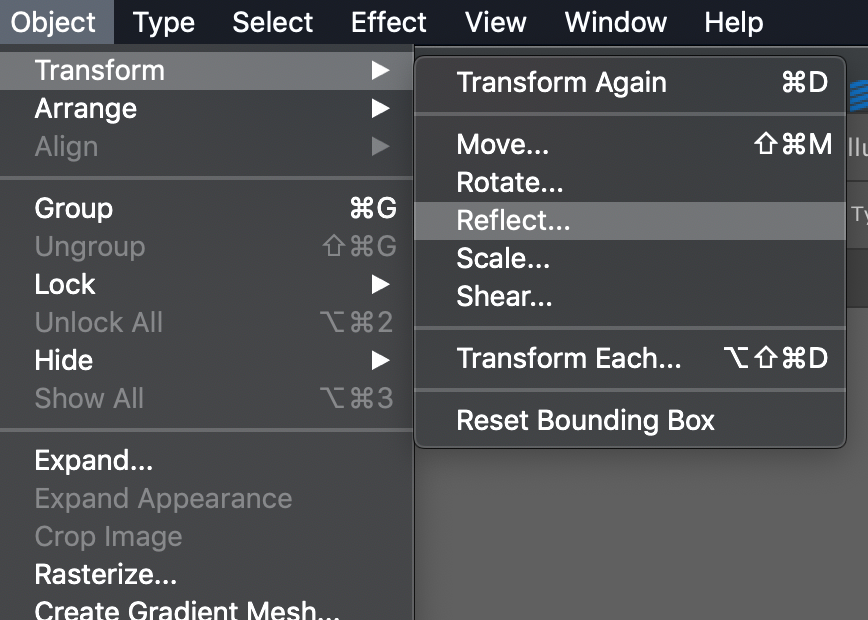
Much better! Now we have a nice thick design, reversed for cutting on our HTV
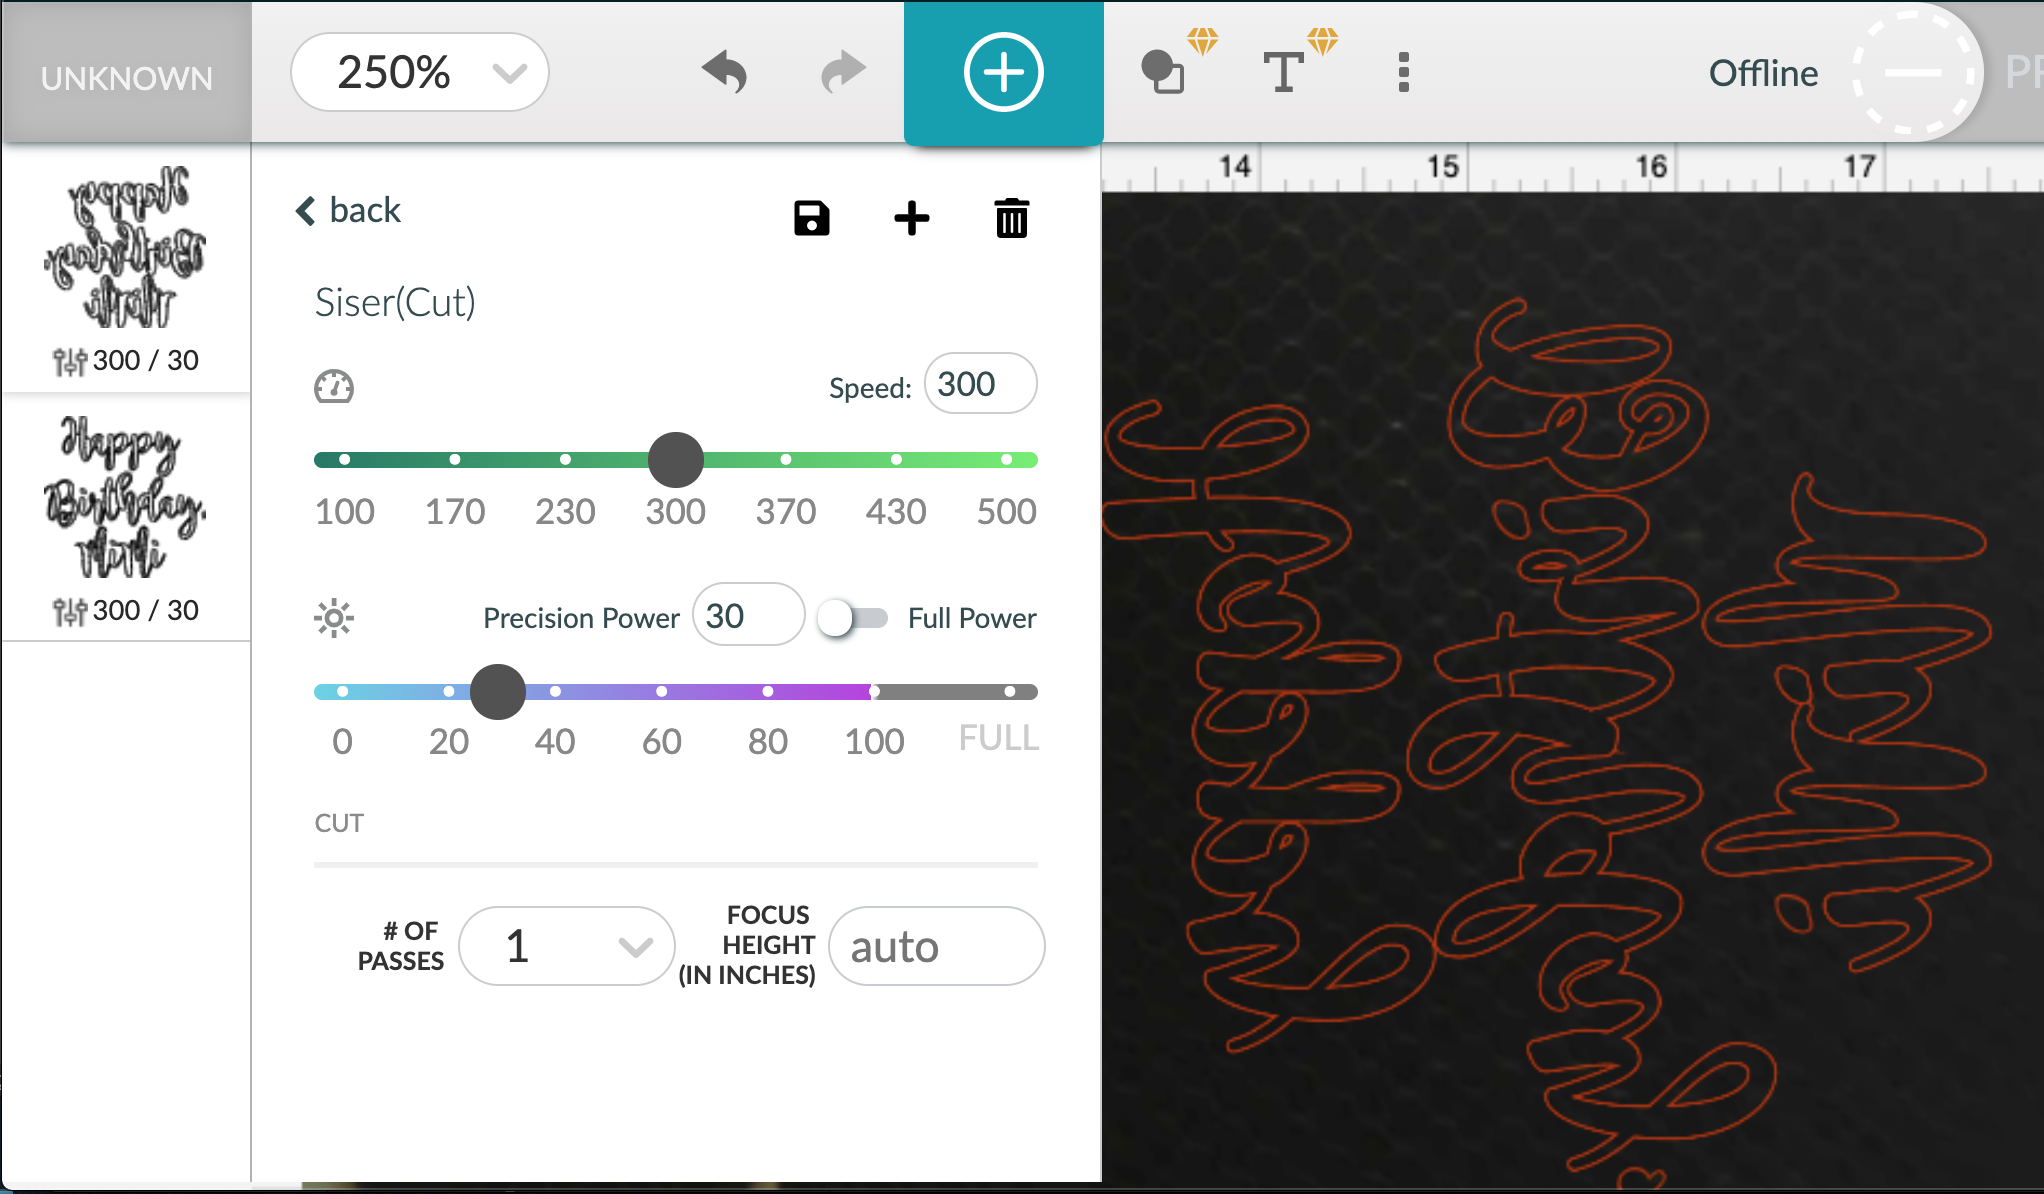
APPLYING THE HTV
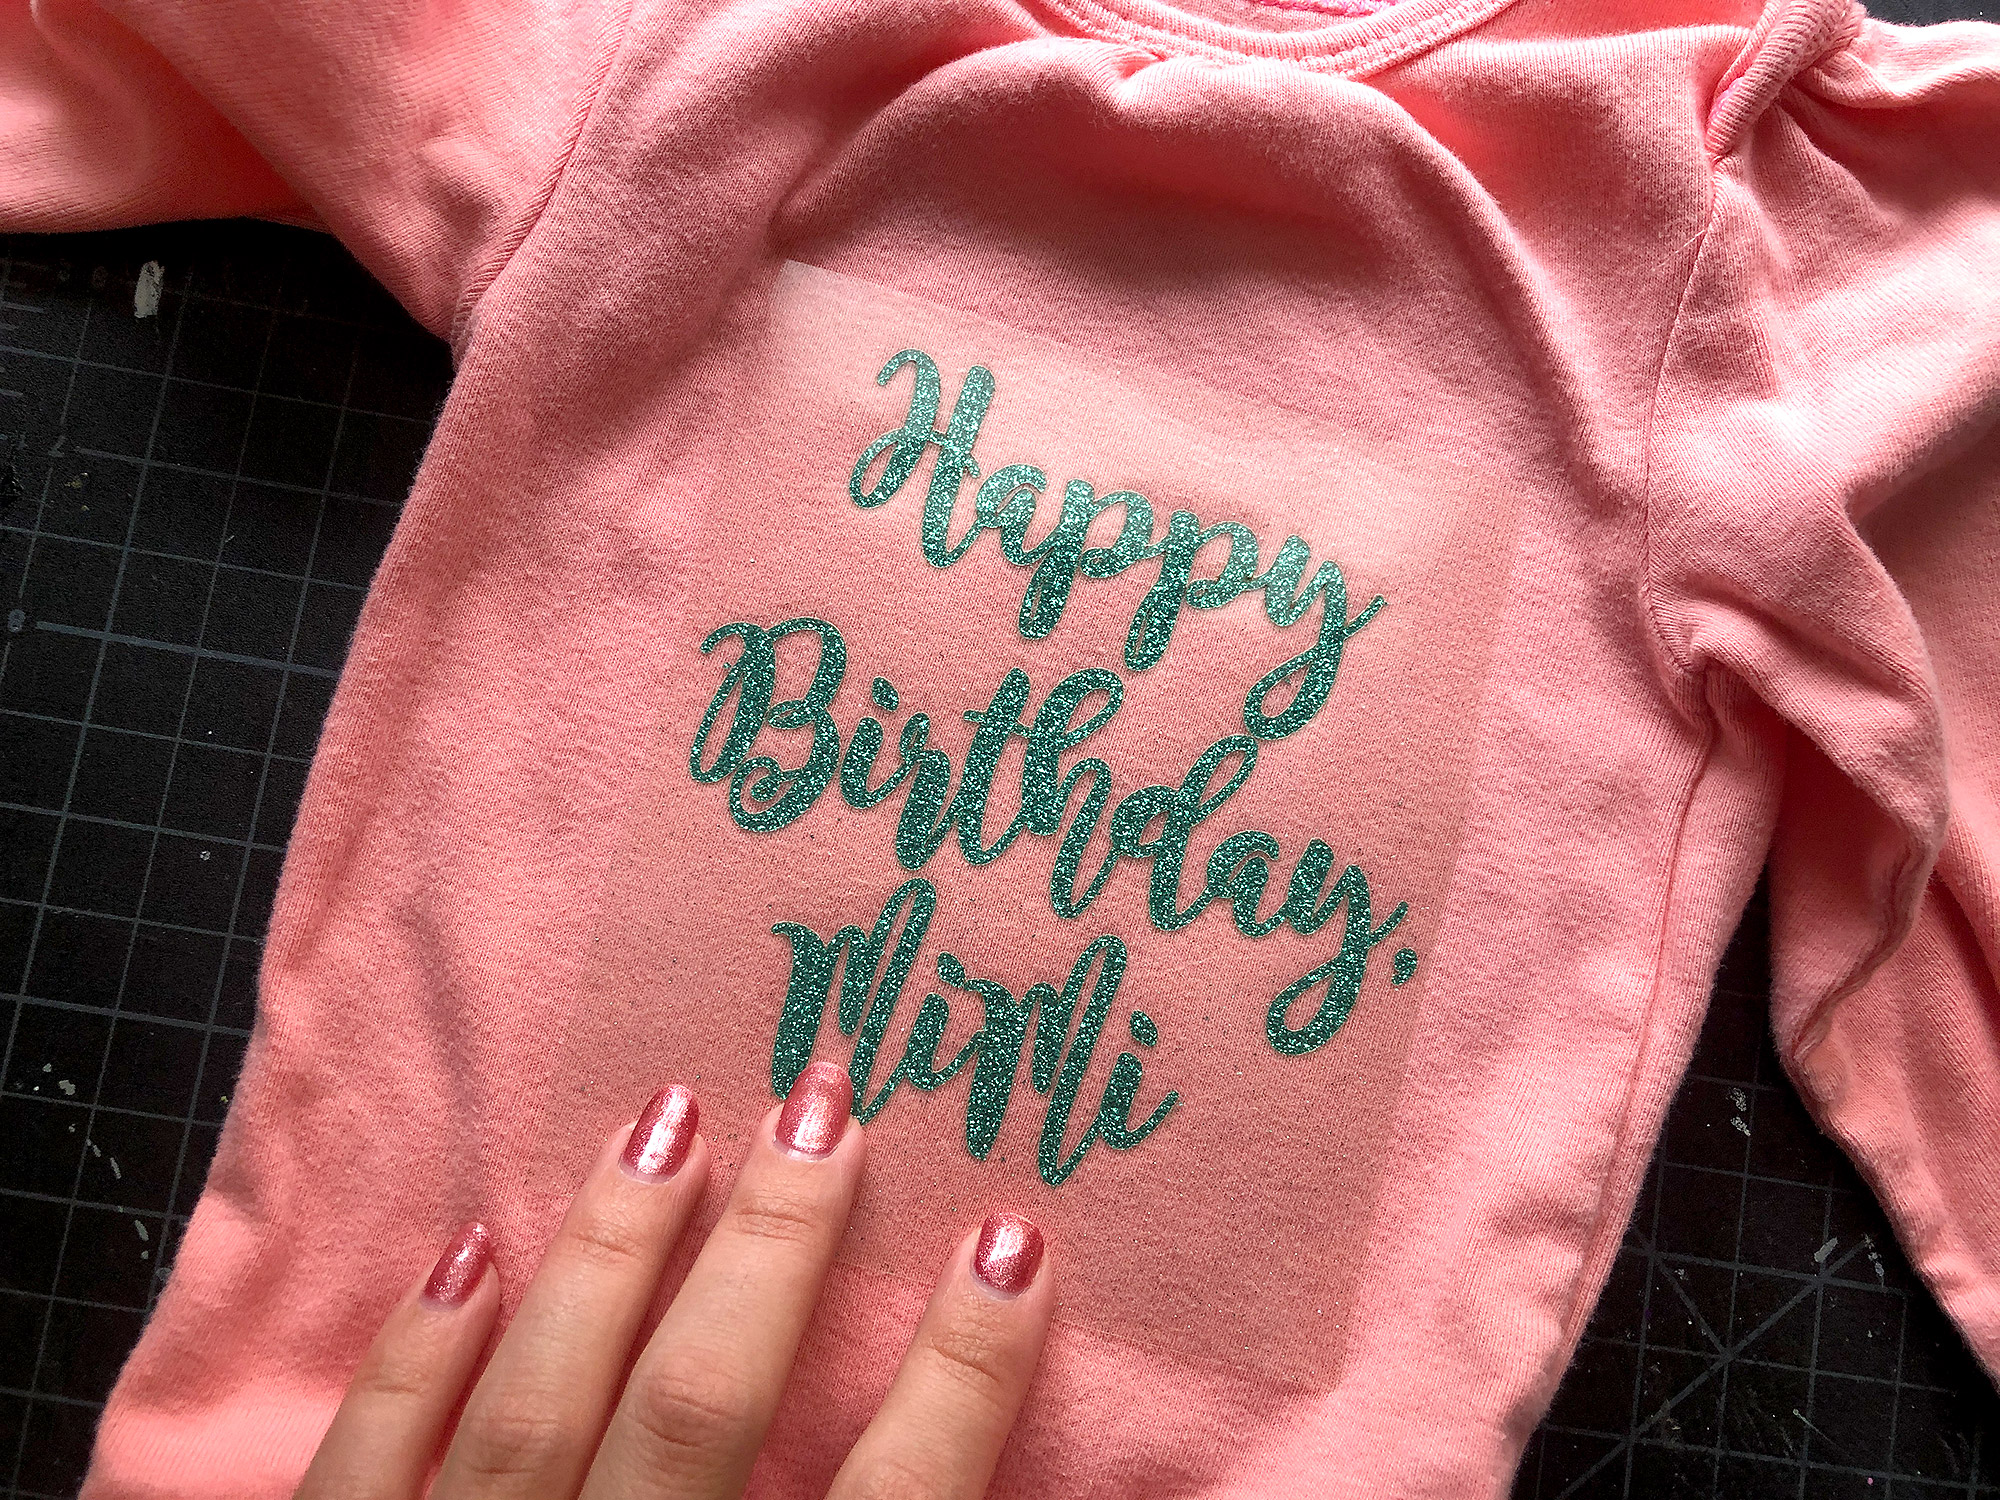
This part is easy. After weeding your design, simply follow the HTV directions.
- Pre-iron your item (if it’s fabric) to get out any wrinkles
- Apply your HTV
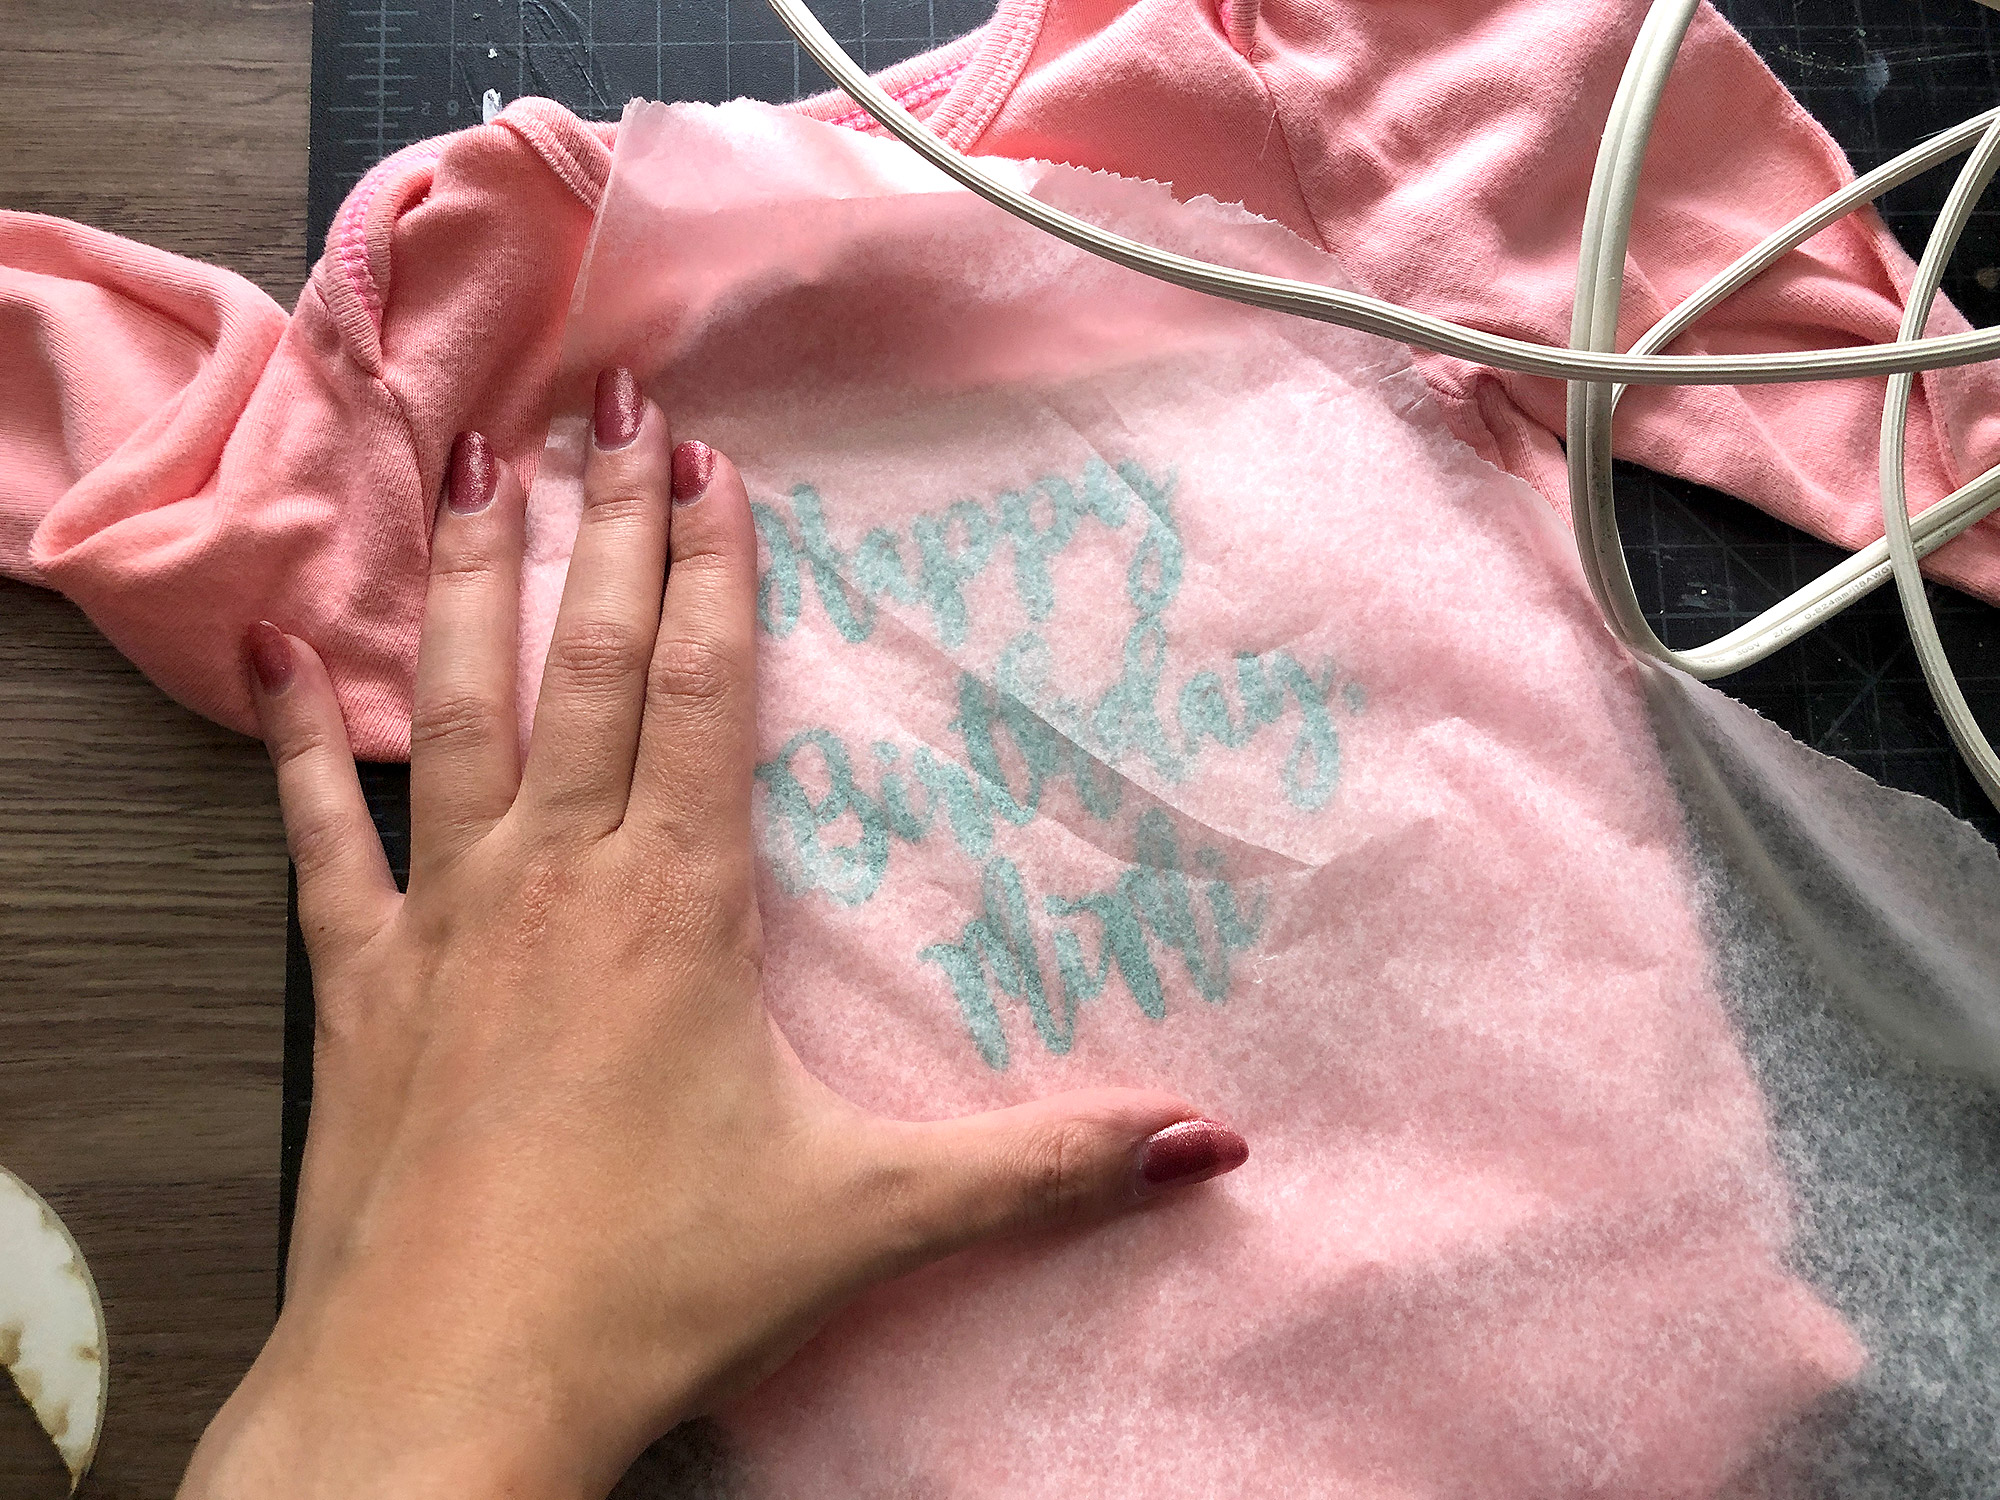
- Place a sheet of wax paper over the top of the design
- Iron or heat press for the appropriate amount of time – use pressure, this is necessary, don’t move the iron all over the place – press, wait, lift and continue across the design
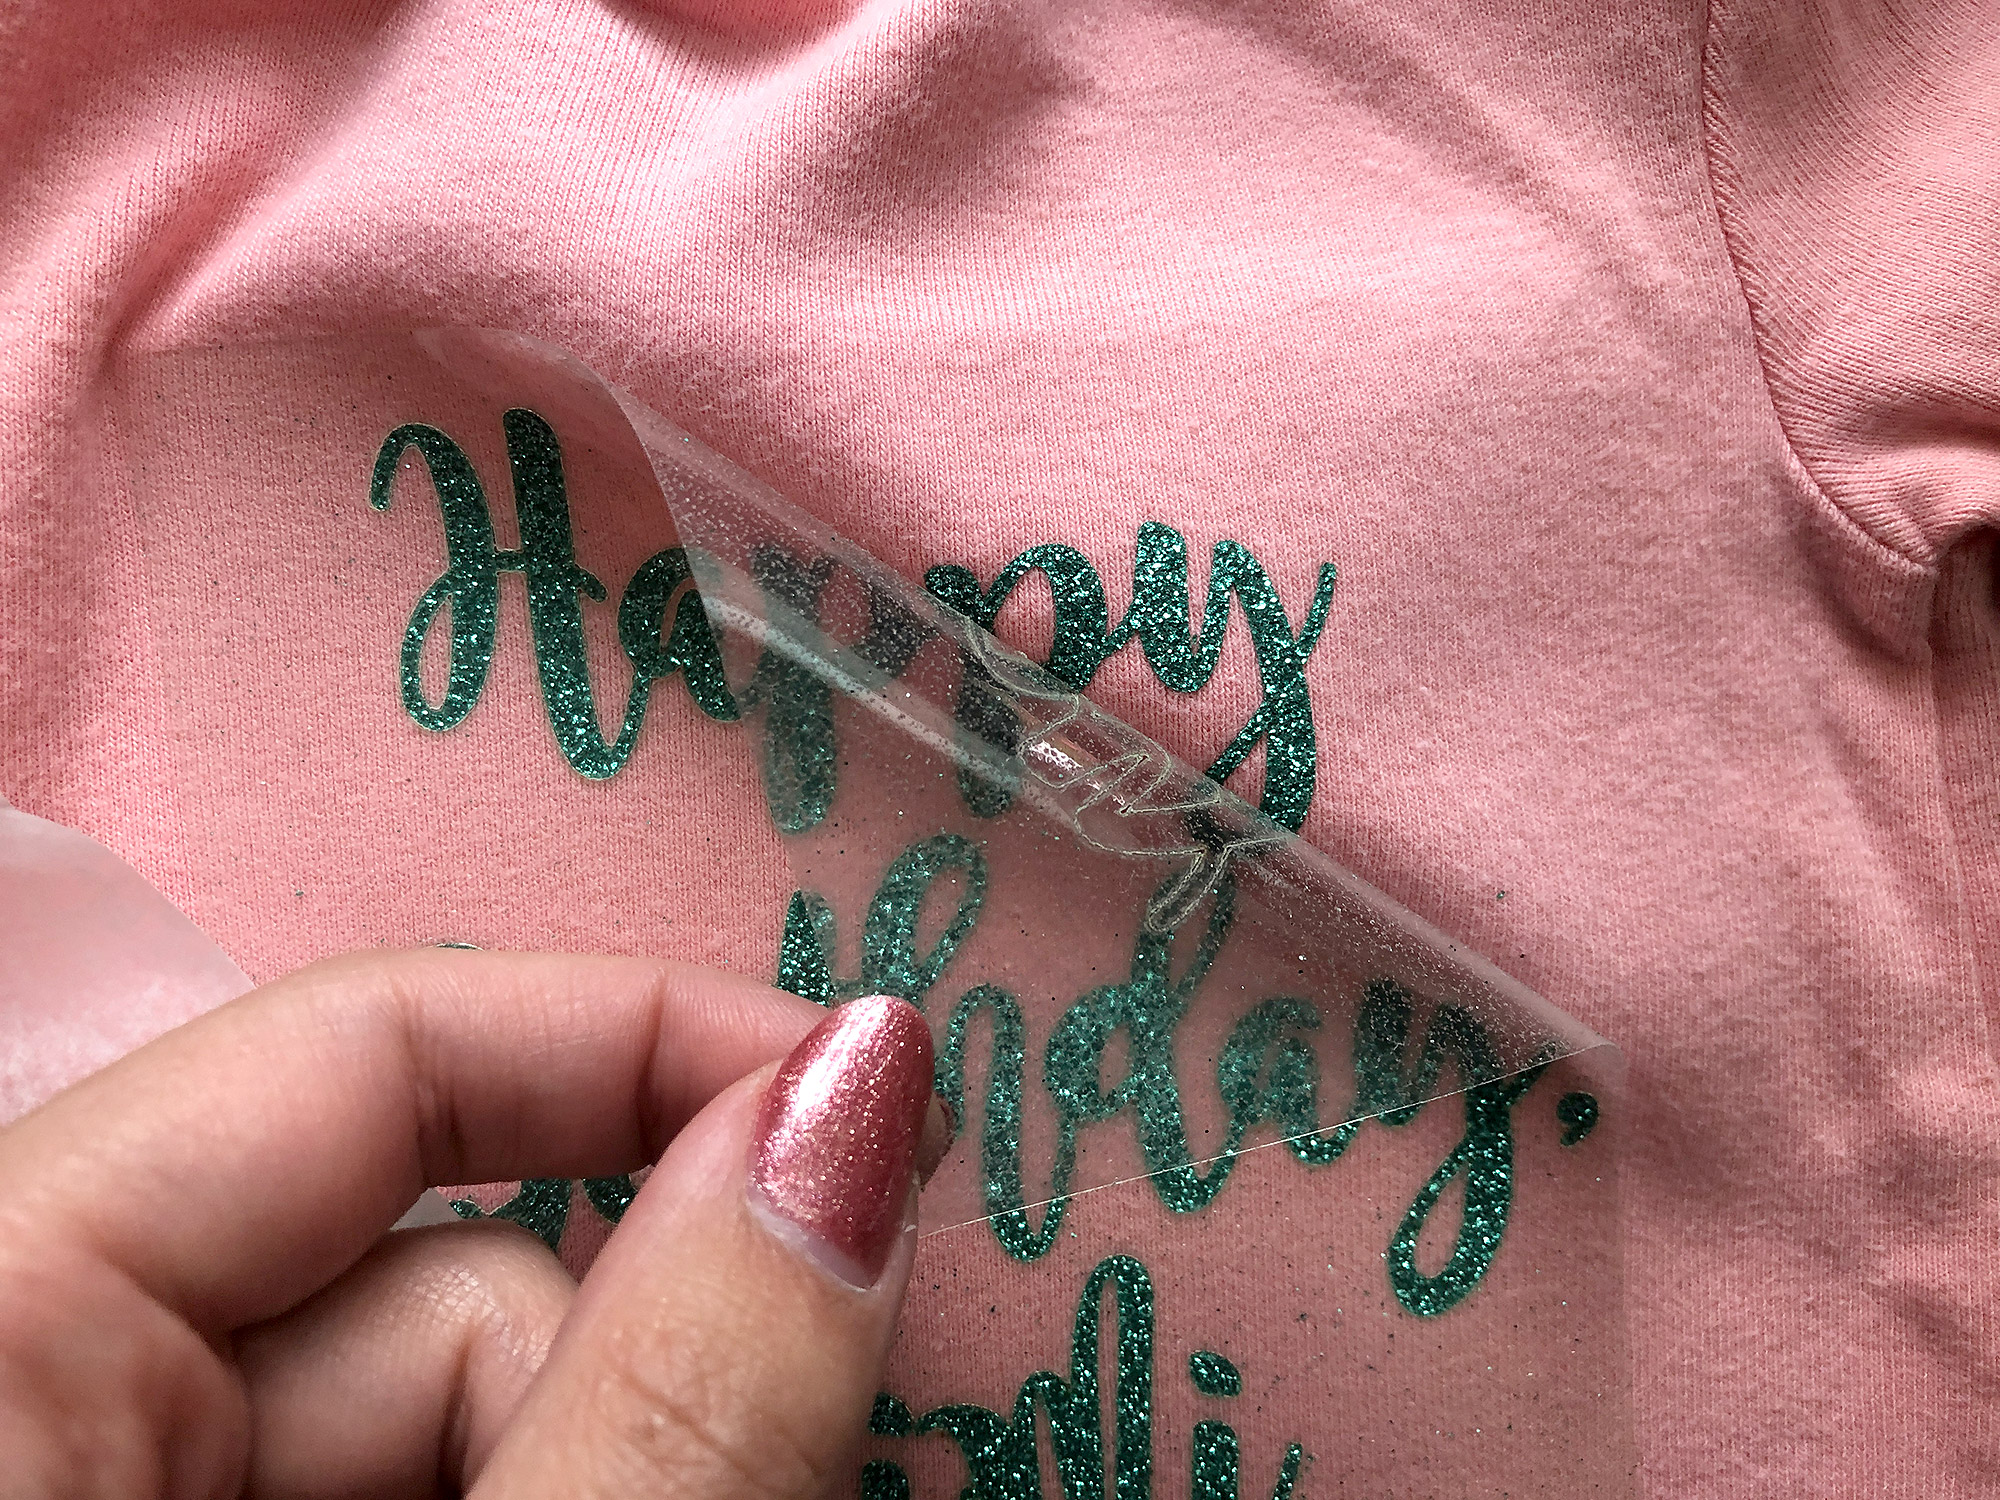
- Peel off the carrier sheet
- Touch up any areas that didn’t adhere perfectly with the iron

NAVIGATE POSTS
Helpful Links
Latest Posts
Posts by Category
Explore Posts By Tags
Acrylic Adobe Illustrator Alcohol Ink Baby Room Beginner Post Book Binding BuyTheFile Christmas Felt freefiles Gifts Gilding Glowforge Holiday Jewelry Journal Kaleidoscope LED Notebook Resin Rubber Stamp Settings Sign Stamping Yupo
Get Your Own Glowforge Laser
If you have found this post helpful and would like to purchase a Glowforge of your own you can receive a discount using my referral link when you are ready to purchase:
Sign Up to Blog Newsletter
CONCLUSIONS
This was such an easy project. I’ve never owned a Cricut or similar, but the laser proved to be a fast and simple way to cut out this design. I find i can also get some super fine detail which is nice as well.

Where to Get the Materials:
Some of these are Amazon affiliate links, so feel free to skip them if you’re not into that. As an Amazon Associate, I earn from qualifying purchases, but they do not cost you any extra:
Get 50% off your first Wish.com order with my code: mfvjgnw | I buy lots of odds and ends here, so if you need some small item and don’t mind waiting, this can be a fun shop to check out.
Long Sleeve Onesies: Use anything – I just had these on hand!
Siser Easy Weed Glitter: Mermaid Blue – Siser HTV is 100% laser safe! I got mine from the local Michaels but you can get it on their website or at Amazon.
Obligatory Glowforge Discount Code Plug
If you found this post helpful and you plan to buy a Glowforge you can use my code (https://glowforge.us/r/QHDONFXB) for a discount of $100 off the Basic, $250 of the Plus, or $500 of the Pro:
Sign Up for Blog Posts Updates
And finally, if you’d like to be updated on posts like these in the future you can sign up for my email list. You will only receive an email if there is new content, and only once weekly in that case:

