I’m currently taking a weekend course in lithography and one of my goals was to try and incorporate my marbling in with my litho prints. My first thought was to simply print the litho over the marbling – which works great, but the suggestion of the instructor I tried some marking which worked out really well.
So here’s how it worked:
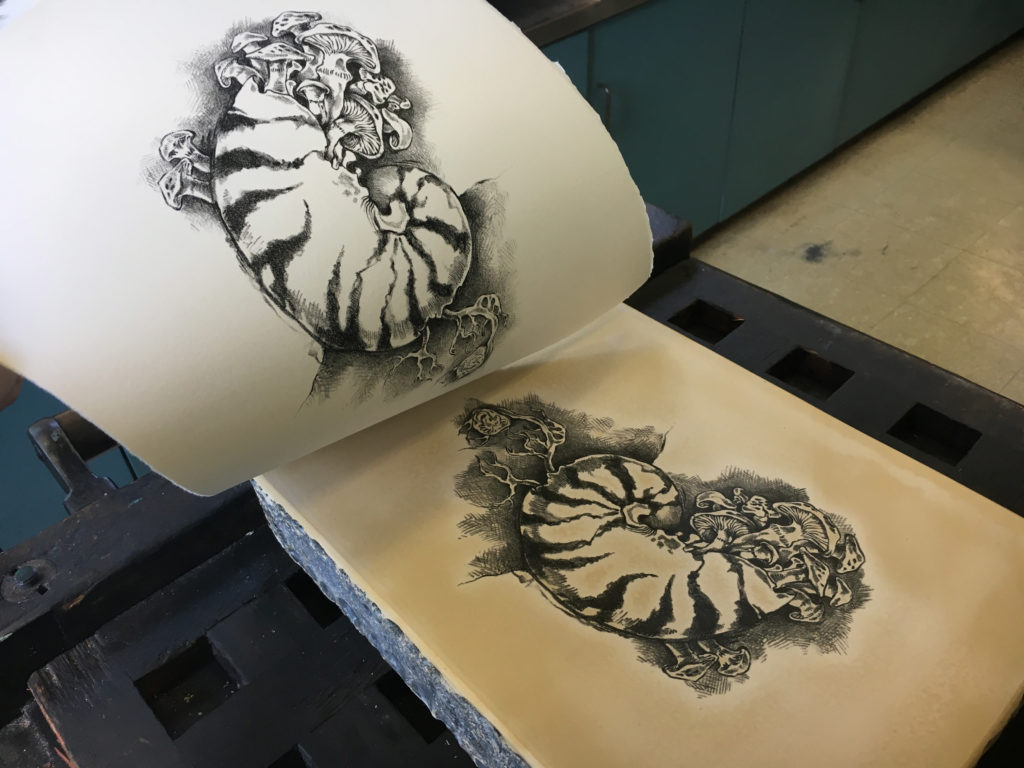 I printed on a variety of different papers. I used some handmade paper that I made, watercolor paper, Mulberry paper, and Rives BFK.
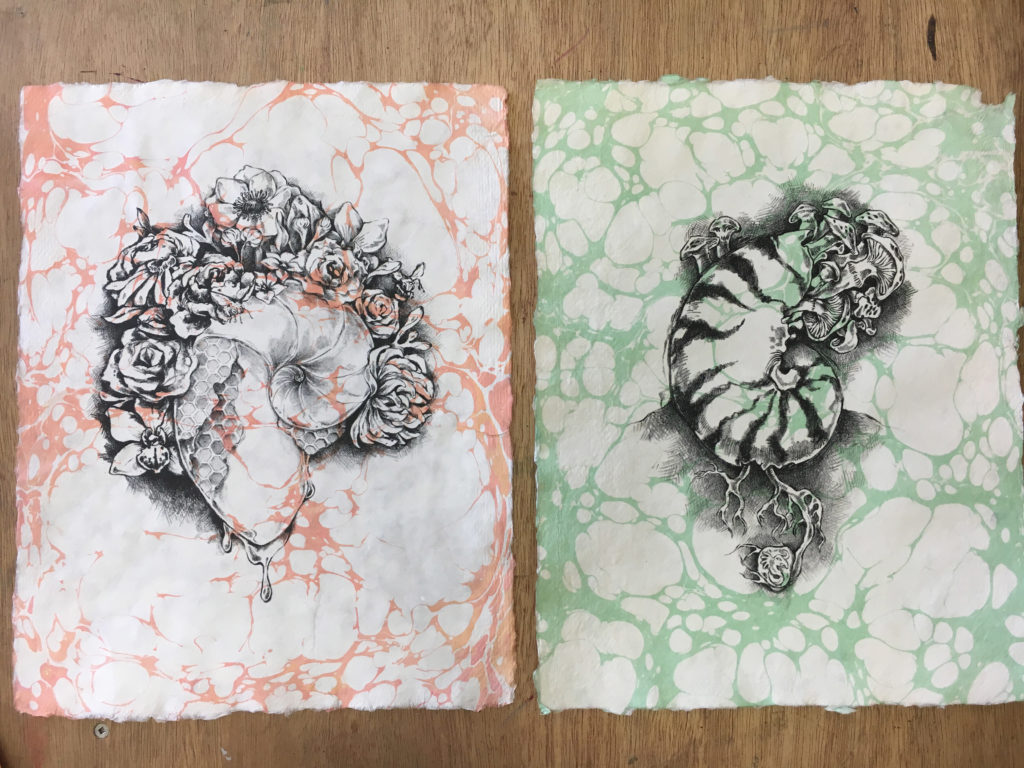
Here were two of my first prints over the marbling:
 2. Once the litho prints were dry and flat I applied alum to the BFK papers. The mulberry and the handmade sheets do not need Alum interestingly enough. Then I set up my marbling station as shown in the past post on marbling.
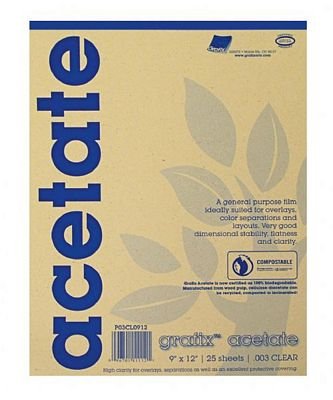
3. After everything was made and ready I worked on cutting out some masks. I had purchased some acetate that I planned to use for picking up sheets of loose gold leaf (the static electricity allows you to essentially back loose gold sheets and make them easier to handle).
I used this acetate – though I might suggest something a wee bit thicker if I was going to purchase it exclusively for making these masks. I imagine there are a variety of materials that would work for this purpose including vellum, tracing paper, or anything see through enough to trace your design .
 Here you can see me tracing out my design on the acetate. I then just cut it out with scissors. Pretty simple.
 I made two masks one that blocked just the shell and one that covered the whole design.
 The next step was figuring out how to get the stencil to stick to the print. I didn’t want to use loops of tape because they might lift the stencil too high off the sheet and thus affect how the paper lays down on the size. Here is what I came up with:
I marked the blank areas on the stencil
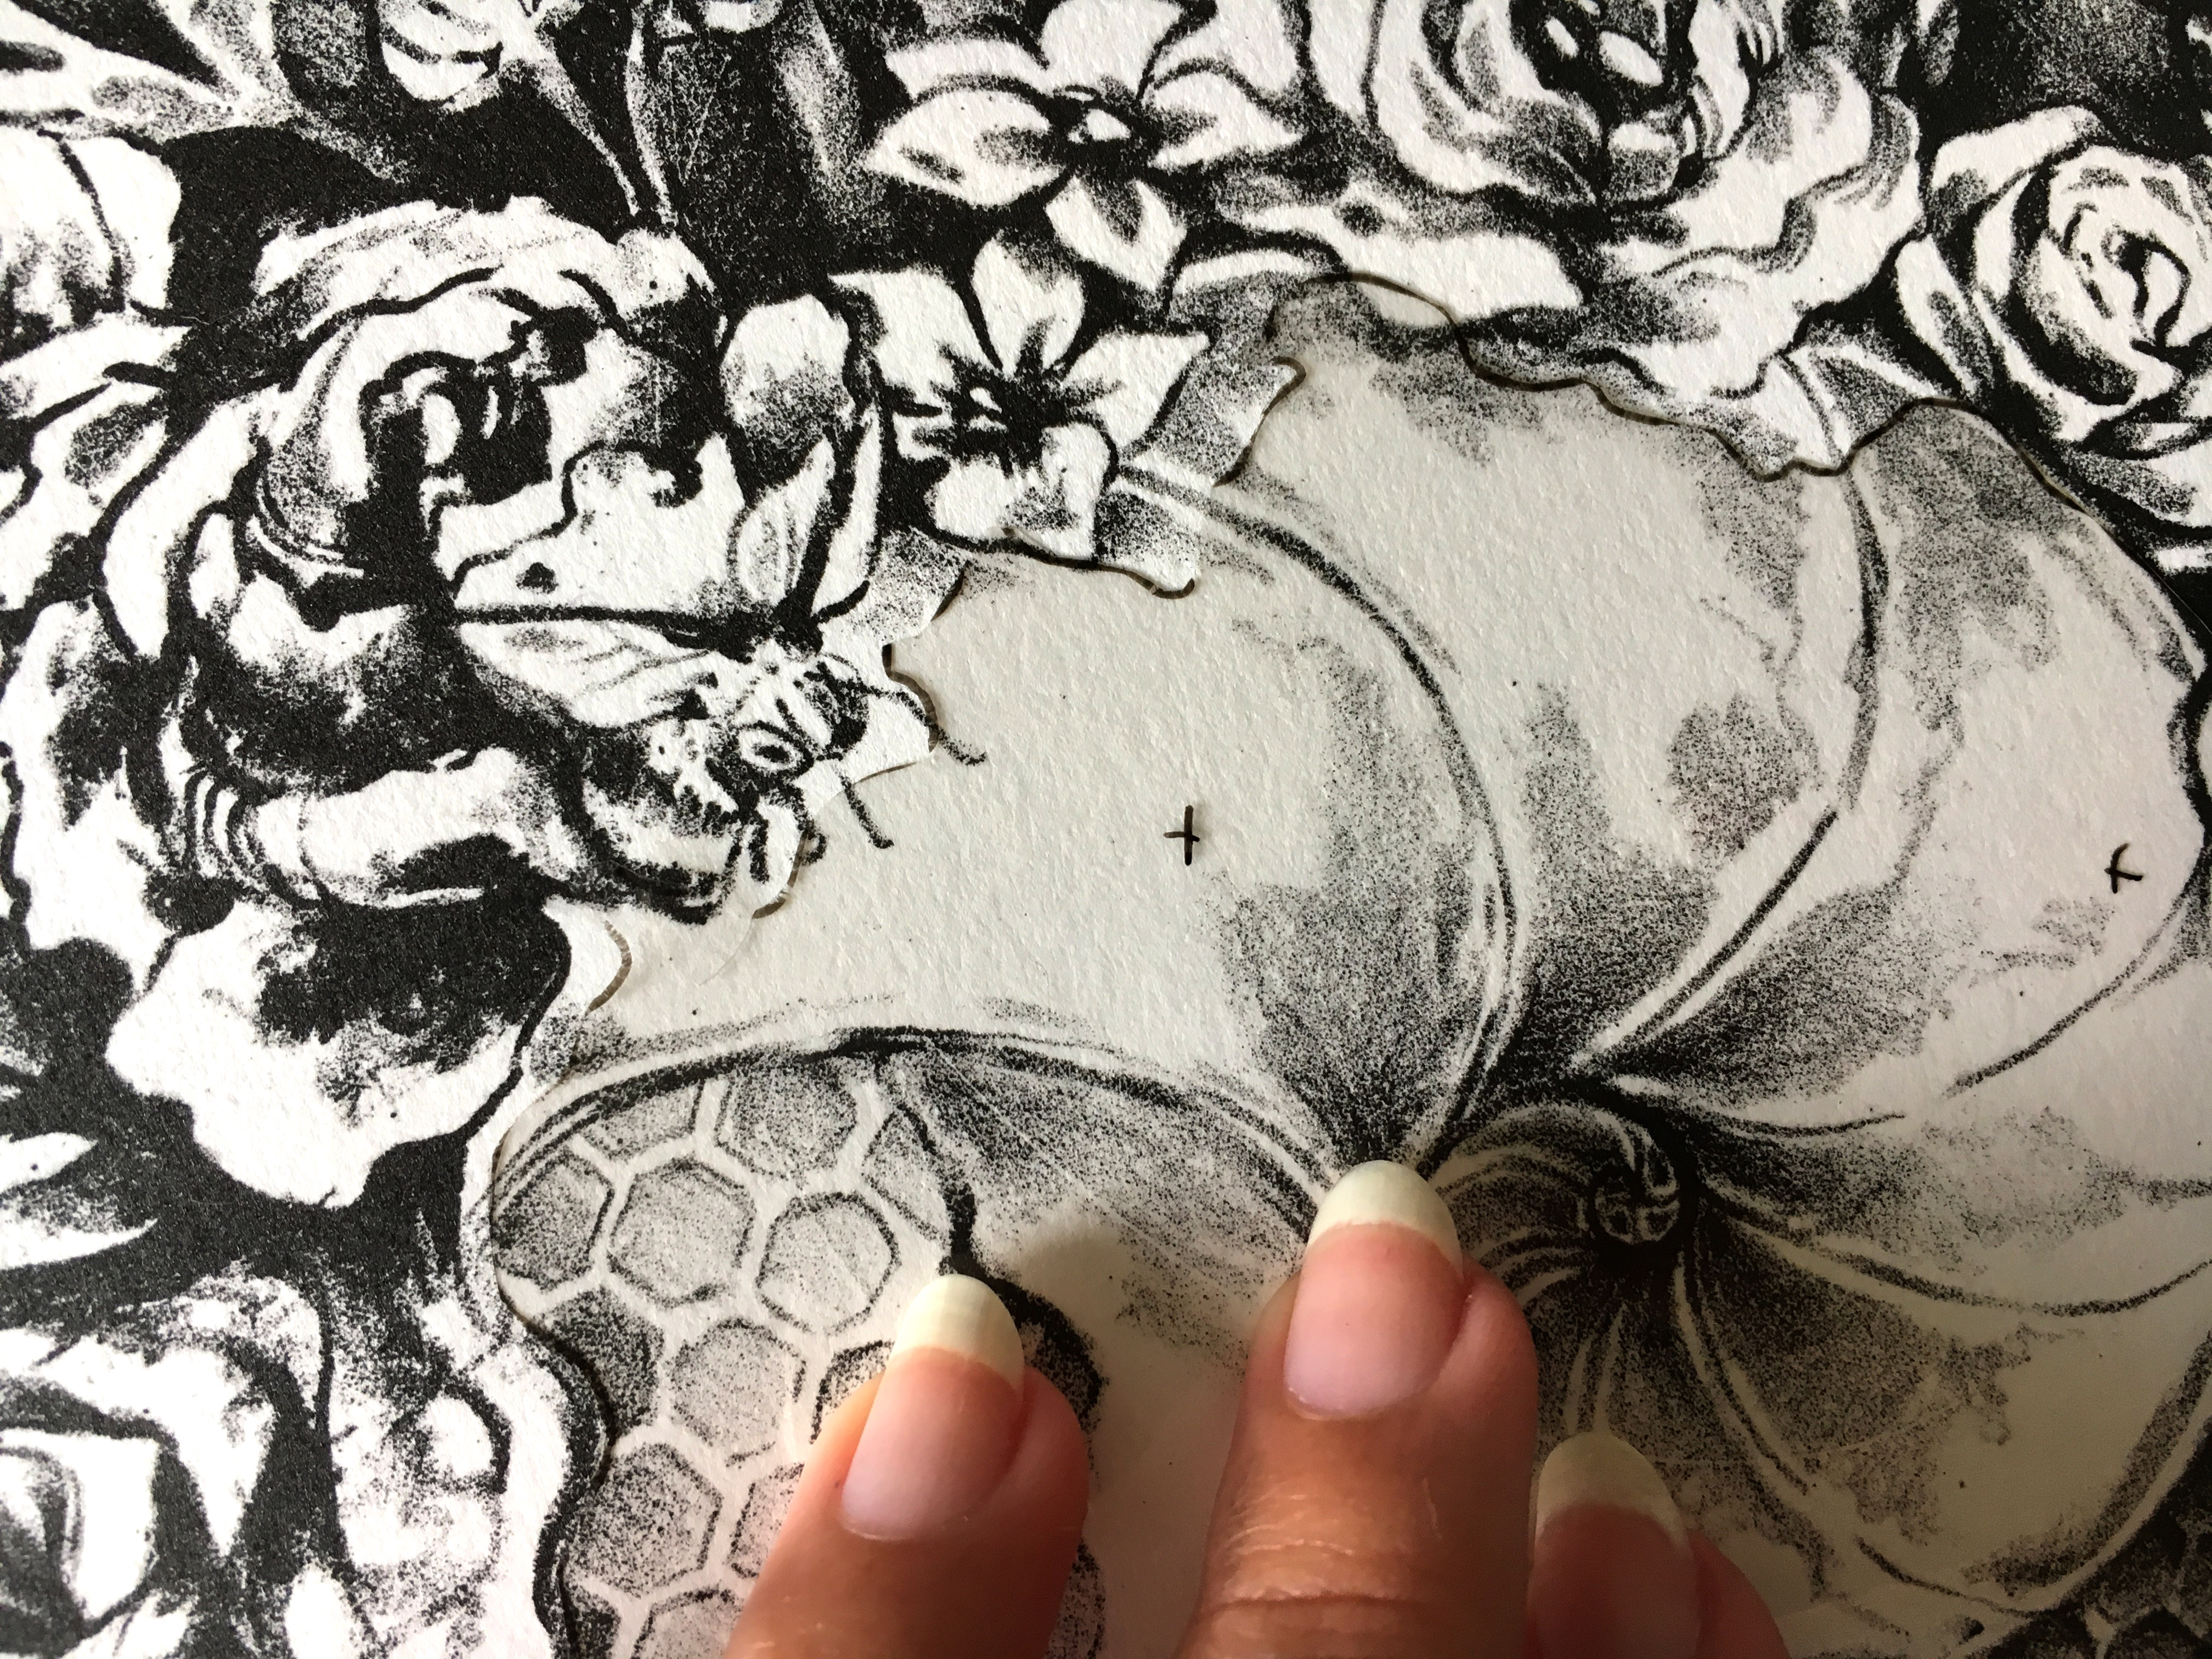 Then I used a hole punch to punch holes in those areas.
 Finally, I used some artist tape (which is acid free) and removed some of the stickiness by tapping it to my shirt. I then put the strips of tape over the holes so the tape only sticks to the sheet through the hole punches.
 Next came the marbling. I tried to mix lighter, more subtle colors this time around.
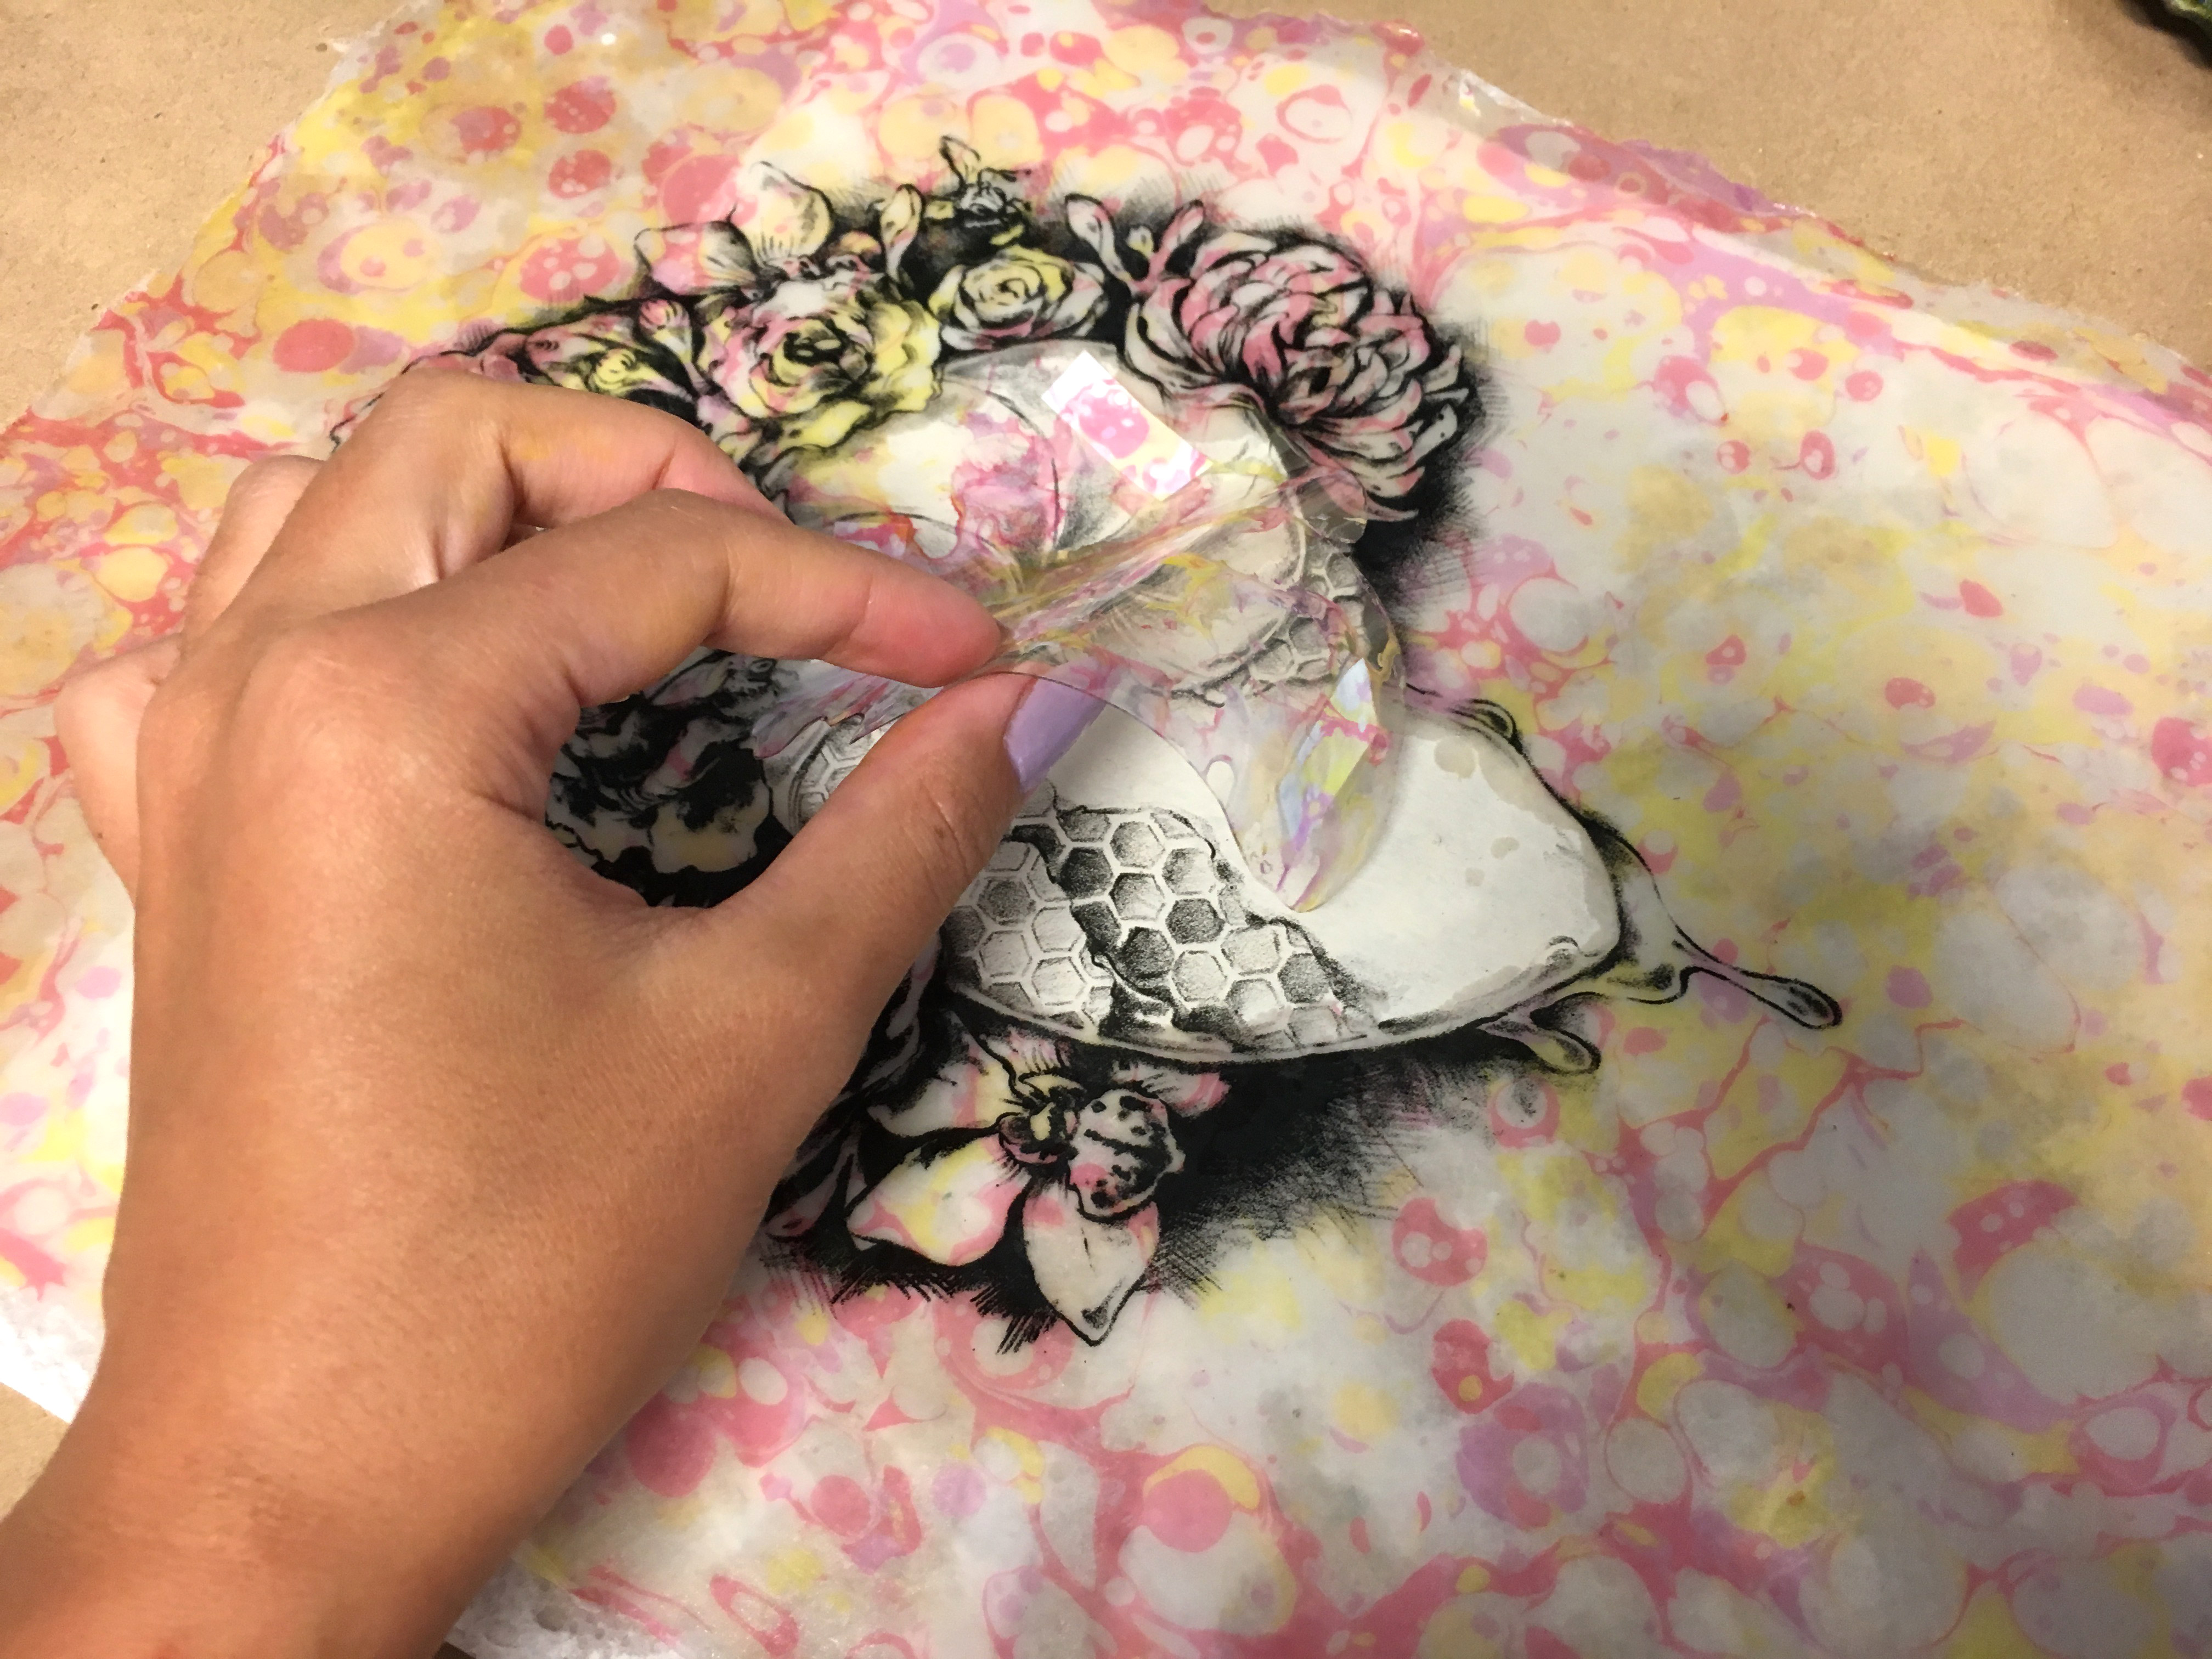 After marbling I laid the paper flat and gently peeled back the mask – it worked like a charm. The only issue was the mask was badly curled after becoming wet so I had to flatten and dry it before I could use it again. I think thicker acetate might work better. Or I could stack layers of acetate together when cutting out my stencil and thus have more than one.
 Here it is a little bit drier. The handmade paper takes a while to dry and become opaque again.
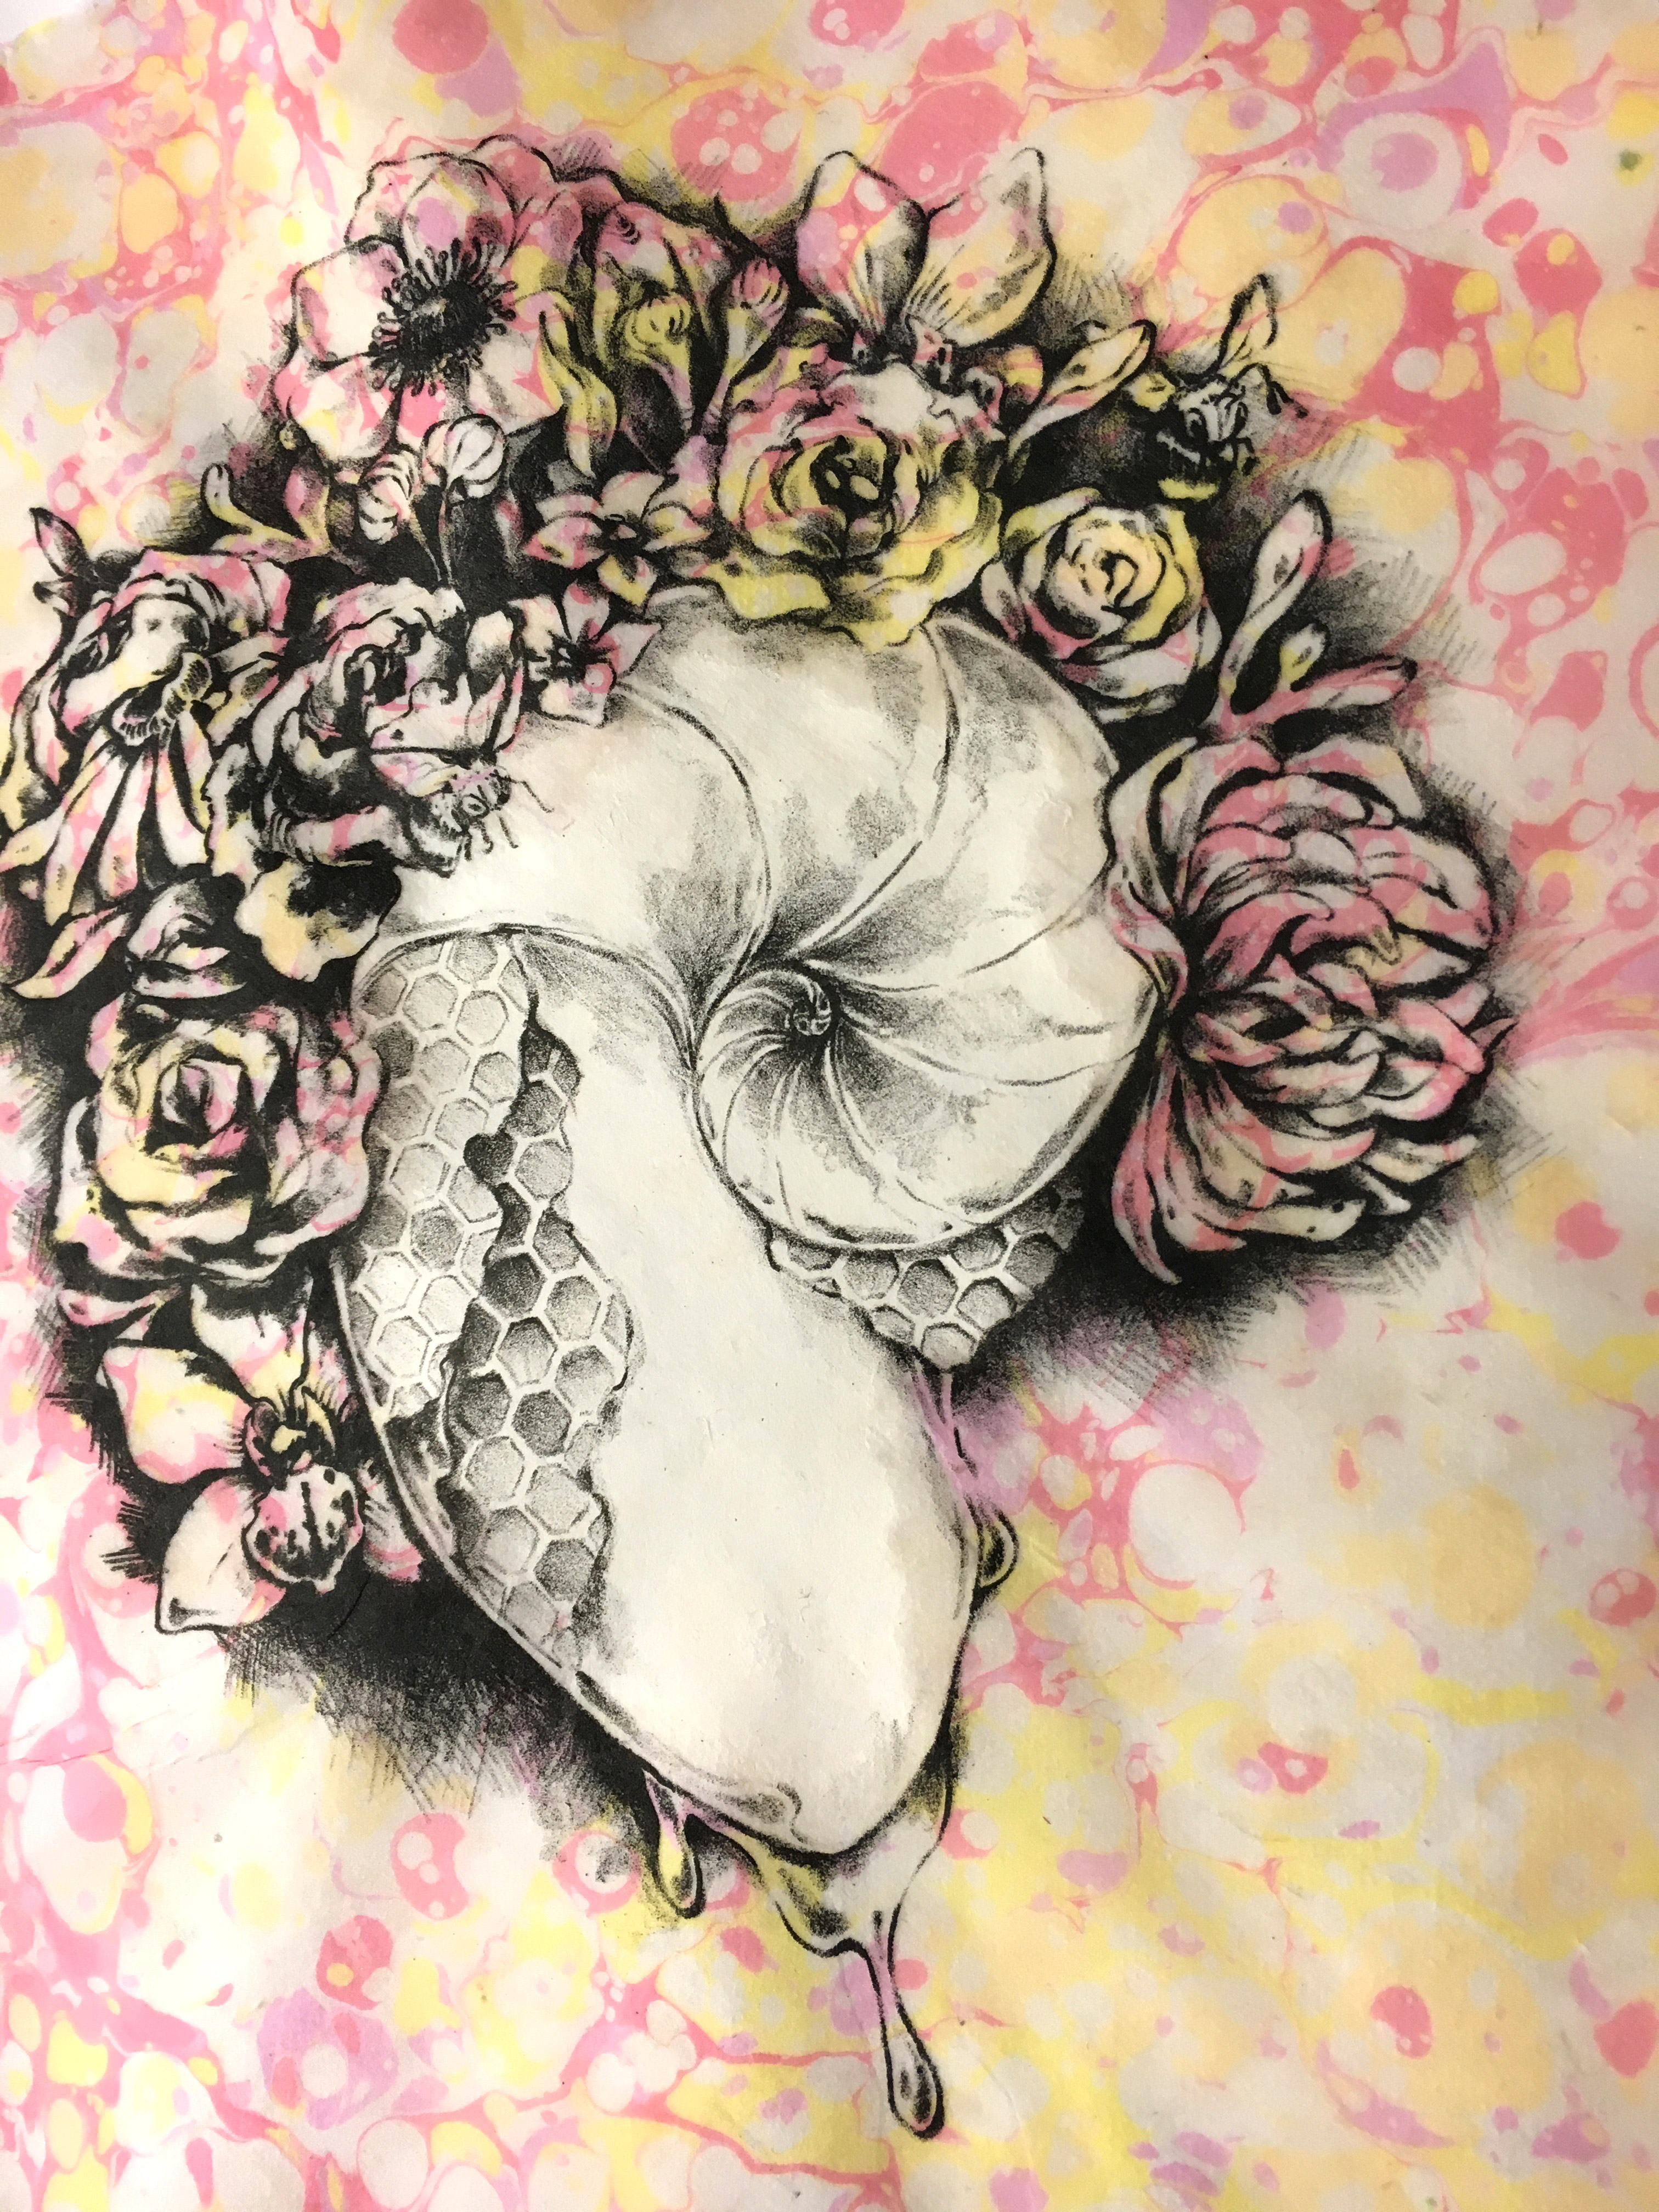 And here is a print using the mask that covered the whole image:
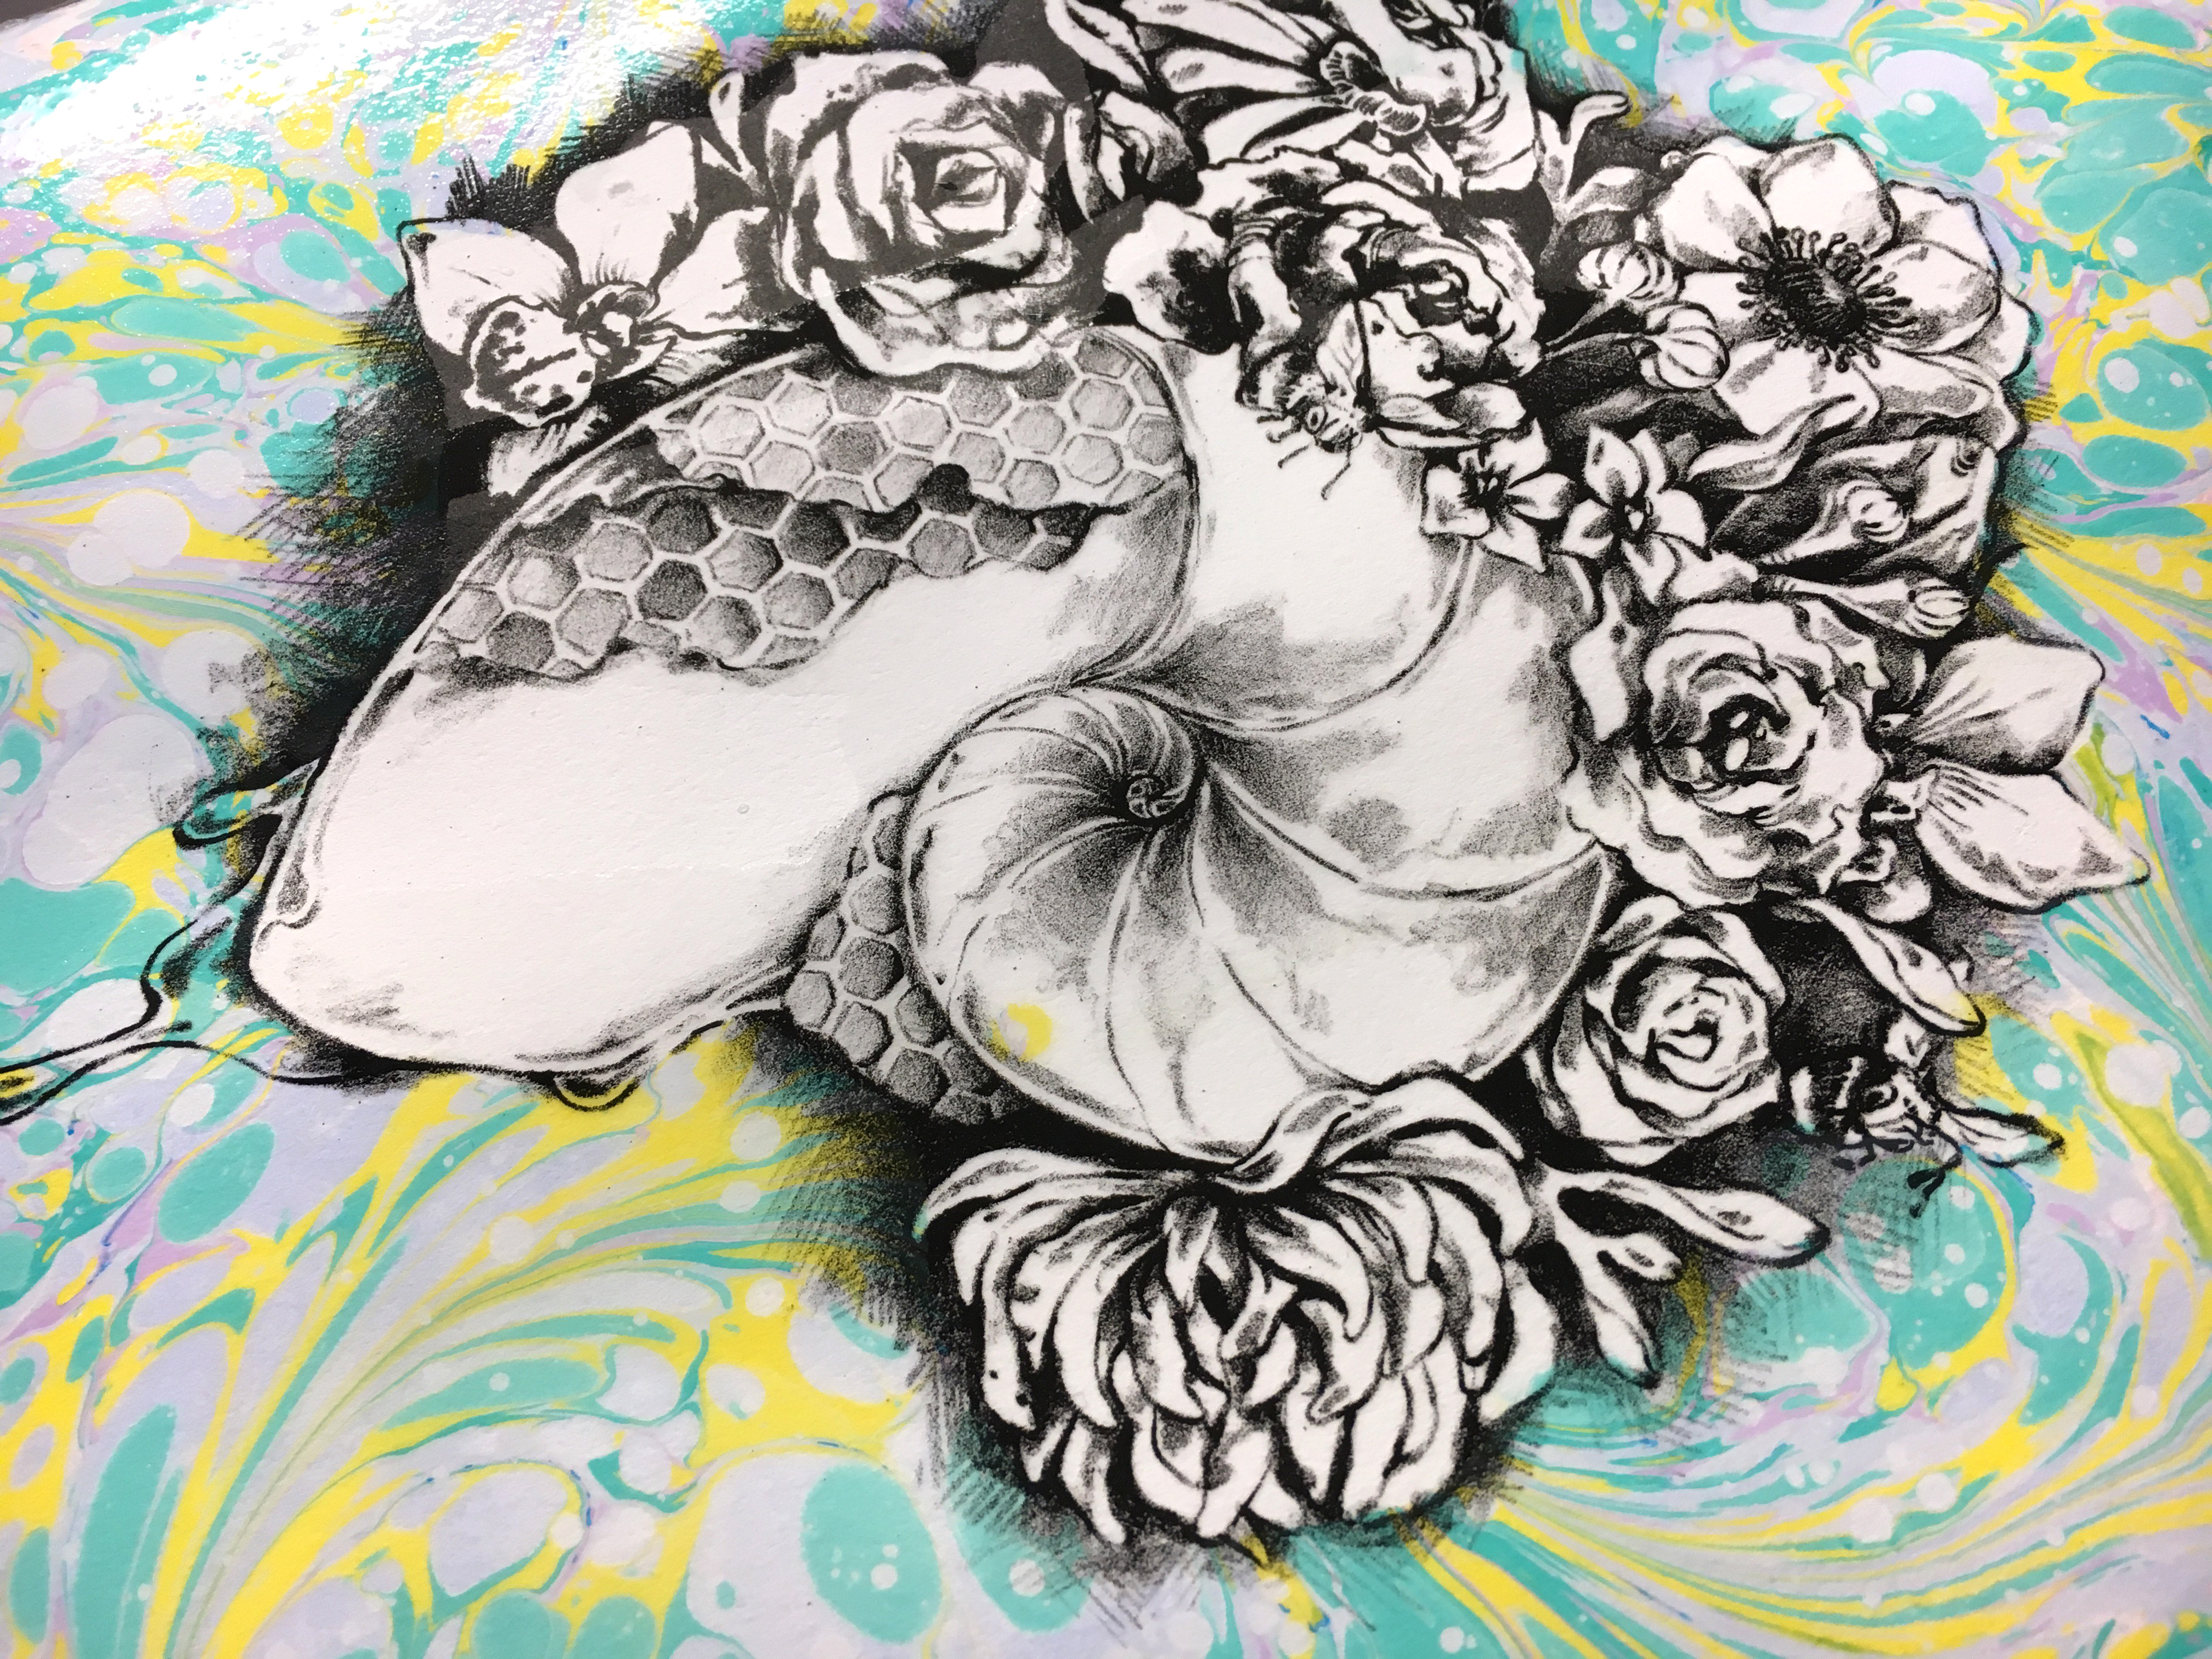 You can see that the Rives BFK paper looks a bit brighter. This is the case for a number of reasons – the paper is white (not cream like the handmade), it as alumed, and it’s a heaver paper designed for printmaking. Its moderate absorbency keeps the colors brighter.
One error you’ll notice above is that there is a yellow spot within the shell – this was caused because I forgot to put tape over one of the holes and the marbling came through.
Here are three of my attempts. One, you may notice, has air bubbles. This is the danger when you use heavy paper to marble as it is harder to lay smoothly on the size.
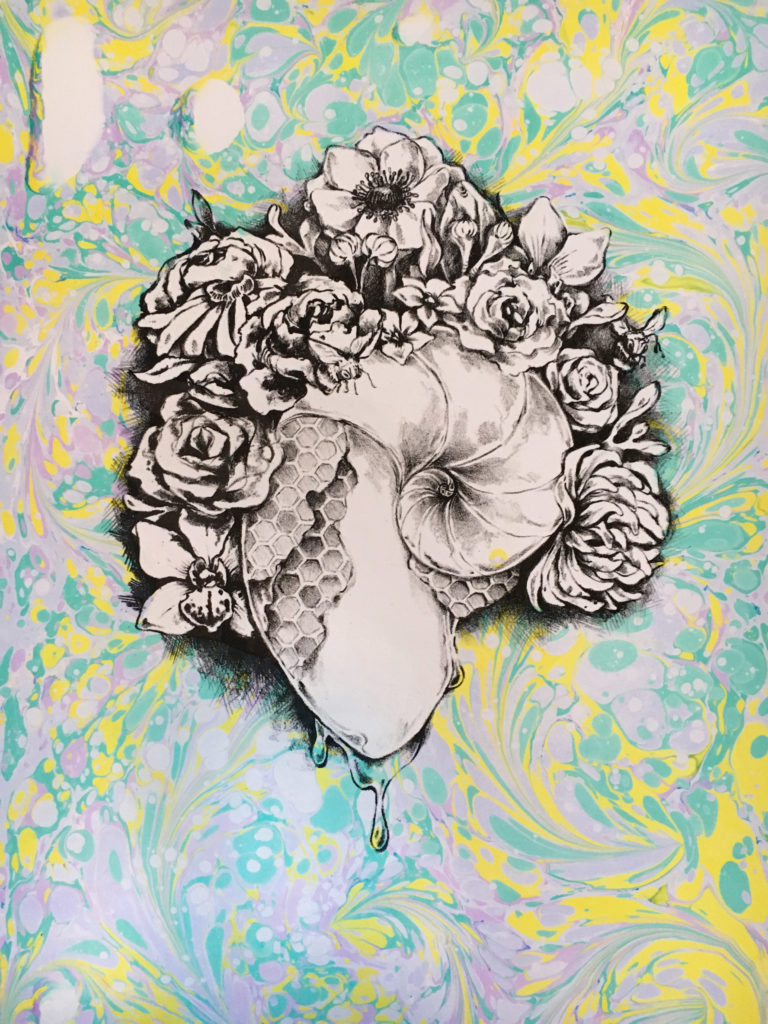
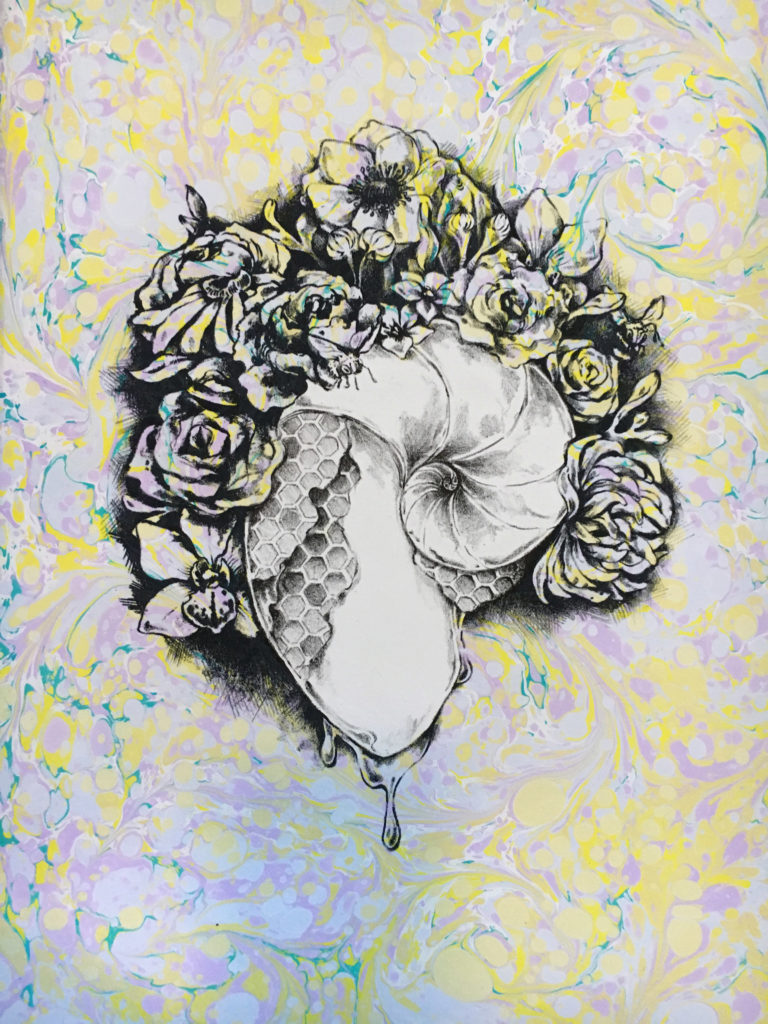
 I went back in and hand colored the last two prints in this row. I was able to disguise the air bubbles a bit by hand painting in the marbling which was kind of fun. At least now the error could be framed out.


- Obviously the first step is printing the lithography.
 I printed on a variety of different papers. I used some handmade paper that I made, watercolor paper, Mulberry paper, and Rives BFK.
Here were two of my first prints over the marbling:
 2. Once the litho prints were dry and flat I applied alum to the BFK papers. The mulberry and the handmade sheets do not need Alum interestingly enough. Then I set up my marbling station as shown in the past post on marbling.
3. After everything was made and ready I worked on cutting out some masks. I had purchased some acetate that I planned to use for picking up sheets of loose gold leaf (the static electricity allows you to essentially back loose gold sheets and make them easier to handle).
I used this acetate – though I might suggest something a wee bit thicker if I was going to purchase it exclusively for making these masks. I imagine there are a variety of materials that would work for this purpose including vellum, tracing paper, or anything see through enough to trace your design .
 Here you can see me tracing out my design on the acetate. I then just cut it out with scissors. Pretty simple.
 I made two masks one that blocked just the shell and one that covered the whole design.
 The next step was figuring out how to get the stencil to stick to the print. I didn’t want to use loops of tape because they might lift the stencil too high off the sheet and thus affect how the paper lays down on the size. Here is what I came up with:
I marked the blank areas on the stencil
 Then I used a hole punch to punch holes in those areas.
 Finally, I used some artist tape (which is acid free) and removed some of the stickiness by tapping it to my shirt. I then put the strips of tape over the holes so the tape only sticks to the sheet through the hole punches.
 Next came the marbling. I tried to mix lighter, more subtle colors this time around.
 After marbling I laid the paper flat and gently peeled back the mask – it worked like a charm. The only issue was the mask was badly curled after becoming wet so I had to flatten and dry it before I could use it again. I think thicker acetate might work better. Or I could stack layers of acetate together when cutting out my stencil and thus have more than one.
 Here it is a little bit drier. The handmade paper takes a while to dry and become opaque again.
 And here is a print using the mask that covered the whole image:
 You can see that the Rives BFK paper looks a bit brighter. This is the case for a number of reasons – the paper is white (not cream like the handmade), it as alumed, and it’s a heaver paper designed for printmaking. Its moderate absorbency keeps the colors brighter.
One error you’ll notice above is that there is a yellow spot within the shell – this was caused because I forgot to put tape over one of the holes and the marbling came through.
Here are three of my attempts. One, you may notice, has air bubbles. This is the danger when you use heavy paper to marble as it is harder to lay smoothly on the size.


 I went back in and hand colored the last two prints in this row. I was able to disguise the air bubbles a bit by hand painting in the marbling which was kind of fun. At least now the error could be framed out.


Wow!
Love the hole punch hack!
This is absolutely incredible.