Nested Earrings for the Glowforge Laser
Project Overview:
I love making earrings. I think because for the amount of material they are a great value. I’m super stingy with my fancy acrylics and patterned materials so earrings are a great, easy project. In this post i’m going to show you how to design and assemble a very popular type of nested earring. These are great because you can make a TON of earrings using small areas of material or even scraps.
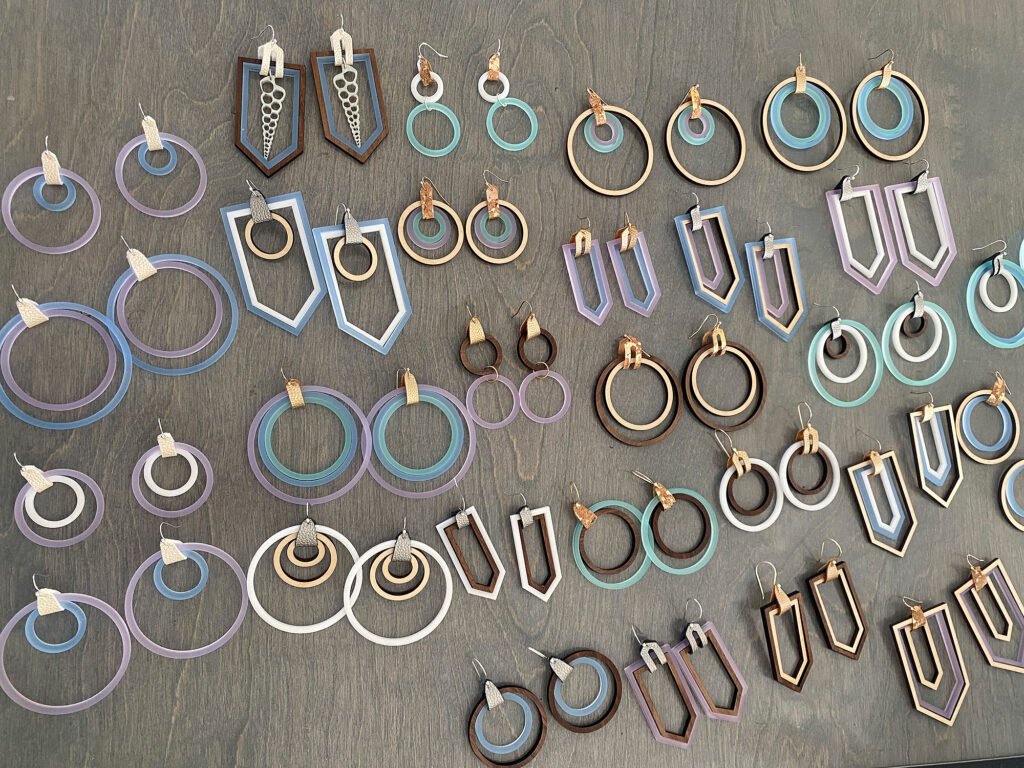
Get the Files
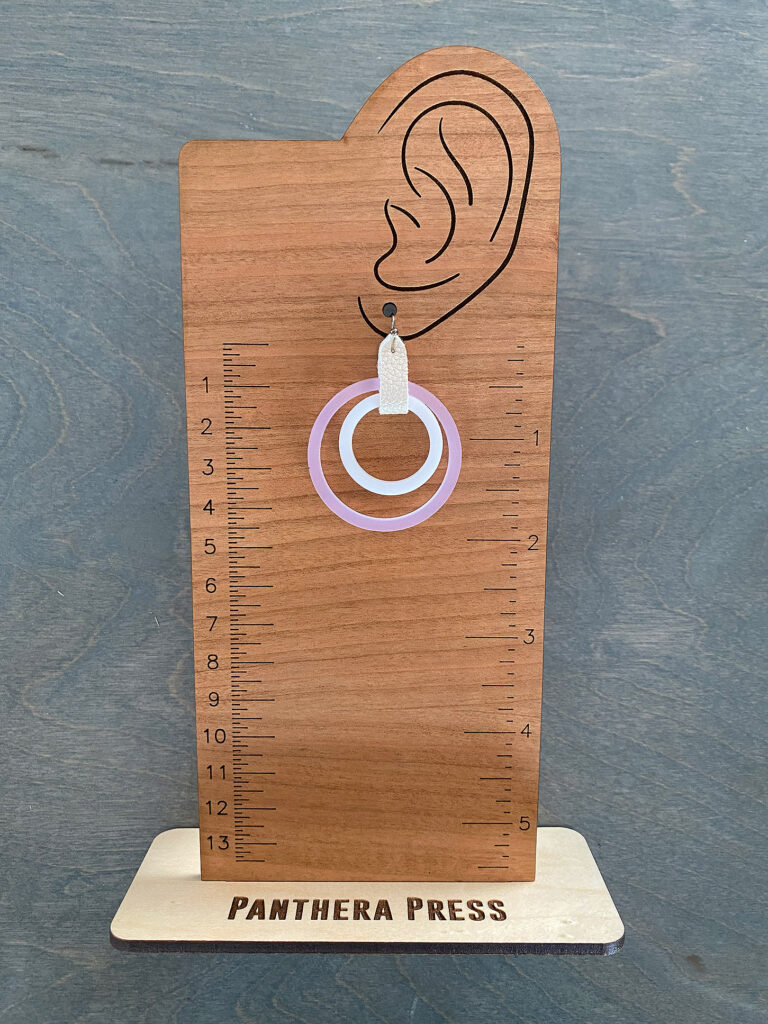
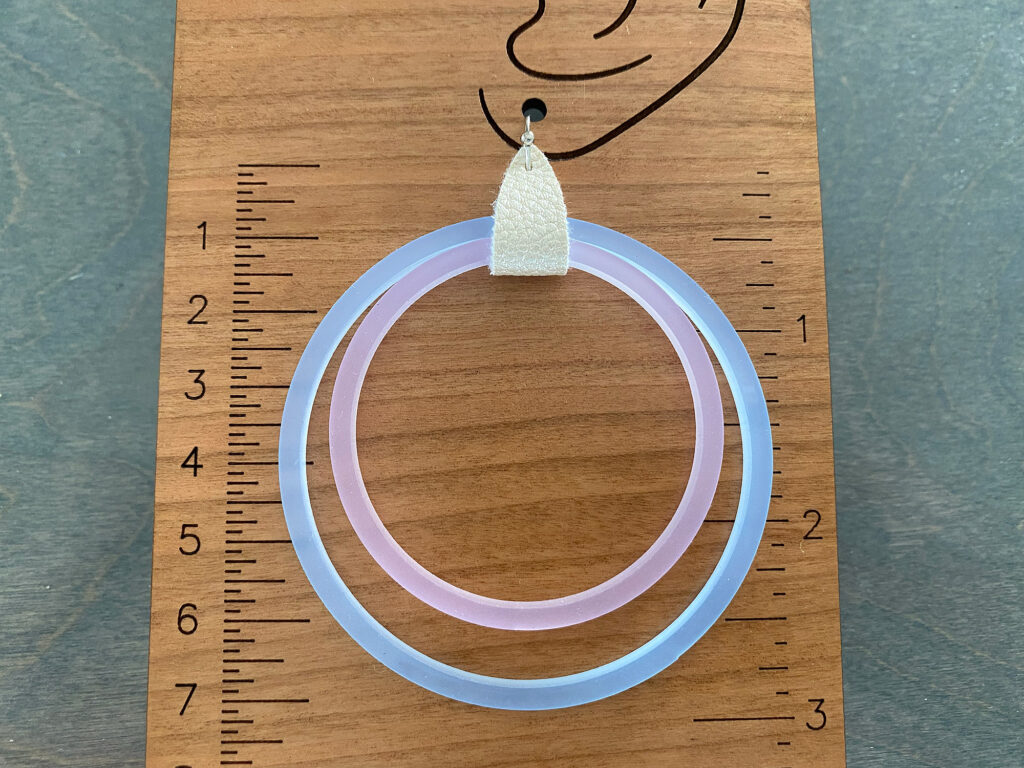
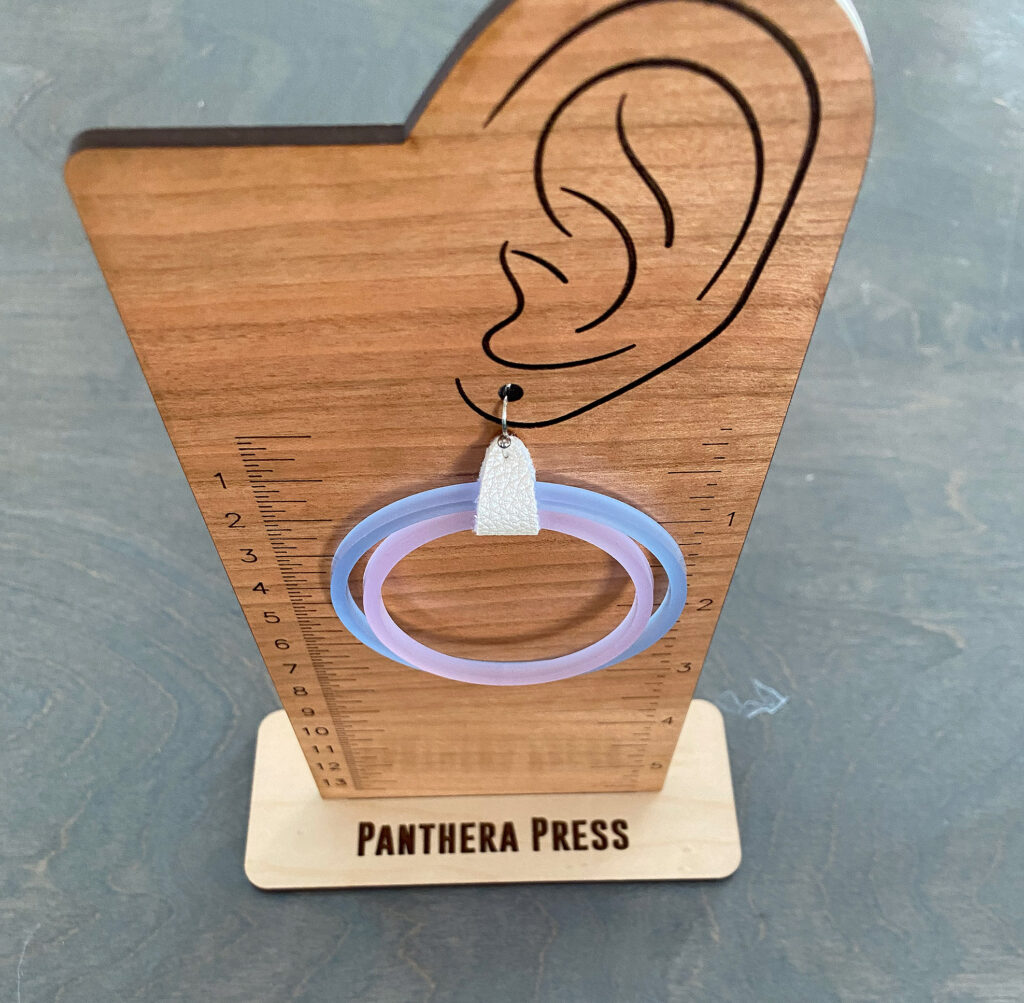
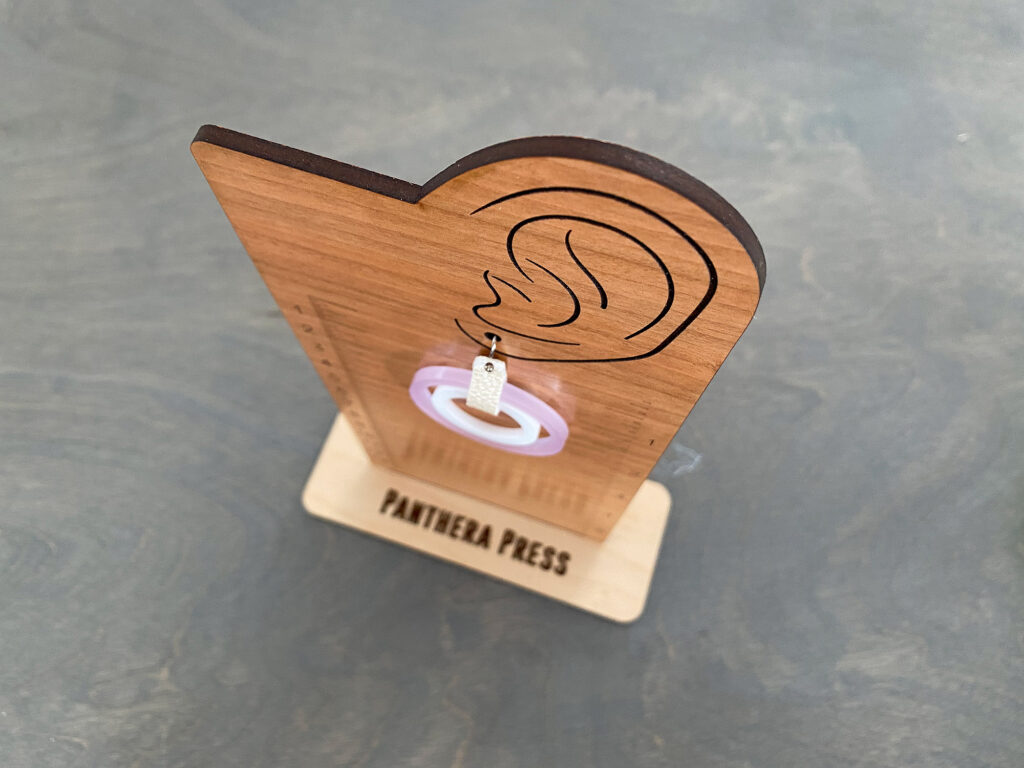
If you’d like to purchase the earring display it’s on my Etsy for just $1
FREE FILE:
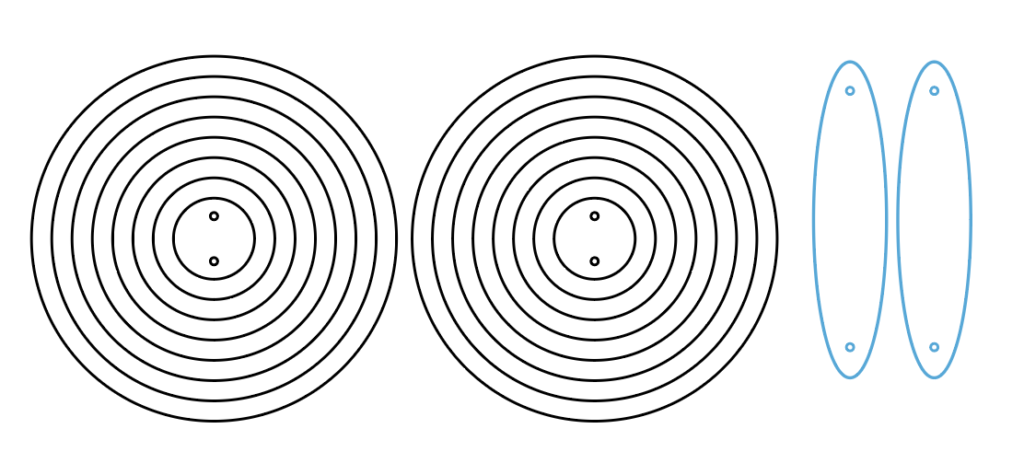
If you’d like to download a set of nested circles with the holder tab I’m offering them free right here!
About the Materials
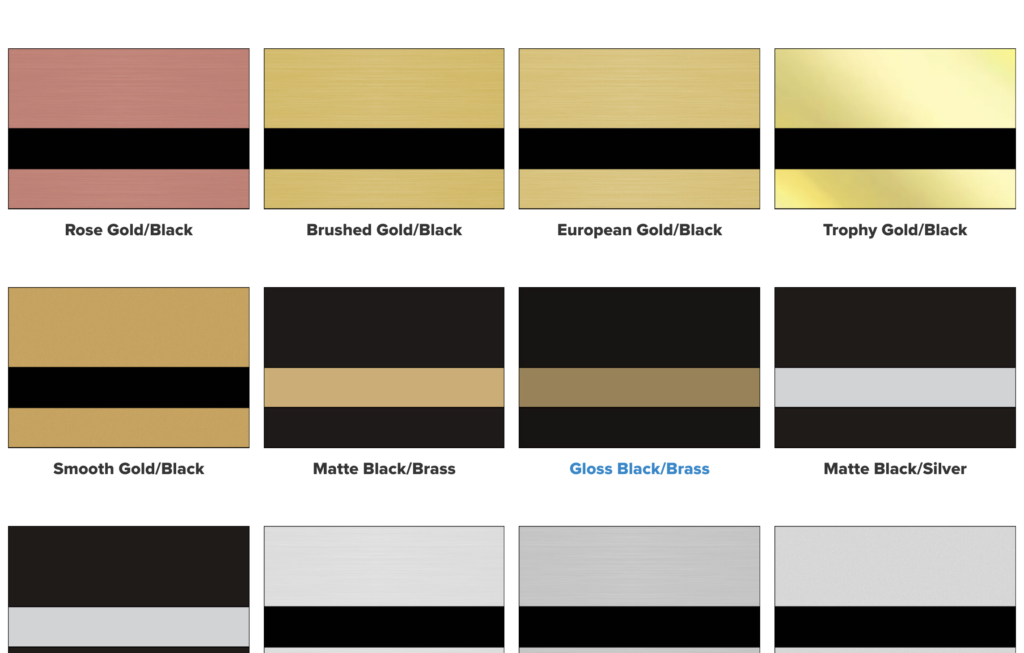
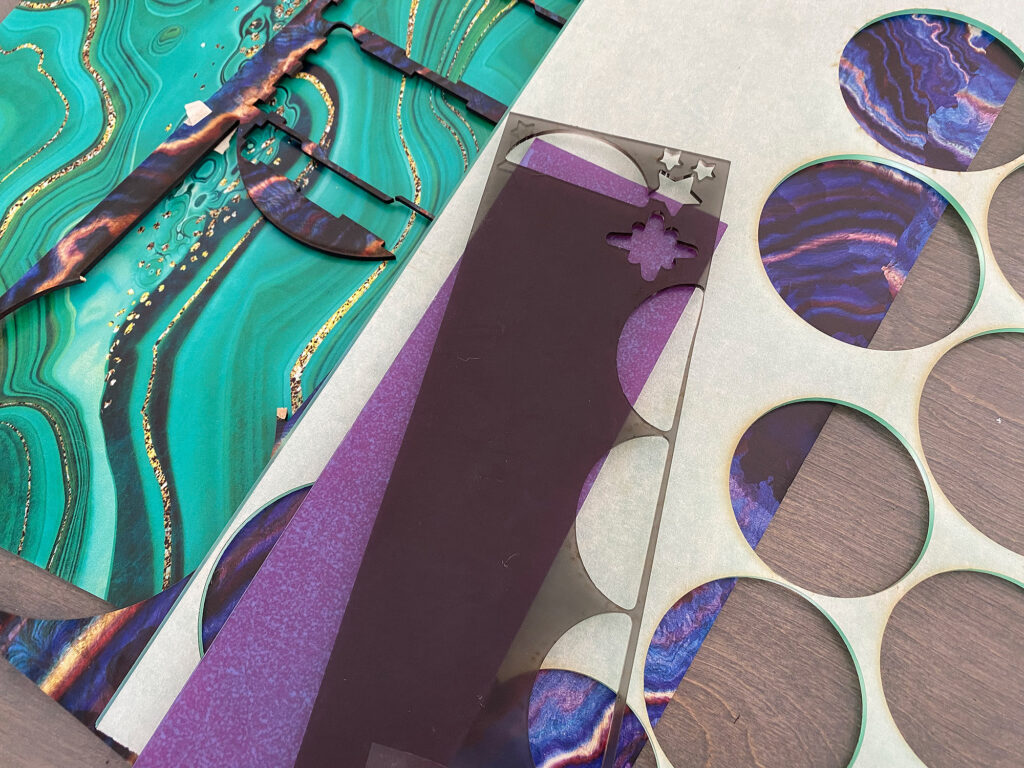
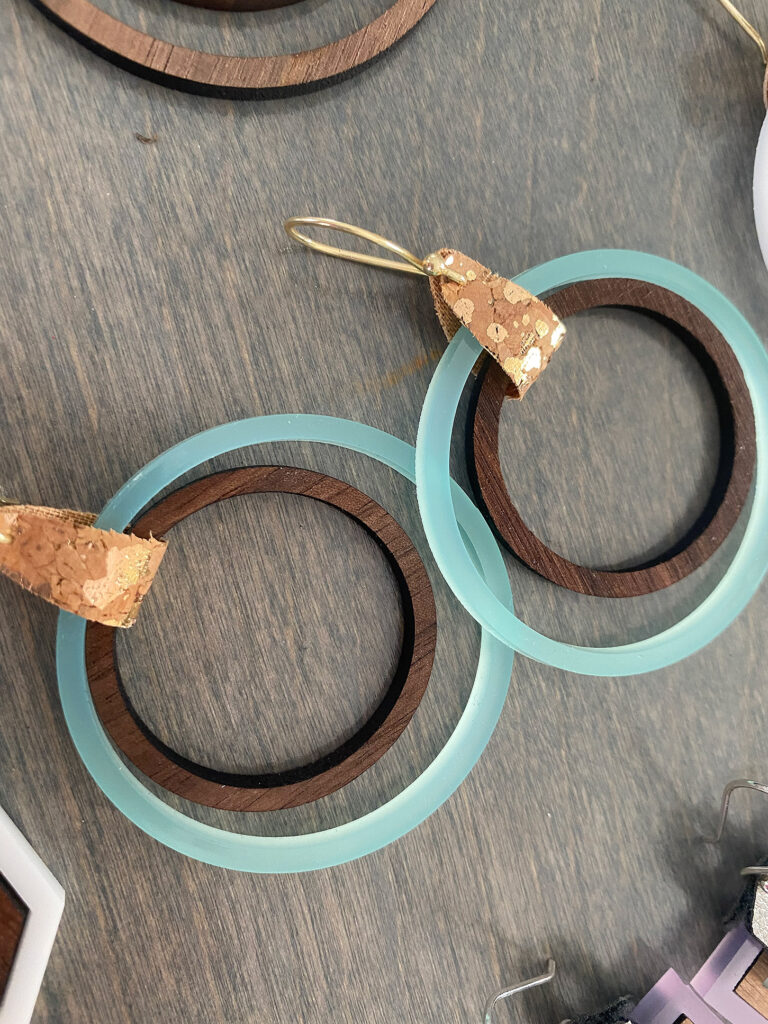
You’re going to see three different materials here – solid walnut, acrylic, and Patternply. Patternply is a patterned mdf core plywood (also available as acrylic btw) produced by Smokey Hills Laser Supplies. There are many places that sel patterned acrylic and boar, but Smokey Hills is where I order mine typically because I like their selection of patterns and they have great service (not to hate on many of the other small businesses I buy from – their service is awesome too). Most of the frosted acrylics I bought are either from Johnsons Plastic Plus, Craft Closet, or Cerulean Tides Laser Supplies.
Below you can see some samples of what I used. In addition to these I also bought a variety of findings from Amazon. Those will be linked in the materials section at the WAY bottom of the post.
Creating the File
To learn how to make these very simple earrings you can watch this video. I’ll also show you how to use it effectively in the Glowforge interface.
Cutting Settings
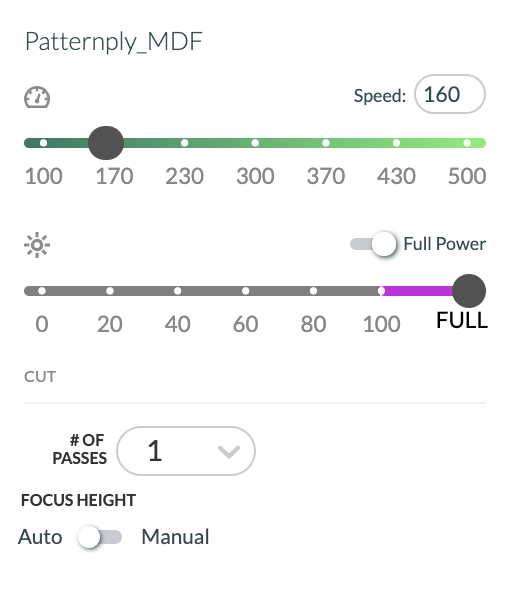
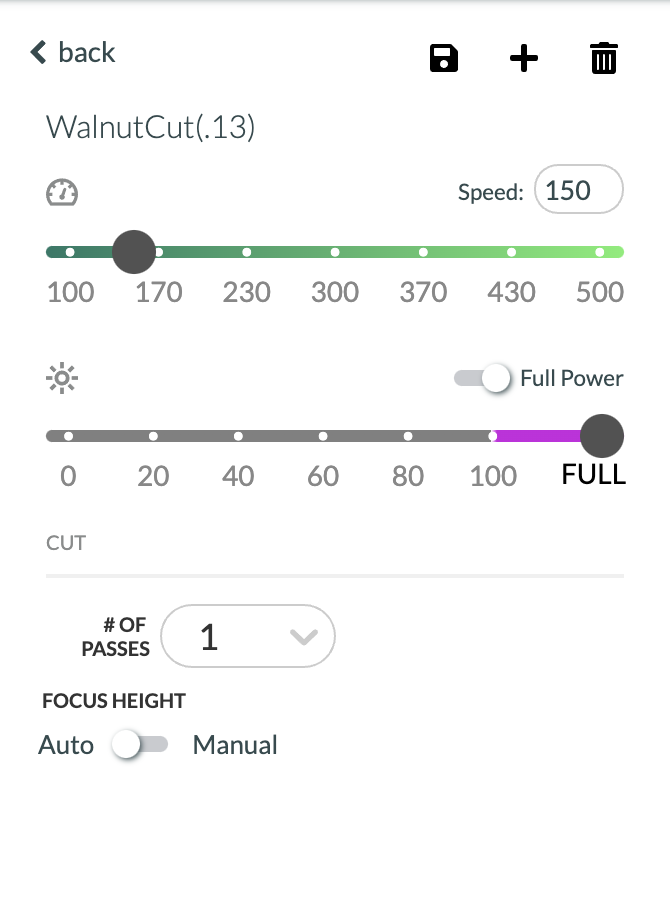
For all of these I used 3mm (not actually 3mm, always measure, but mine comes out to .13″) solid walnut, acrylic, and mdf pattern ply. For the acrylic I just used proofgrade red for everything.
Cutting the Leatherette
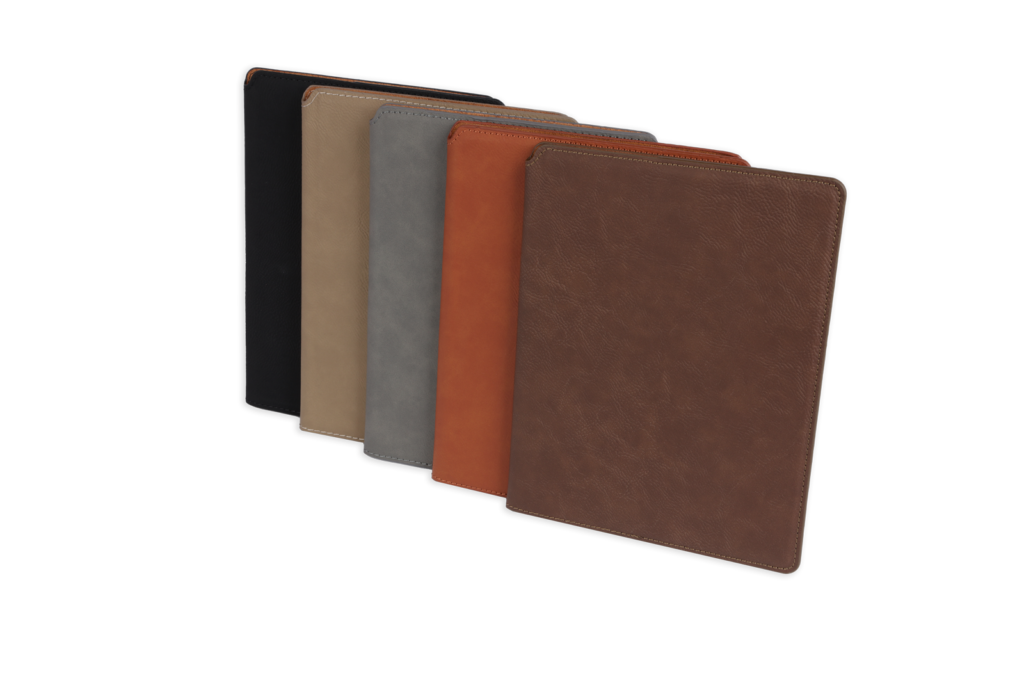
Alright, so as a note I cut my leatherette on a Cameo 4 because it’s got PVC in and isn’t laser safe. That being said Johnsons Plastics Plus does sell a laser safe Polyurathane leatherette (Saddle Collection) in sheets or in finished items that you can use. I have some but haven’t cut it yet. You could also cut cork fabric, regular fabric (nothing that contains pvc or feels like plastic), veg tanned leather, or Flexibrass (also on JPP in a ton of colors) to make the little holder flap things.
Saddle Leather Settings:
Cut: 400/75
Engrave:
450 / 8 / 195 LPI (this is what gave me the pretty silver engrave in the test pic)
Score:
black: 500 / 10
browns/grays: 500 / 15
Flexibrass Settings:
Cut: 430s /100p
Engrave: 1000s/30p
Assembling
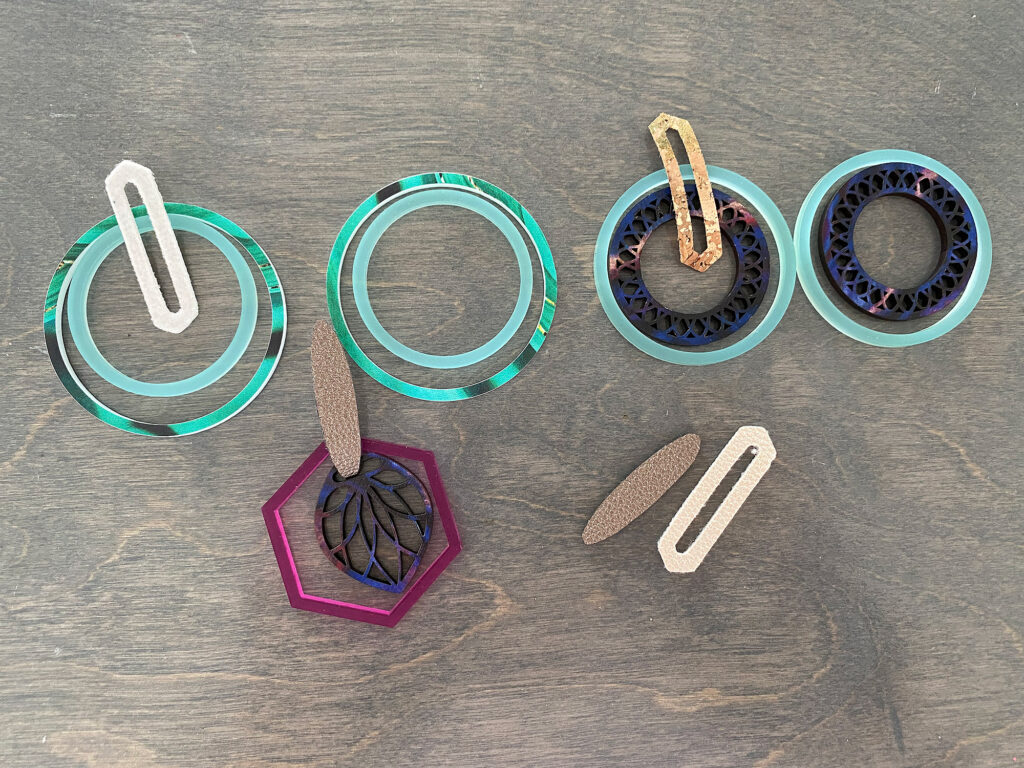
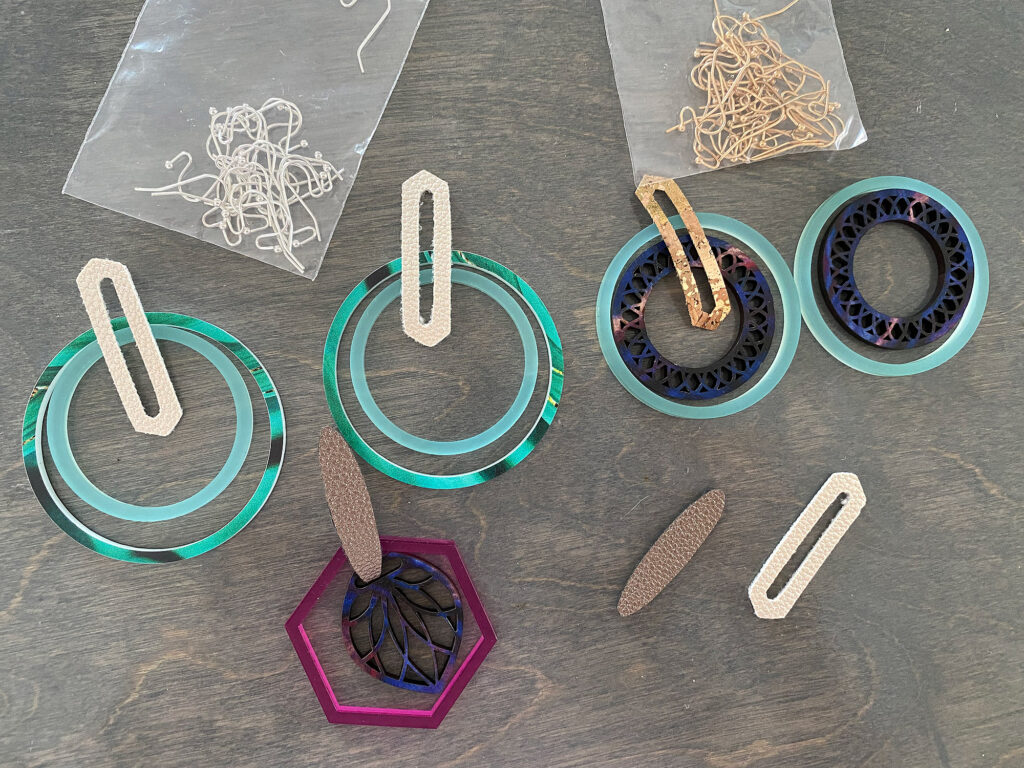
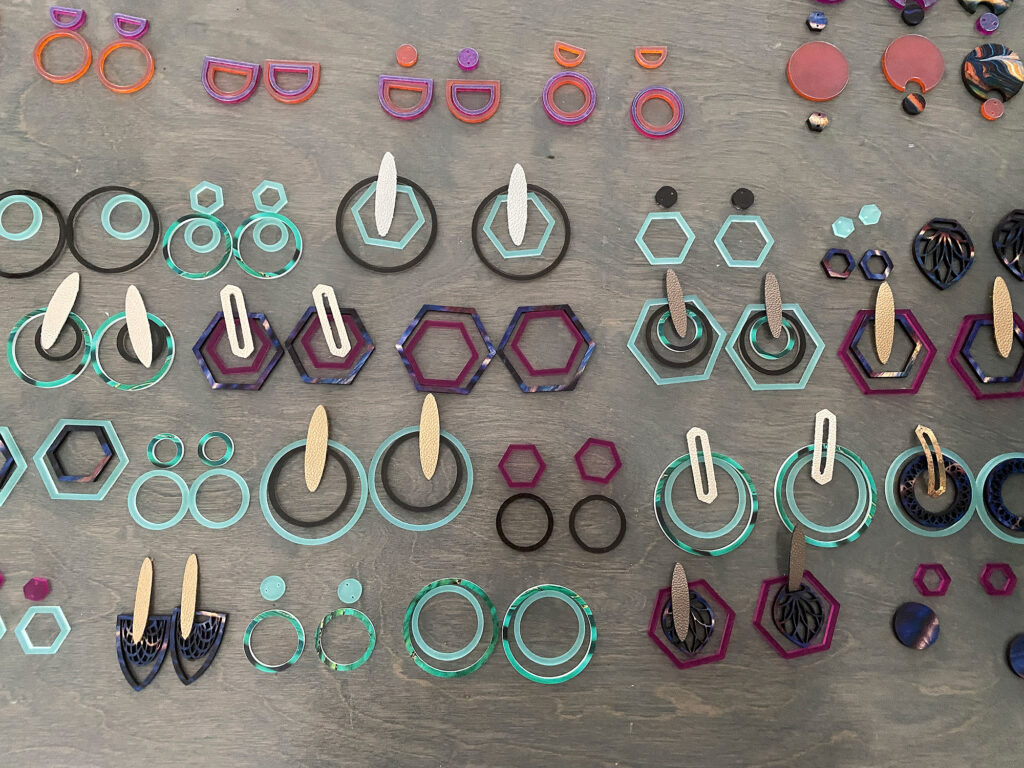
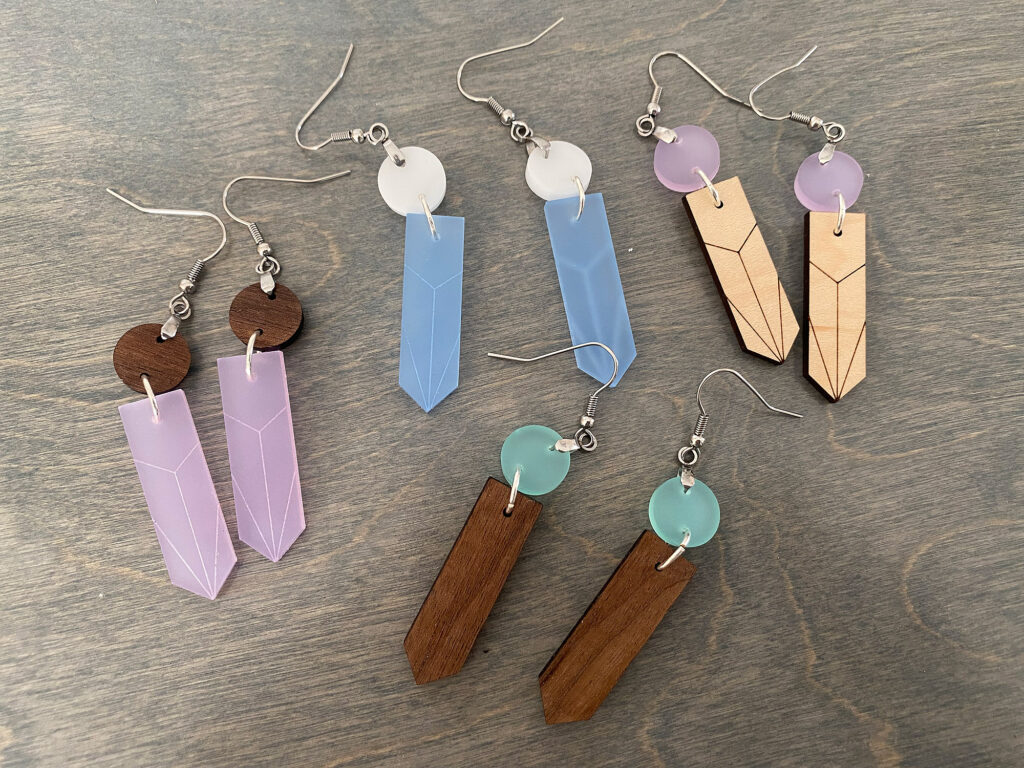
Ok so the magic of these earrings is that you can make an absolute ton of them from very little material. They are really fun to mix and match and would make a great DIY earring bar/party or young kids activity. You’ll ideally cut two sets of each color but you can use up odd sized scraps by cutting just one and making pendants instead.
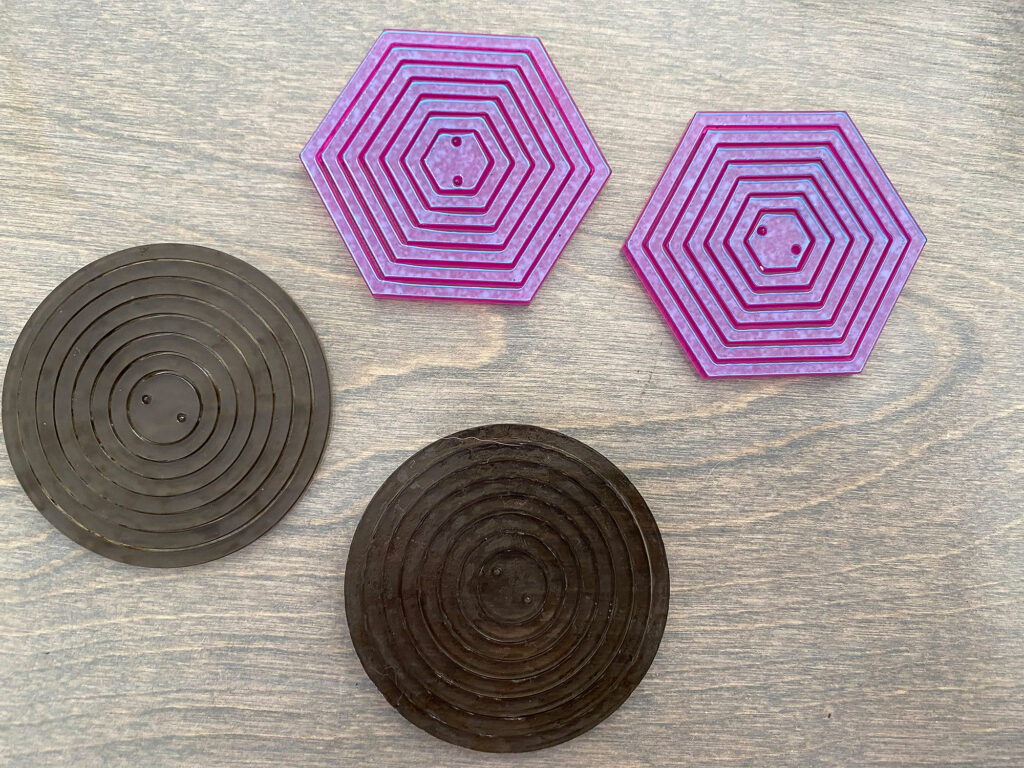
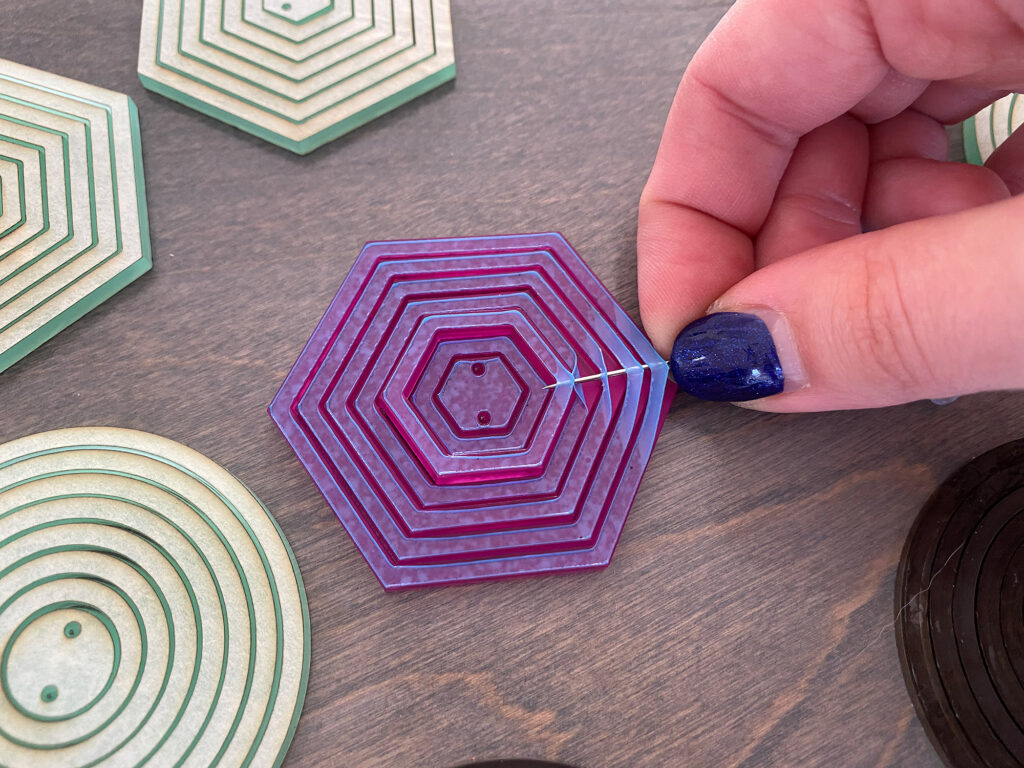
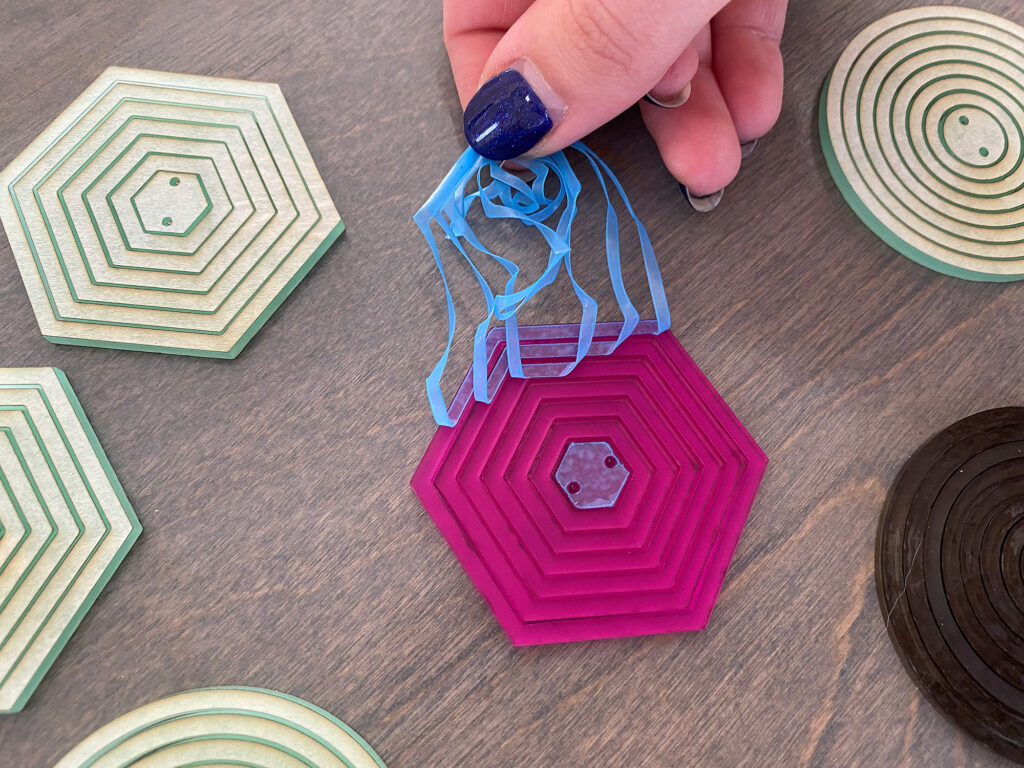
Typically I’ll unmask my acrylic and just rub them with dish soap before plopping them into the Glowforge, but the stuff I had was already masked for other projects so I left it. My trick to peeling is to take a sewing needle and slide it under the masking then lift up. I am very practiced at using a needle to unmask (it’s my favorite way) so I’m good about not scratching the acrylic, but do take care.
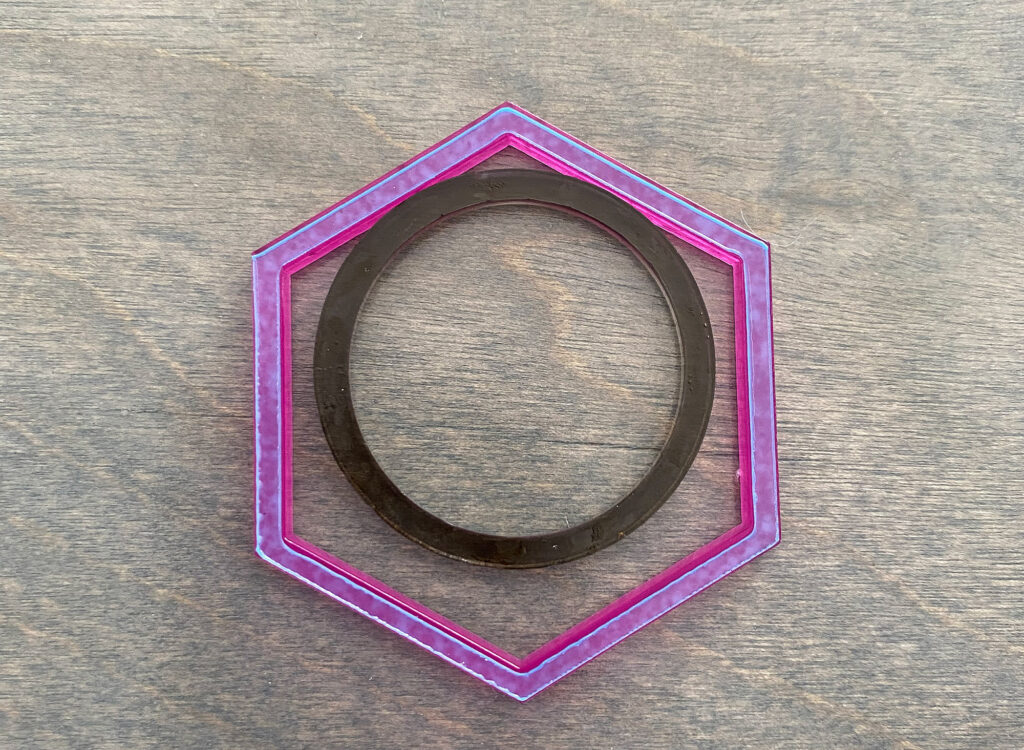
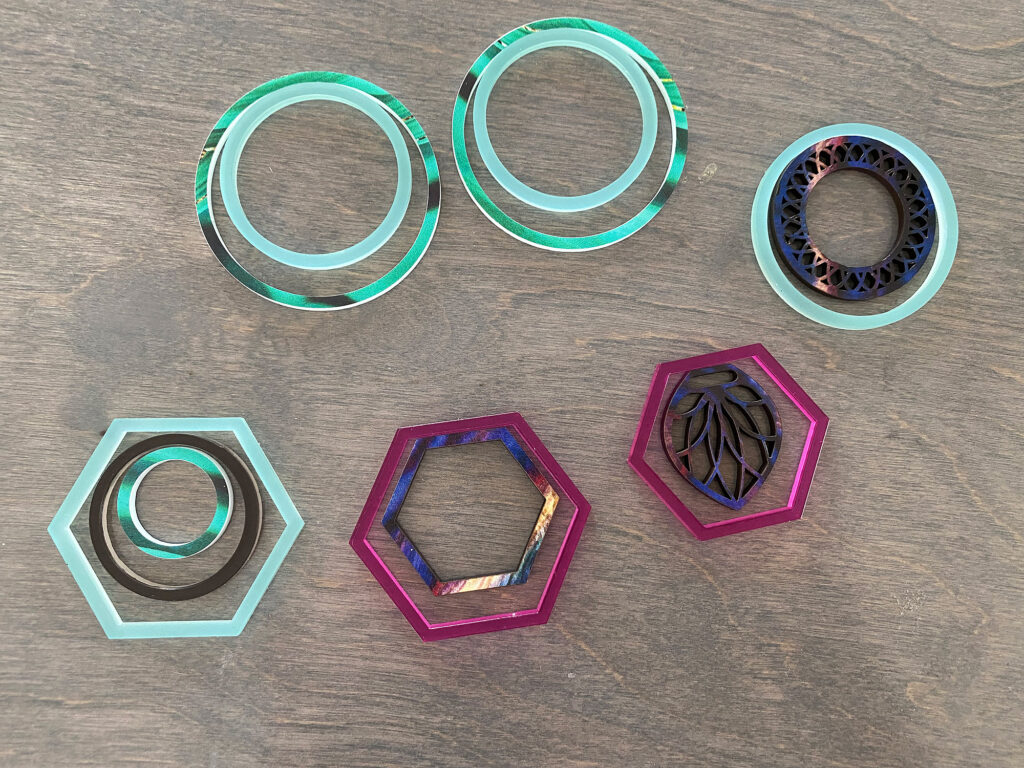
Don’t be afraid to mix and match shapes!
After peeling or rinsing (if you used dish soap as your masking), I suggest laying out all your shapes and arranging them into different sets. Once you’ve decided how you’ll use them all you cna begin assembly. After deciding your shape arrangement I then lay out my little leatherette bits and choose the color of my hardware.
The Hardware
There are tons of different earring hardware or pendant bales you can use. I’ll outline a few of them below.
For these earrings I primarily use pinch bales or earring harware that doesn’t have extra loops. This has to do with how I want the earrings to face.
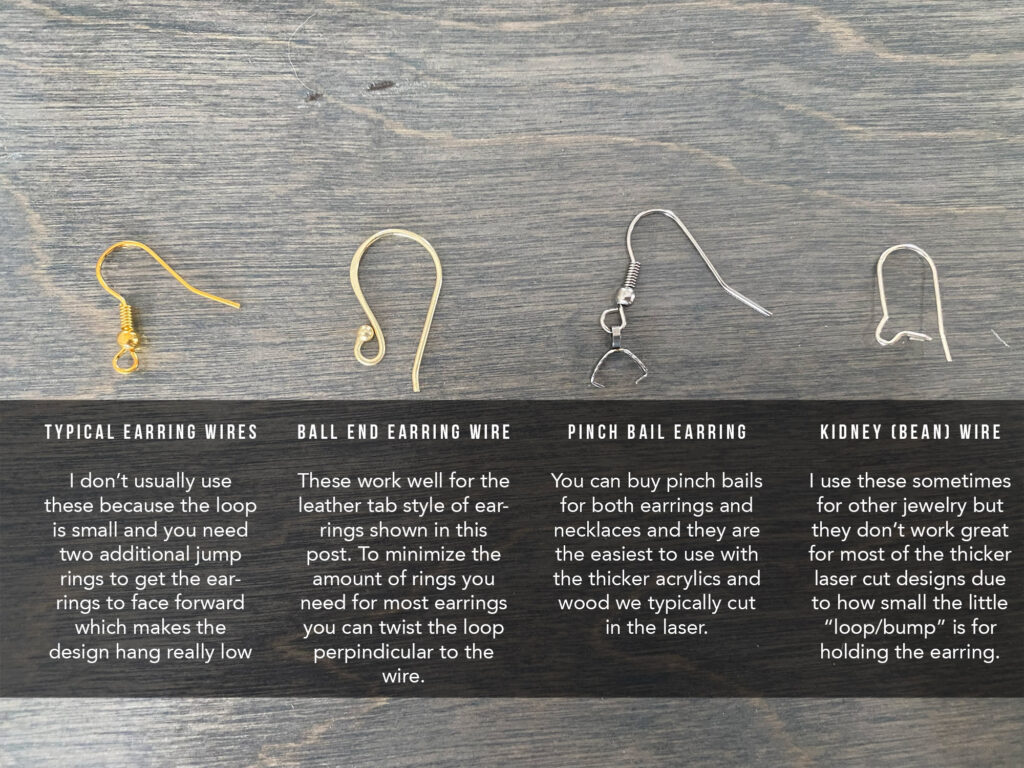
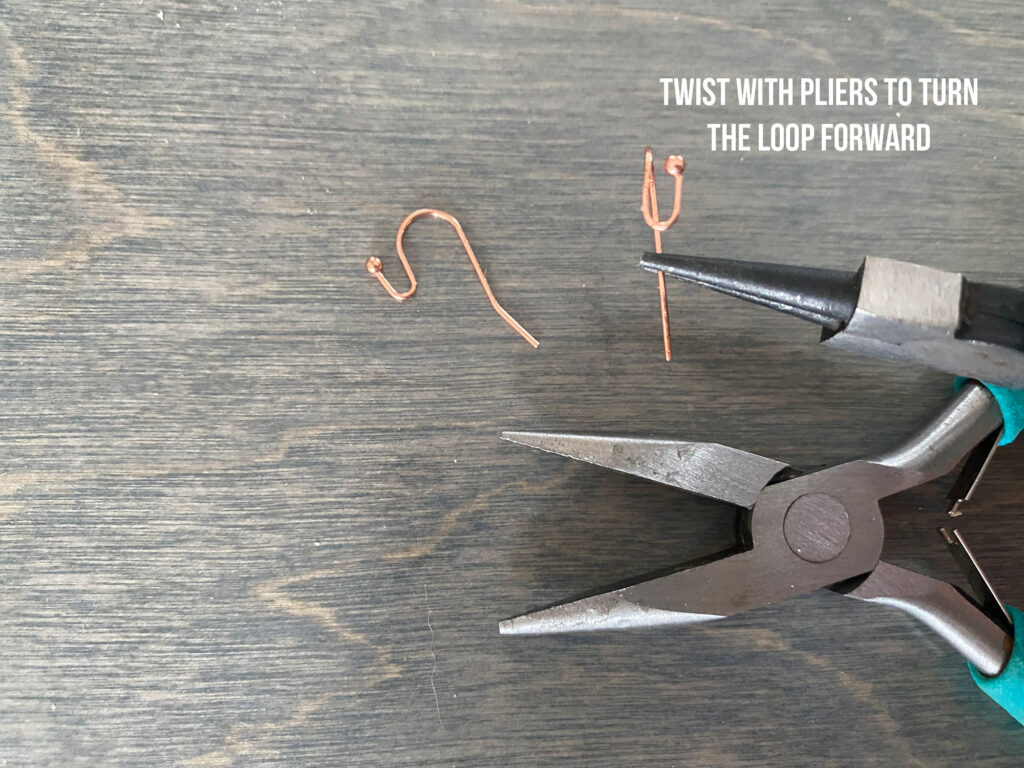
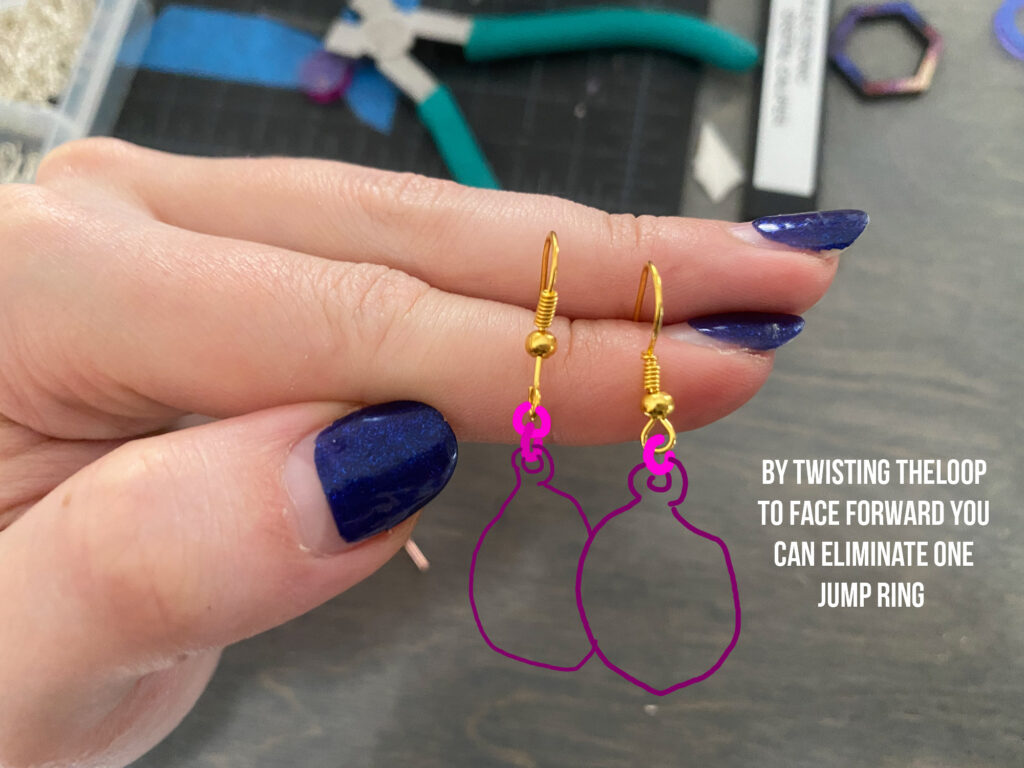
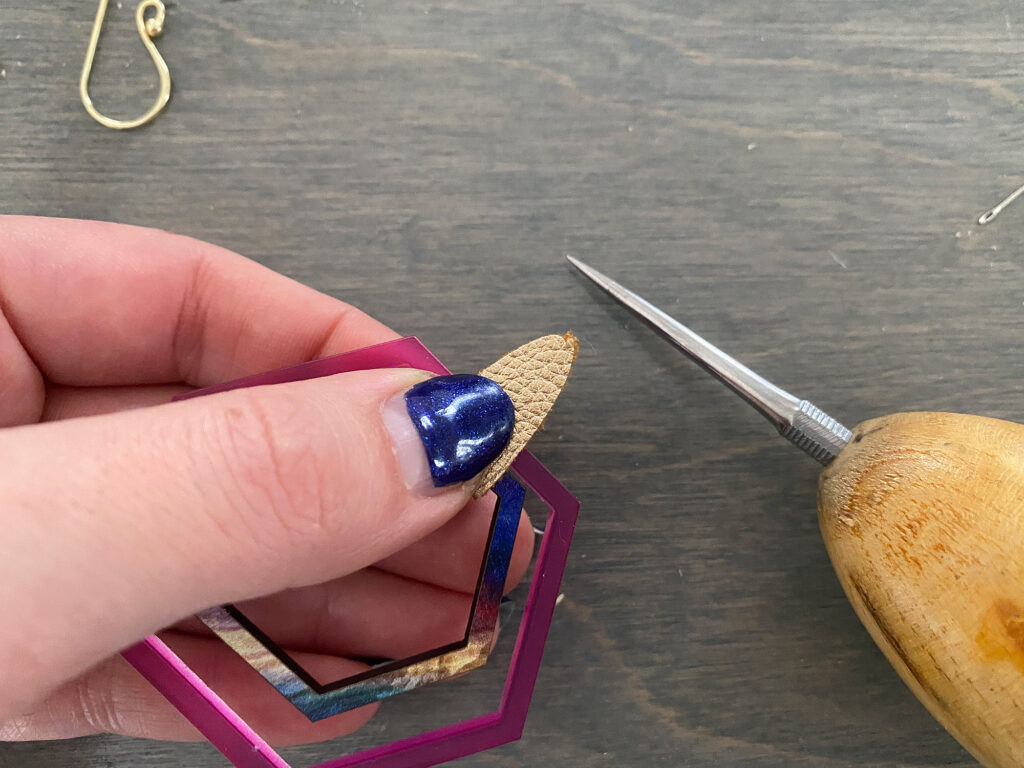
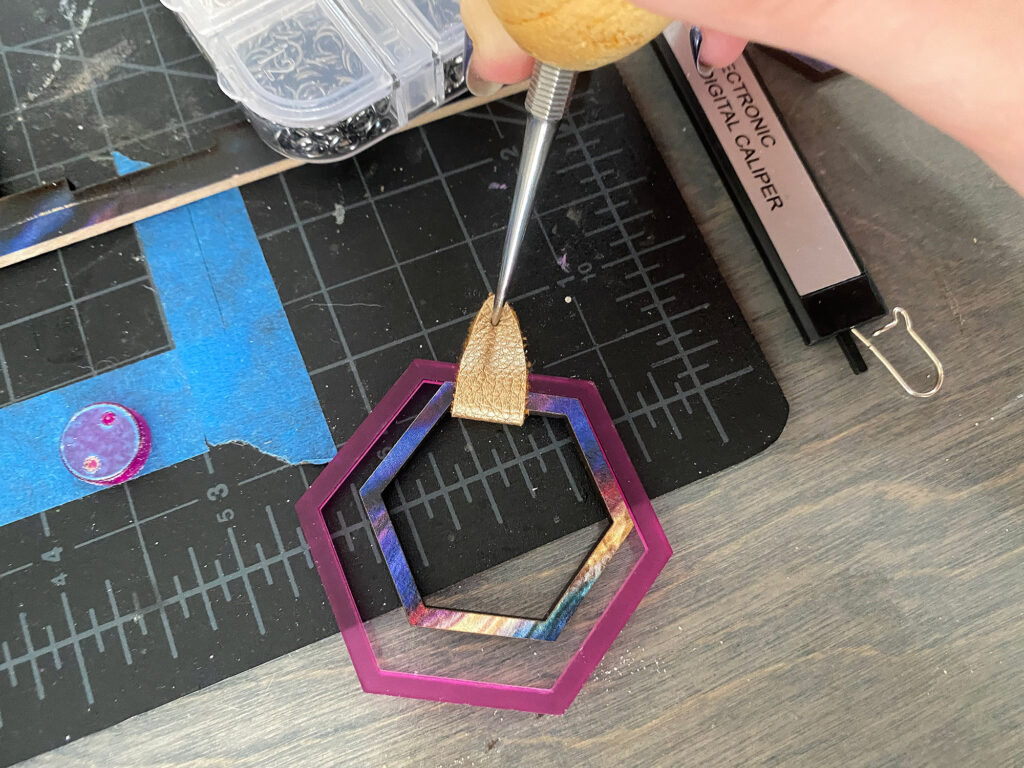
Below you can see how I use the ball end wires with these leatherette. I just poke a hole with an awl and then slide the earring wire through.
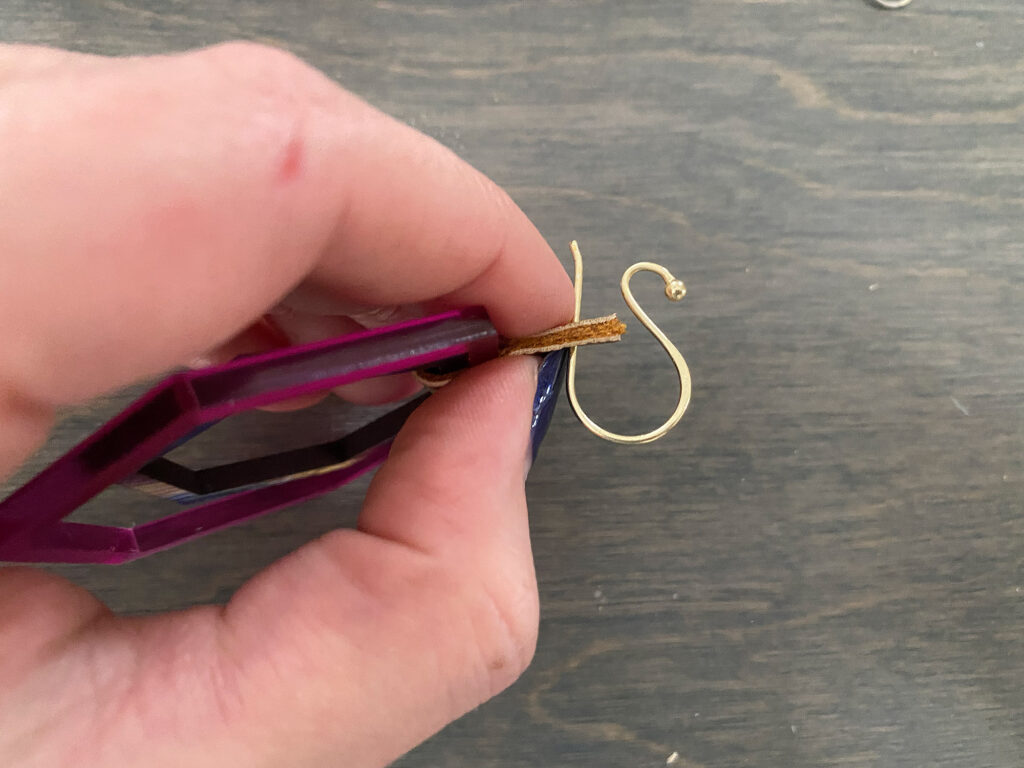
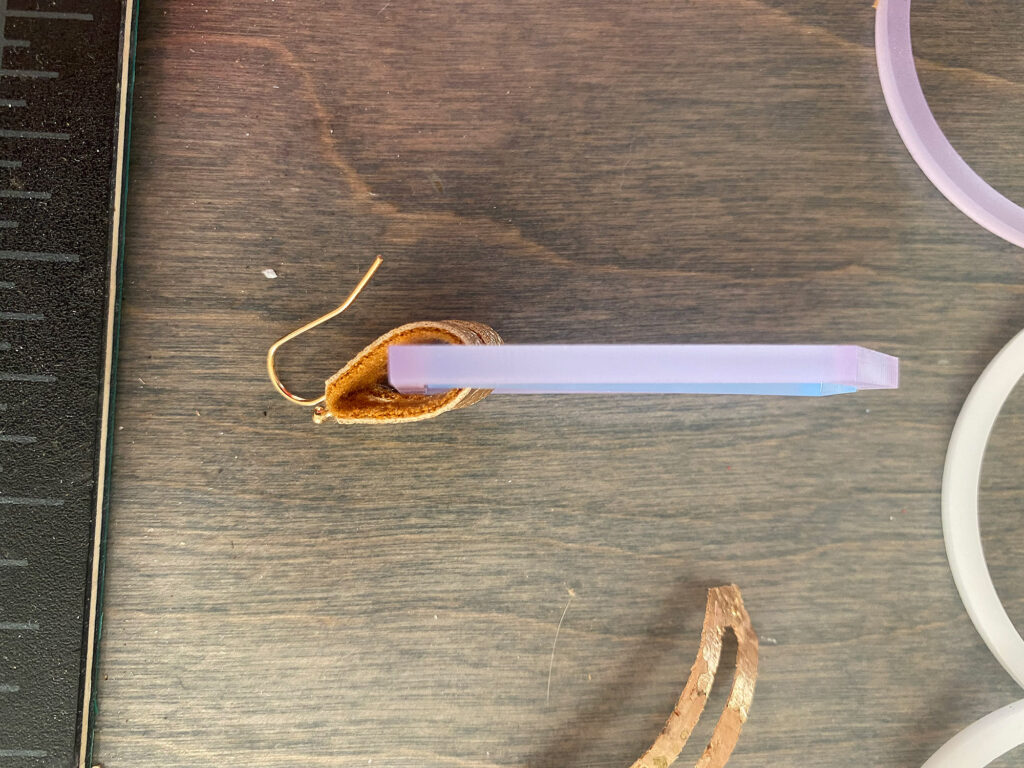
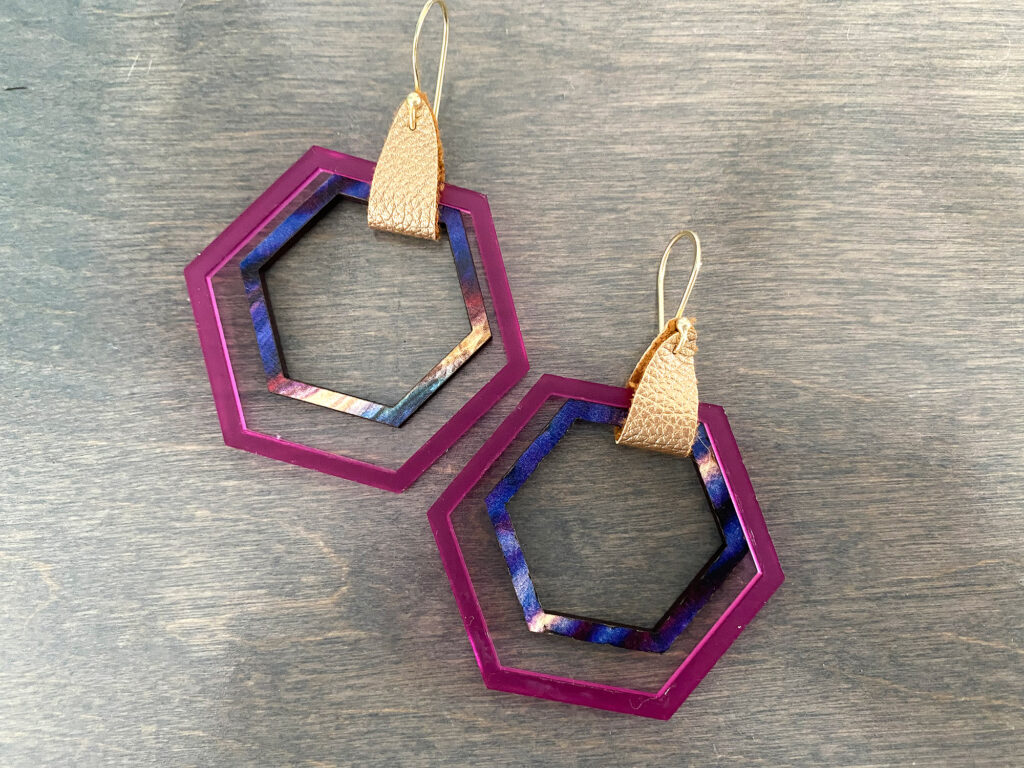
For the pinch bail style you just need to pinch them onto the hole in your earring design.
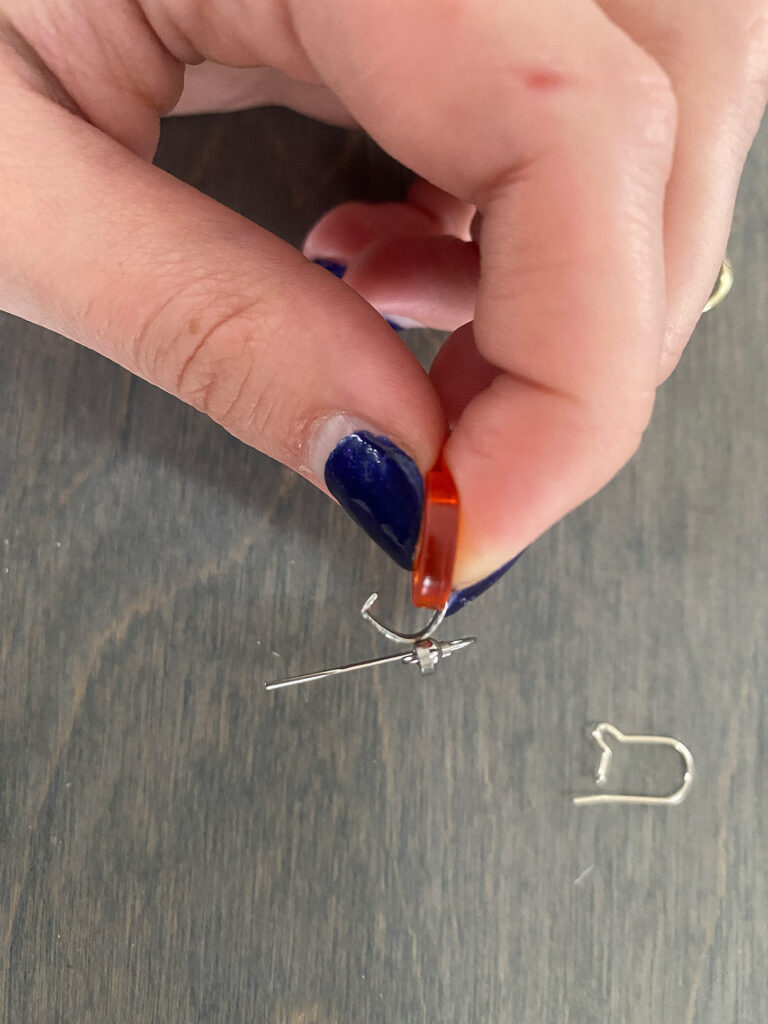
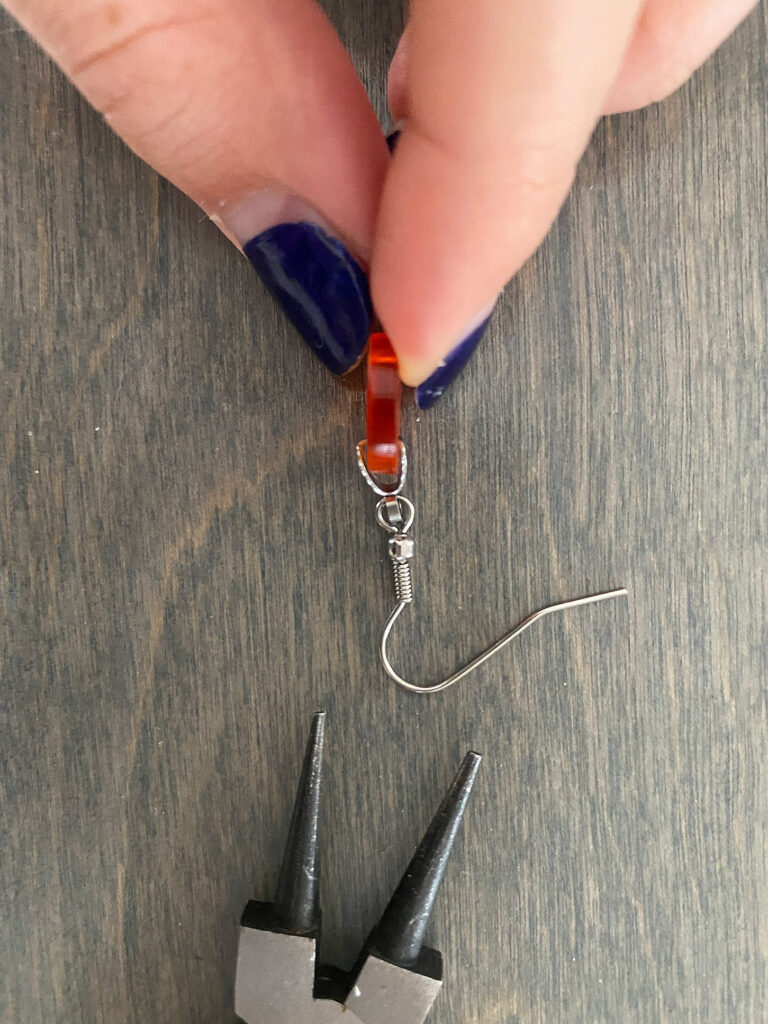
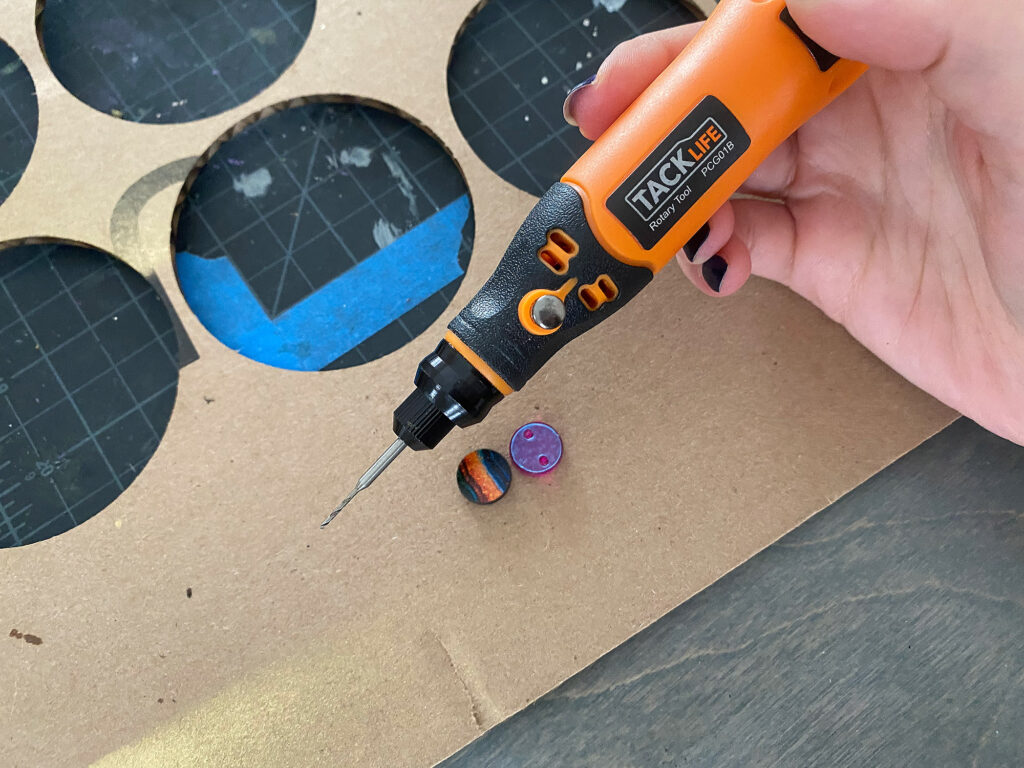
Sometimes I have nice circular or otherwise interesting) pieces of scrap from other projects that don’t have a pre-lasered hole. In that case I just use a small wireless rotary tool and drill a hole.
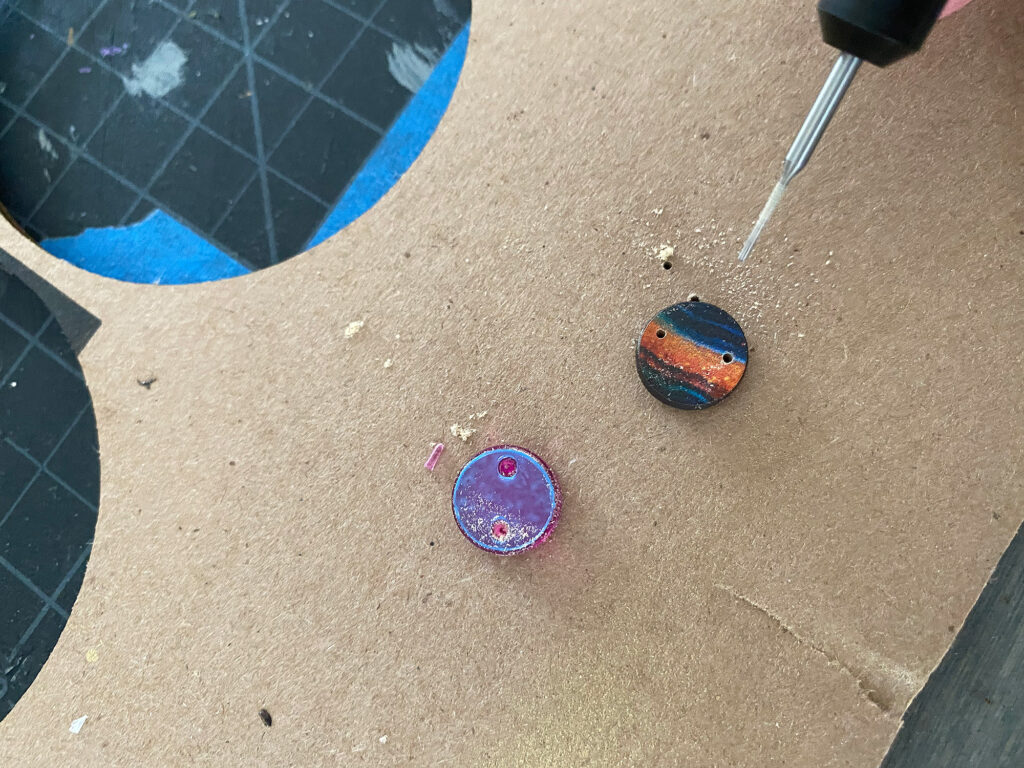
If I’m trying to match another piece that does have a hole or I want them to align I just stack them on top of each other and run the hole through both parts. Make sure to put some scrap material underneath or you’ll drill into your work surface! This doesn’t require nearly any pressure.
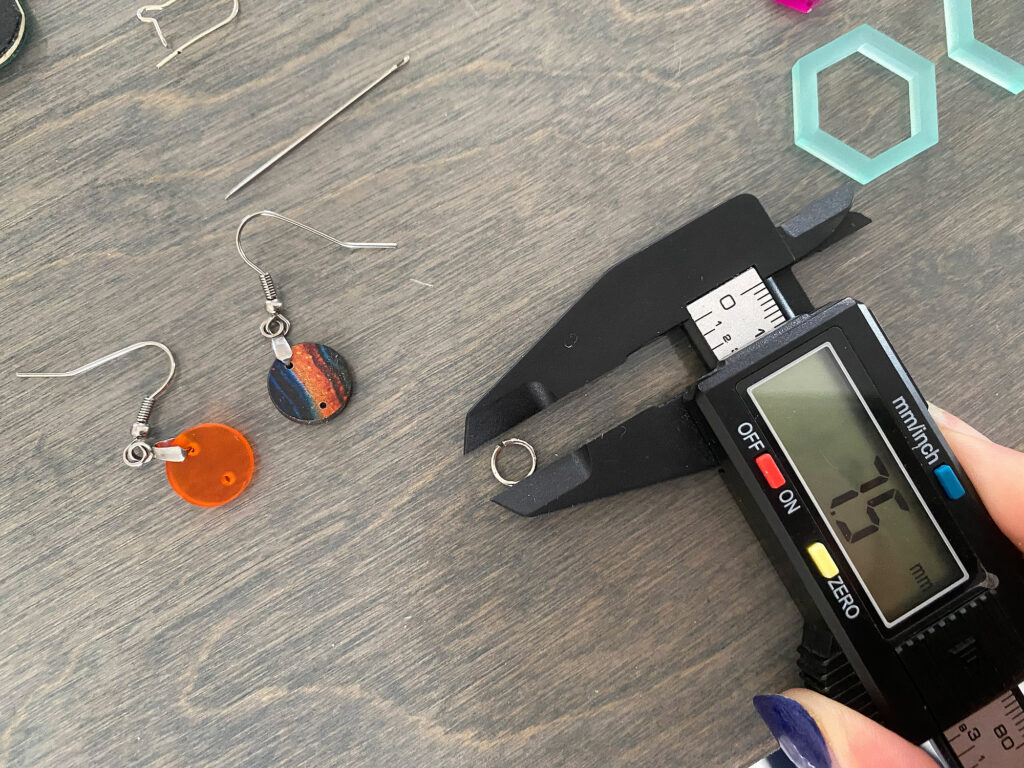
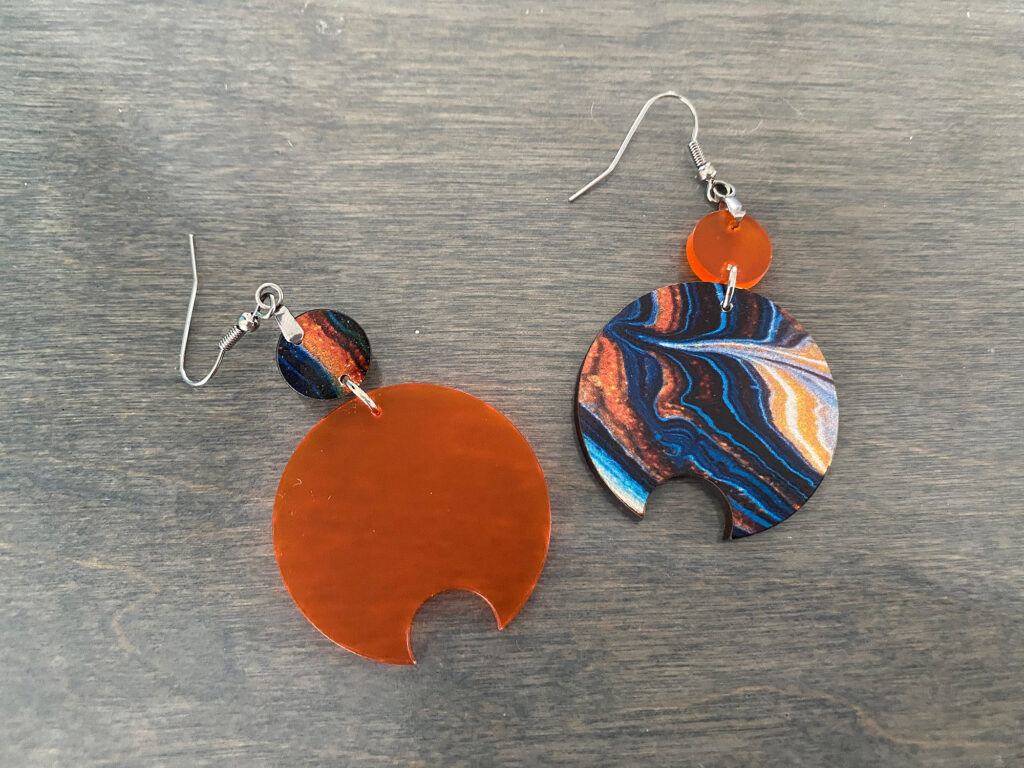
Above you can see the final earrings using pinch bails. In this case those two “moon” shapes were offcuts from one of my kaleidoscopes, so I just drilled two holes and used a jump ring to connect them to the top pieces.
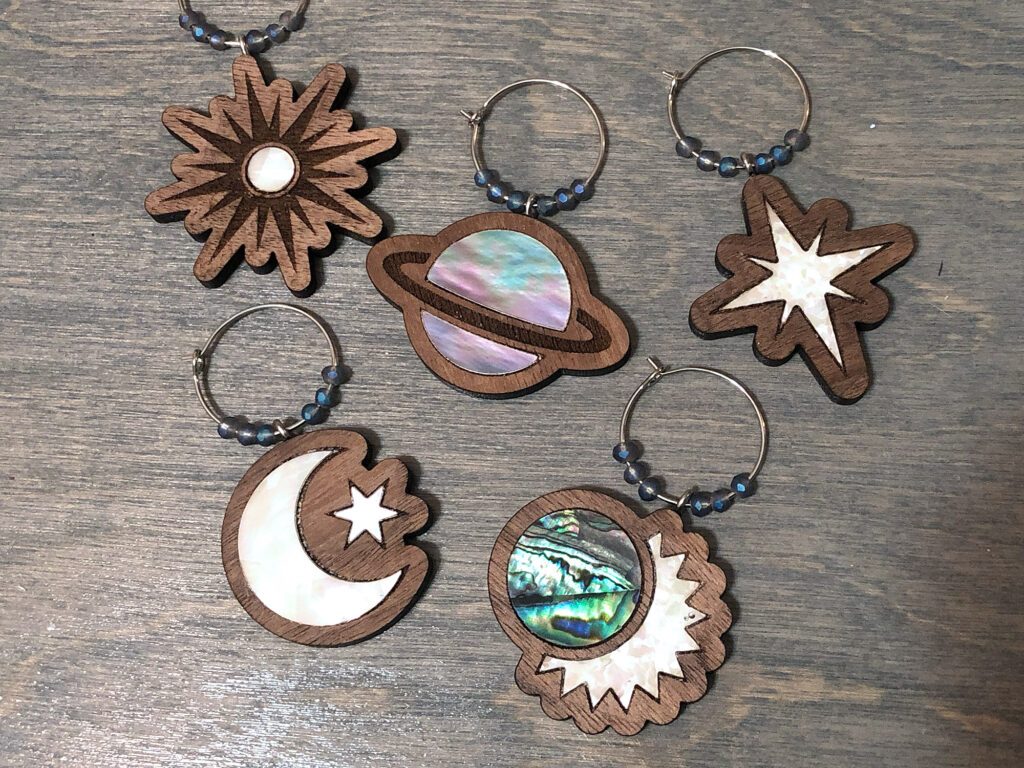
Note: That same rotary drill bit can be used to drill into the SIDES of your laser cut shapes and you can glue in a little eye screw – you may recall I used that method in the wine charms below. You can see that technique in more detail in my Shell Veneer post.
NAVIGATE POSTS
Helpful Links
Latest Posts
Posts by Category
Explore Posts By Tags
Acrylic Adobe Illustrator Alcohol Ink Baby Room Beginner Post Book Binding BuyTheFile Christmas Felt freefiles Gifts Gilding Glowforge Holiday Jewelry Journal Kaleidoscope LED Notebook Resin Rubber Stamp Settings Sign Stamping Yupo
Get Your Own Glowforge Laser
If you have found this post helpful and would like to purchase a Glowforge of your own you can receive a discount using my referral link when you are ready to purchase:
Sign Up to Blog Newsletter
CONCLUSIONS
I hope this post will inspire you to save some of your scraps! I do have a few tips for you:
- If you can try and find faux leather without the fuzzy fabric back – I found that it looked a little unfinished with the fuzzy bits sometimes sticking out the sides (you can hand trim though) and was much harder to cut on the Cameo
- Sometimes the rings will shift in front or behind one another, this doesn’t bother me as I like the playful movement, but if you don’t like it try adding a dot of glue where they connect and another to the “flap” piece to hold it more tightly in place
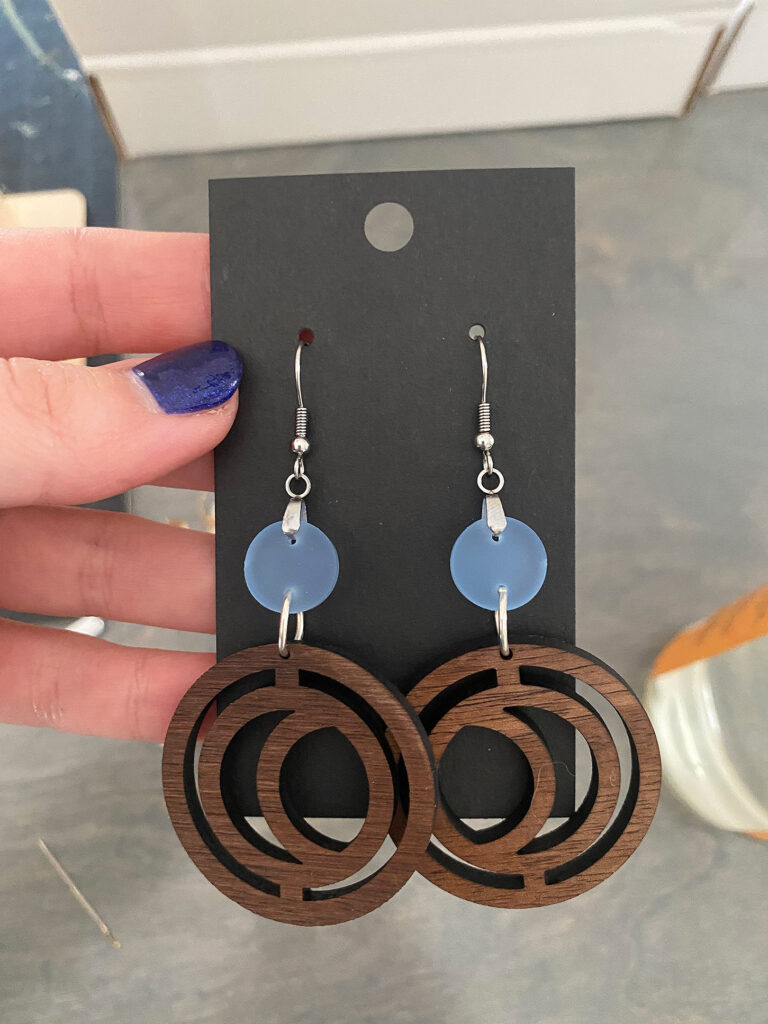
- You can remove the holes from the center circle (or whatever shape) in your nested designs to make studs instead of connectors (how I used them)



Where to Get the Materials:
Get 50% off your first Wish.com order with my code: mfvjgnw | I buy lots of odds and ends here, so if you need some small item and don’t mind waiting, this can be a fun shop to check out.
The two Amazon links below are affiliate links. They don’t cost you more but they do help me keep creating content.
Pinch Bail Earring Wires – There are tons of options but this link will get you started
Ball End Earring Wires – Assorted colors!
10mm Jump Rings – As you may see in the post above you’ll need at least 7-8mm rings to connect two pieces of 1/8″ material but I’d go a bit bigger for more movement.
10mm Colored Jump rings – I though these were really cool and would go well with the Patternply
Mini Rechargeable Rotary Drill – I use this one all the time because I am SO lazy and hate going to plug in my proper Dremmel. For light work this is great.
Jewelry Pliers – You’ll need some of these – try and get one pair of round and one pair of flat as that will be the most versatile. I go cheap with these and then just replace every few years.
Great Vendors for Beautiful materials: None of these are affiliate links! I purchase materials from all of these vendors because I like their products:
Woodcraft – Exotic Veneers, 1/8″ wood
Johnsons Plastics Plus – Rowmark Acrylic, Saddle Faux leather (laser safe), Finished plywood, Flexibrass etc.
Craft Closet – Shell veneer, acrylic (Glitter for days), wood, colorboard
Cerulean Tides- So many gorgeous acrylics
Smokey Hills – Wood, Plywood, Basic Acrylics, Patternply in Acyrlic and Wood(beautiful pattern printed boards)
Obligatory Glowforge Discount Code Plug
If you found this post helpful and you plan to buy a Glowforge you can use my code (https://glowforge.us/r/QHDONFXB) for a discount of $125 off the Basic, $250 of the Plus, or $500 of the Pro:
Sign Up for Blog Posts Updates
And finally, if you’d like to be updated on posts like these in the future you can sign up for my email list. You will only receive an email if there is new content, and only once weekly in that case:

