Seed Bead Shaker Pendants
Project Overview:
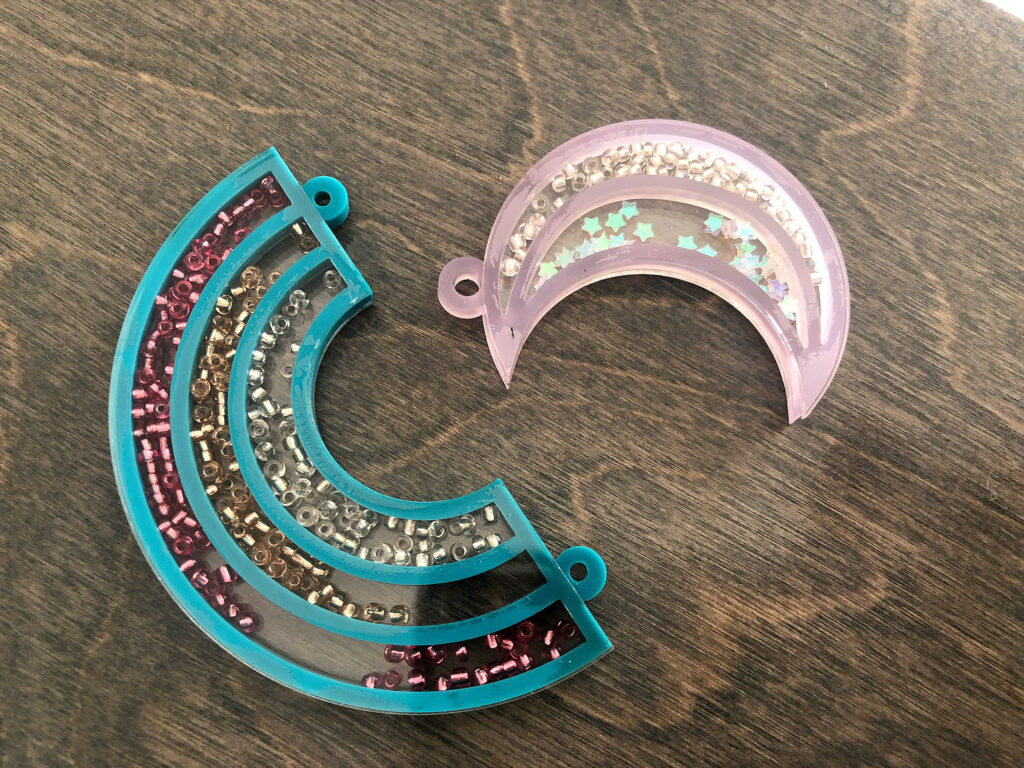
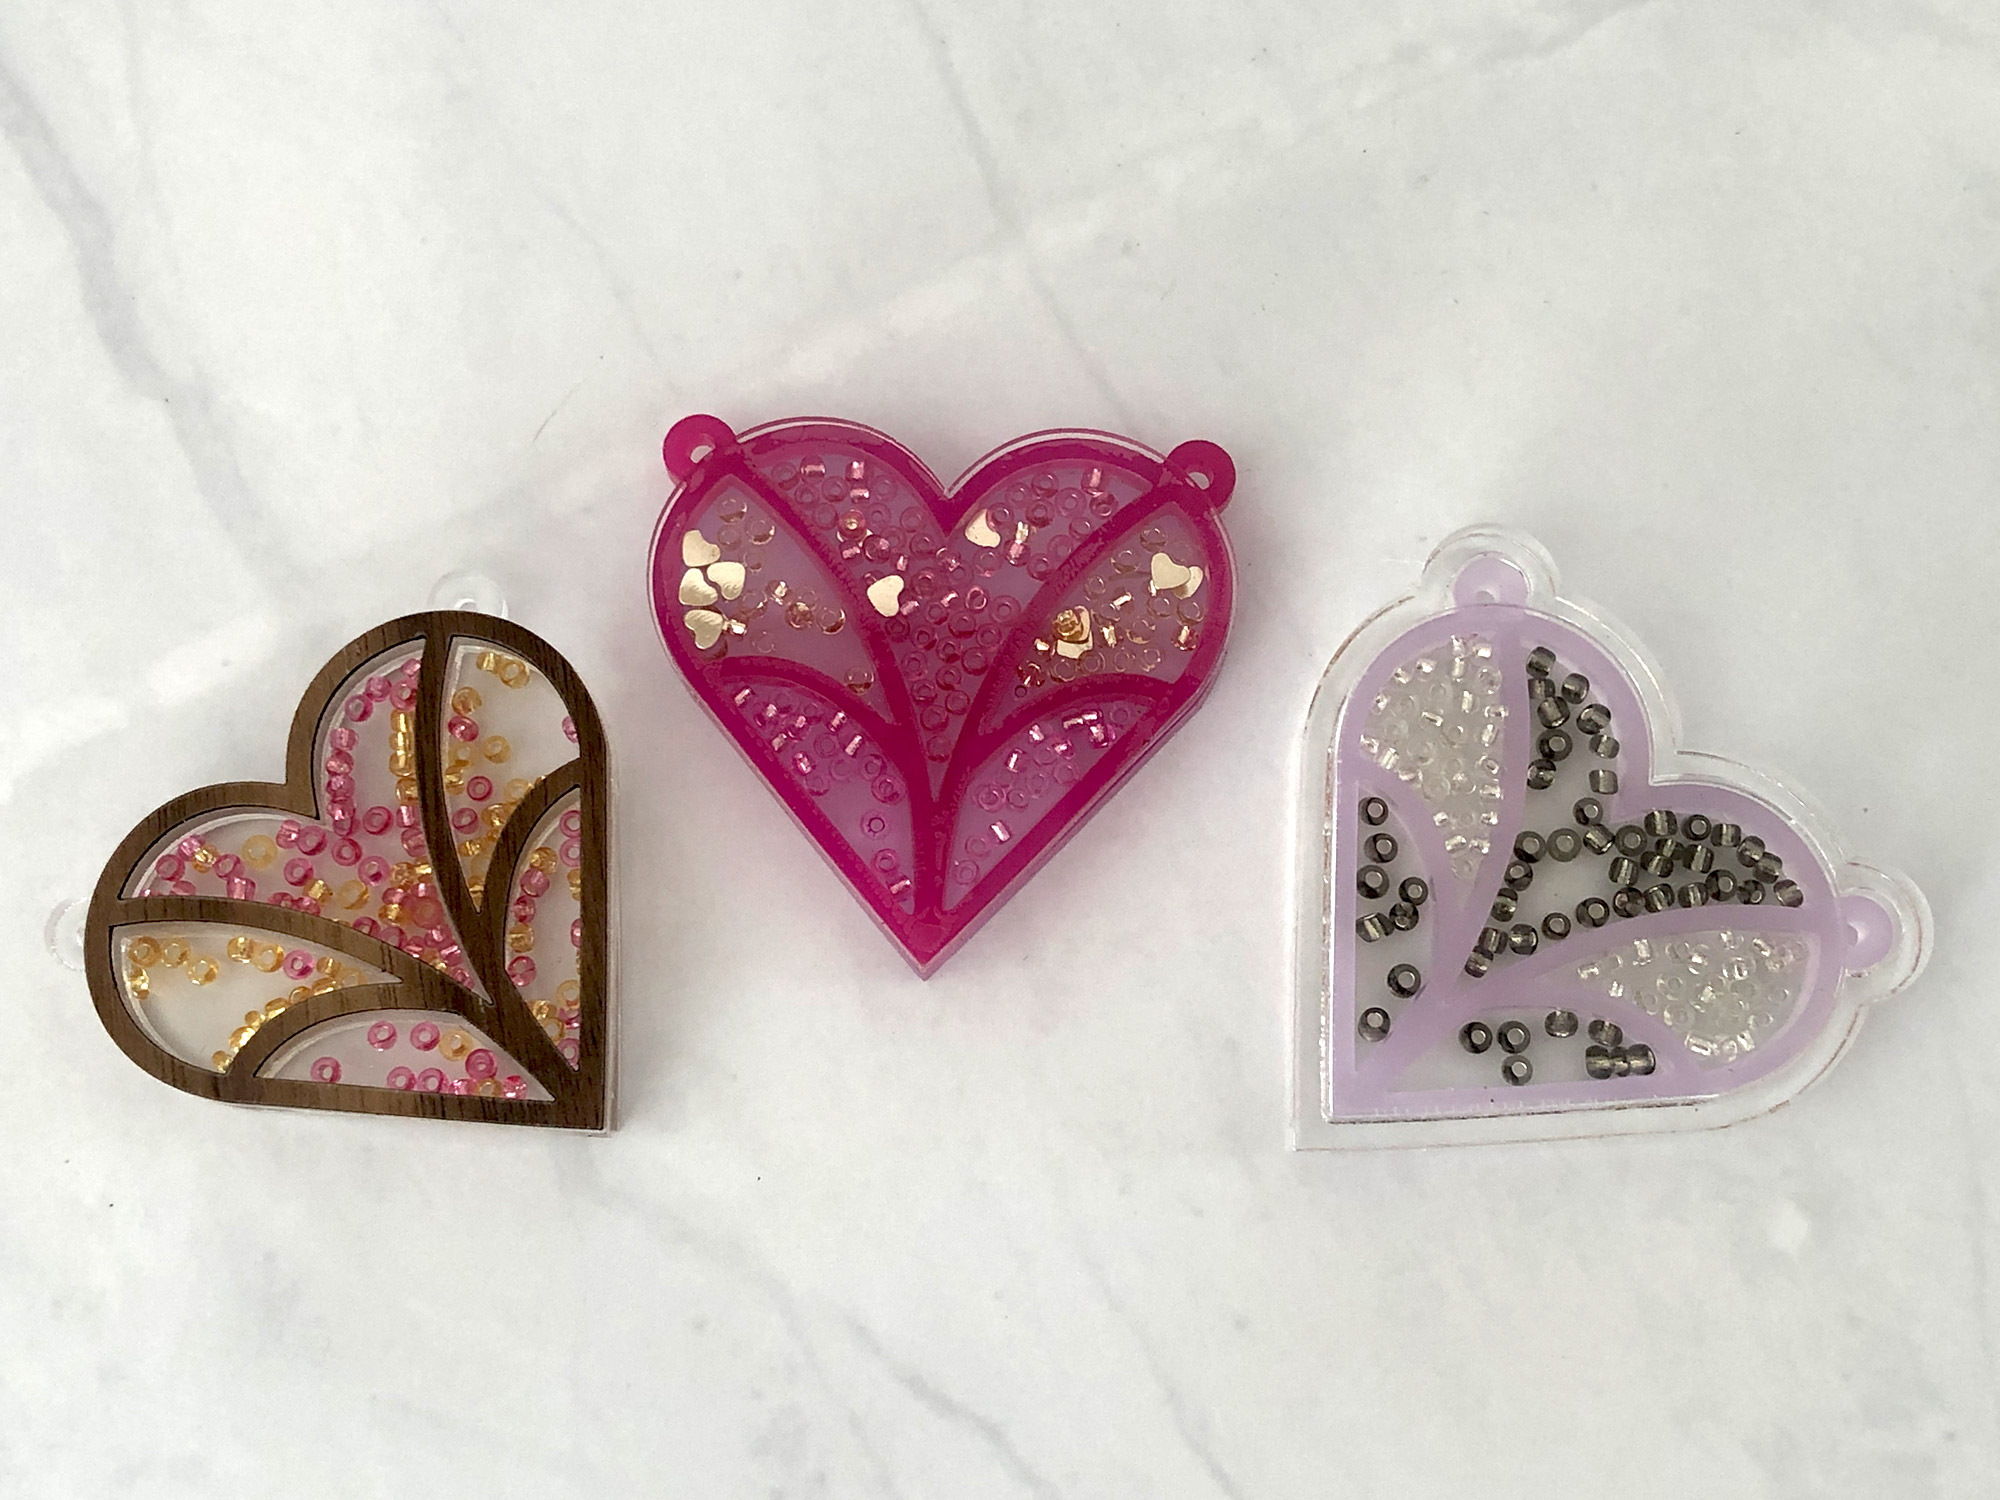
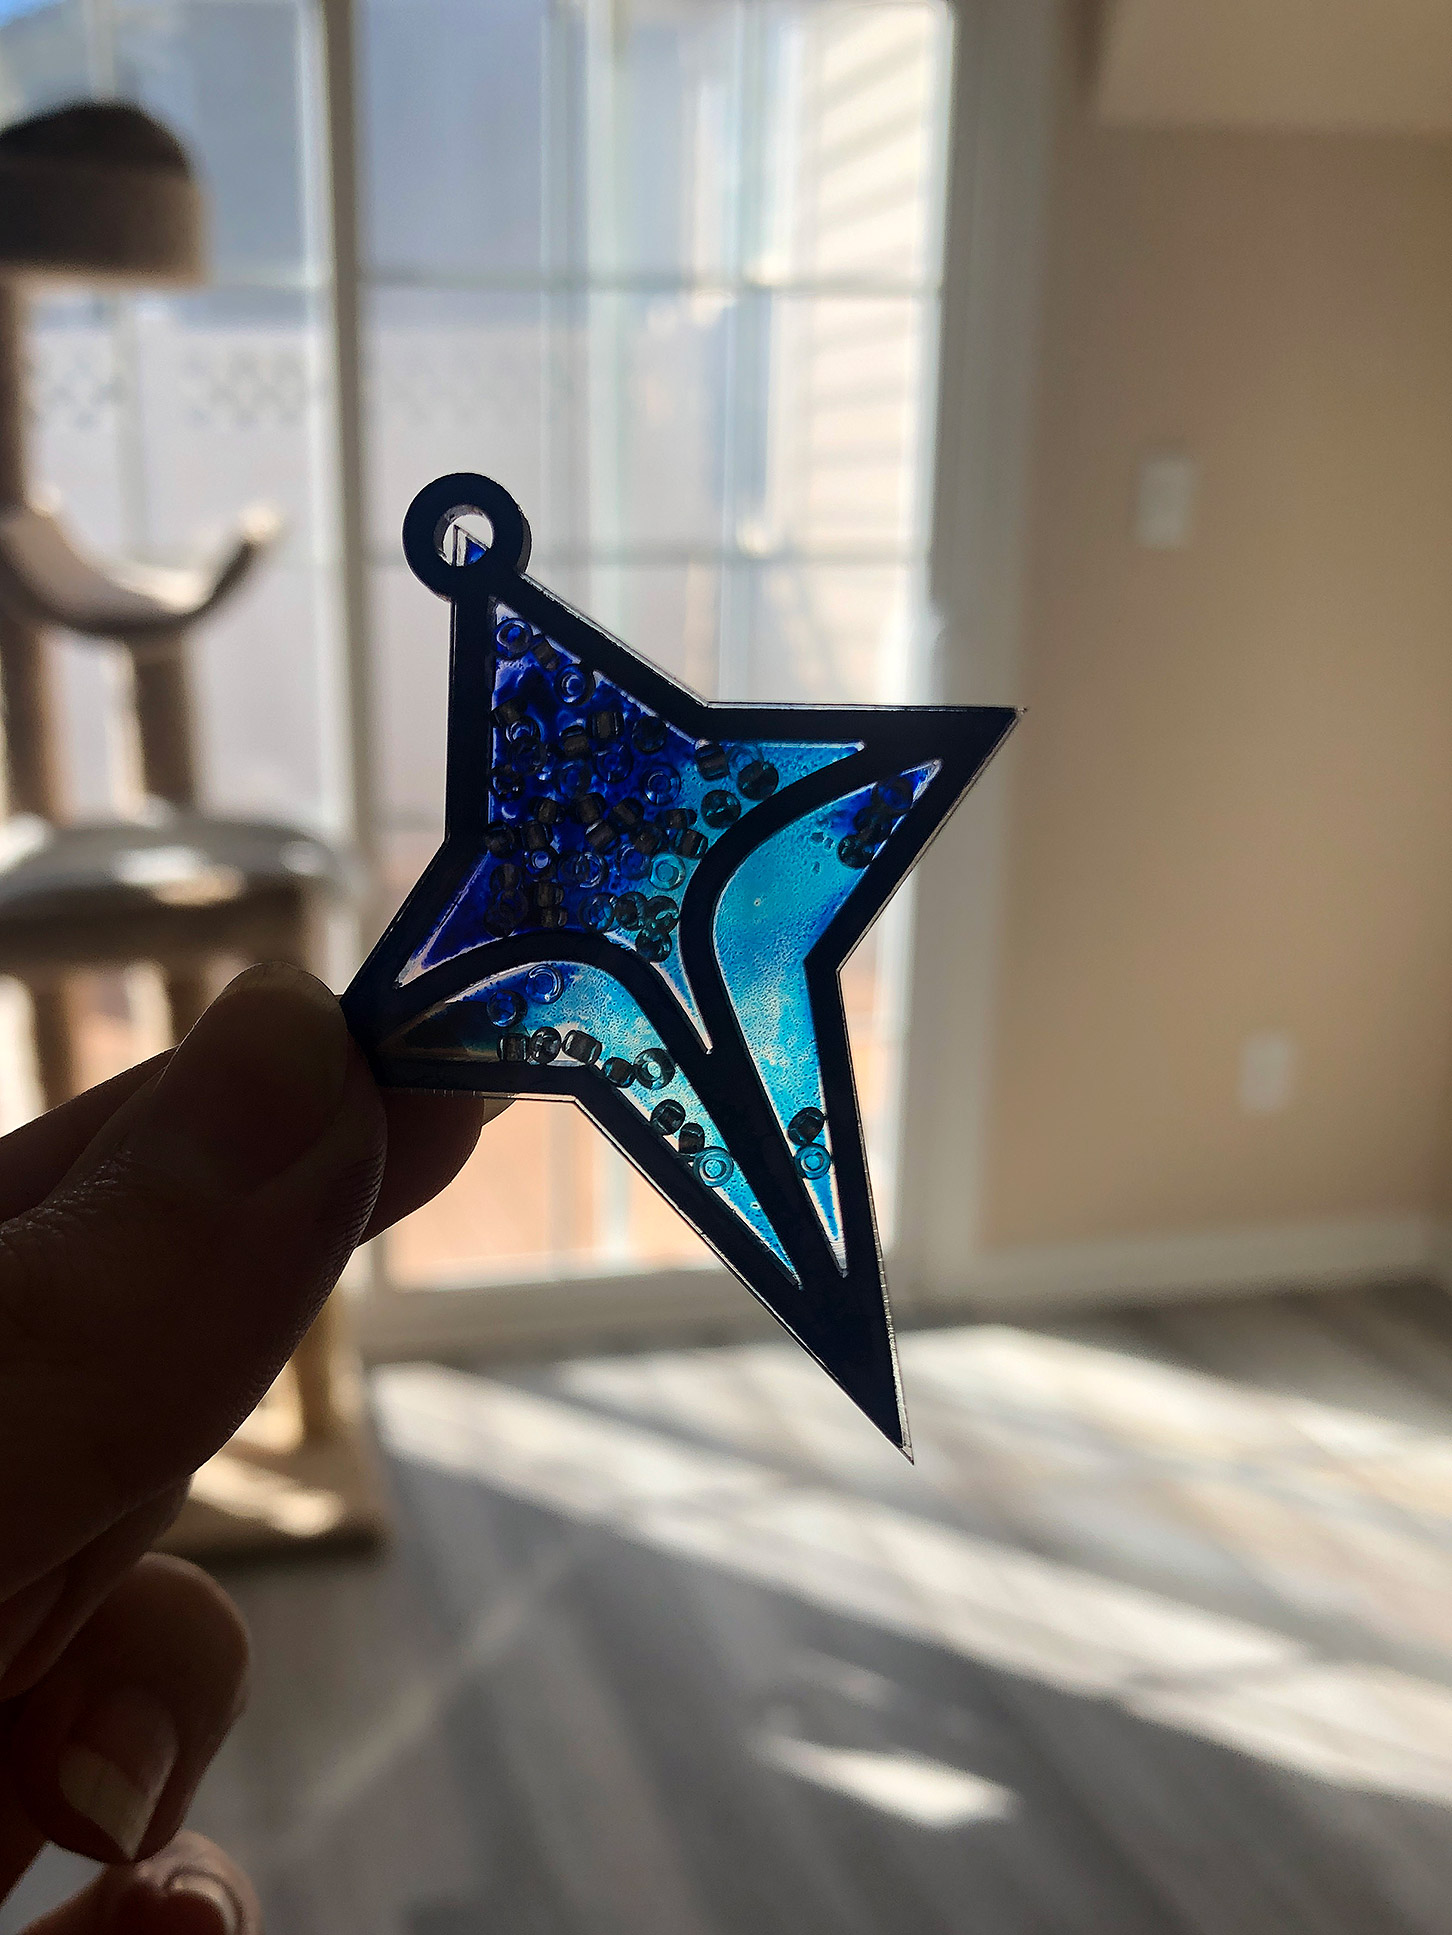
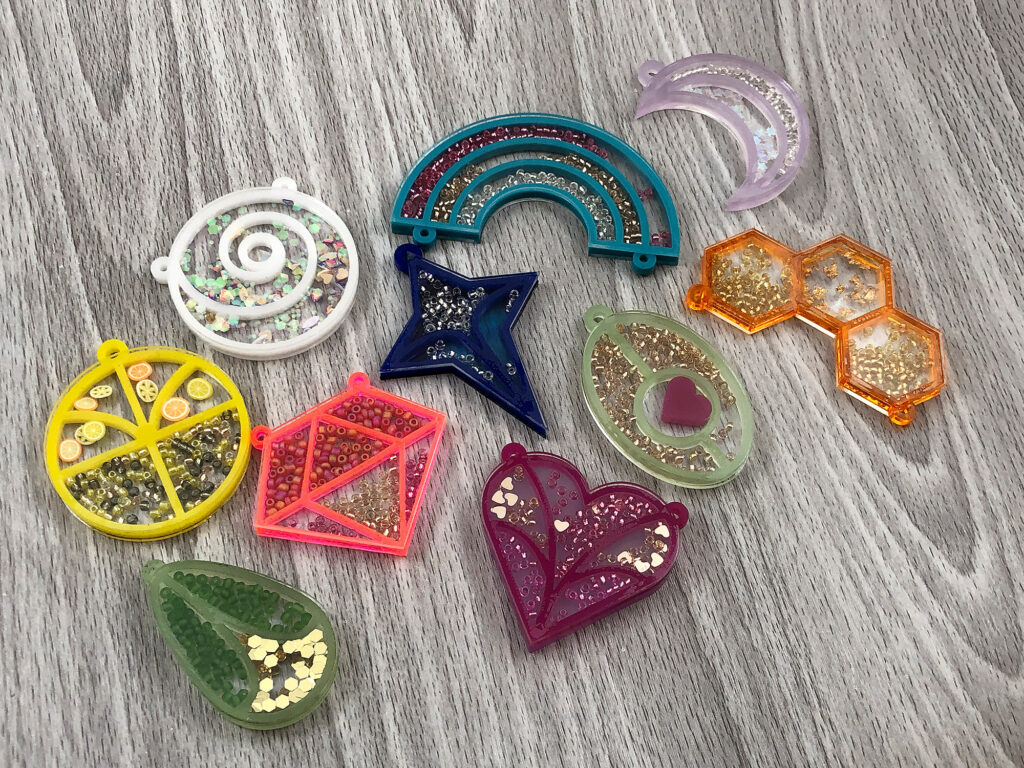
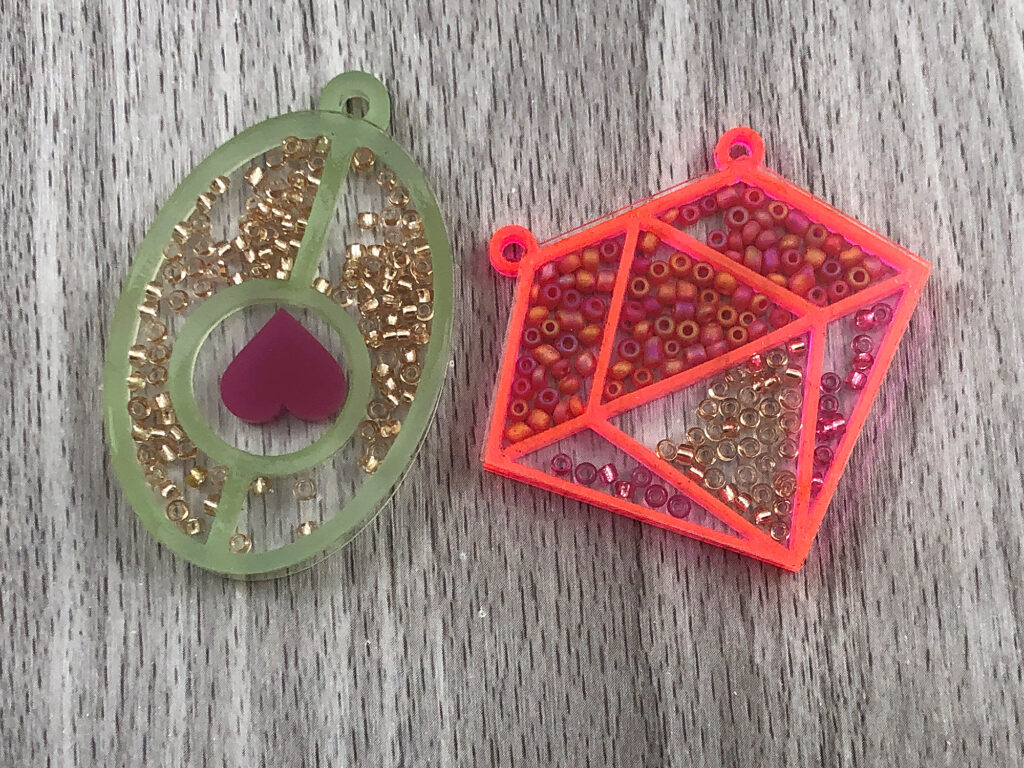
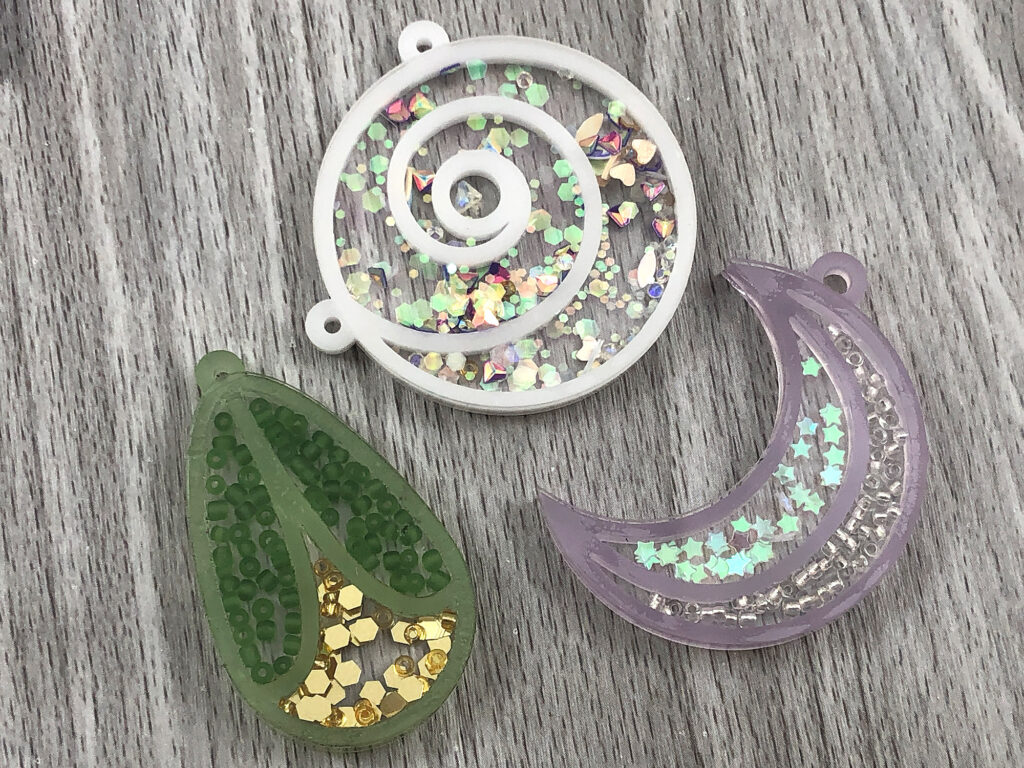
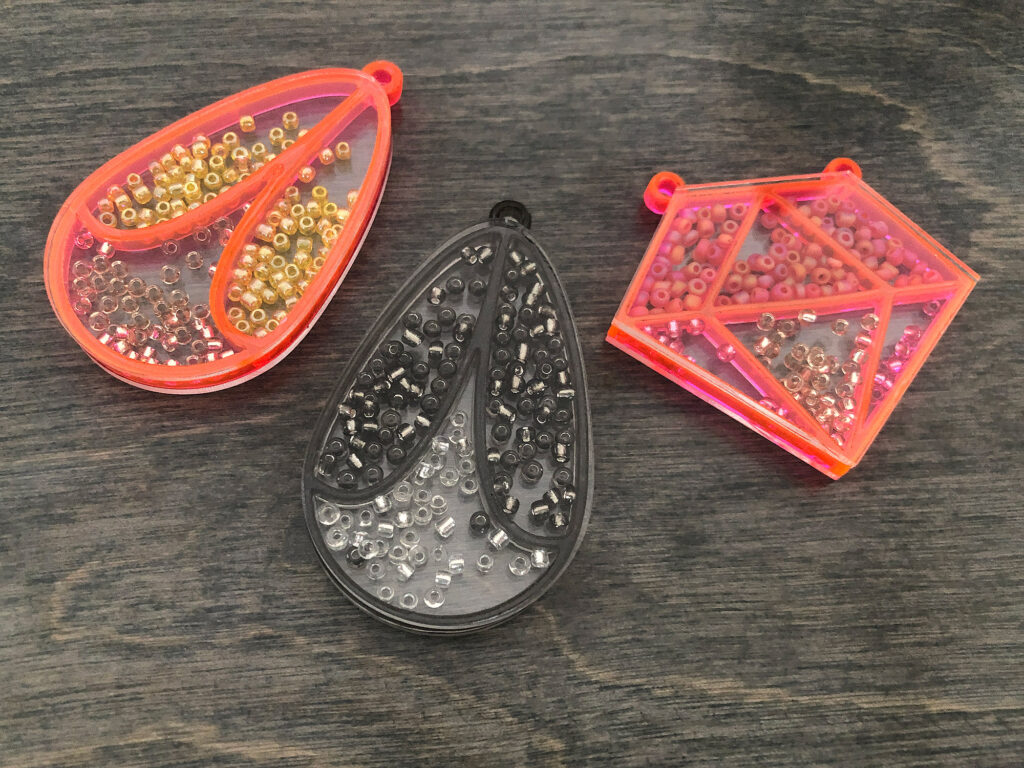
So the first thing I need to say is that when writing out this post I wrote Seed Bead as “Seed Beed” or “Sead Bead” every other time I had to write it out. It’s like some weird almost homophone I could just not get right. Now that I’ve got that out of the way we can get to the project. So this is a simple project that is a take on the shaker ornaments I make every year. The difference here is they are segmented. In this post i’ll show you a few different ways of assembling them (mostly I’ll be trying a few different glue options) and show you the different designs included in the file.
DESIGNING YOUR OWN
For all you Illustrator experts out there these are pretty easy to design. A few tips I have for making your own designs is to make sure the stroke is thick enough so that you have enough surface for glue attachment.
MATERIALS
You can make these pendants a whole different ways. You can enlarge them into sun catchers or ornaments as well, and basically any materials will work. I’ve chosen to focus on acrylic for all the colorful options but you co this with wood as well.
Cutting these designs is relatively straightforward – you can just use proofgrade settings for the material you choose (or similar). For that reason I’m going to focus on testing different methods of filling the designs or attaching the clear covers (which are included in the file).
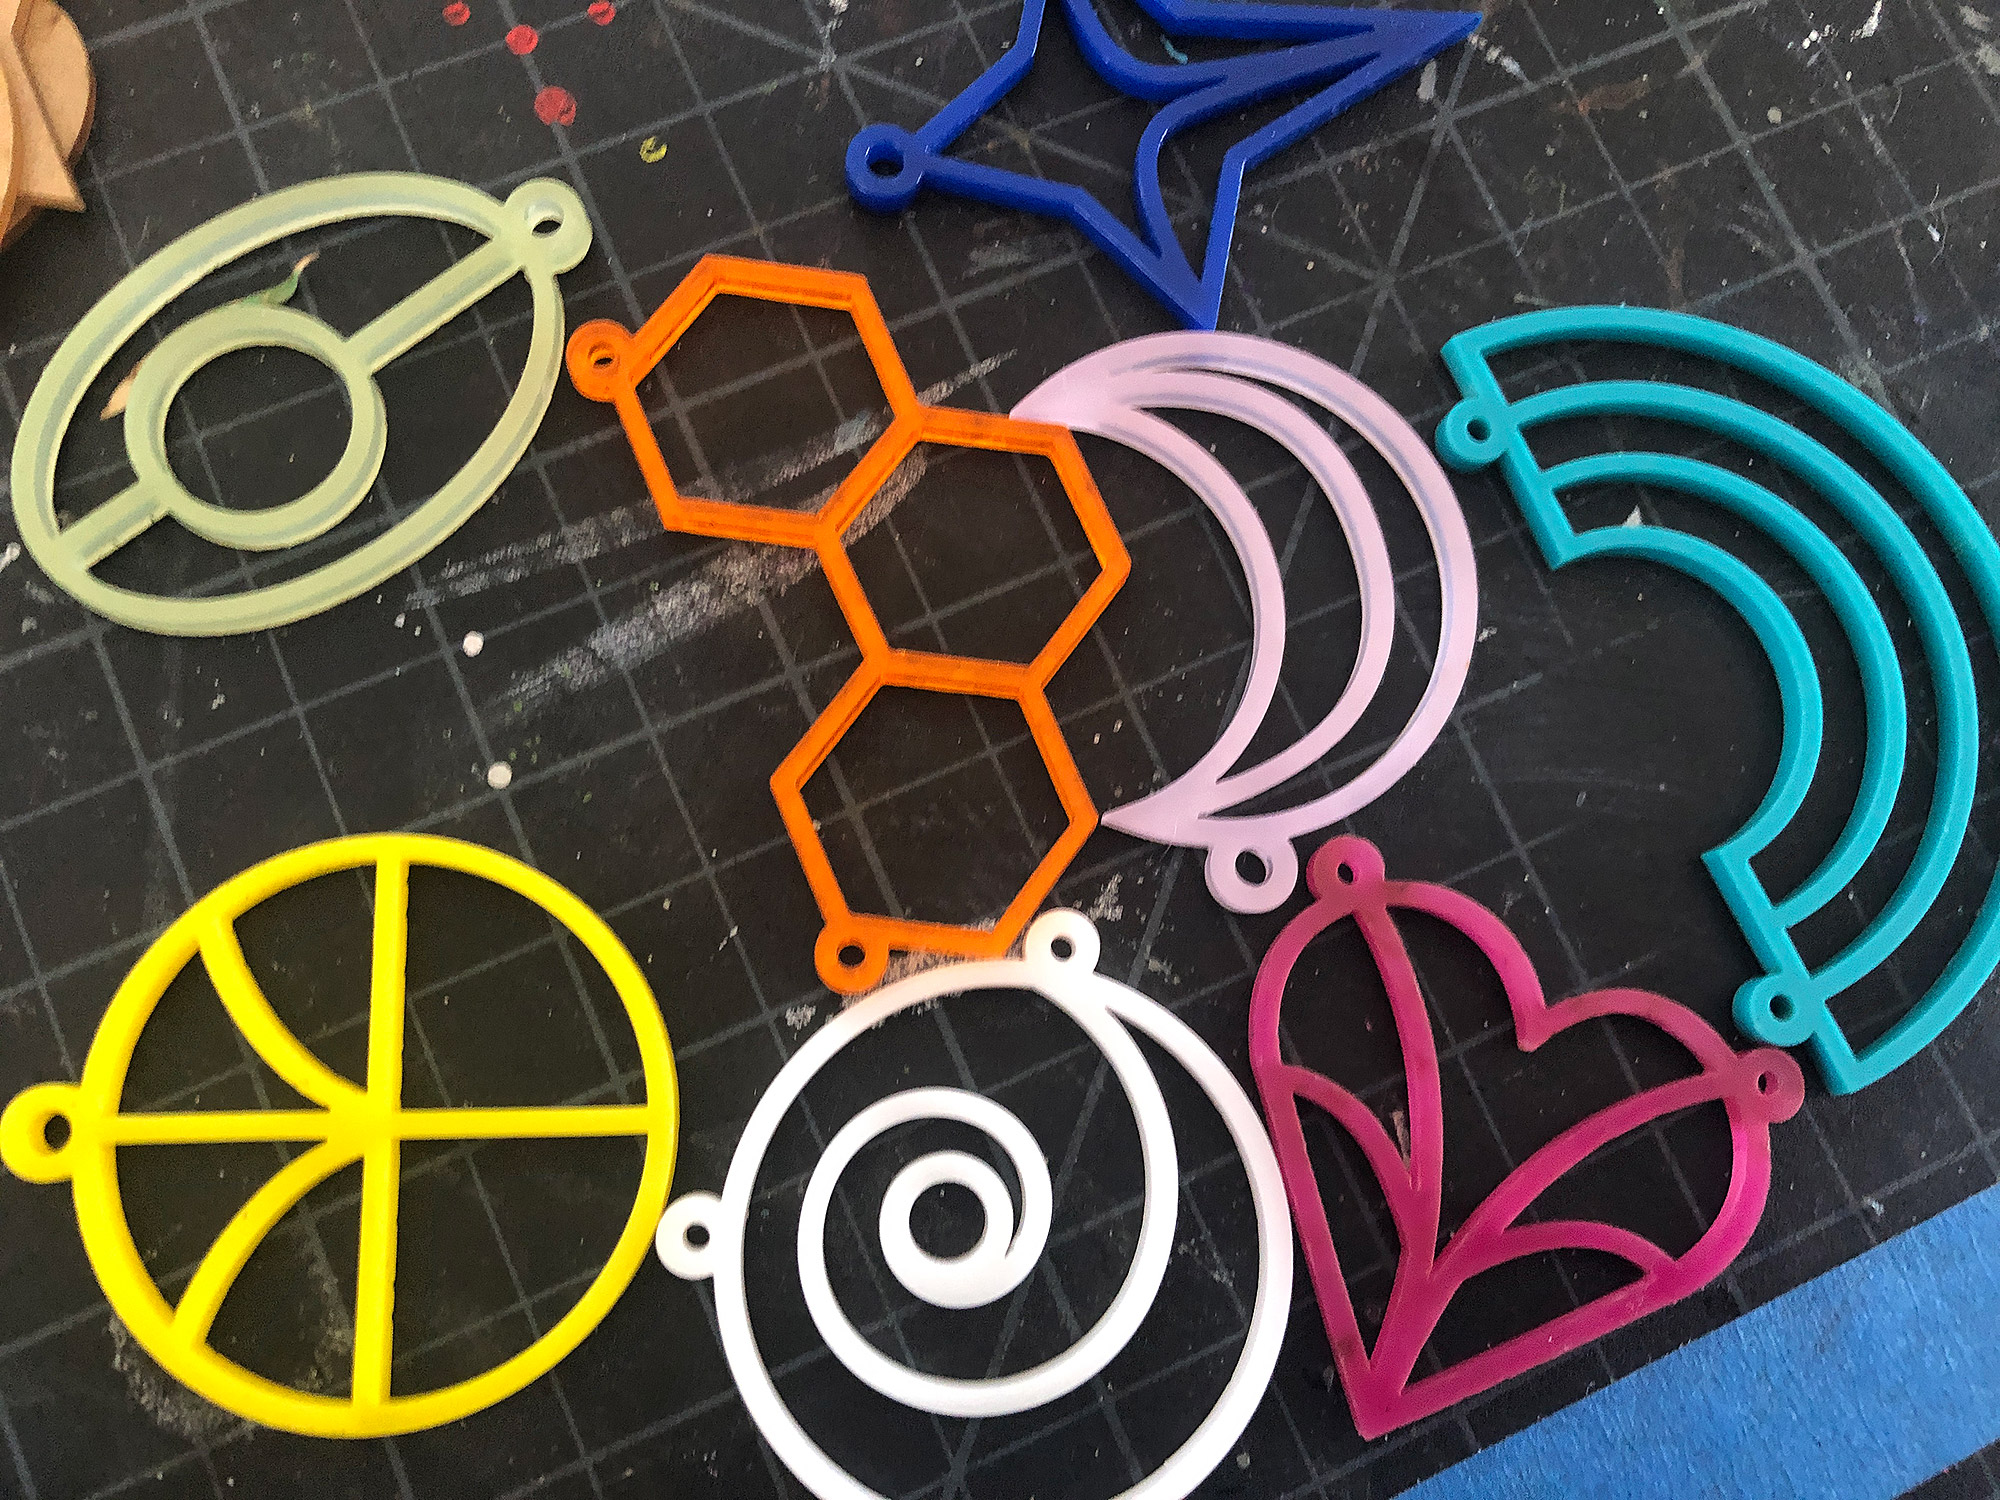
Get The File
To purchase the full set of shaker pendants check out this file on my Etsy.
I also have a free pendant – the heart design here so you can try it out:
Free Heart Design
(which is also in the paid set)
Adhesive Film Method
TRIAL ONE – Optically Clear Film Adhesive:
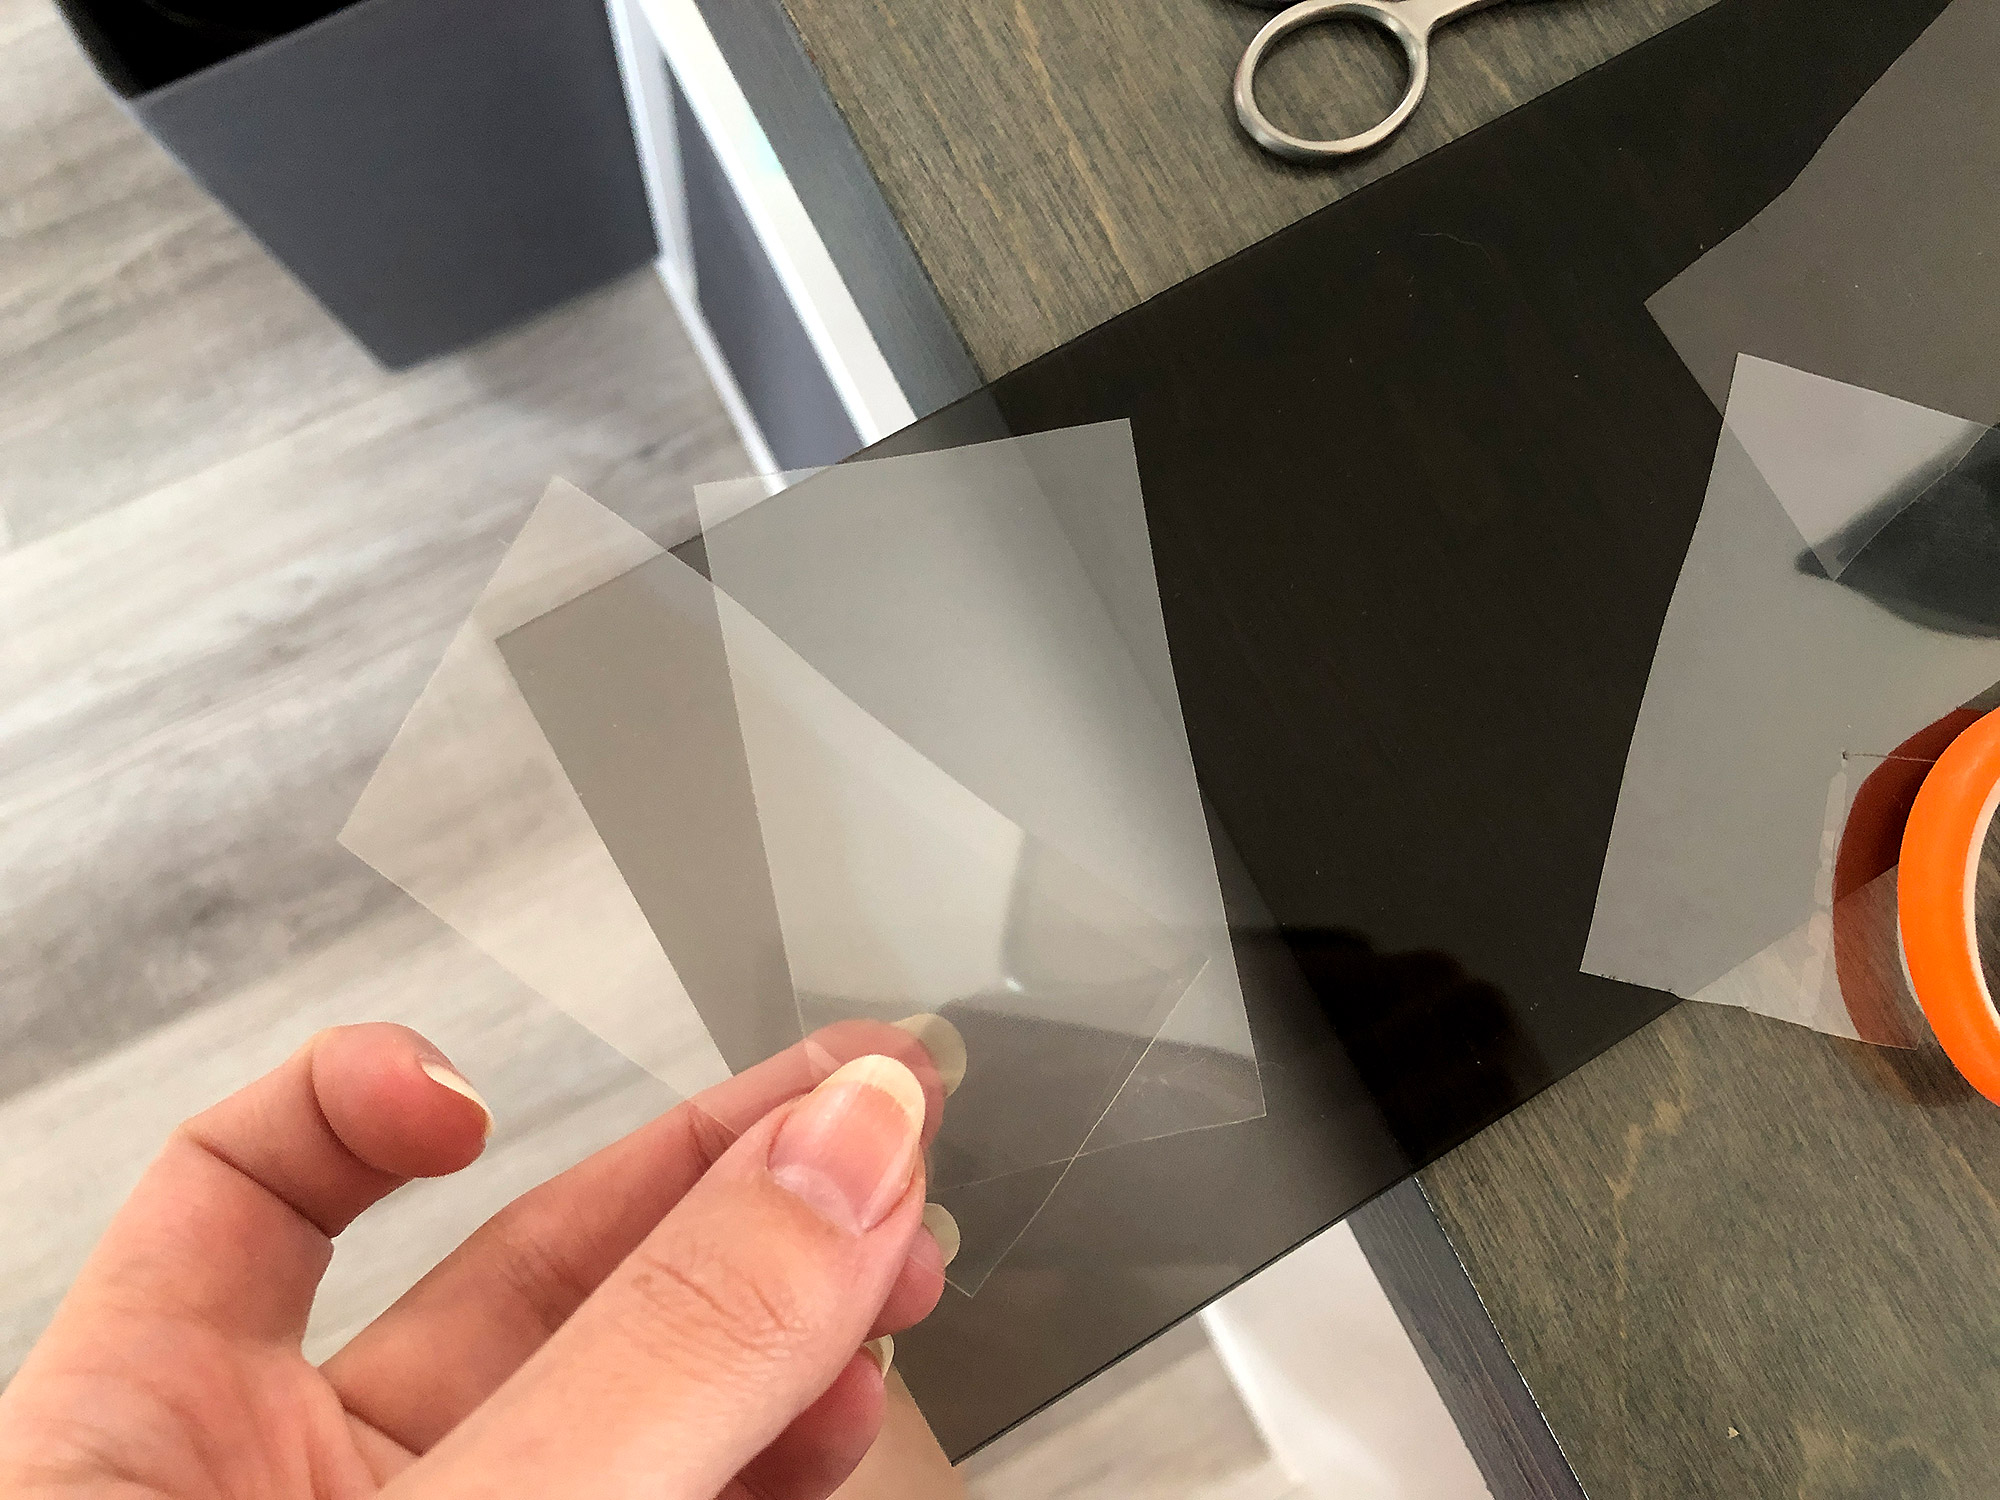
This product is designed to allow you to face mount (face to face) photos or artwork to clear acrylic. It also can make a good peelable adhesive for attaching acrylic. The trick to applying this double sided adhesive is to apply it slowly and use a roller or scraper to press it down as you go. This will minimize air bubbles.
Application:
After cutting to size, start from one edge and apply pressure scraping back and forth firmly until you reach the edge.
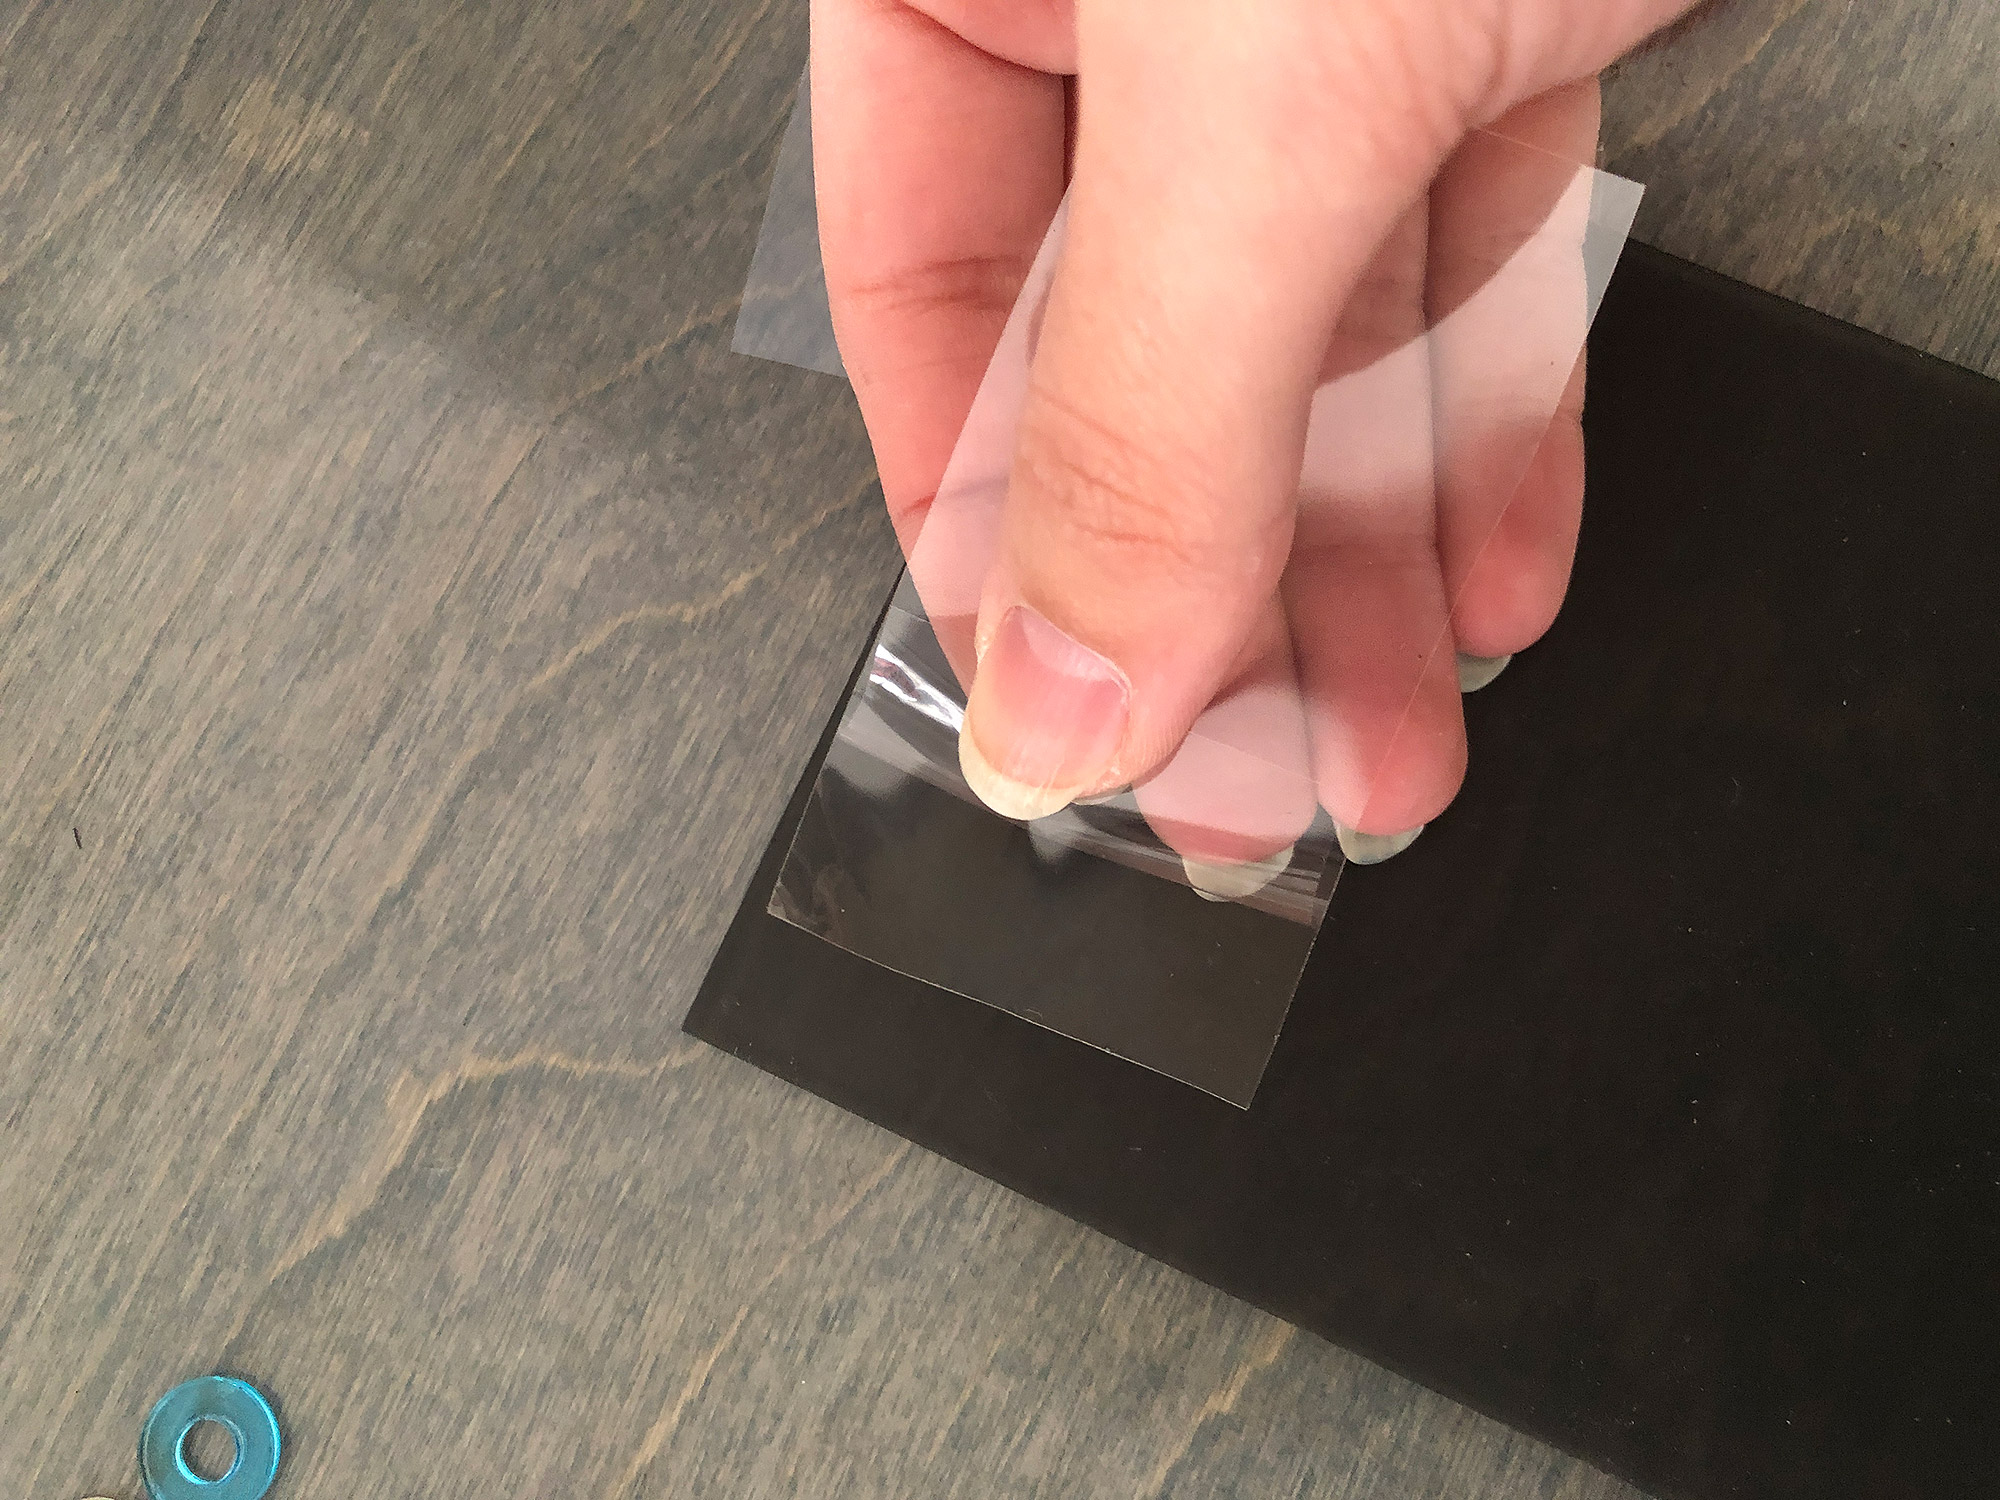
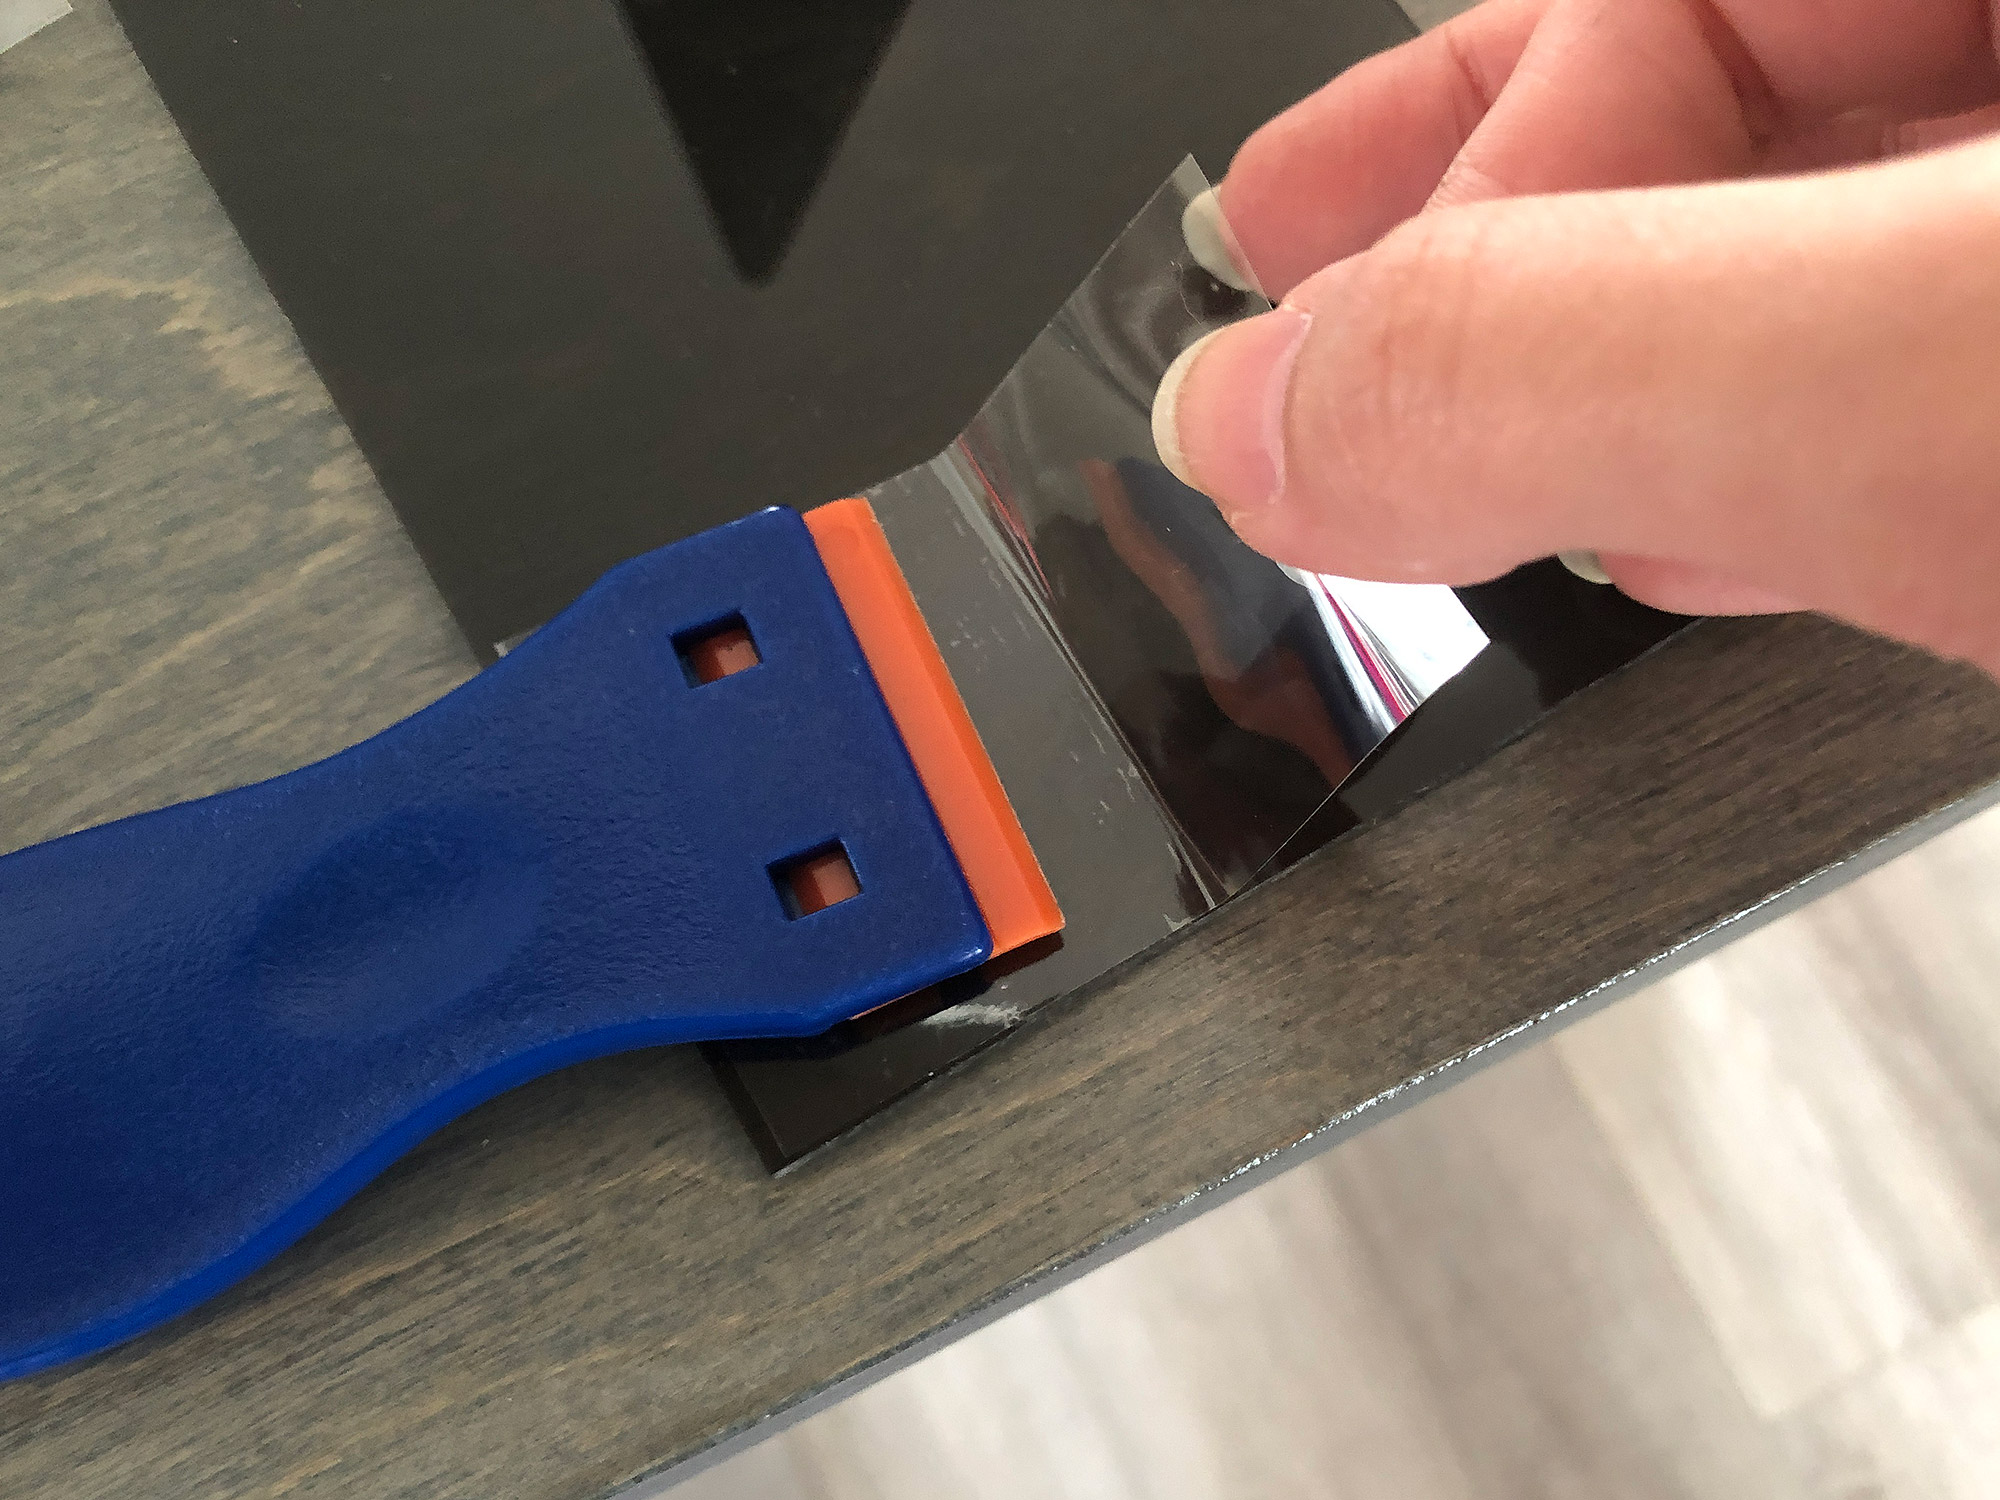
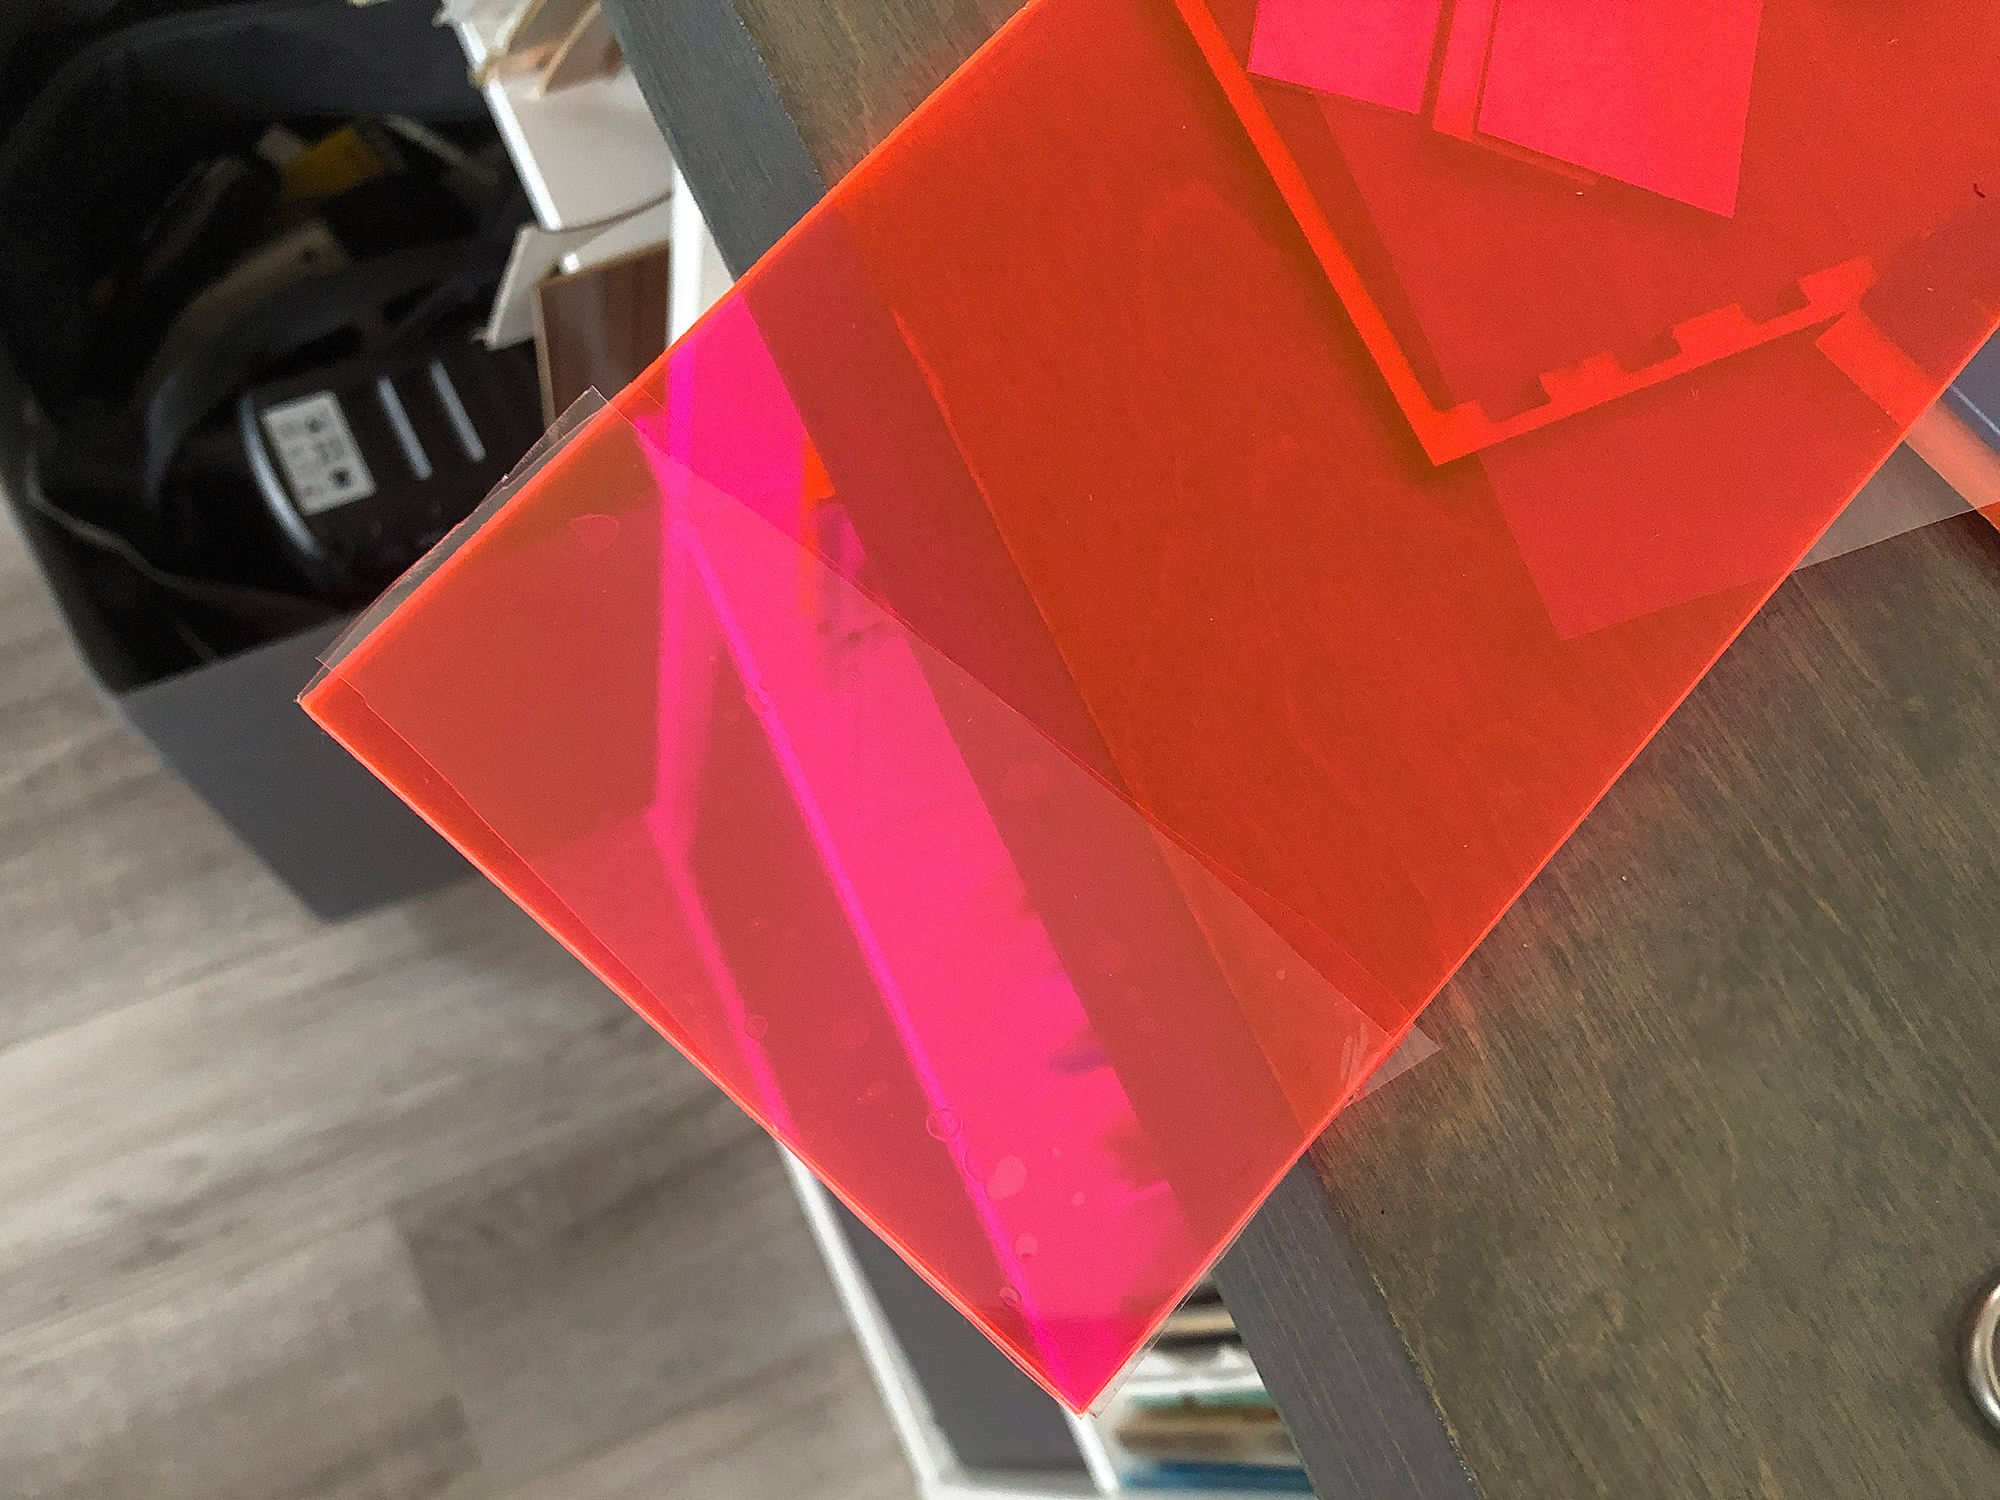
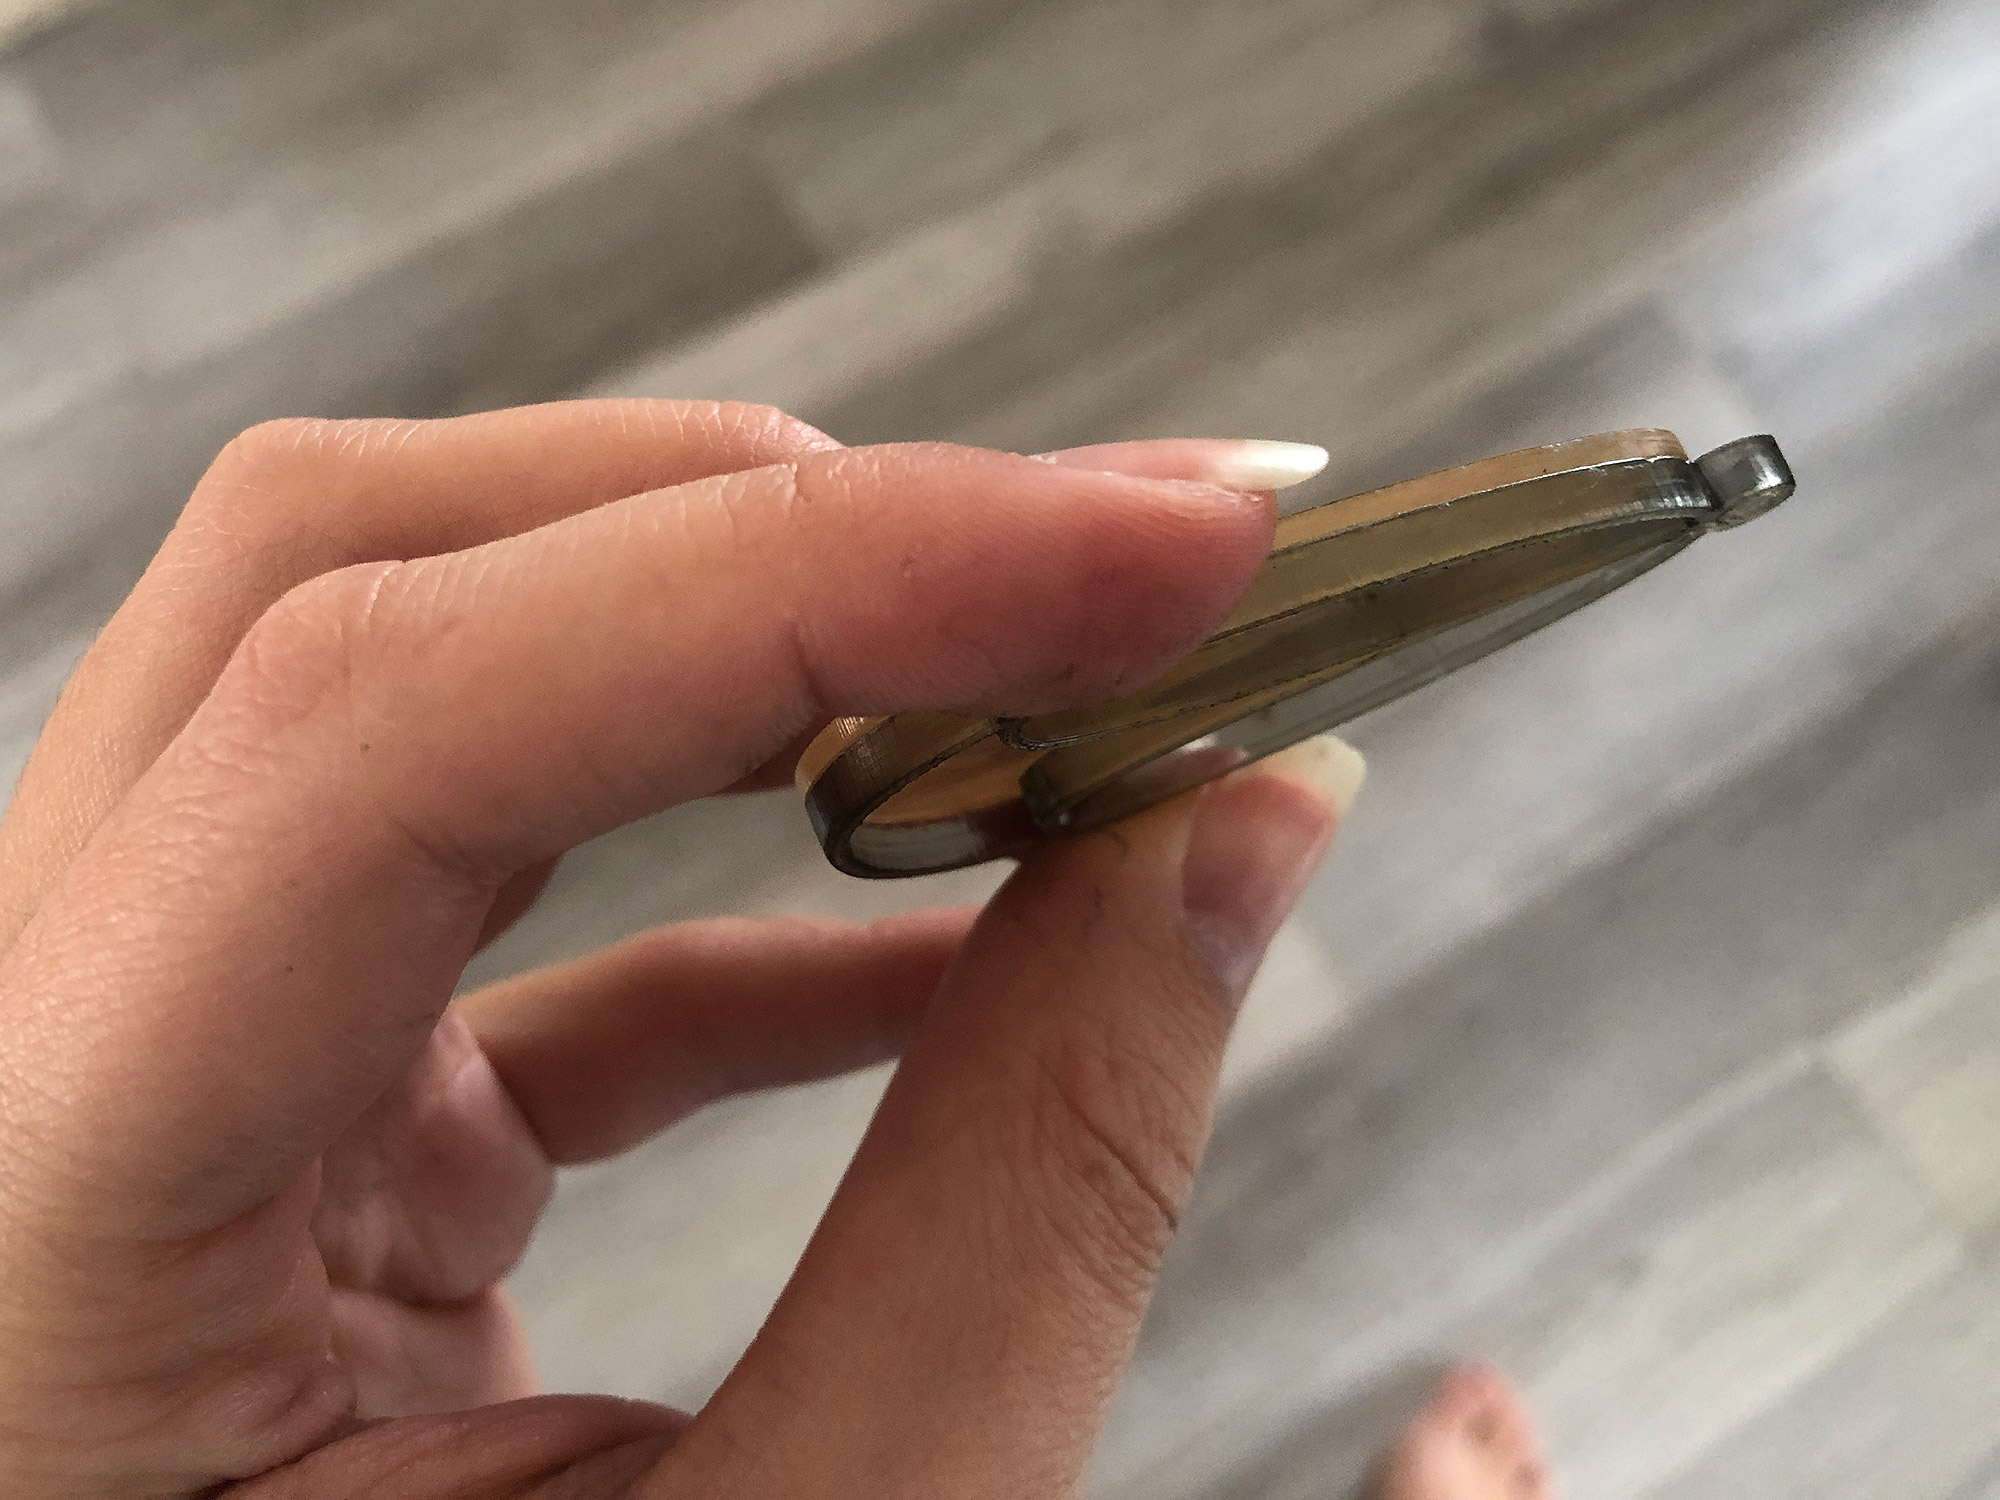
I applied this adhesive to both sides (since I want to apply clear acrylic to both sides of the design). You can then cut this as normal. Since there is a peelable covering/backing sheet I didn’t mask. You’ll see some charring sometimes but it will peel away with the backer sheet.
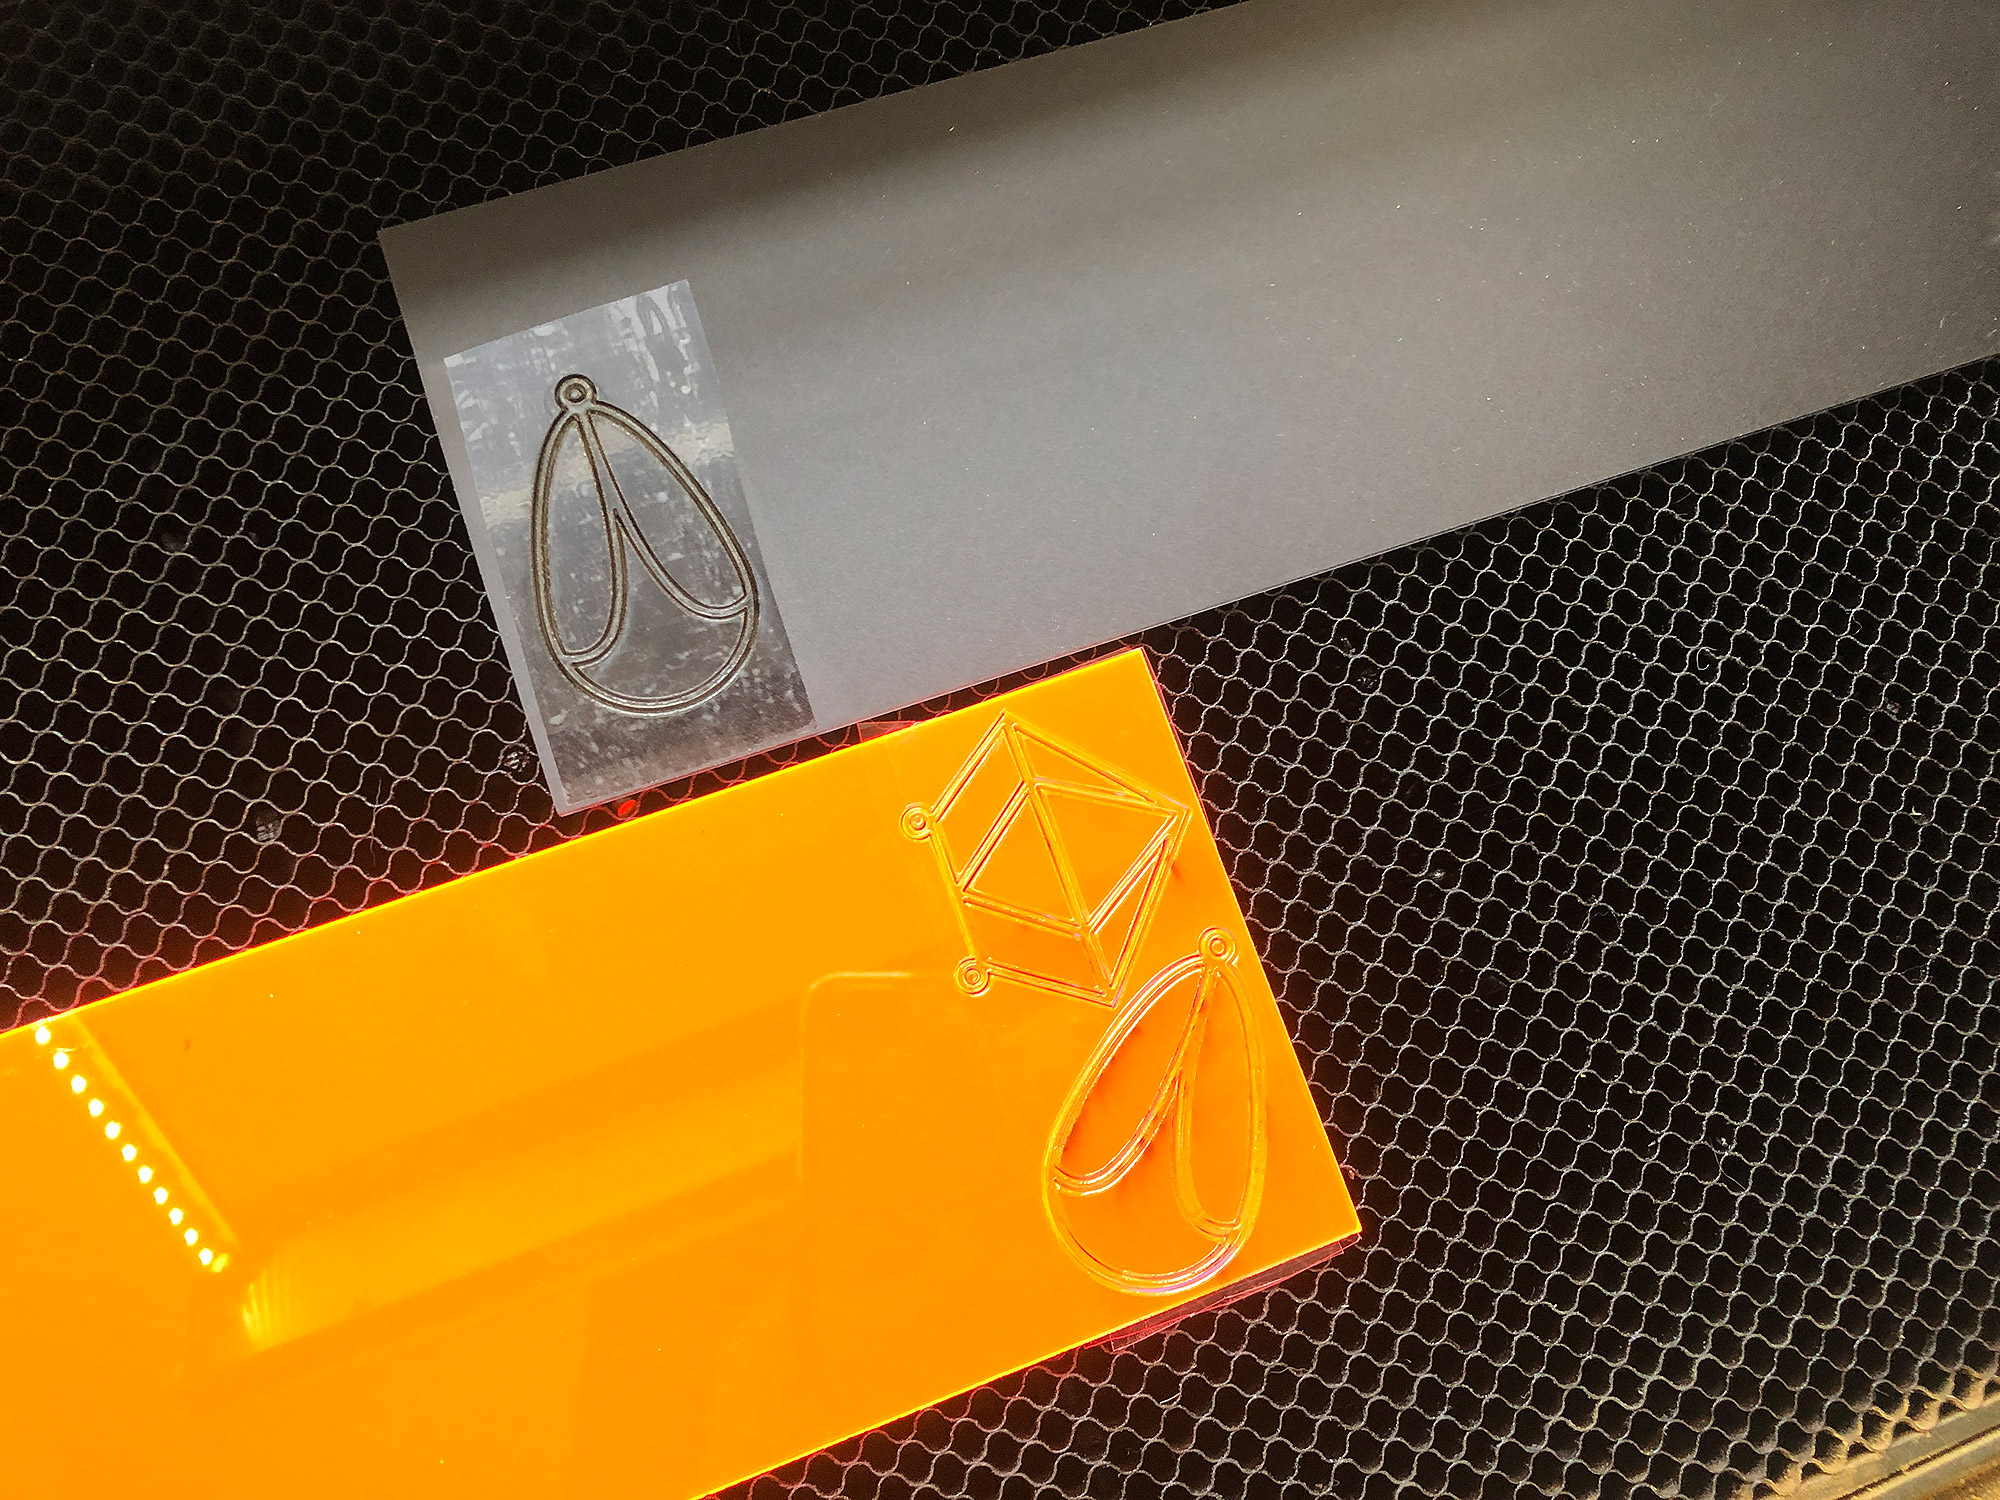
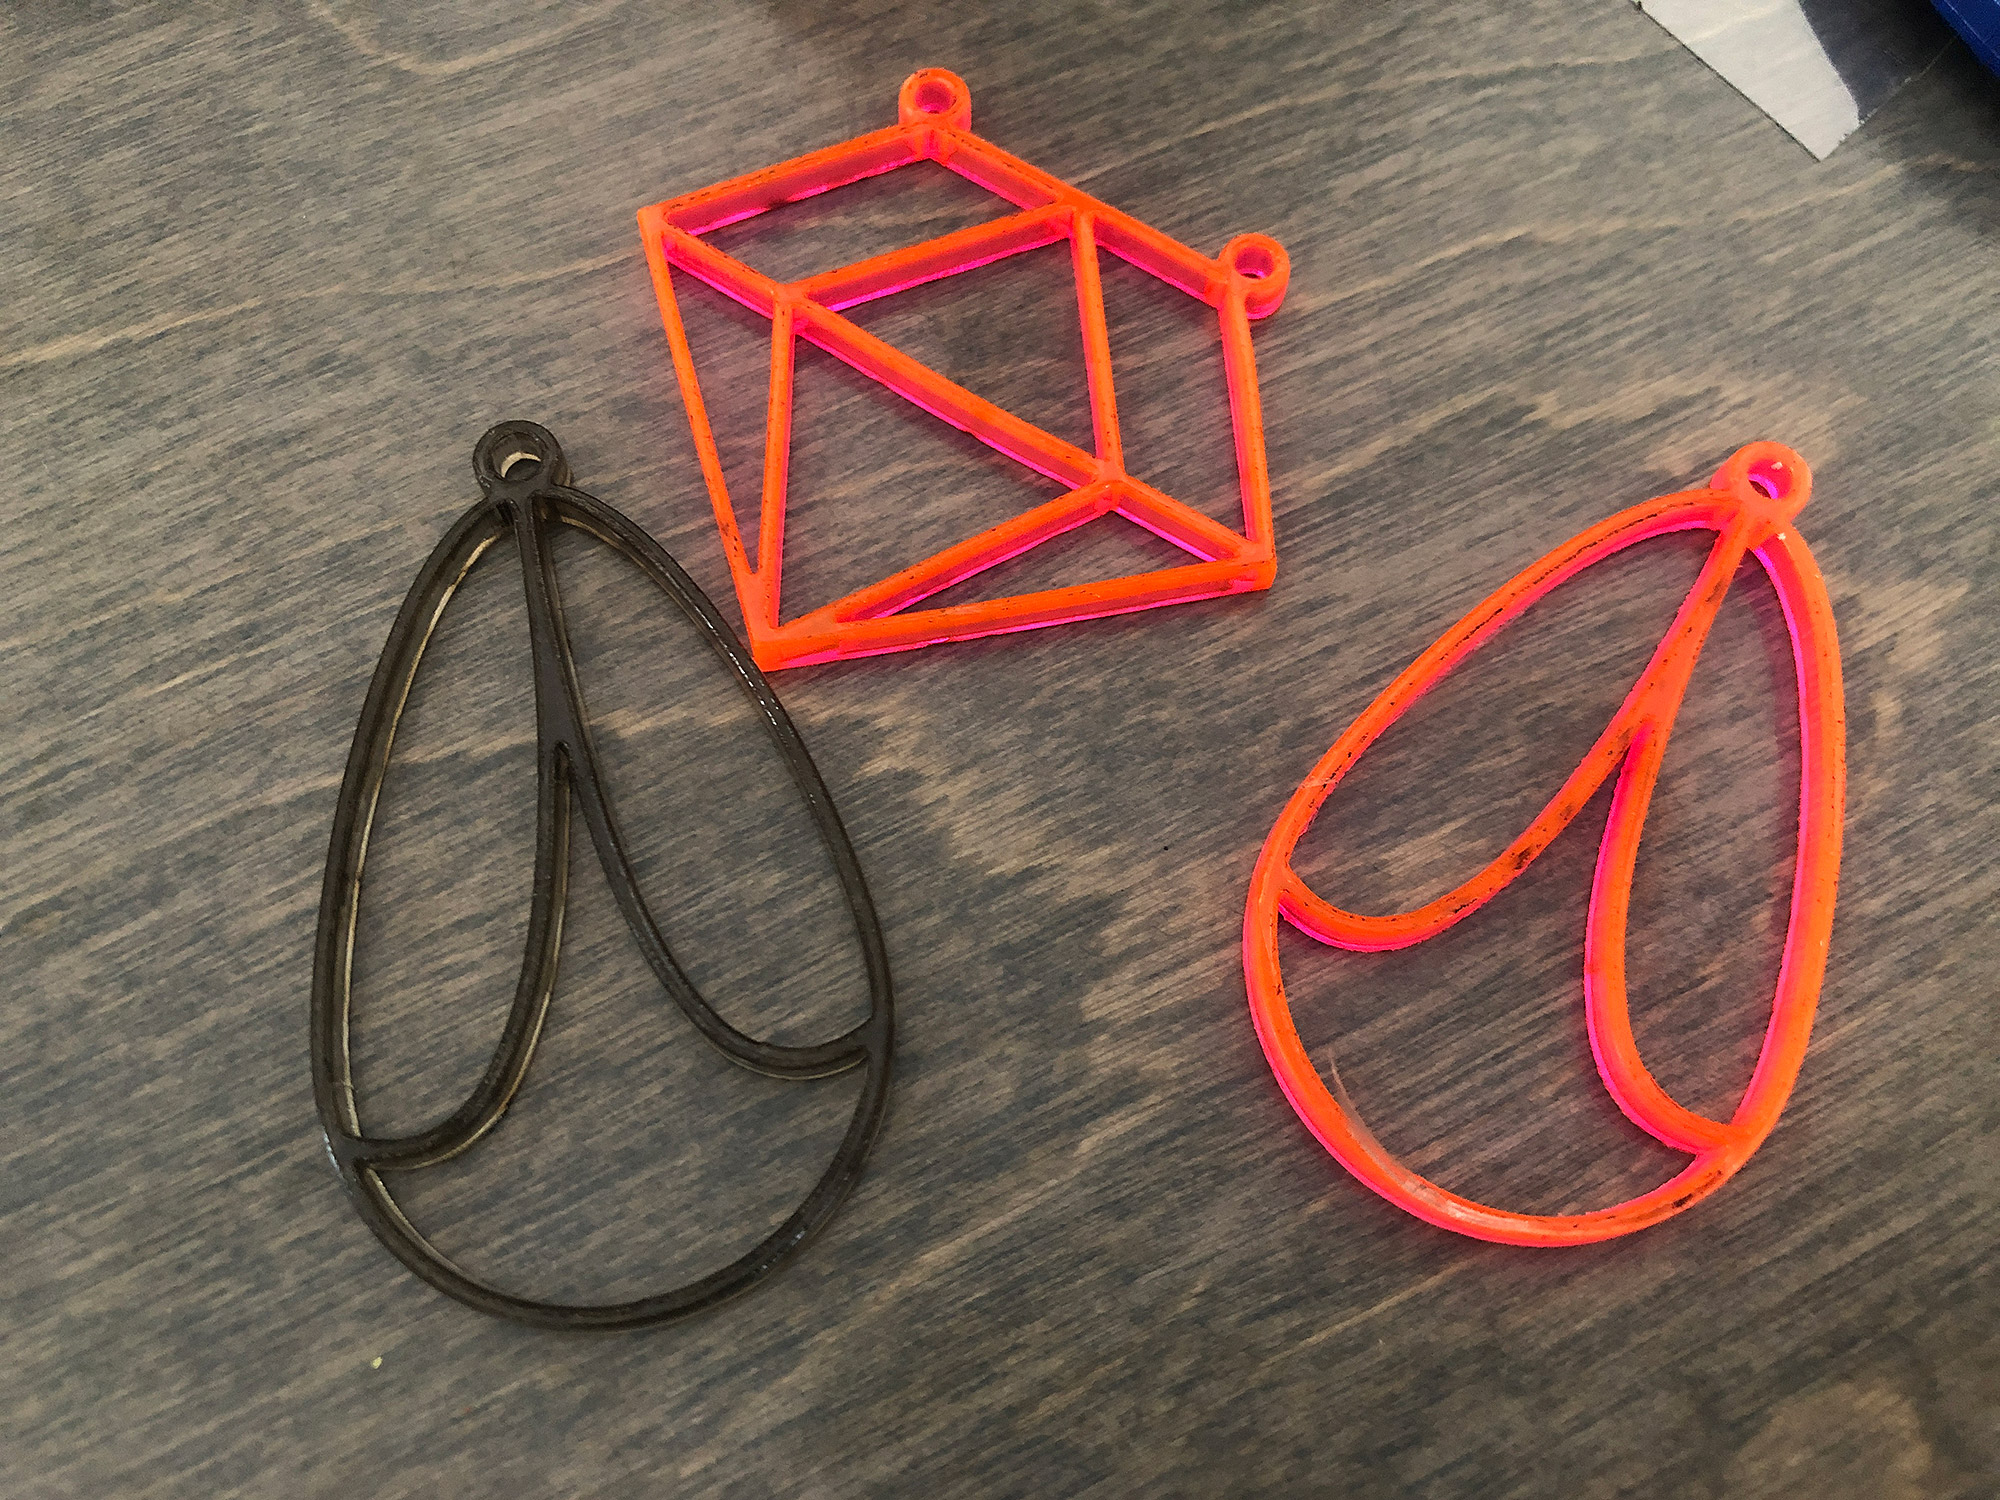
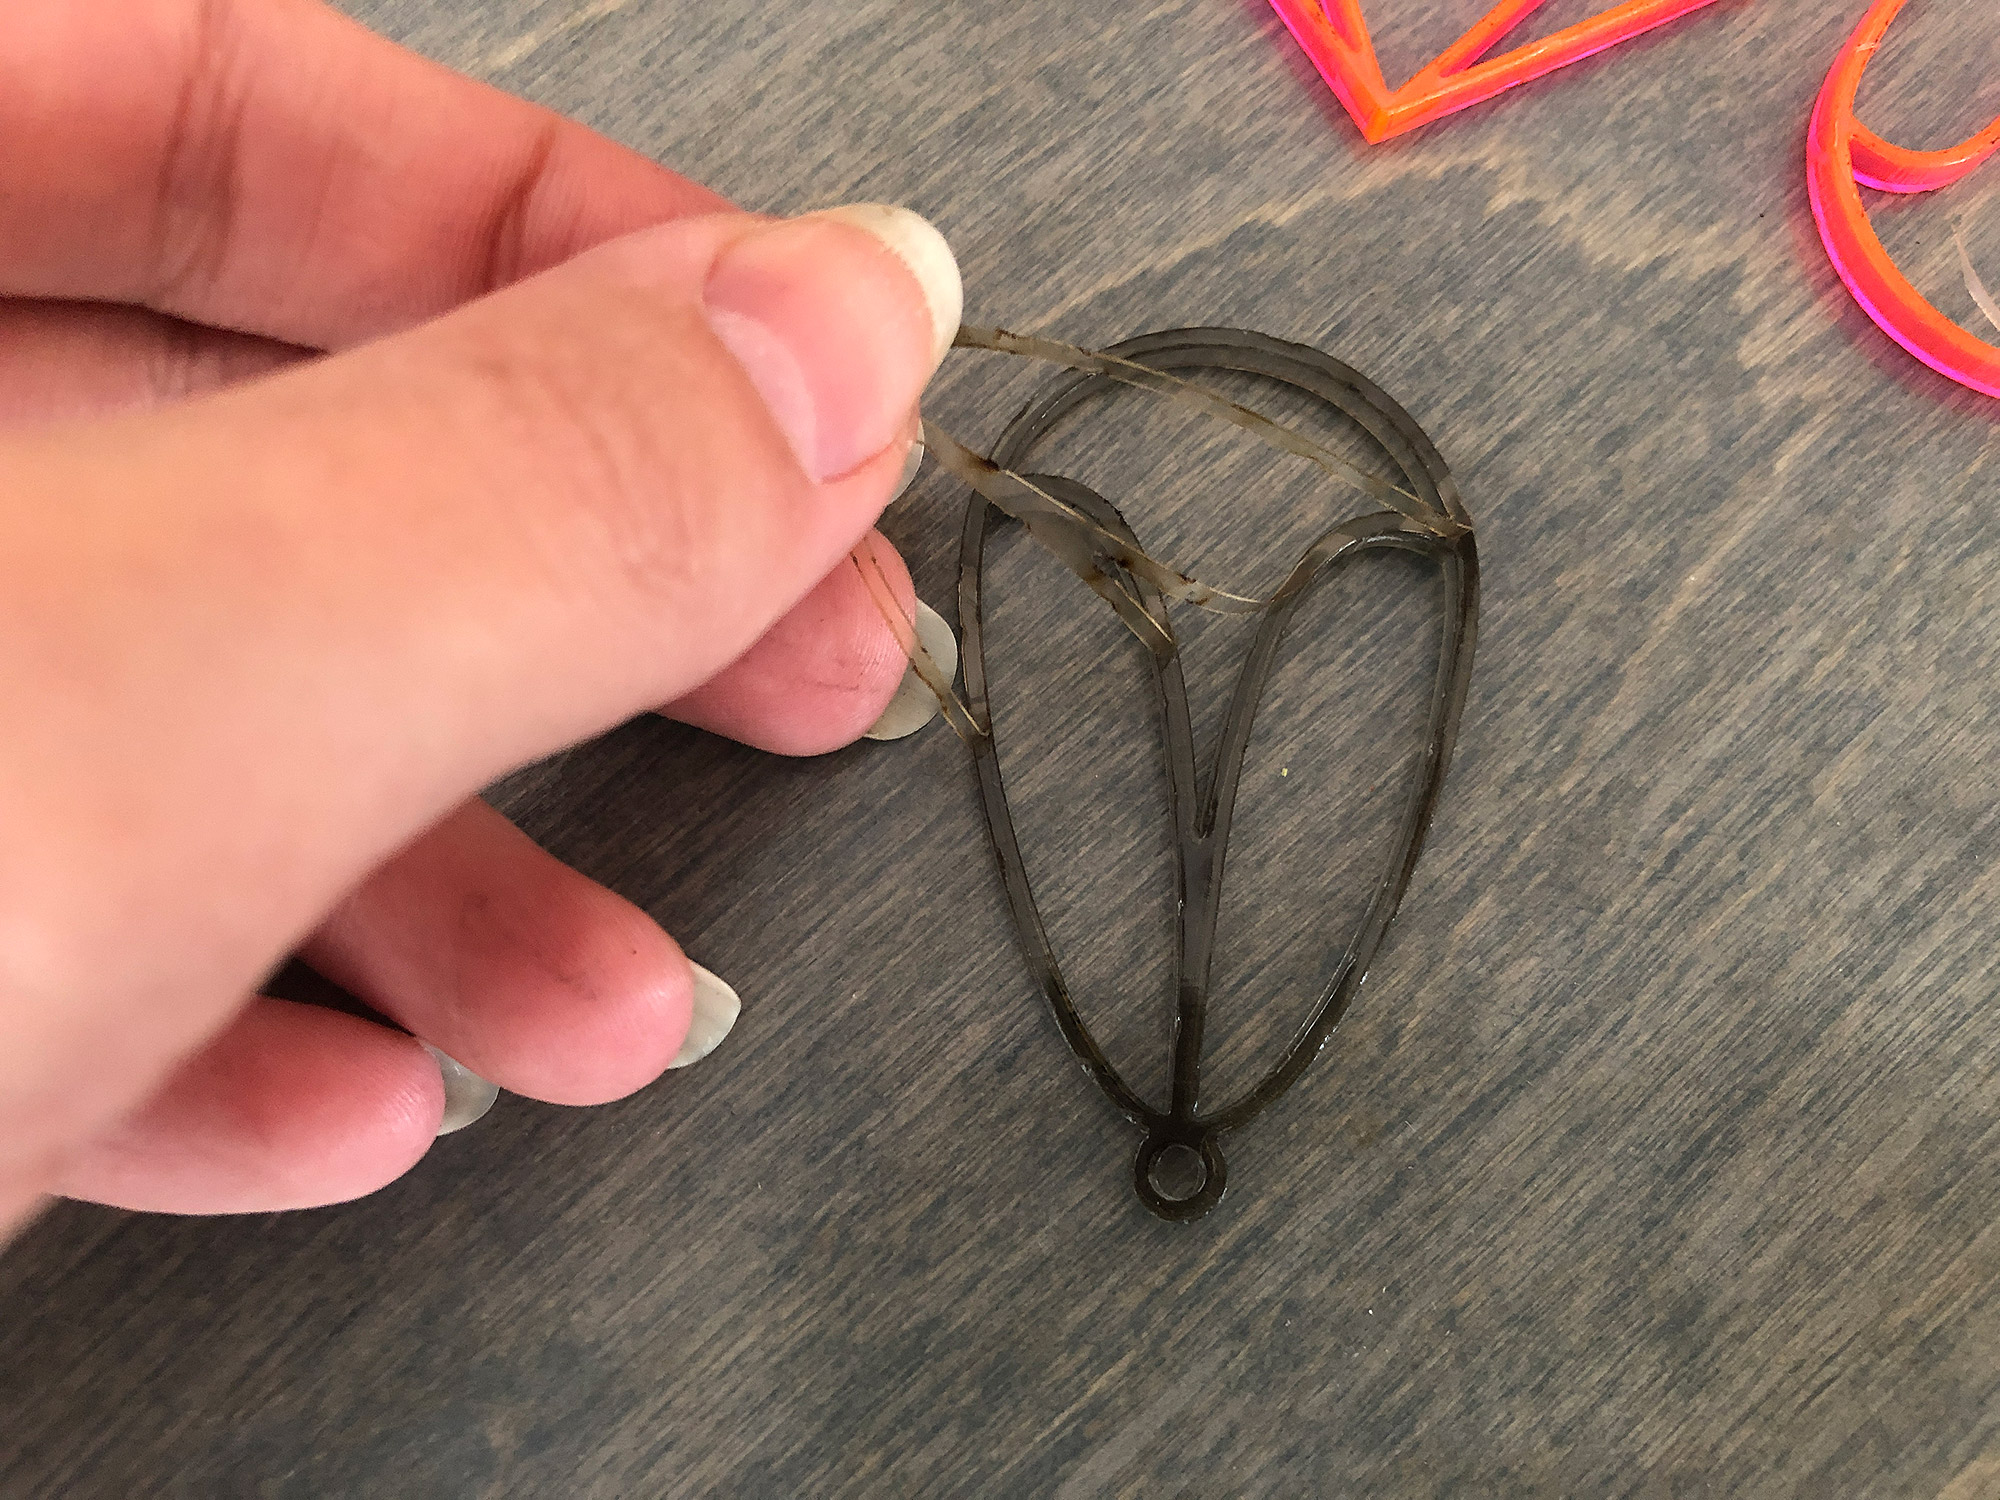
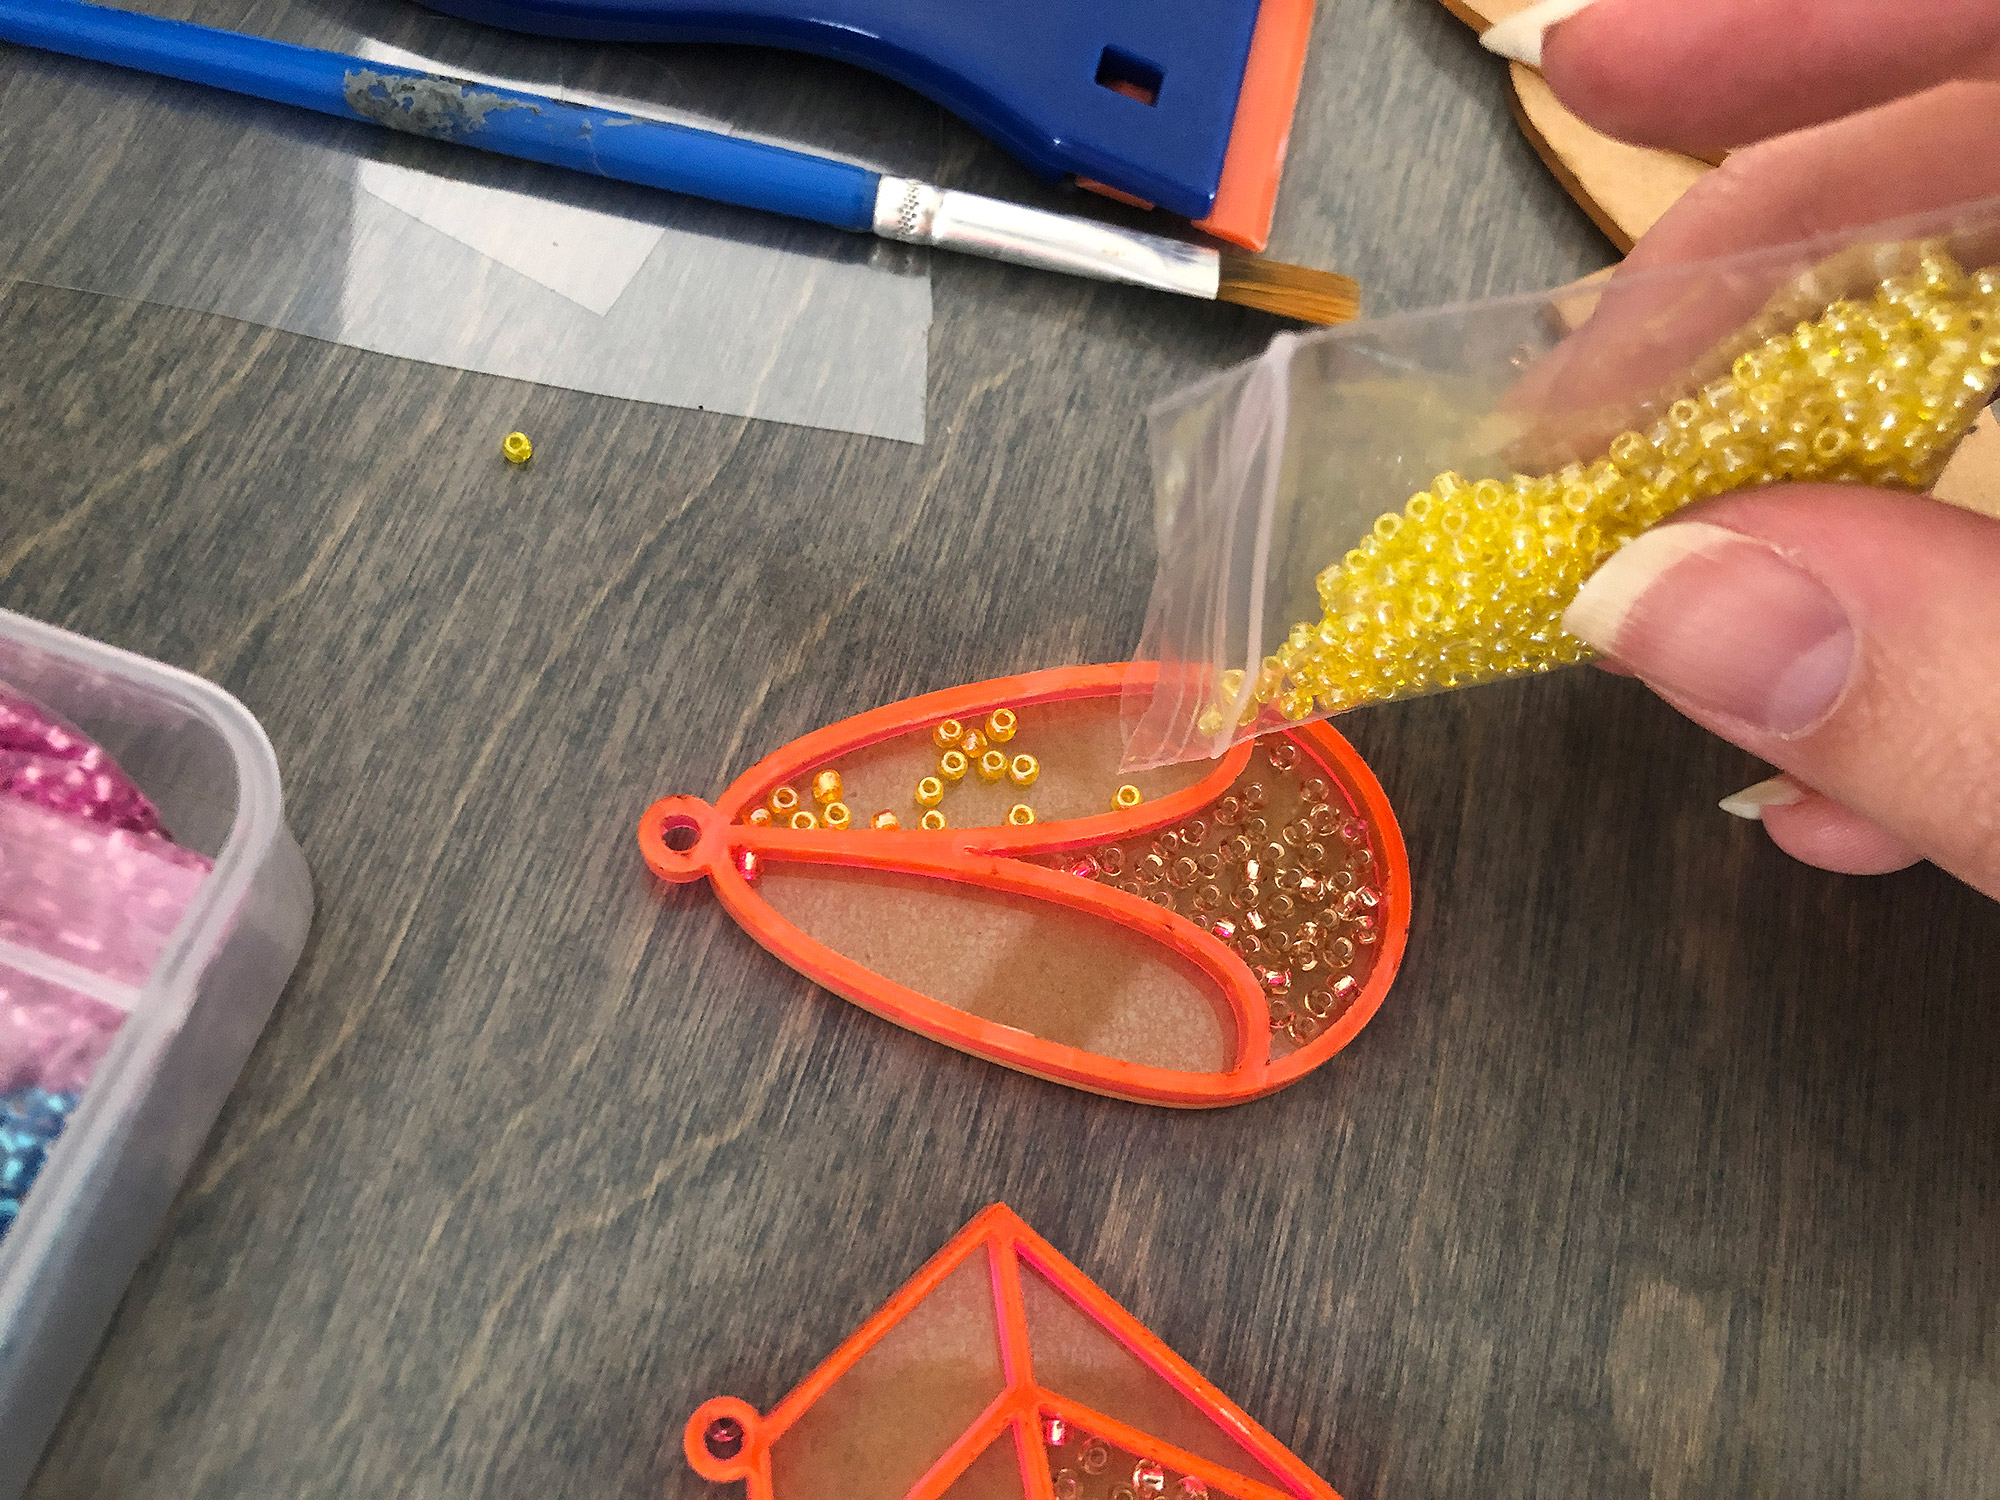
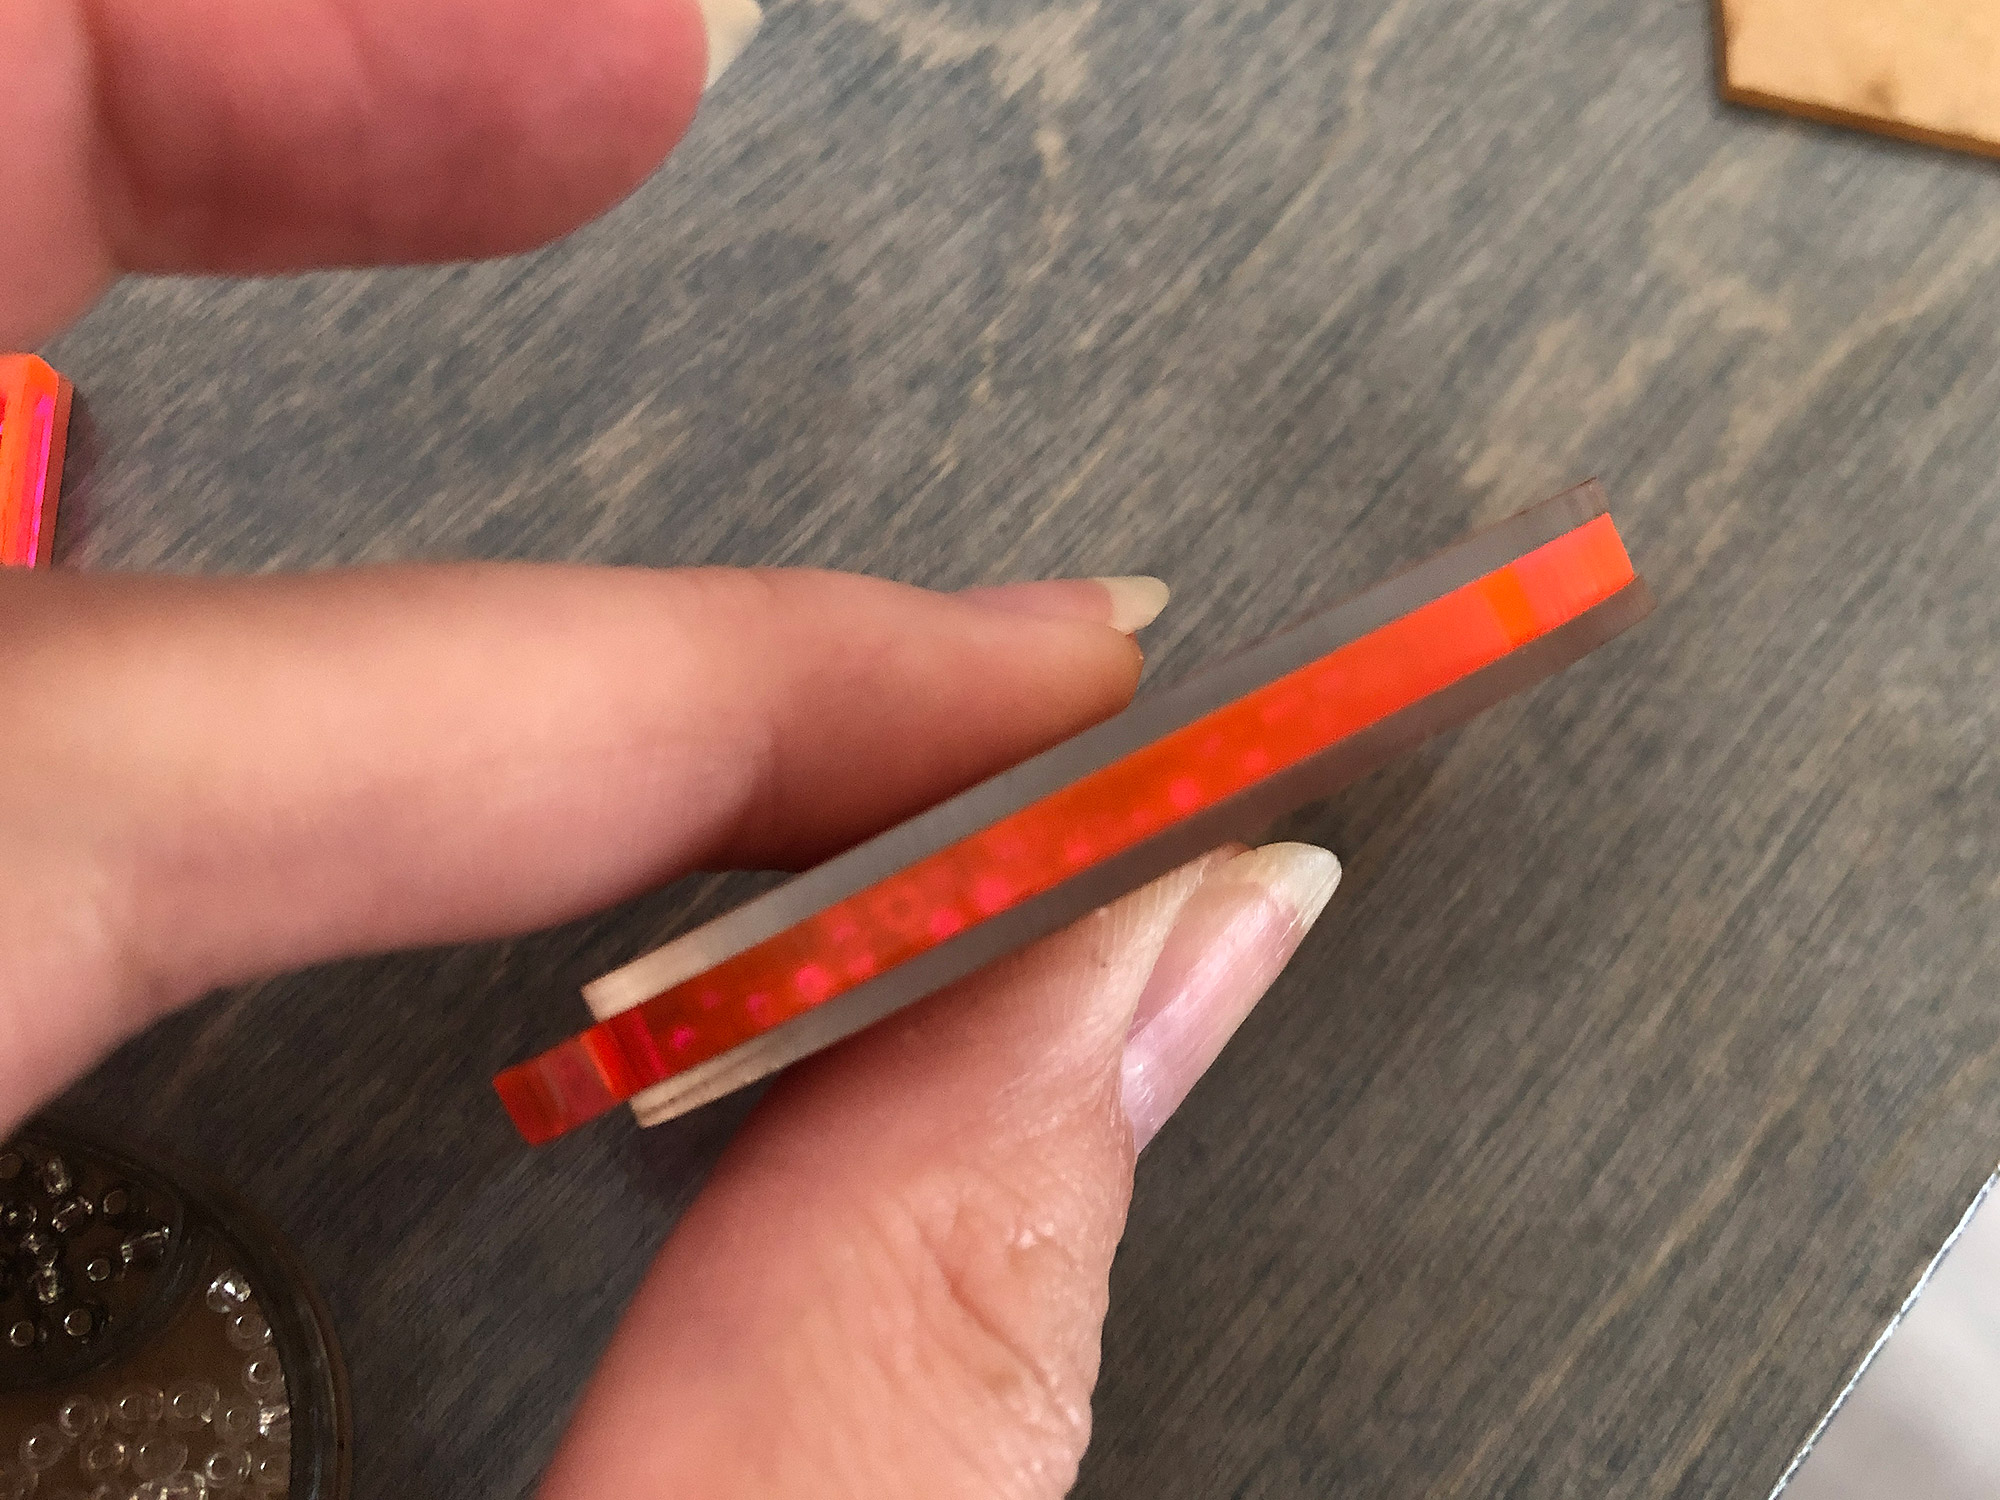
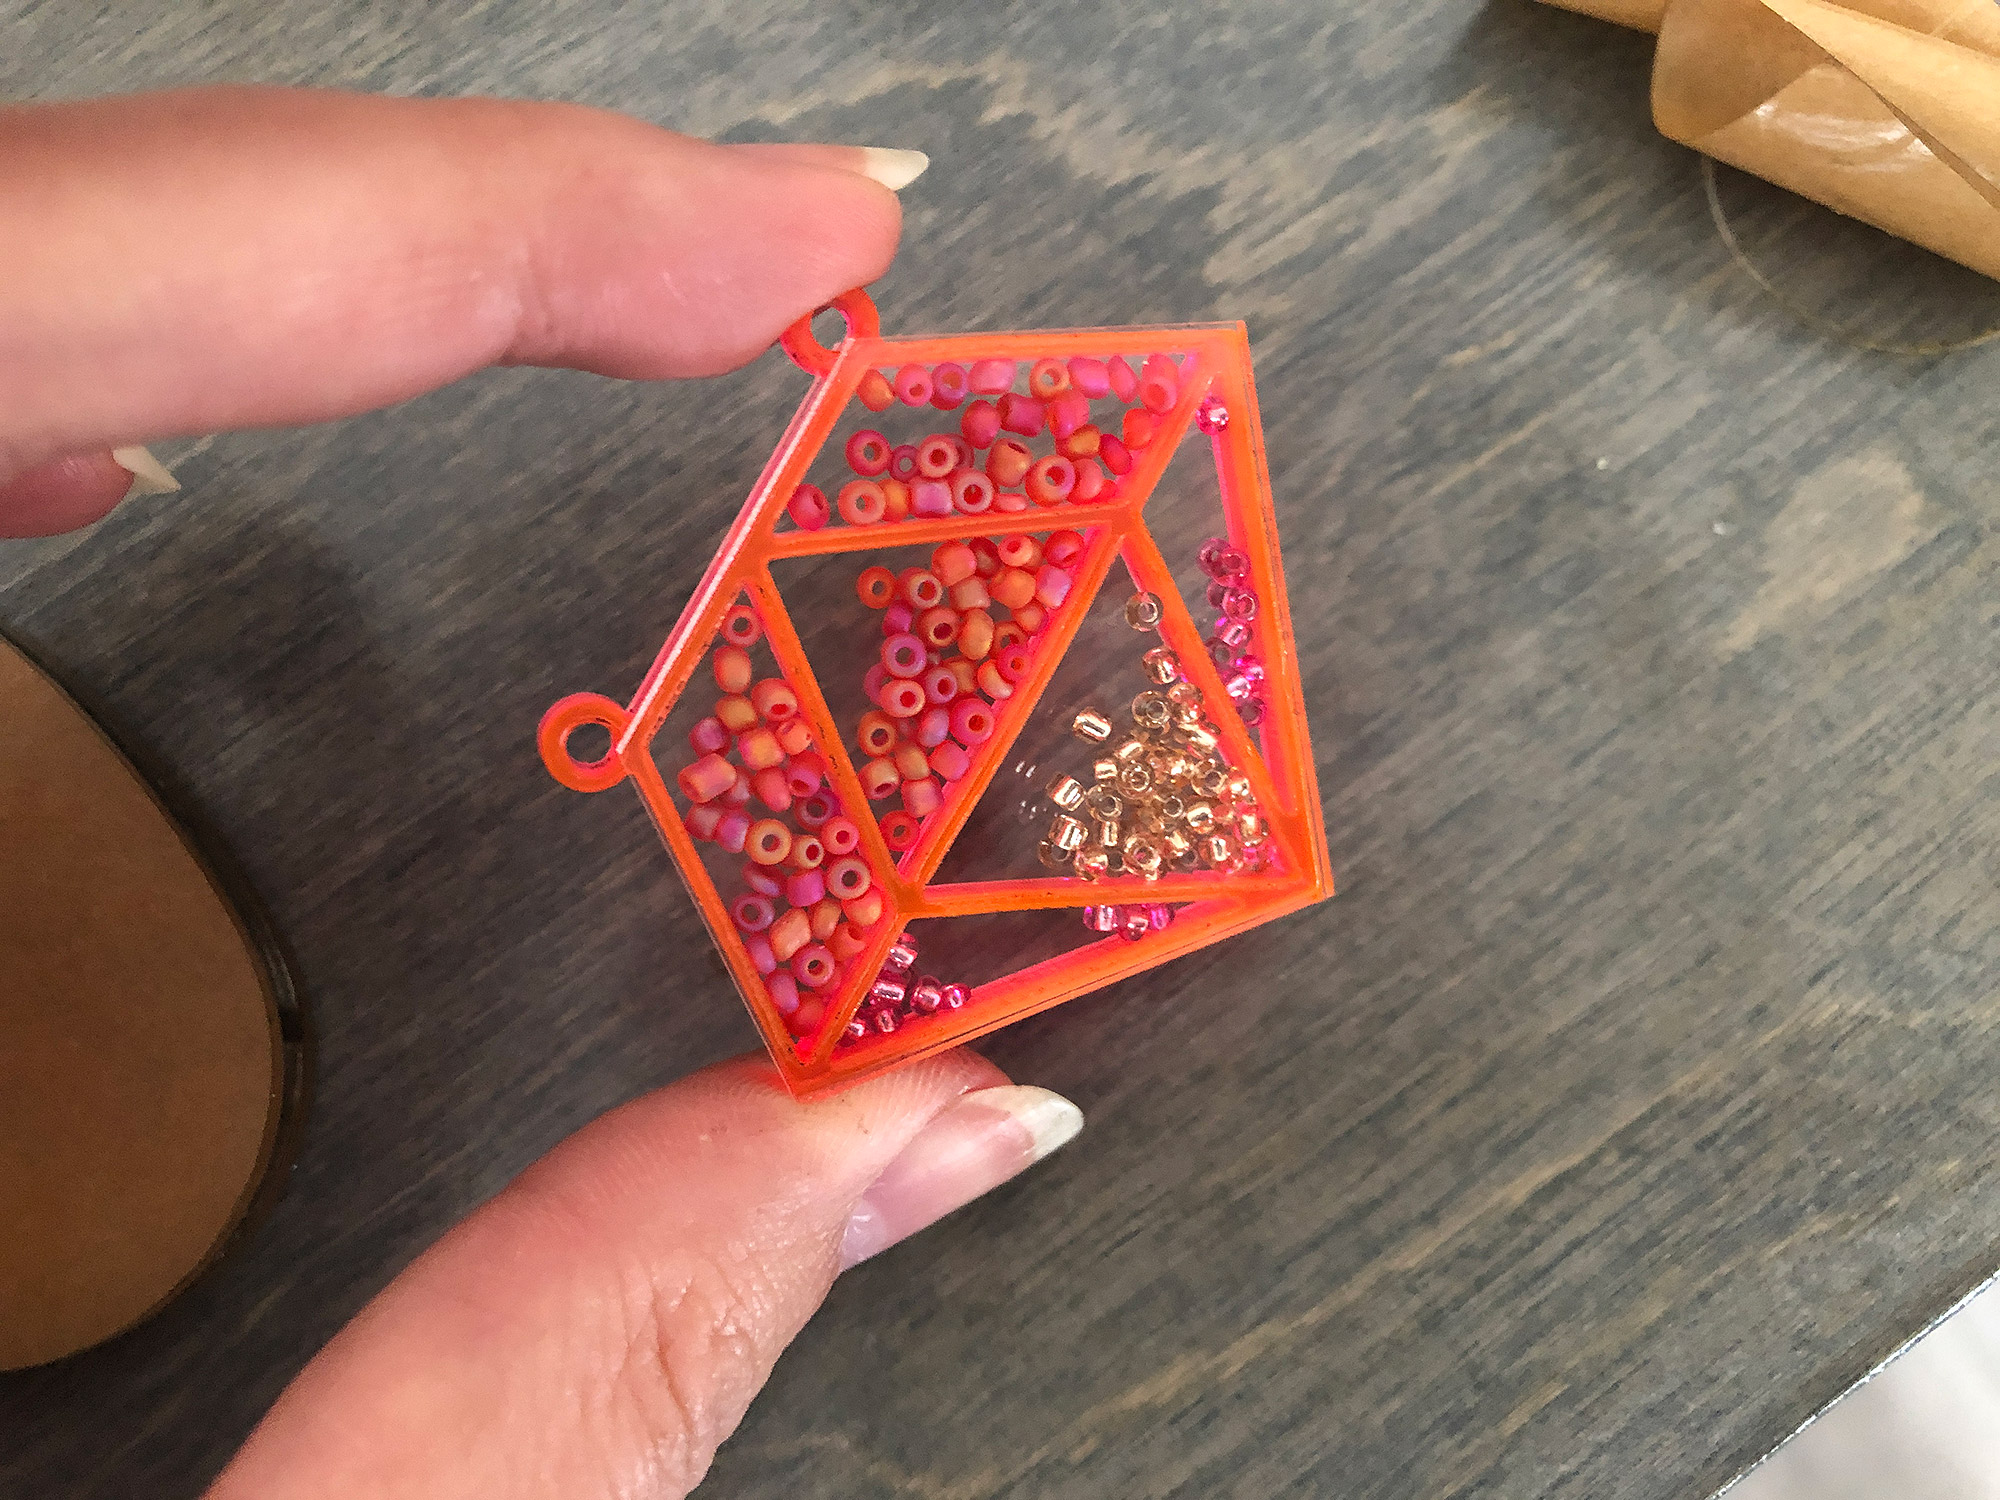
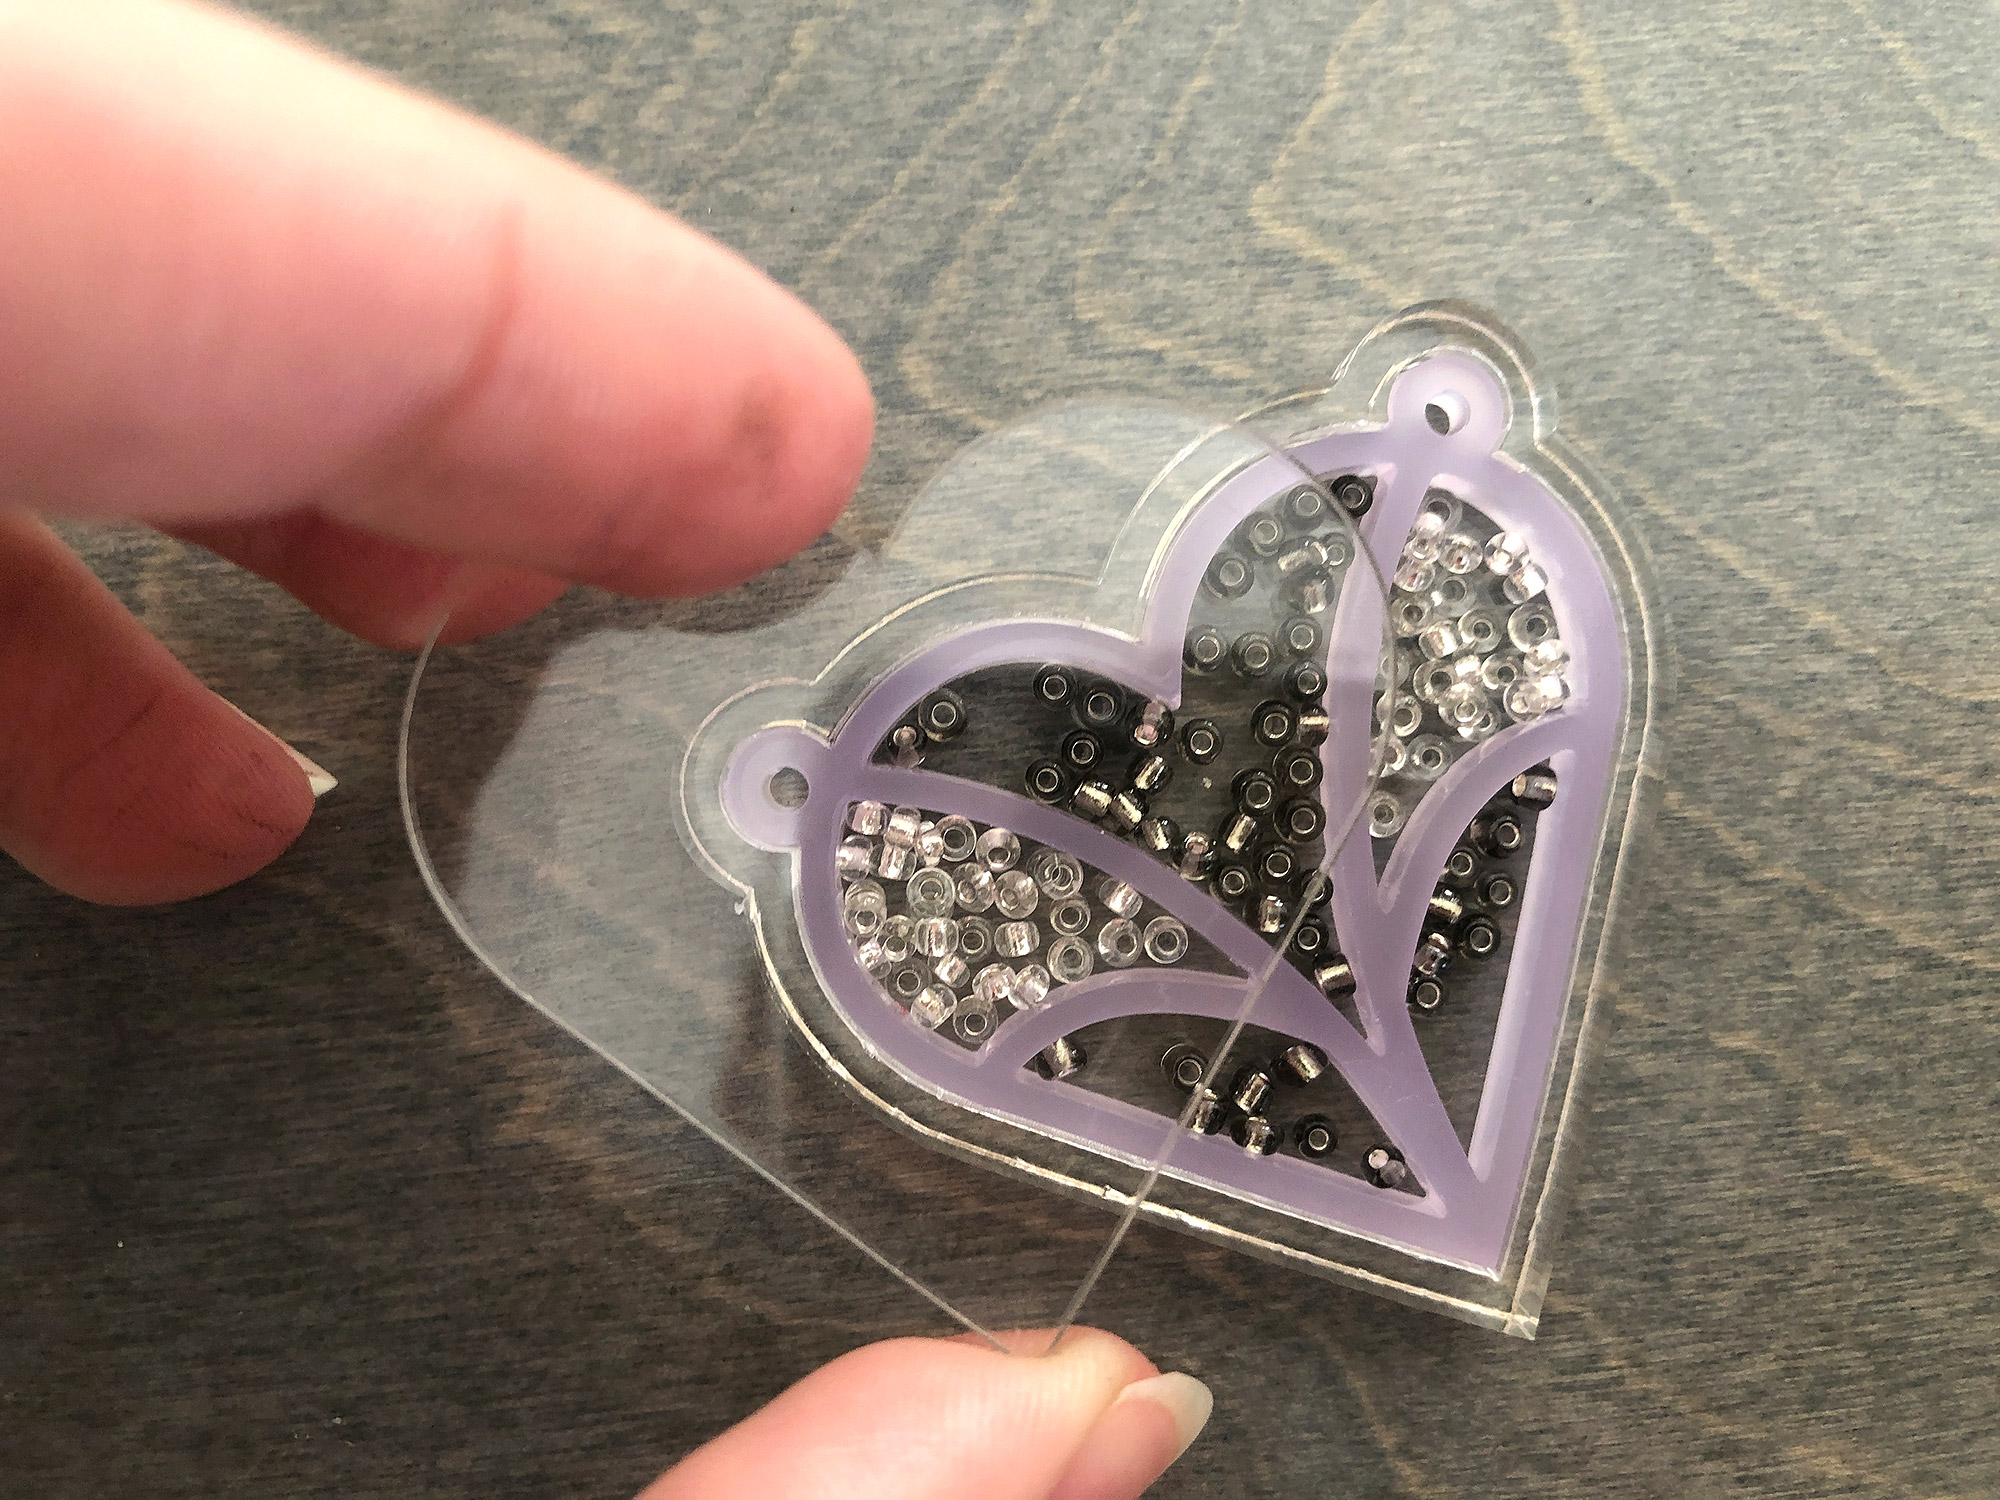
After that you will want to apply your clear layer/back. In this case I used 1/16″ clear acrylic. You can use 1/8″ but they’ll end up pretty thick. Then simply fill, peel the front and apply the front cover.
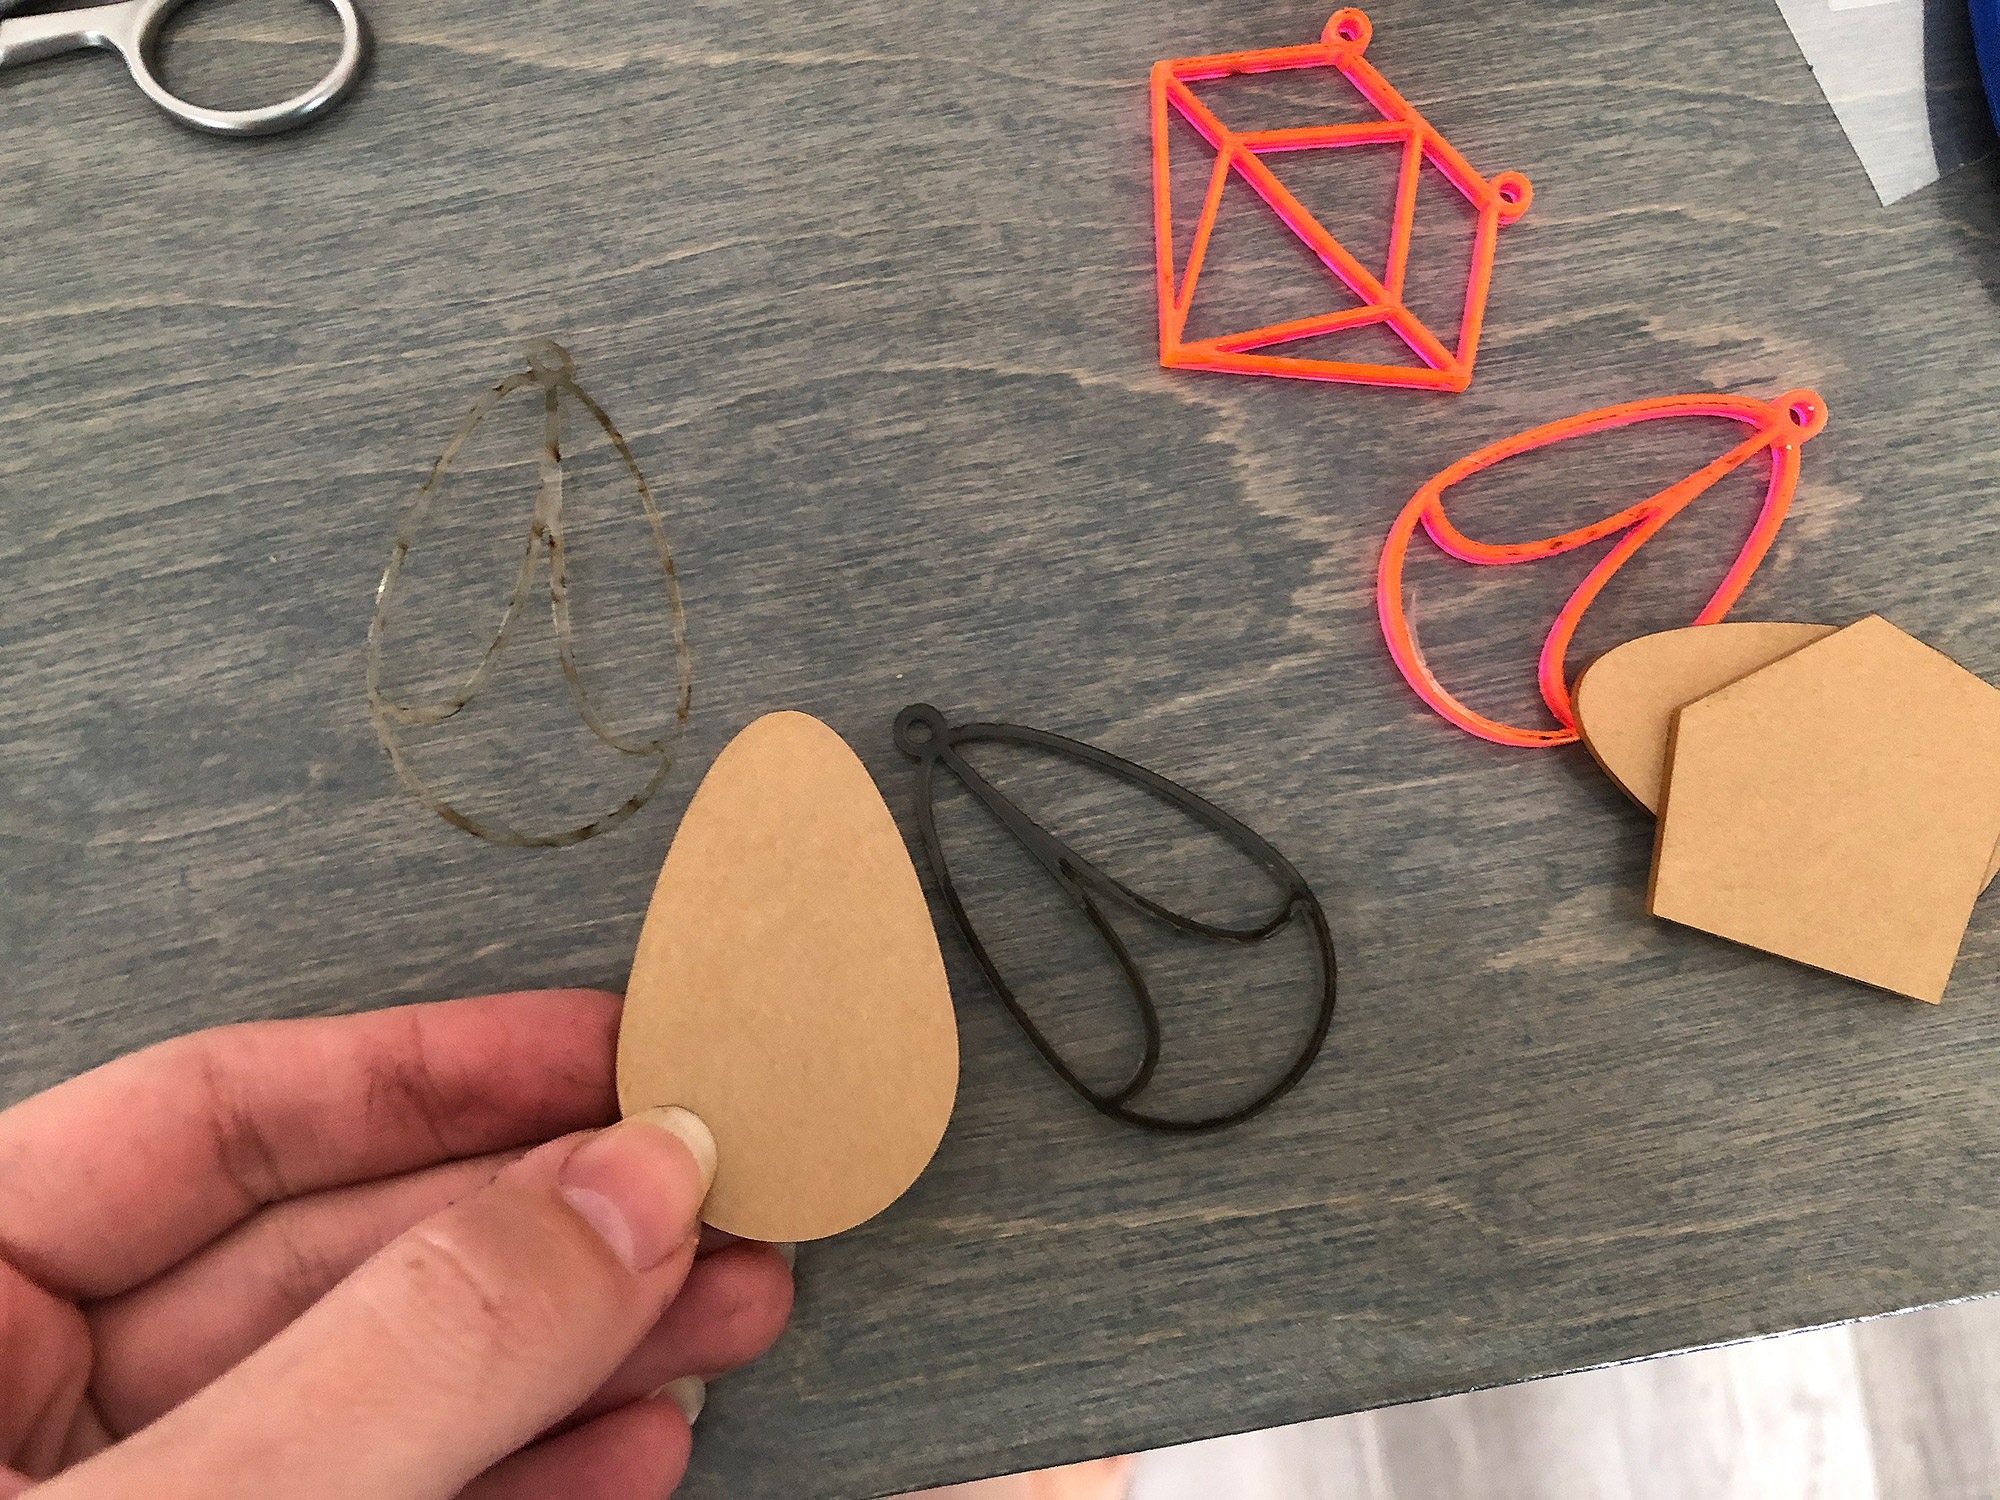
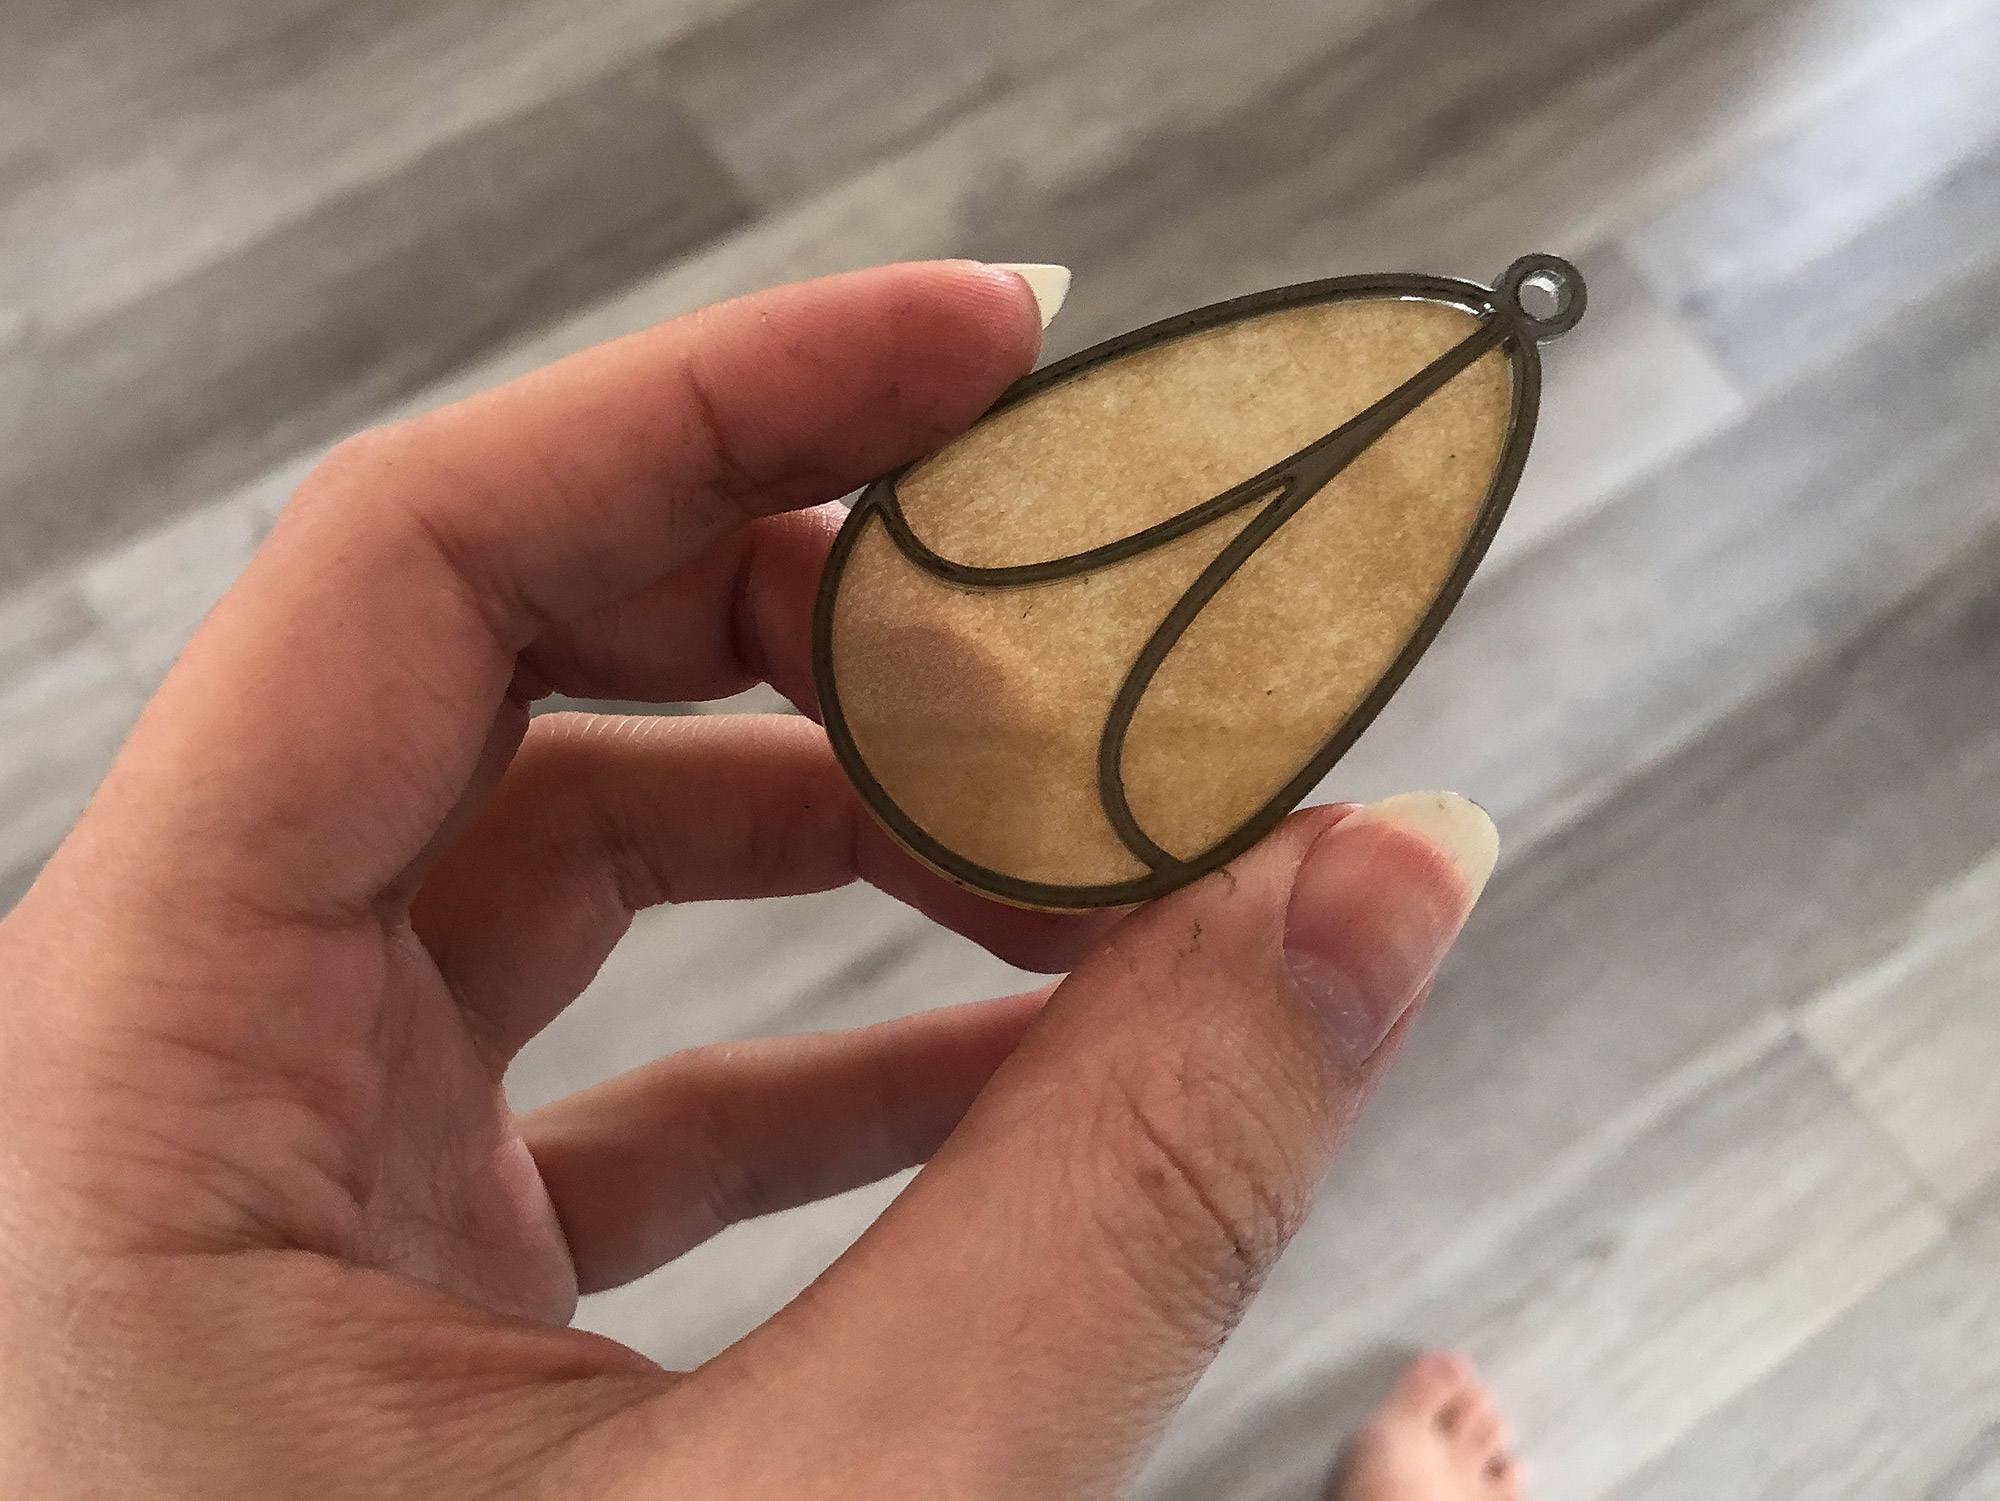
Alternate Film Adhesive - LSE 3M Tape
TRIAL TWO – LSE 3M Tape:
The optically clear adhesive wasn’t strong enough with so little surface area to stick to and the pendants could be popped apart quite easily. To try and counteract this I did a second test with 3M tape and thickened the design.
Let me state straight off the bat – the LSE 3M adhesive tape is much better than using the optically clear adhesive, but I wouldn’t recommend it for jewelry. The LSE in the tape’s title refers to Low Surface Energy which put super simply means the surface is very slick and hard to glue. LSE tape will offer a better bond than regular double stick tape or 3M adhesive. For the pendant hole at the top I used a blade and cut it and then peeled it away so that it wouldn’t be sticky (the covers do not go up and over the hole).
The LSE stuck a lot better than the optically clear adhesive, but still wasn’t as secure as I liked – especially for the abuse jewelry will receive. This would work for a sun catcher or an ornament, but I need something stronger for the pendants. Likewise, you can see some bubbling from the 3M which isn’t super noticeable, but eh…not my favorite. Do note – clamping and pressure will improve the adhesion as well.
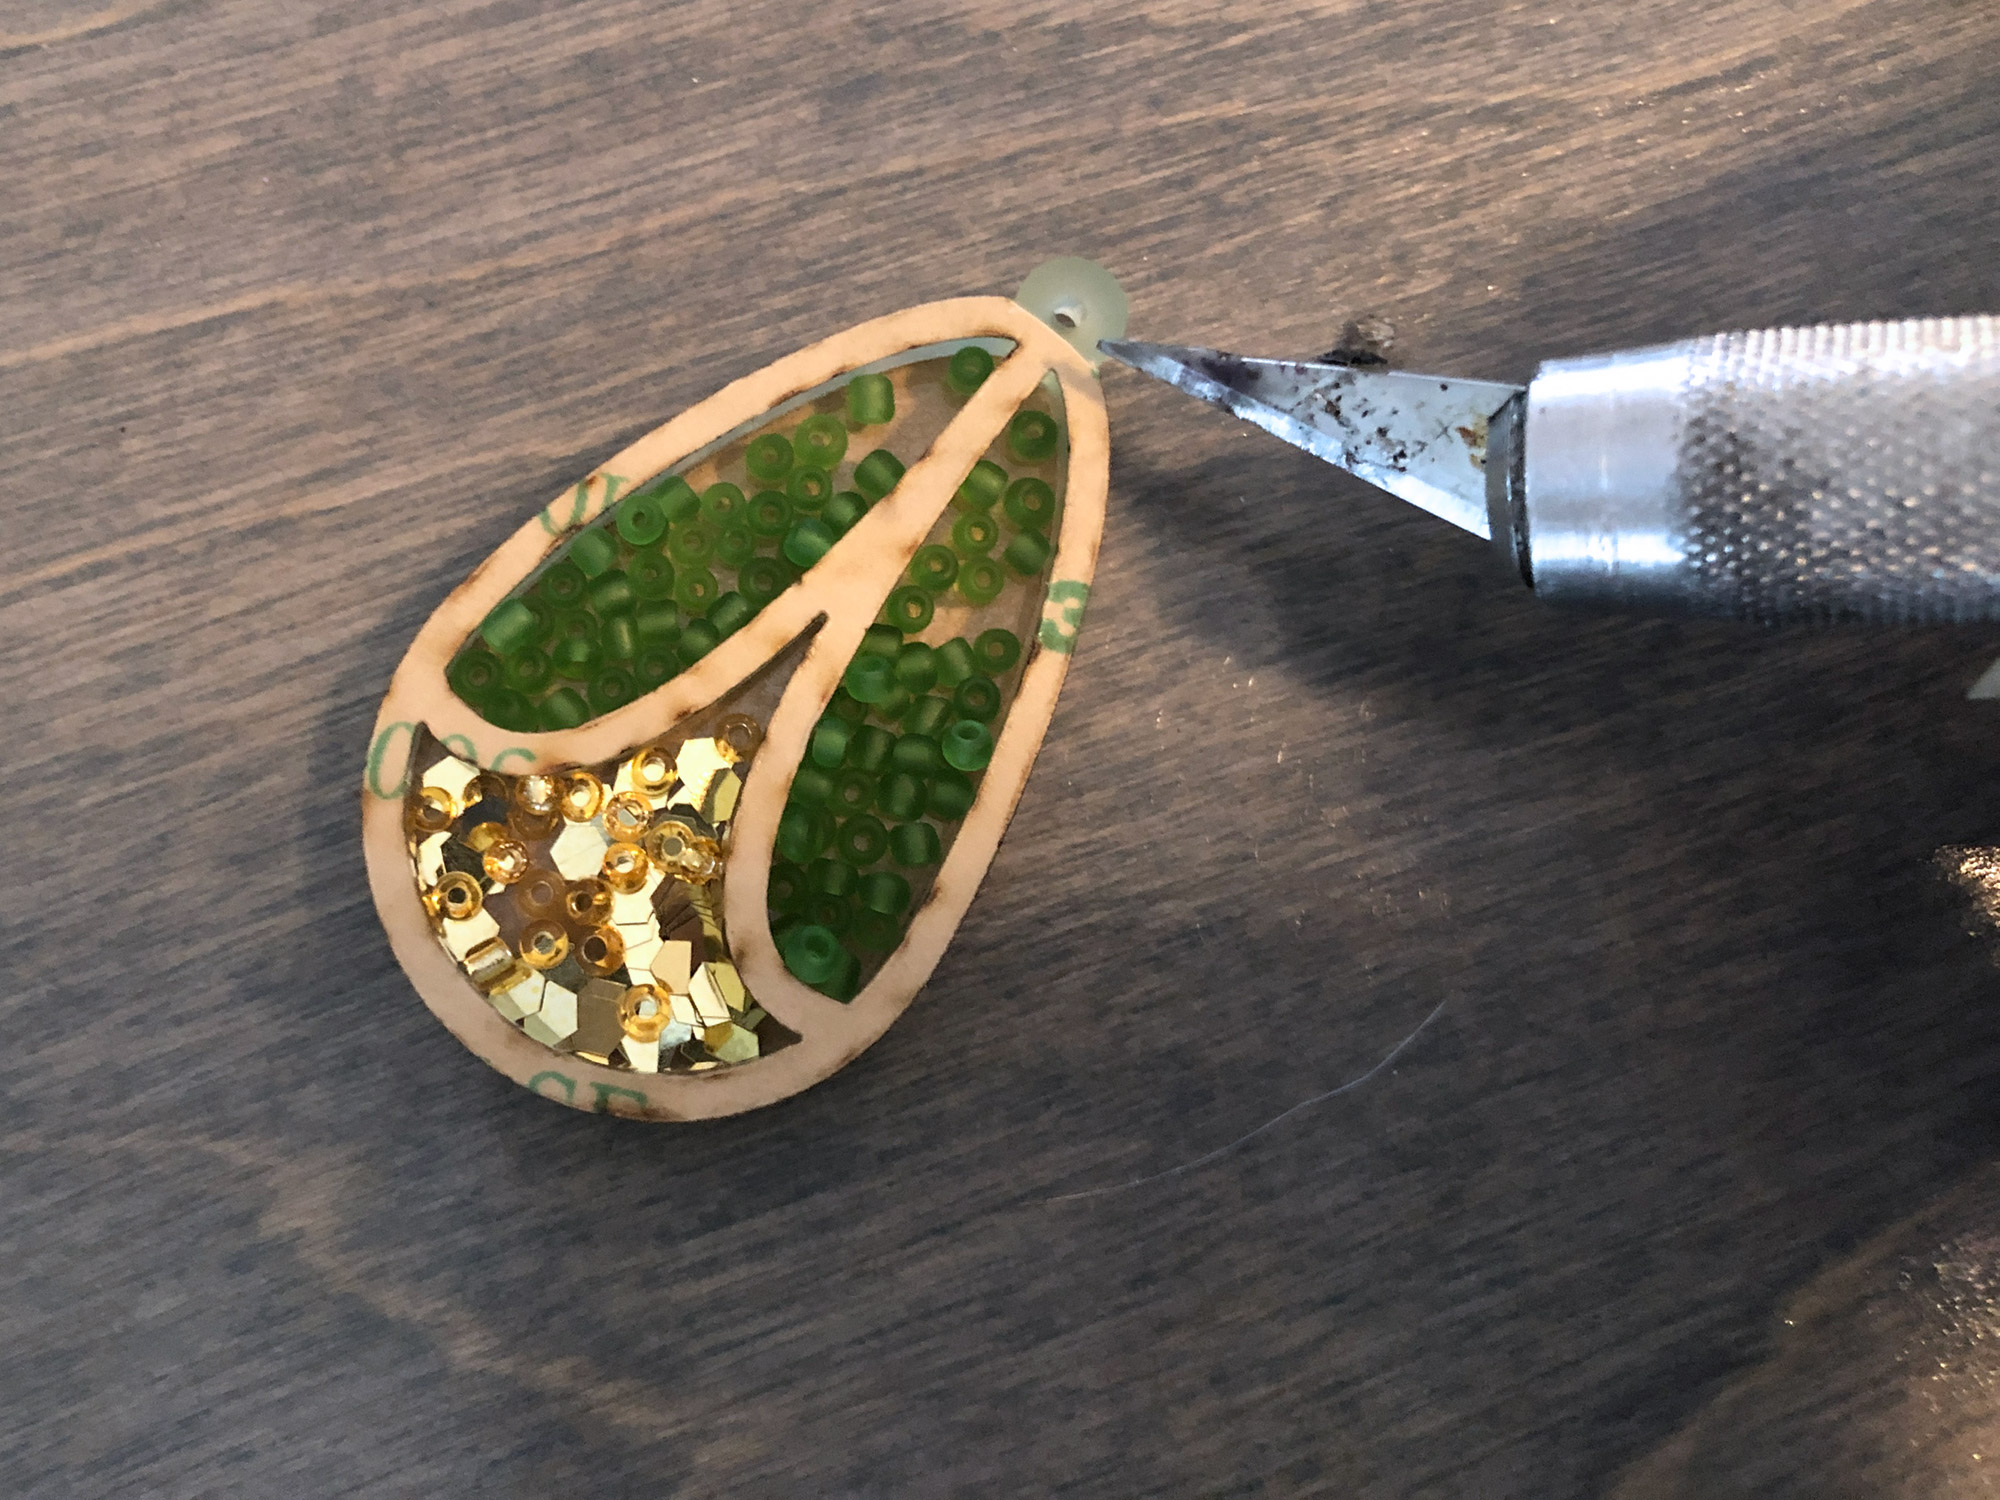
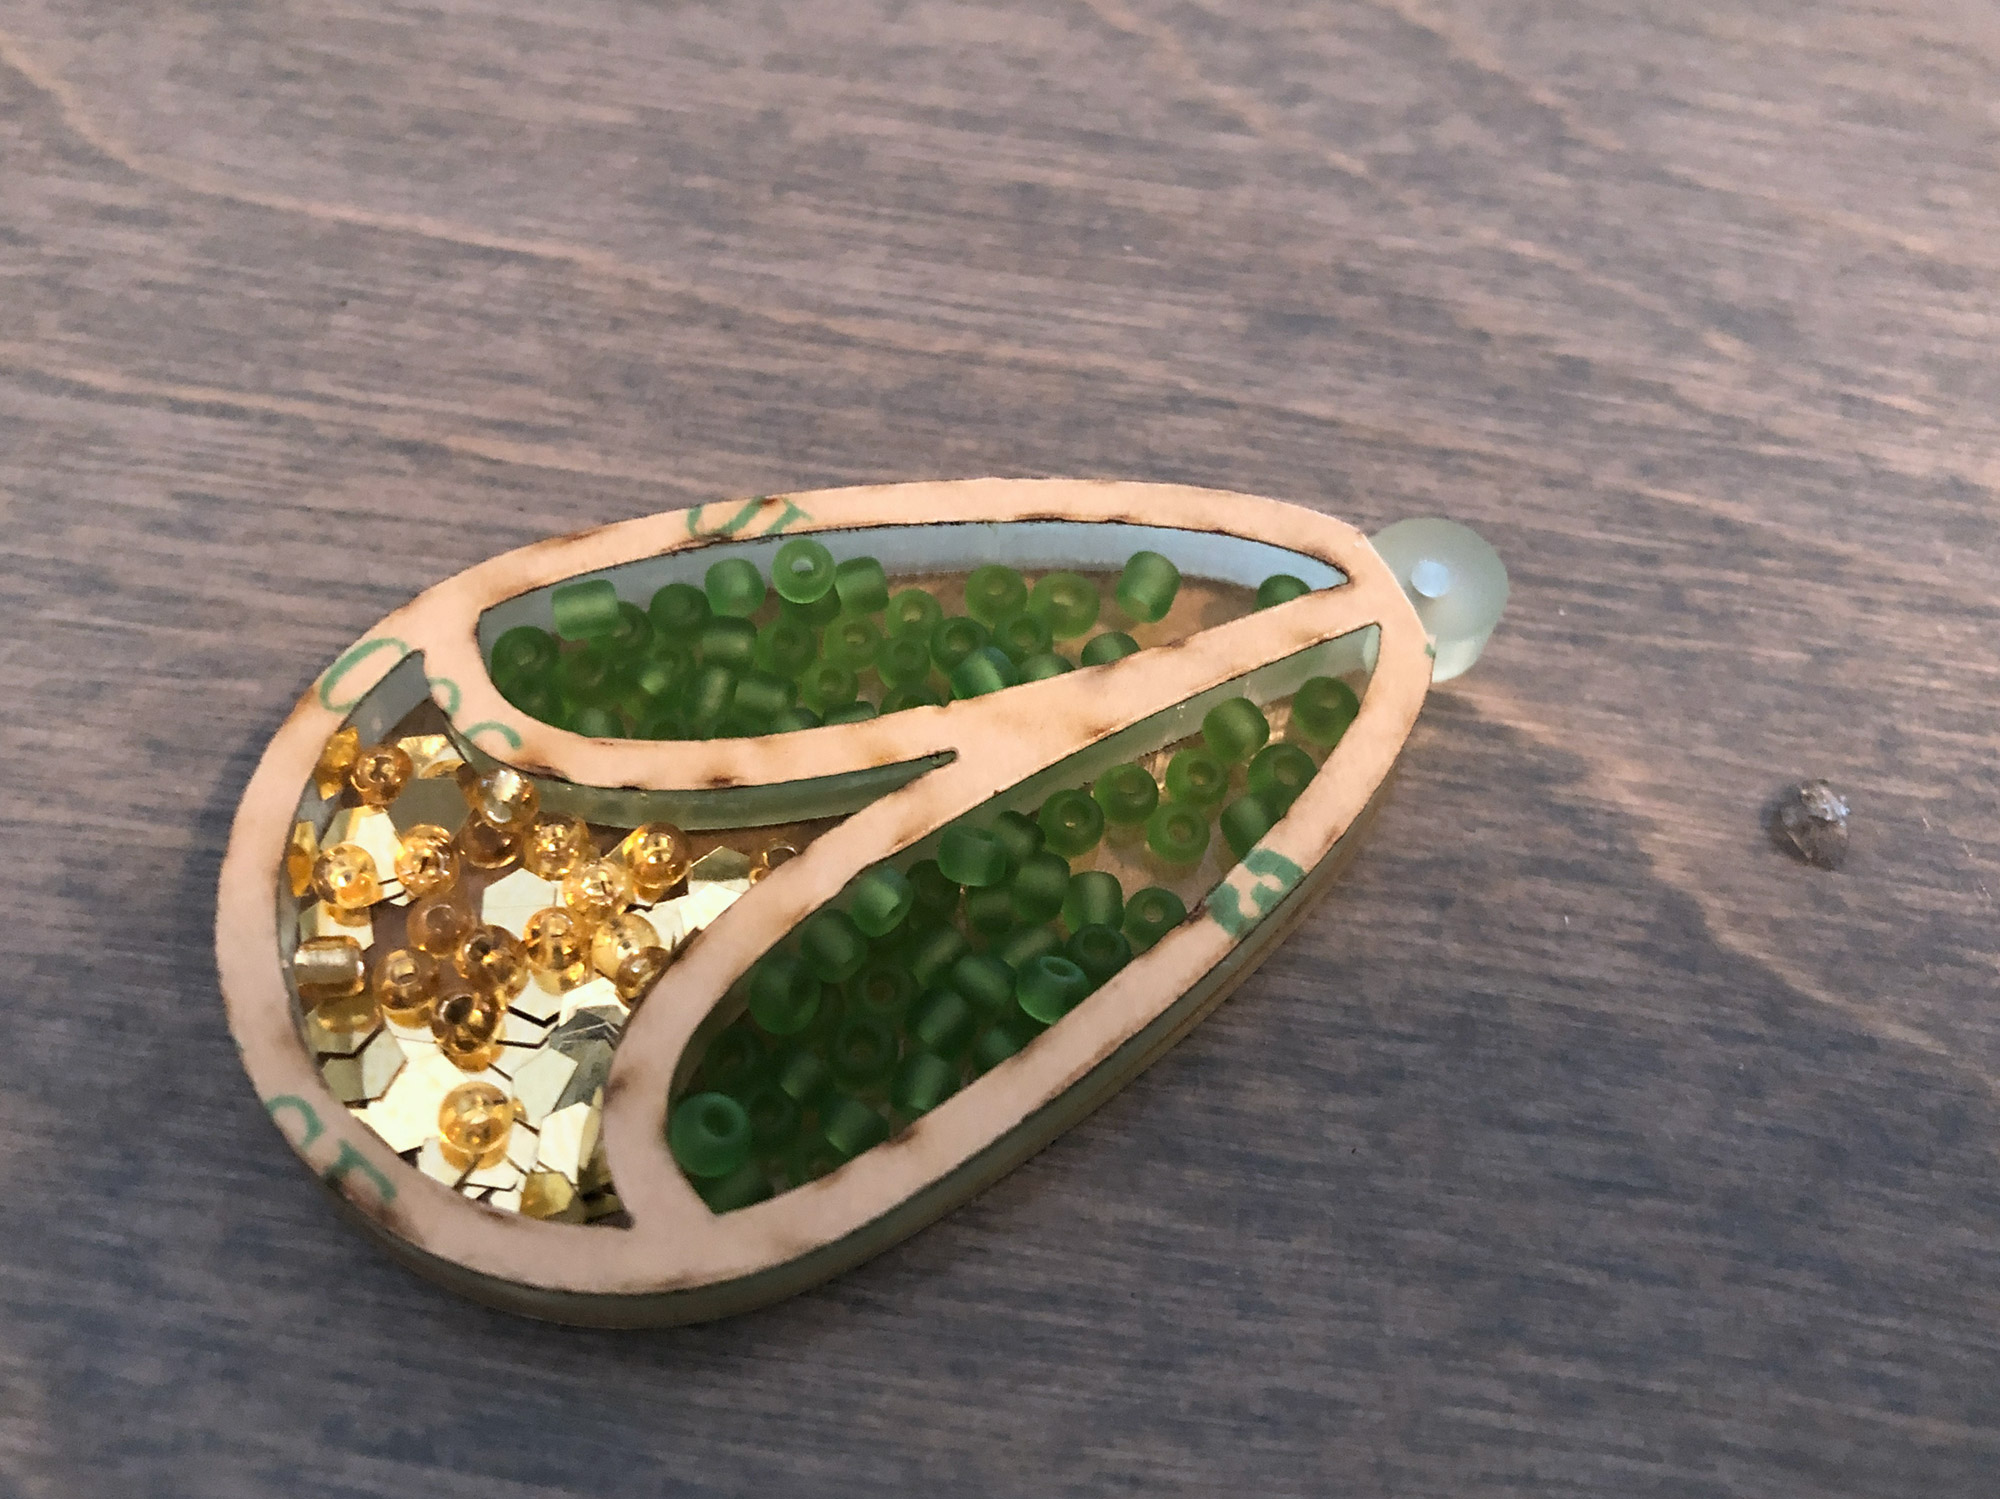
NOTES: You can see that even though the 3M is the easiest gluing method it doesn’t work particularly well for clear acrylic as you can see the bubbling of imperfect adhesion through it.
Gel Glues
Loctite GO2 or Gorilla Glue Gel:
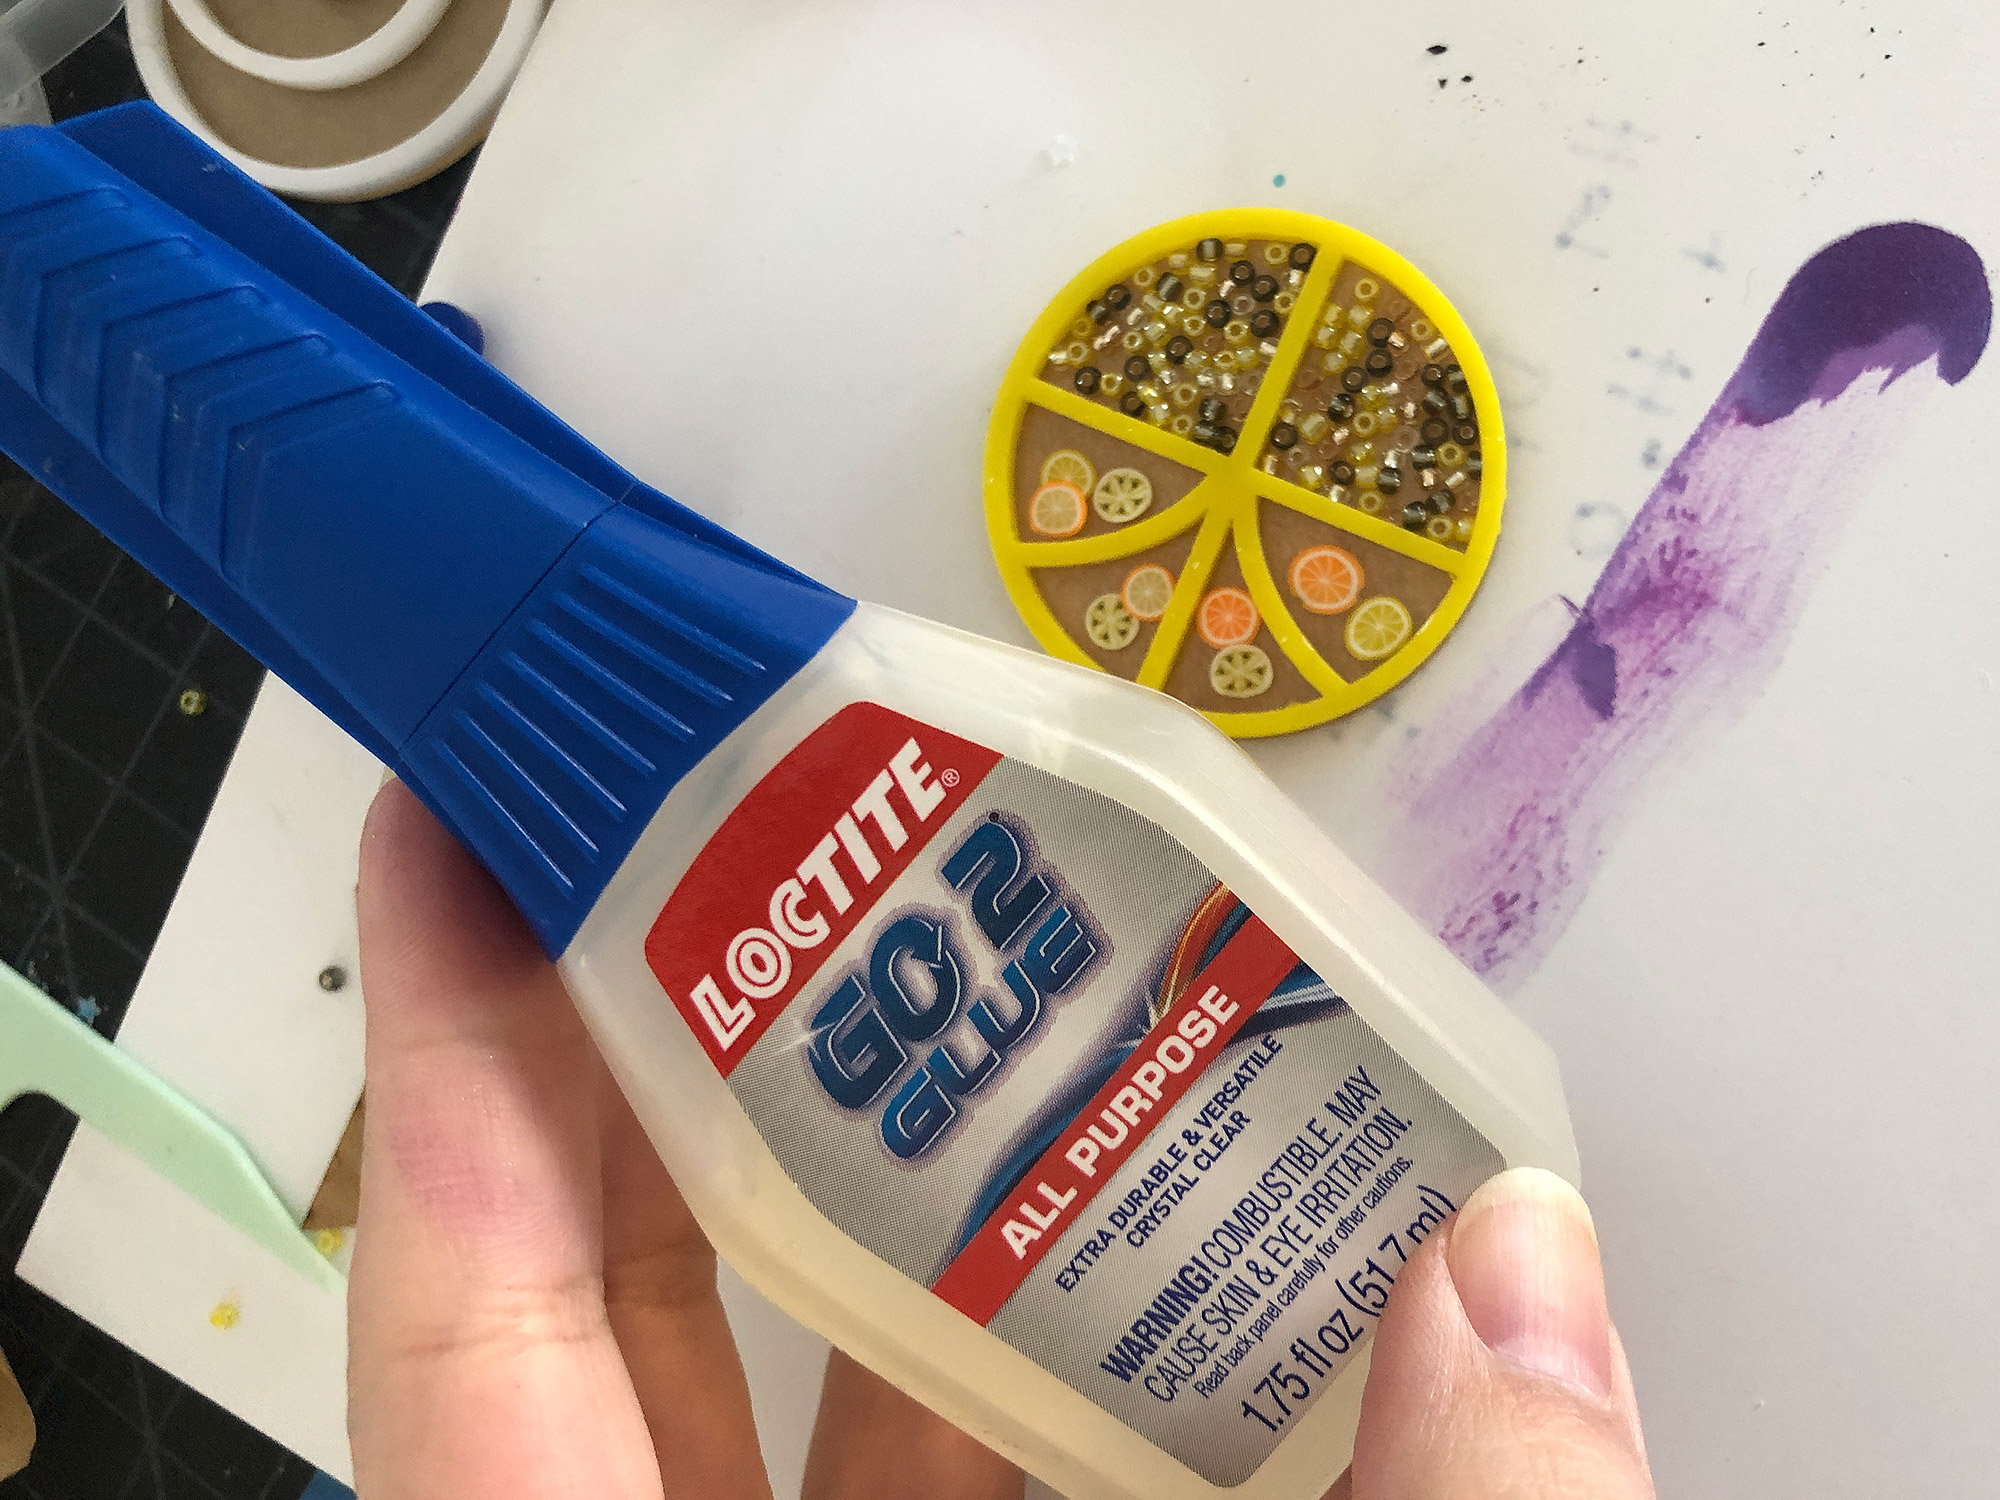
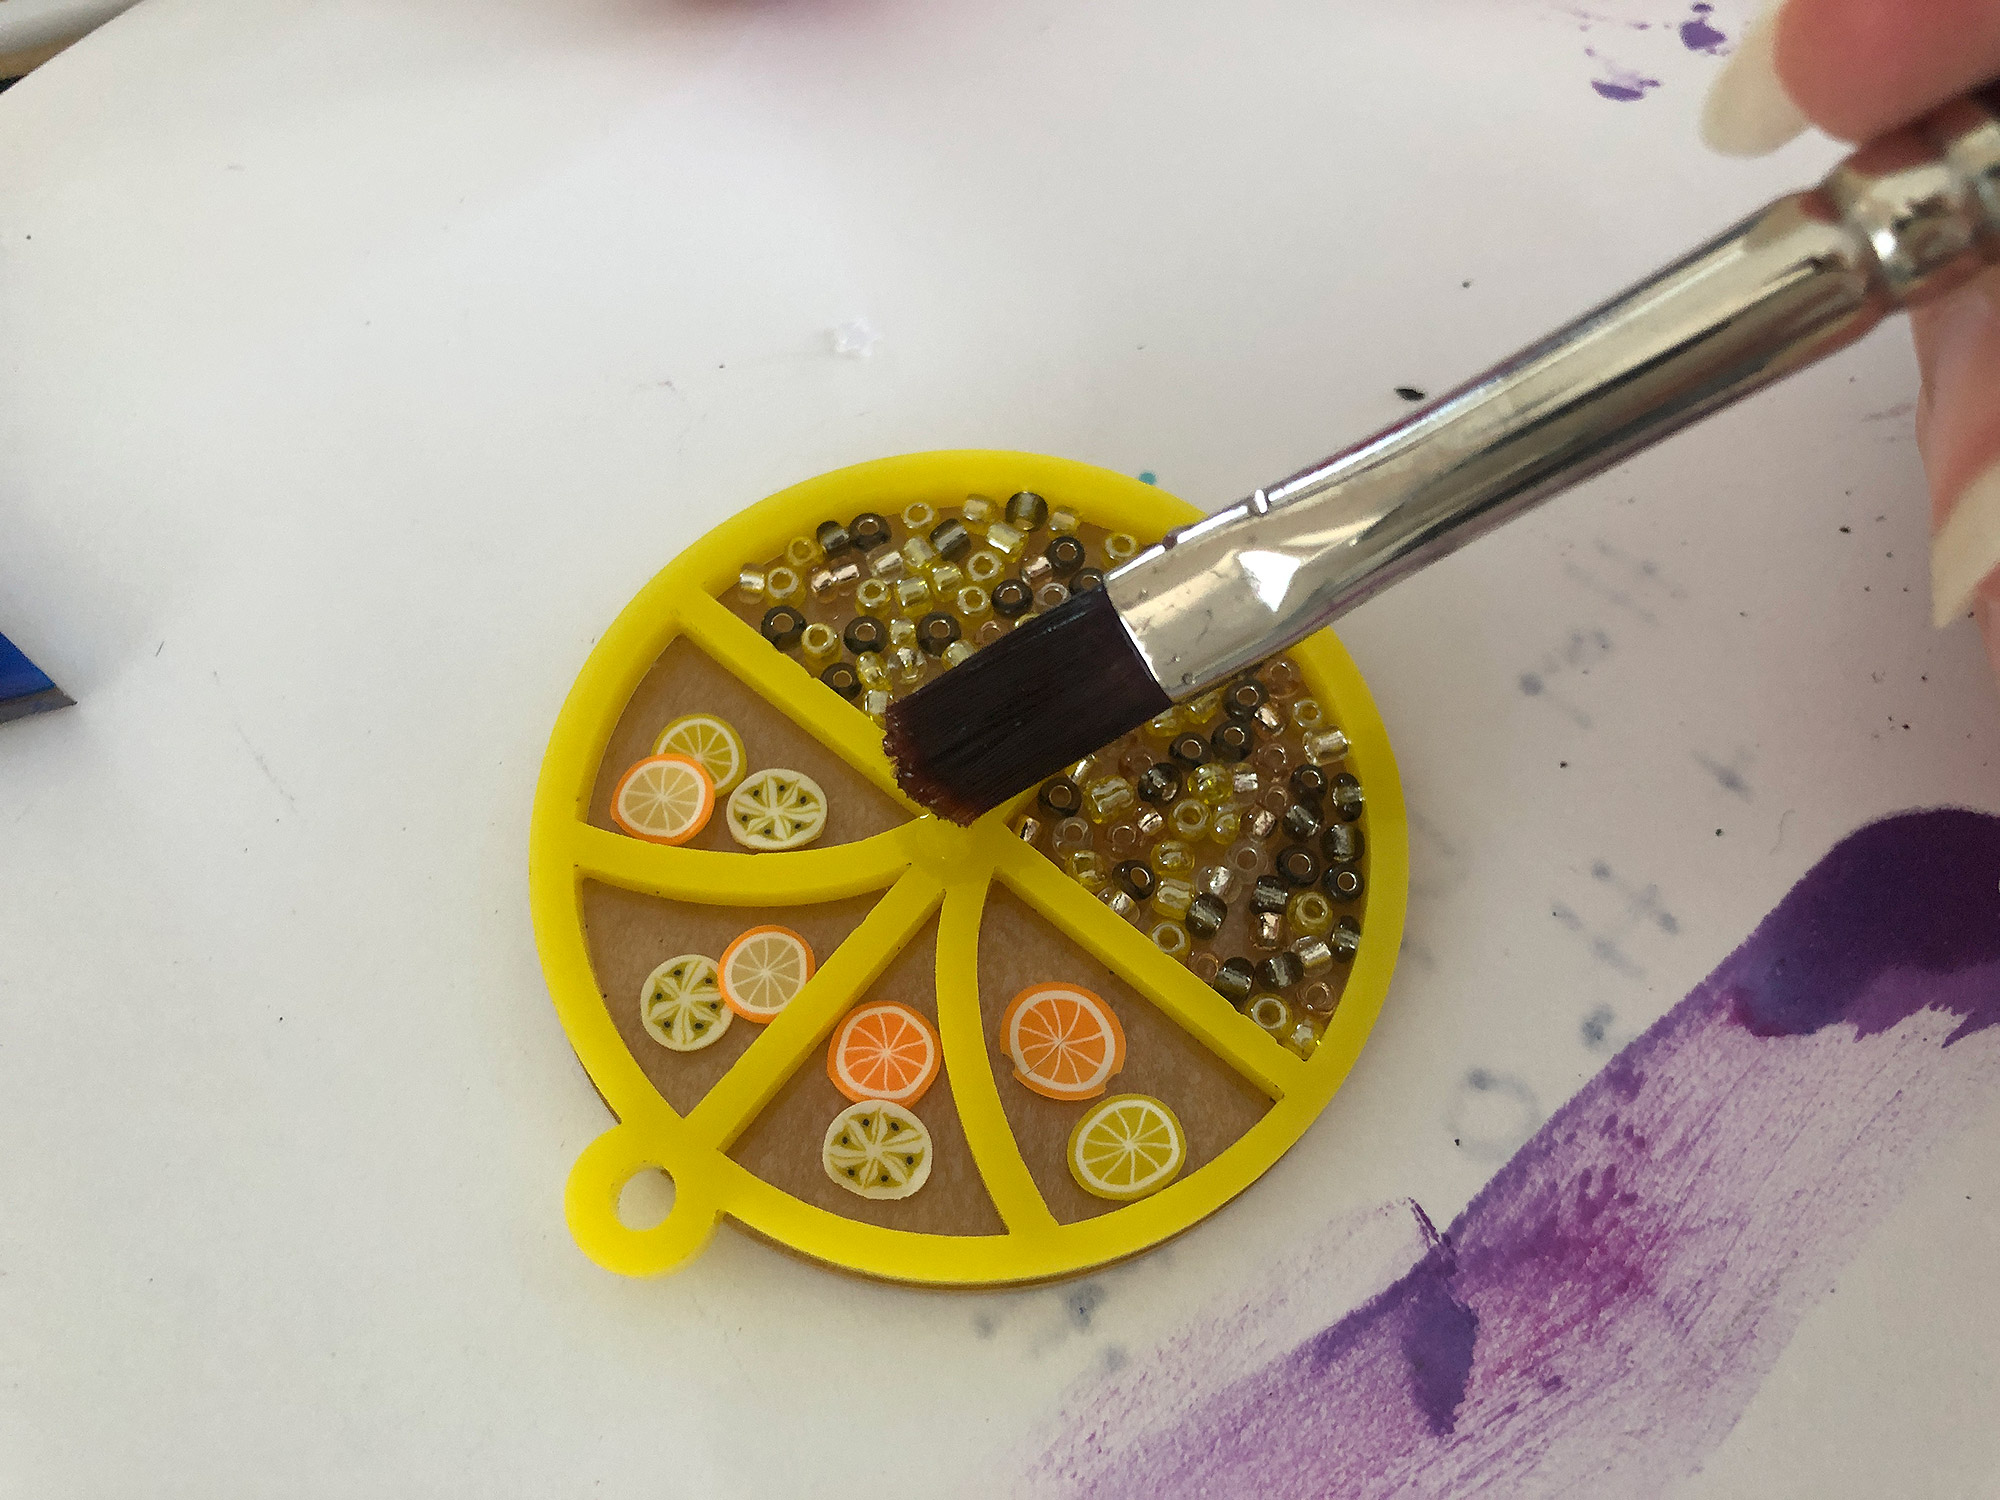
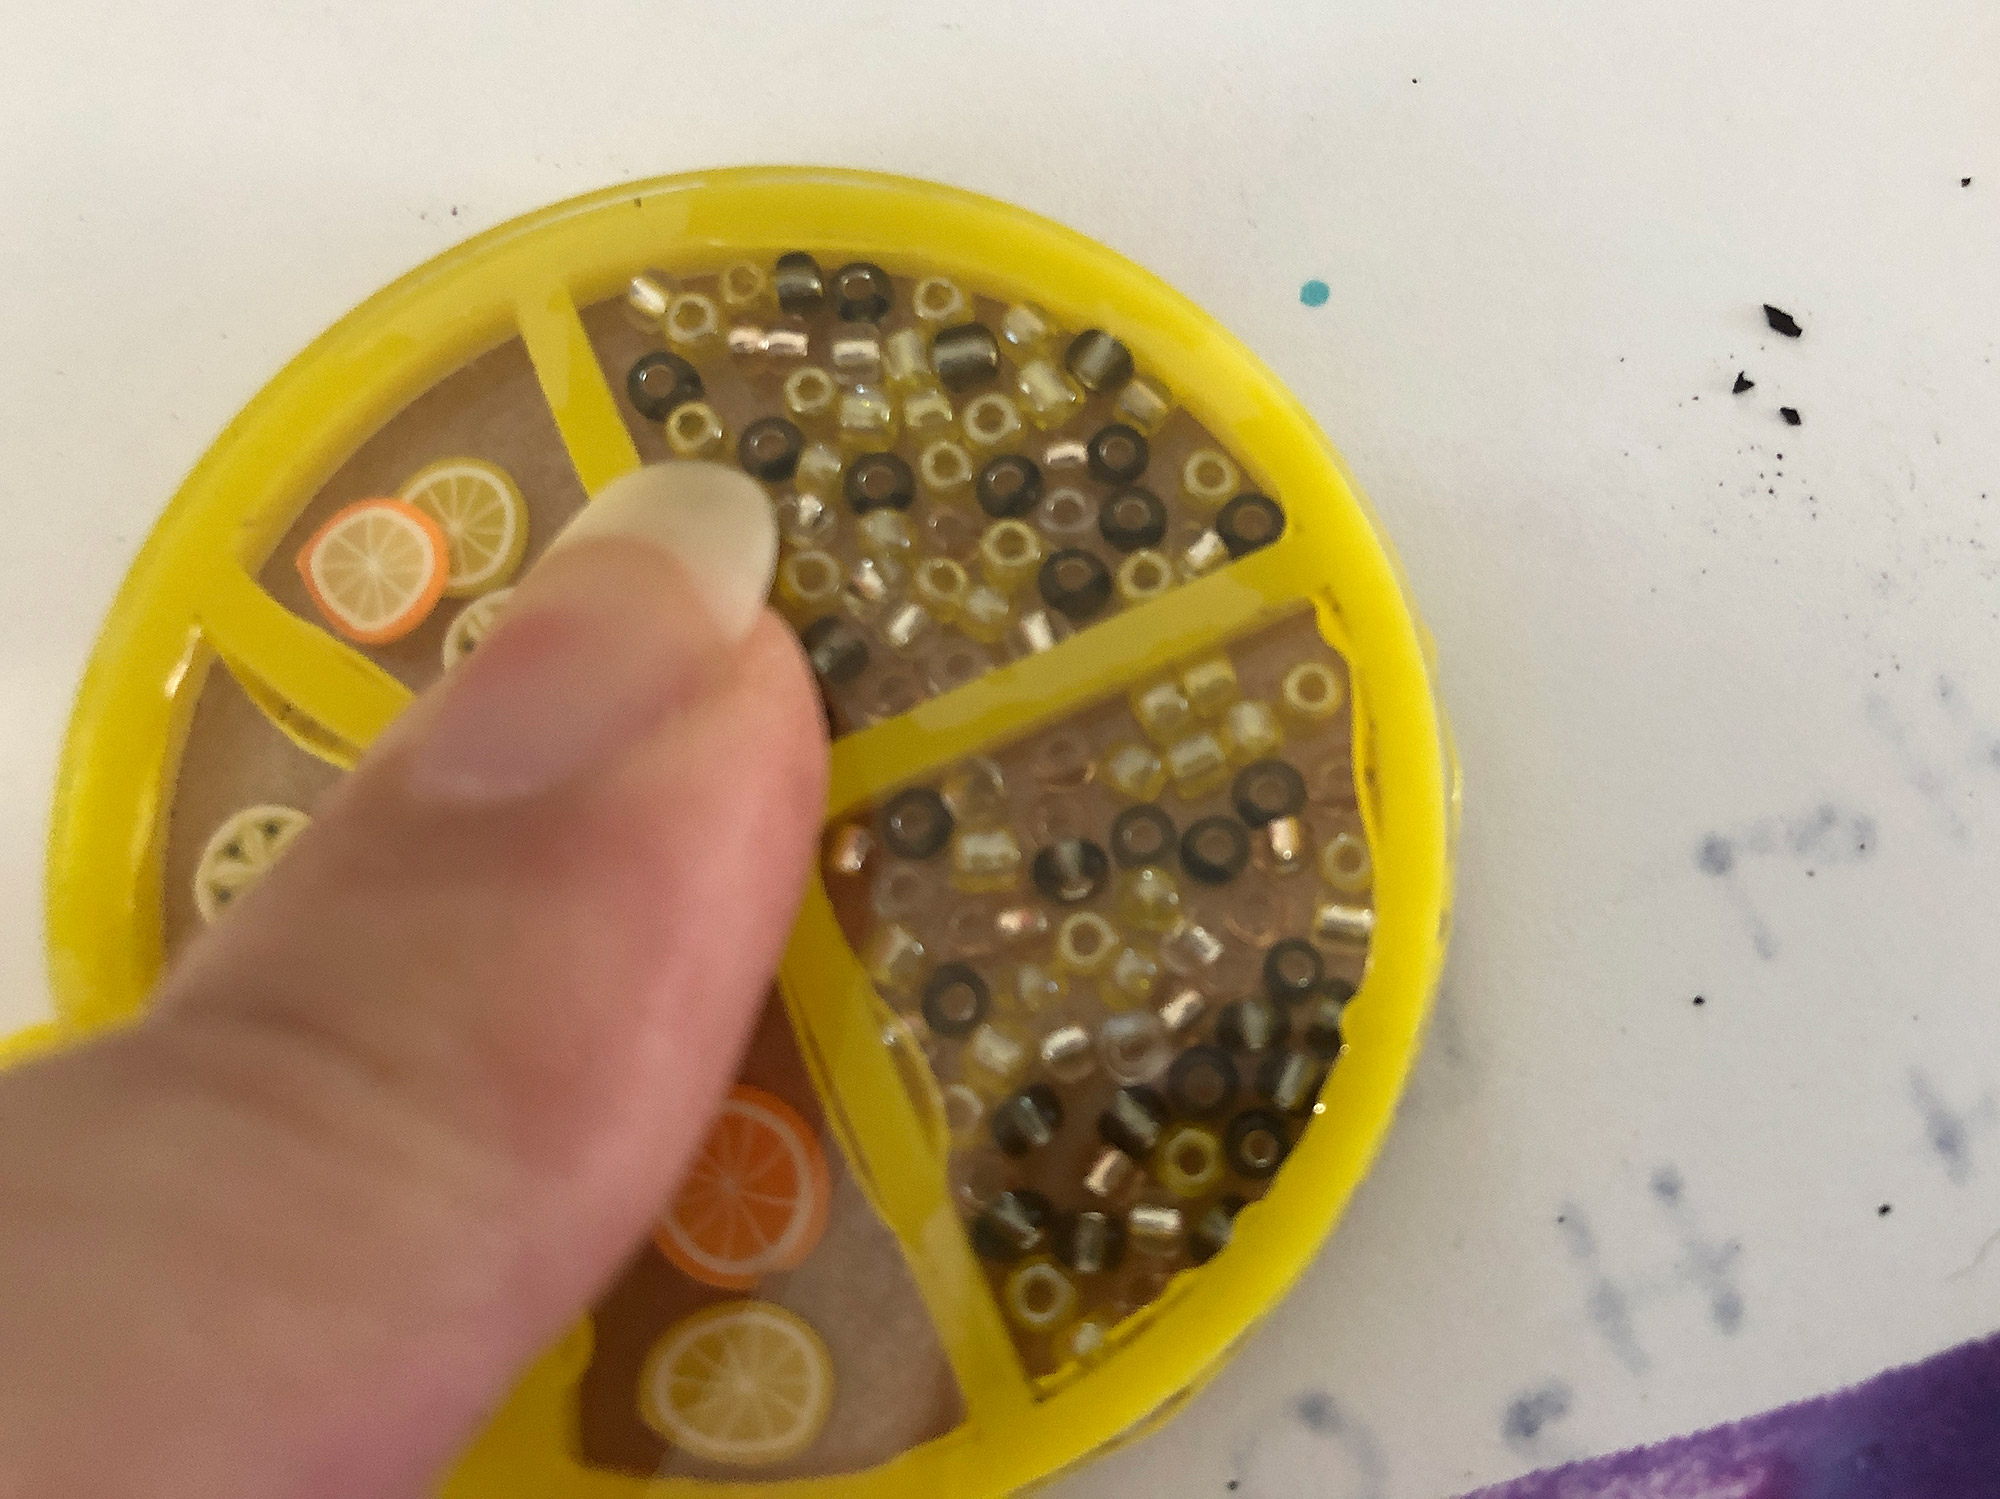
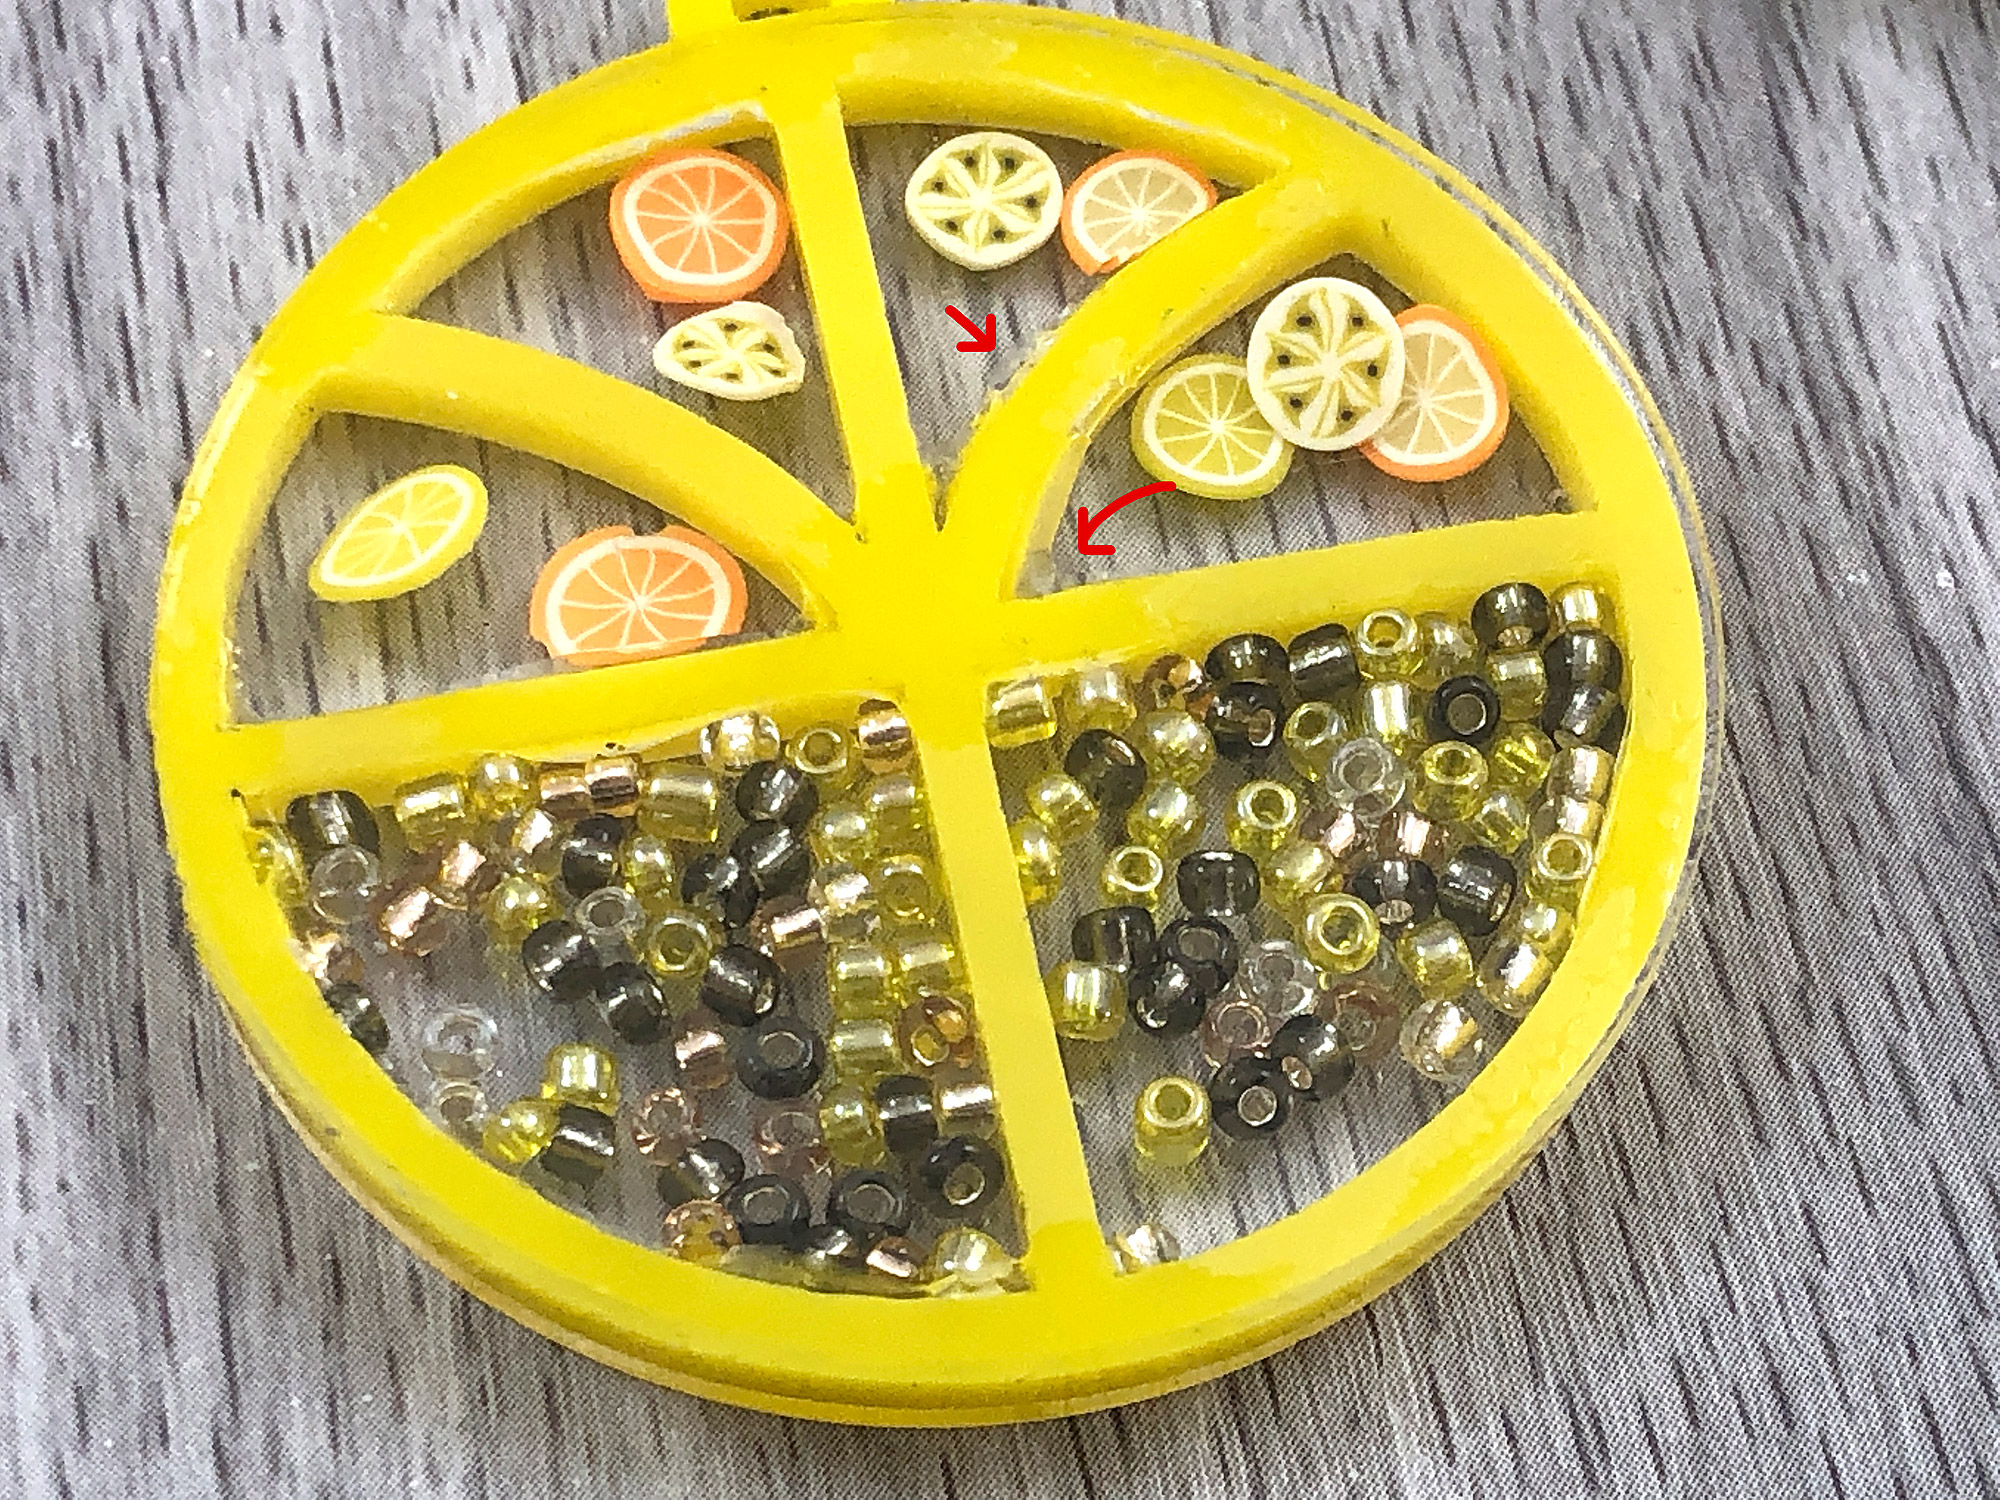
Gorilla Glue Gel or Loctite GO2 are also two great, clear glues for acrylic. In this case they work ok, but can easily squish out and look messy. One trick to getting them to spread is to brush some water on the surface before applying.
Solvent Adhesive
Weld-on #4:
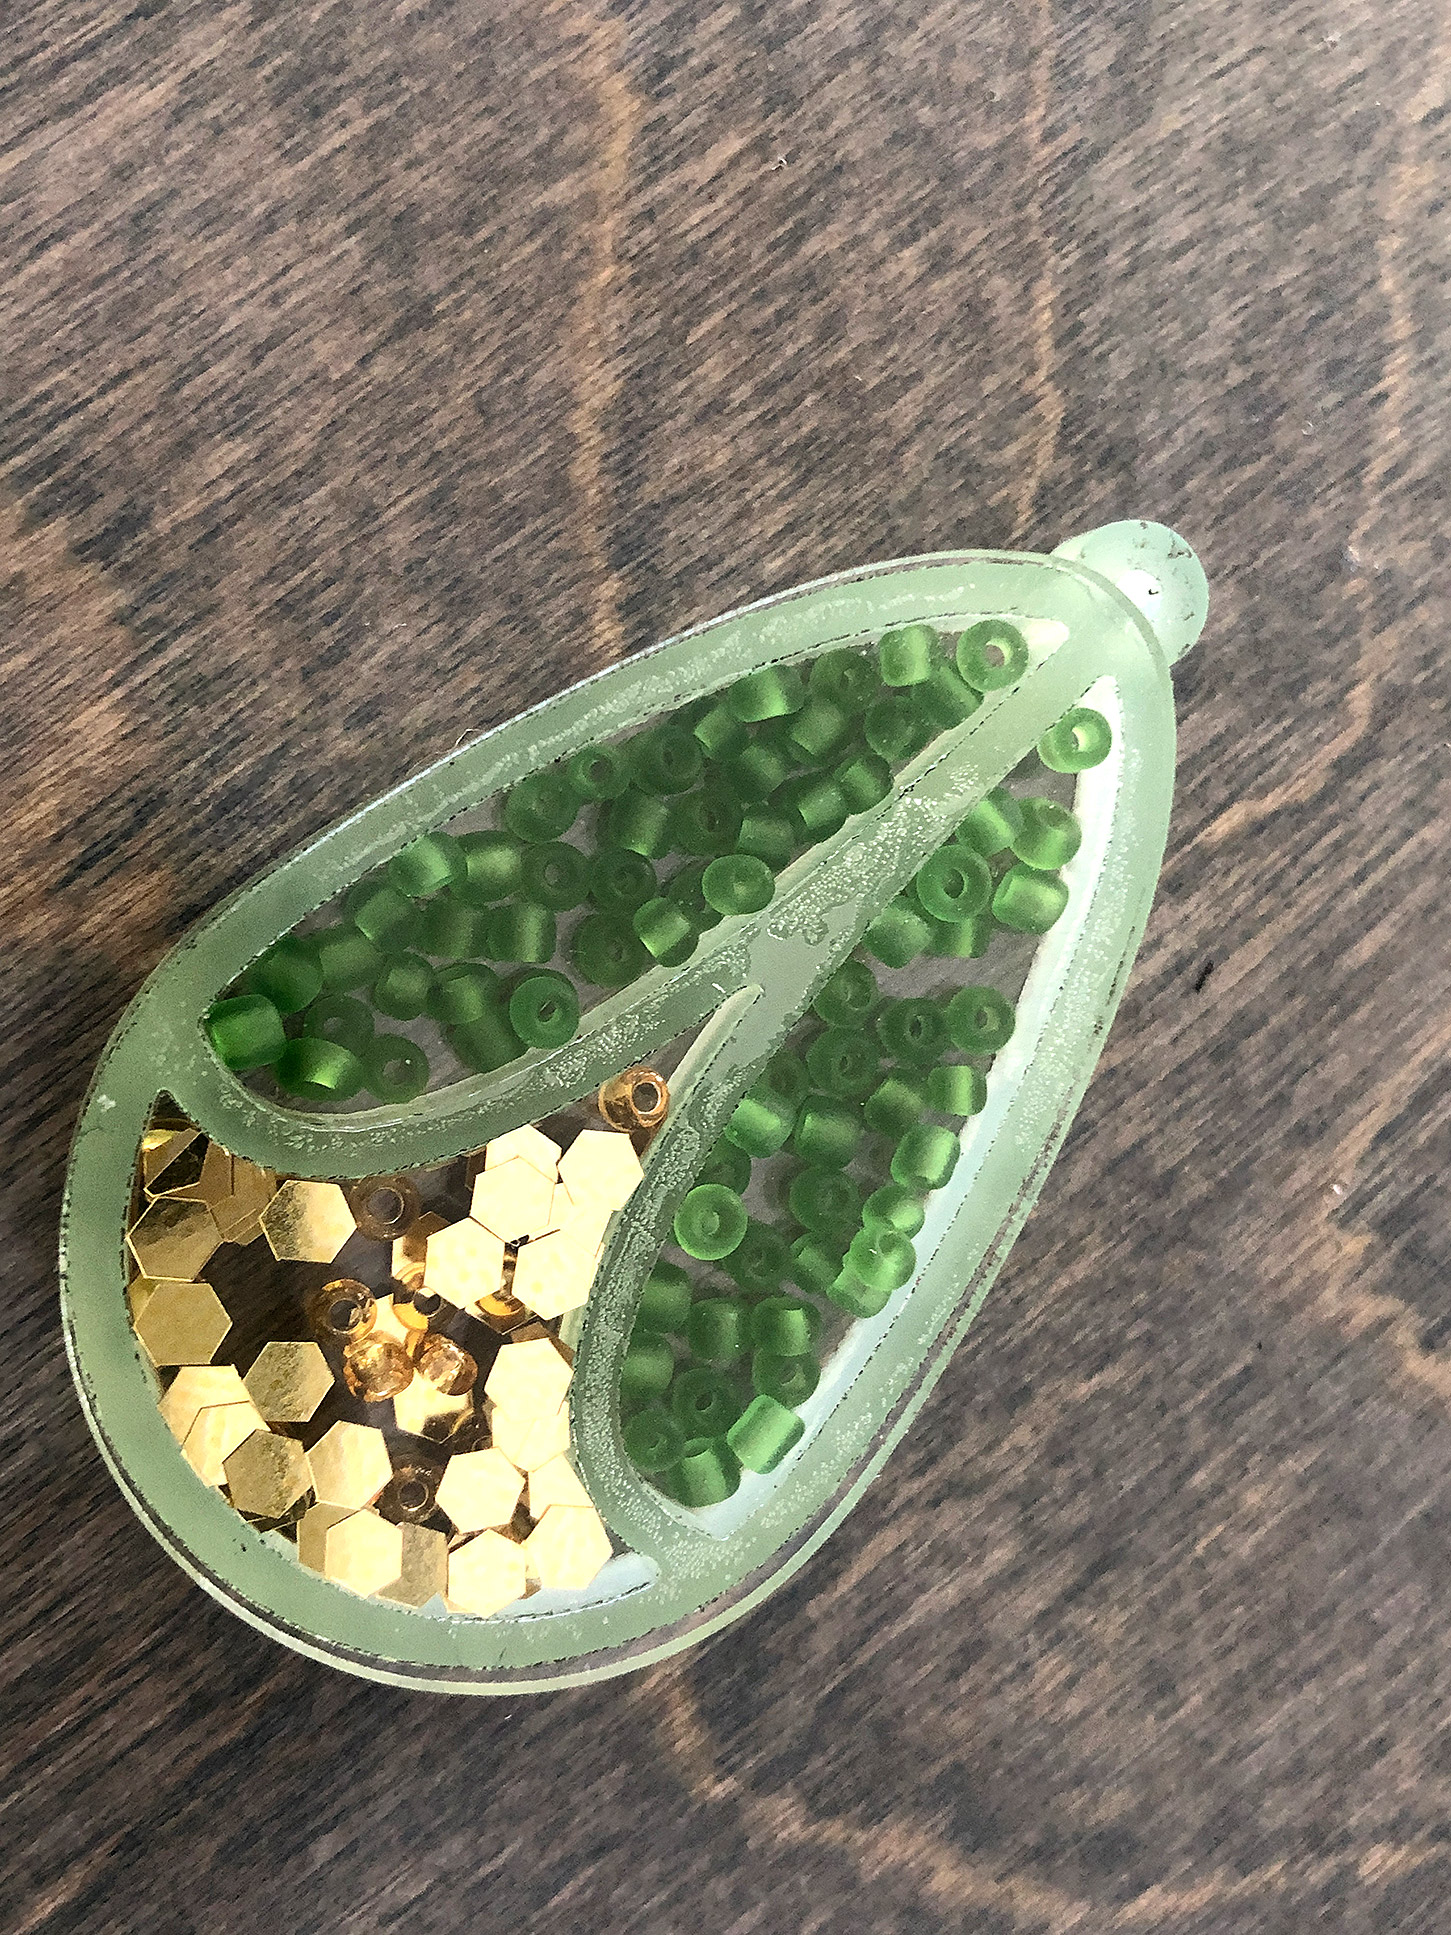
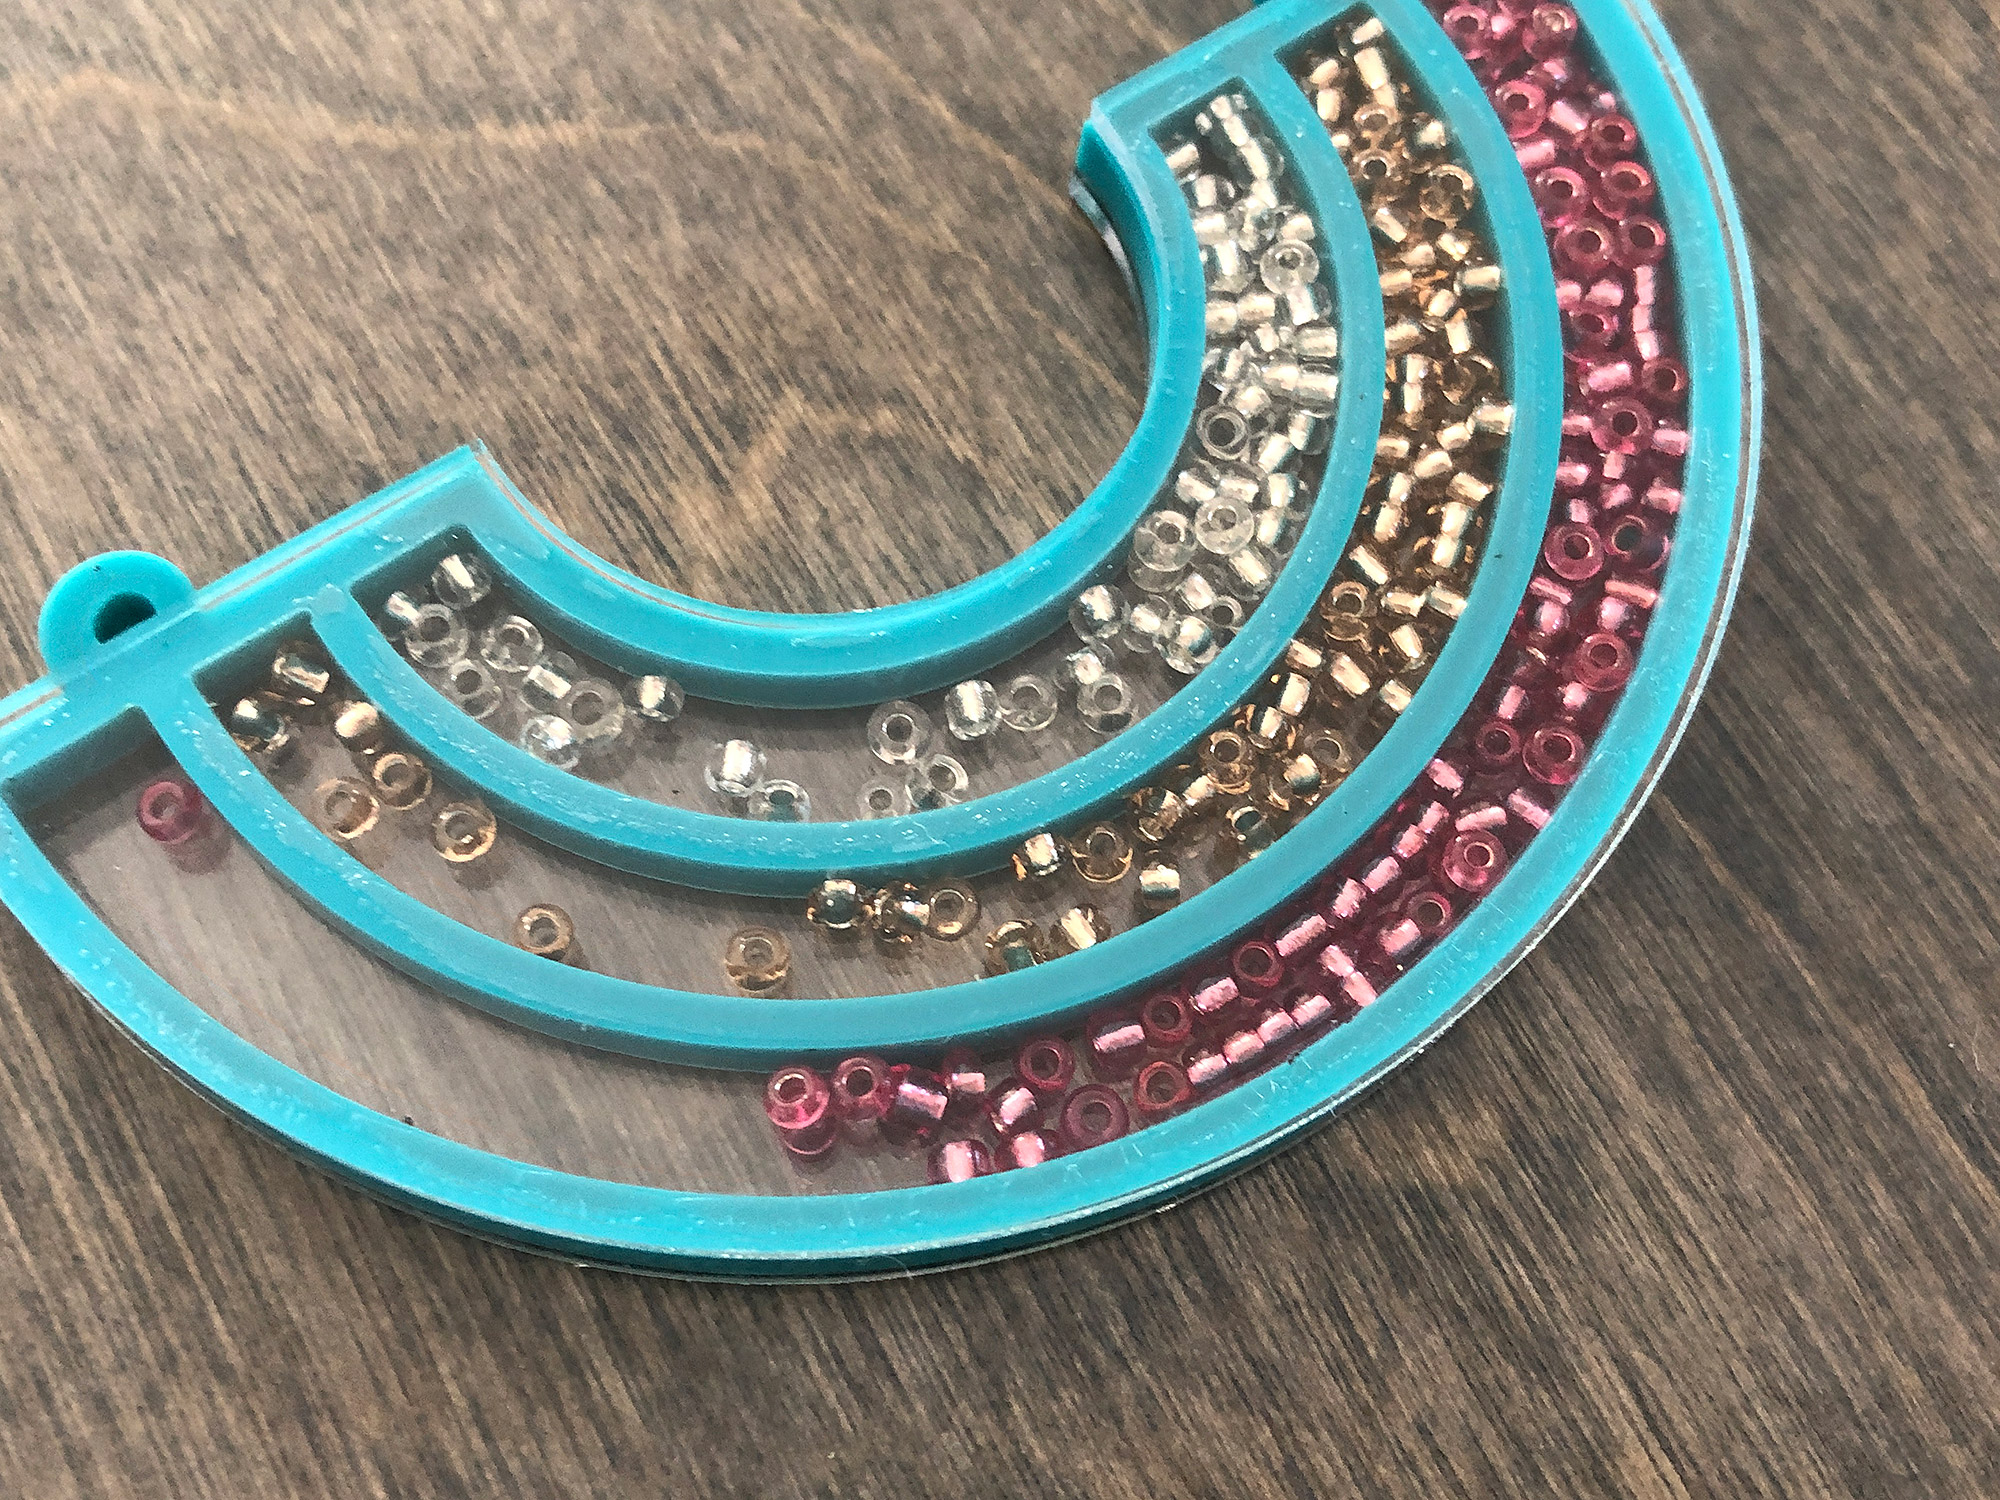
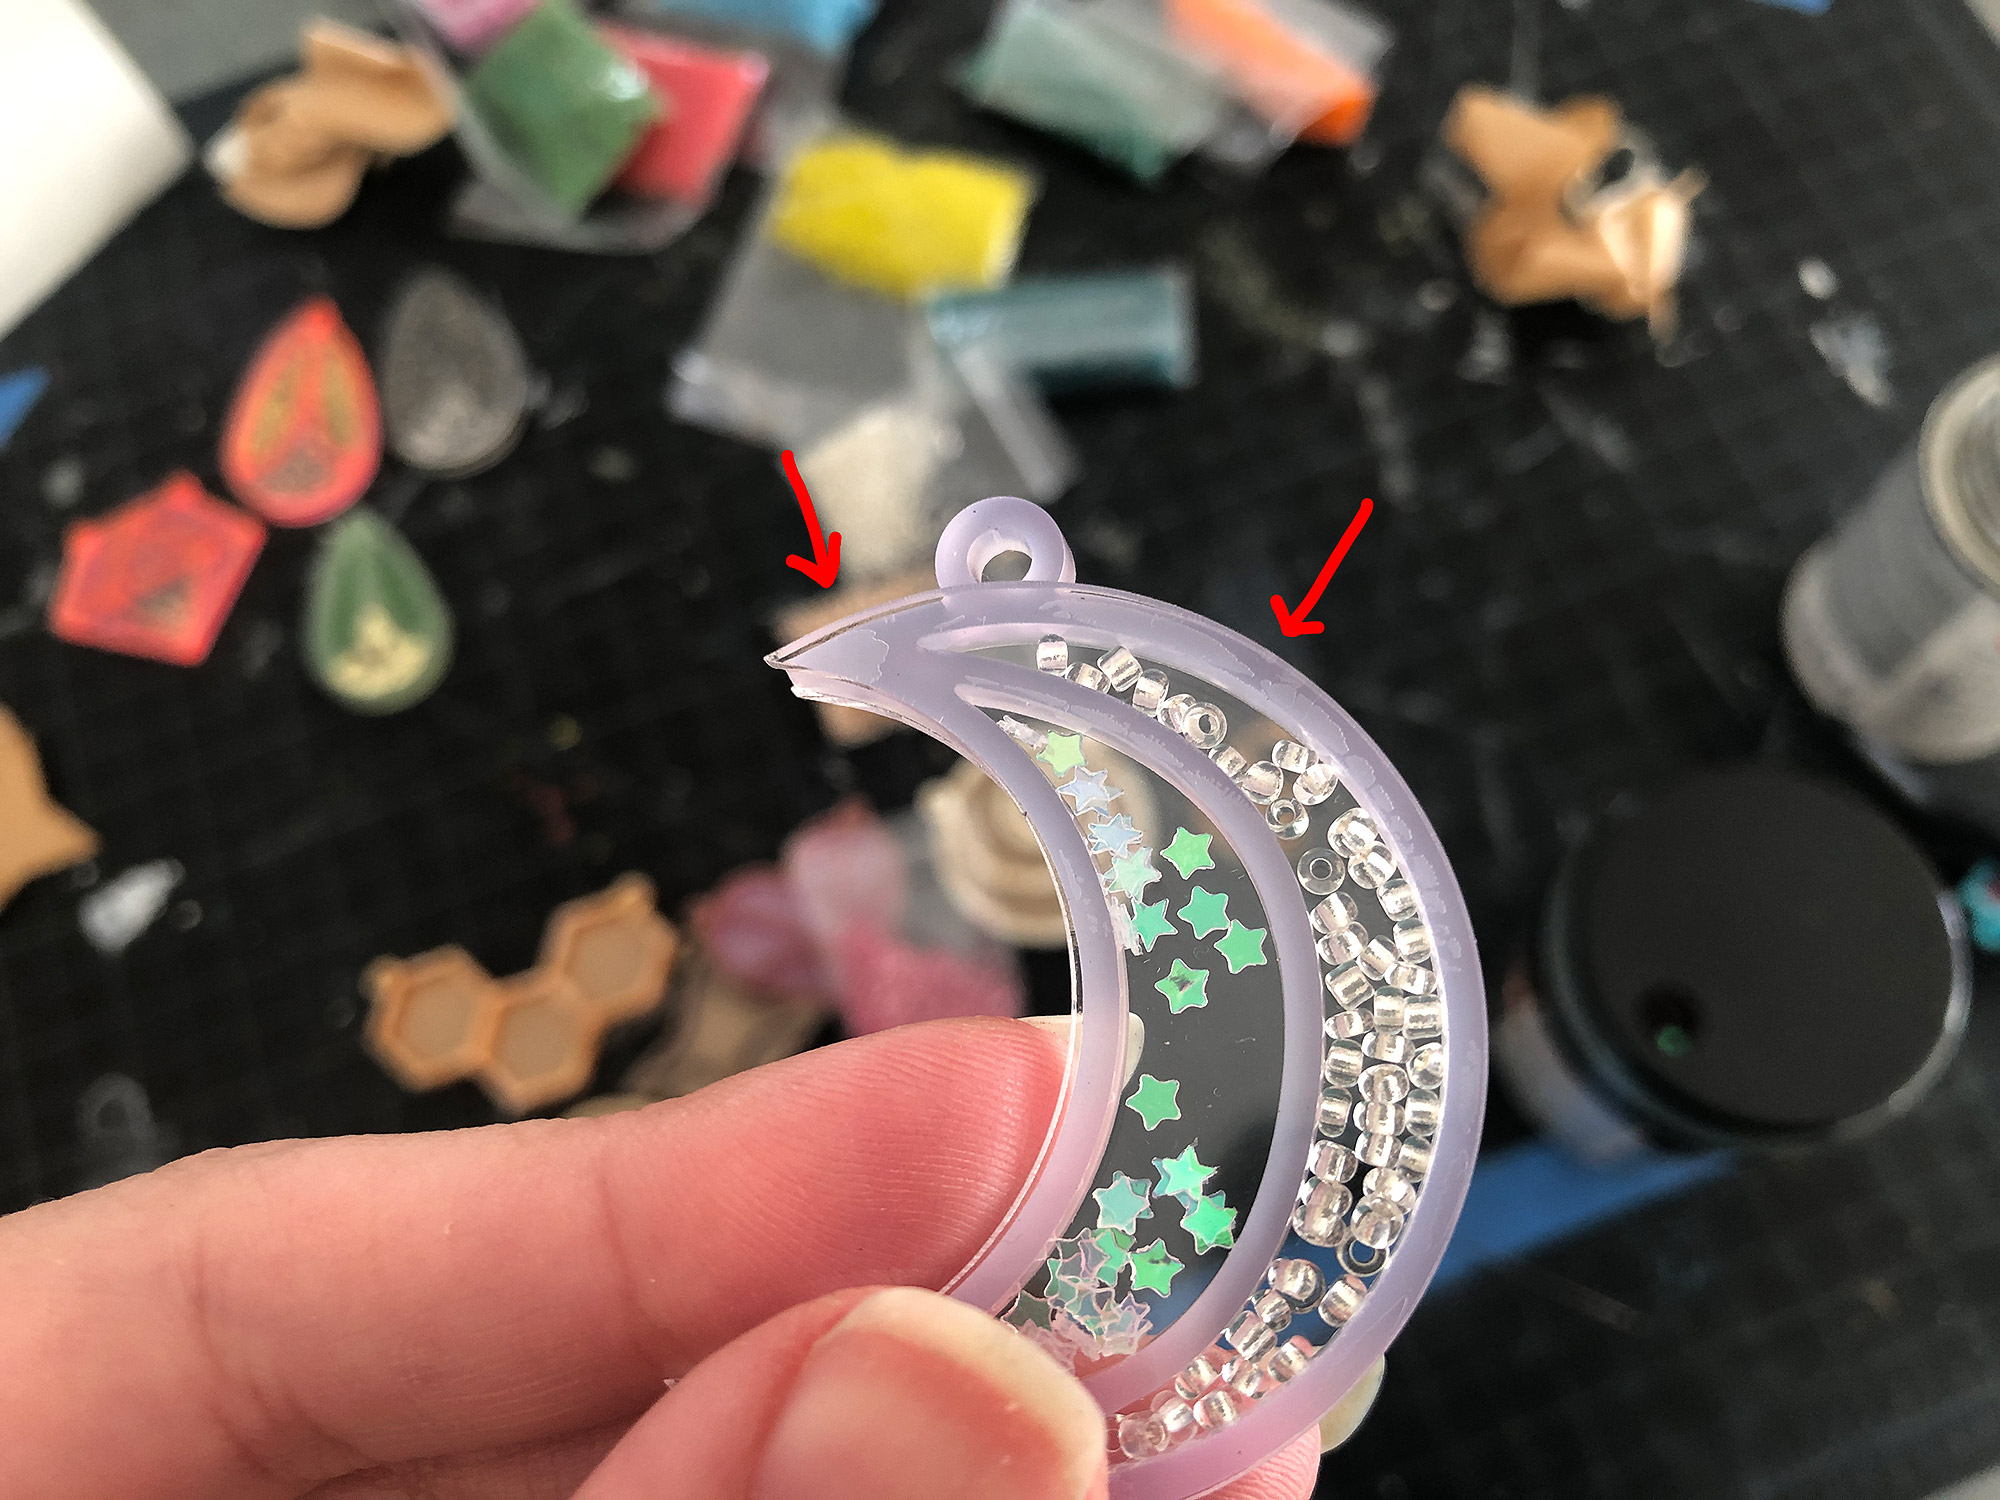
This is the strongest adhesive option and my recommendation in general. The only disadvantage is I have not yet figured out how to apply this so it’s truly invisible. Supposedly there is a way – but I’ve yet to master it. It is very easy to use though and super-fast curing. Simply suck some of this water-thin product into a syringe, clamp the pieces into alignment and then gently let it flow into the joint.
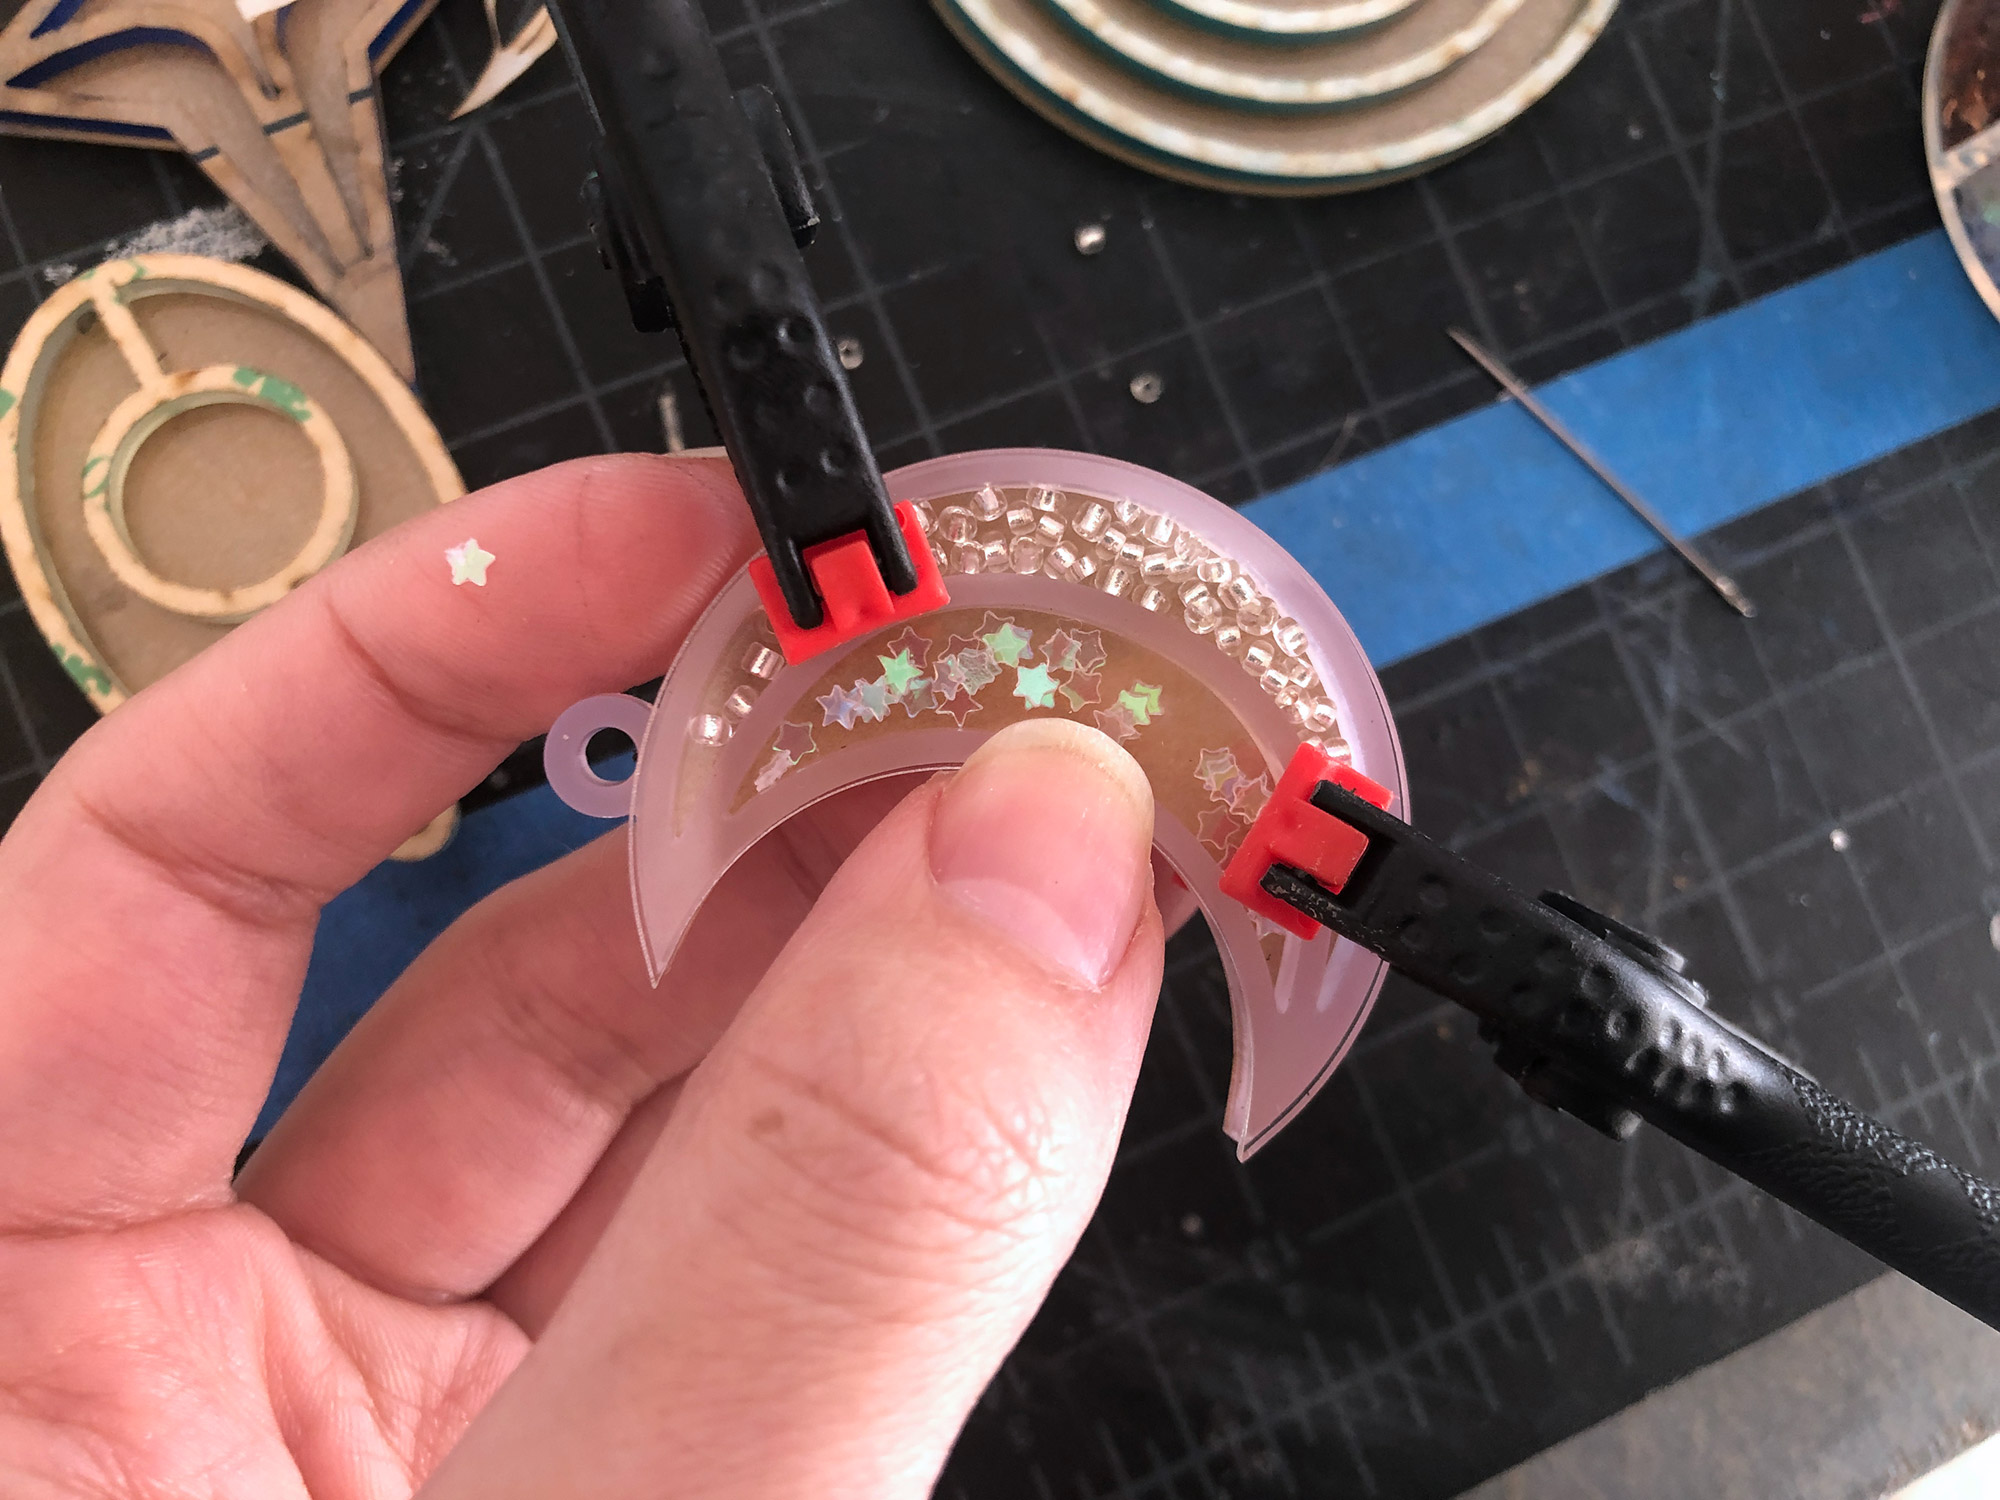
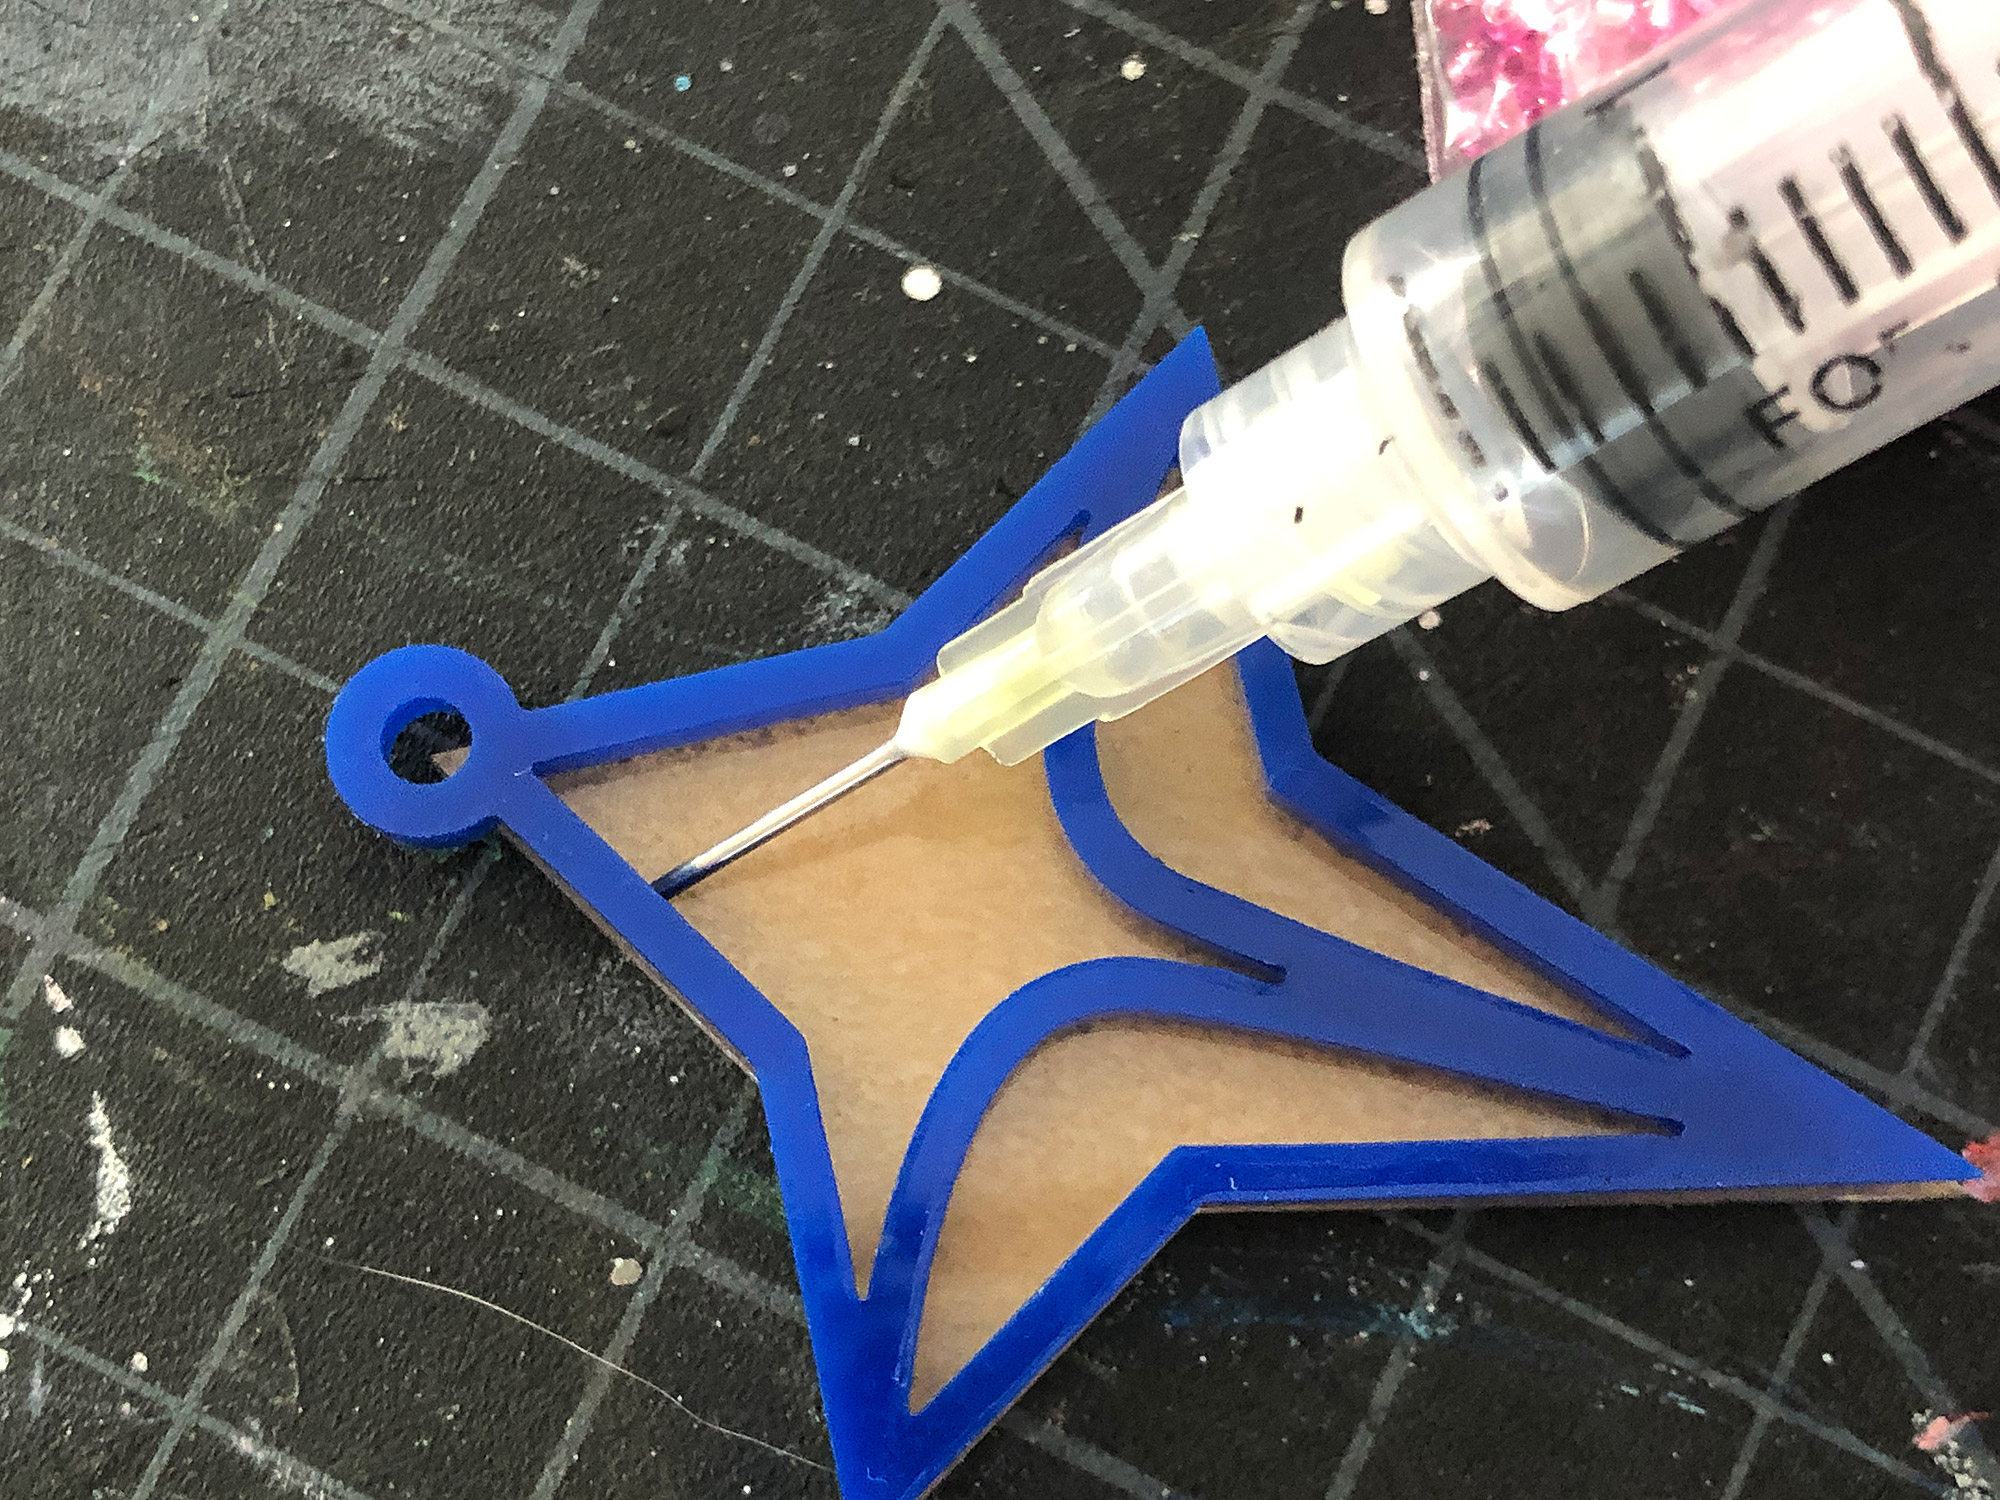
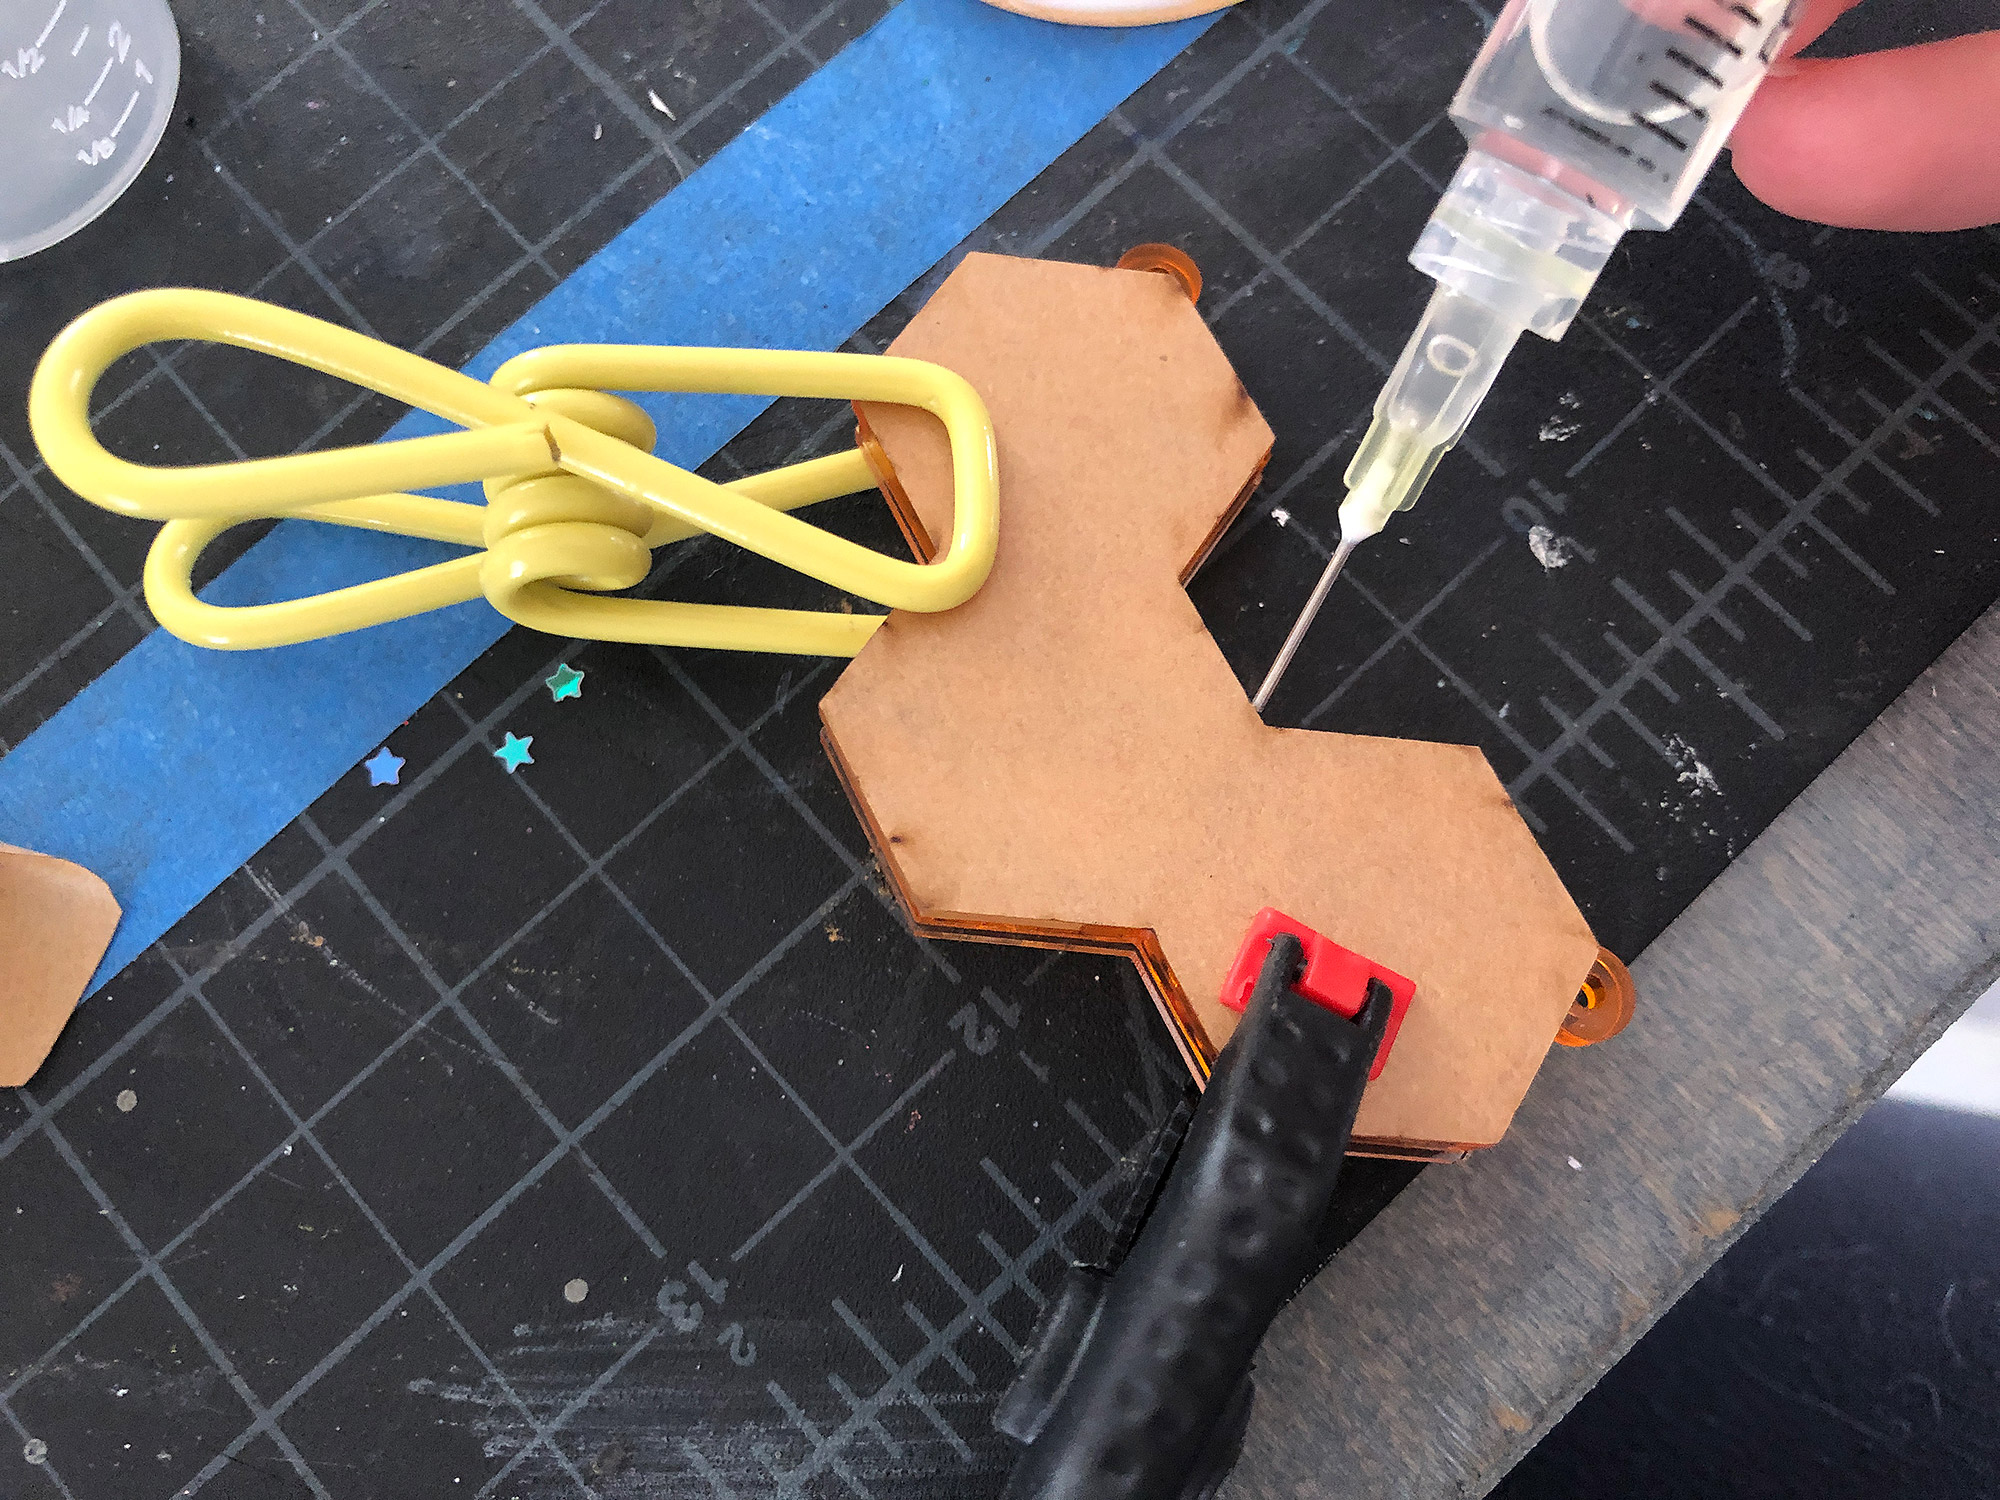
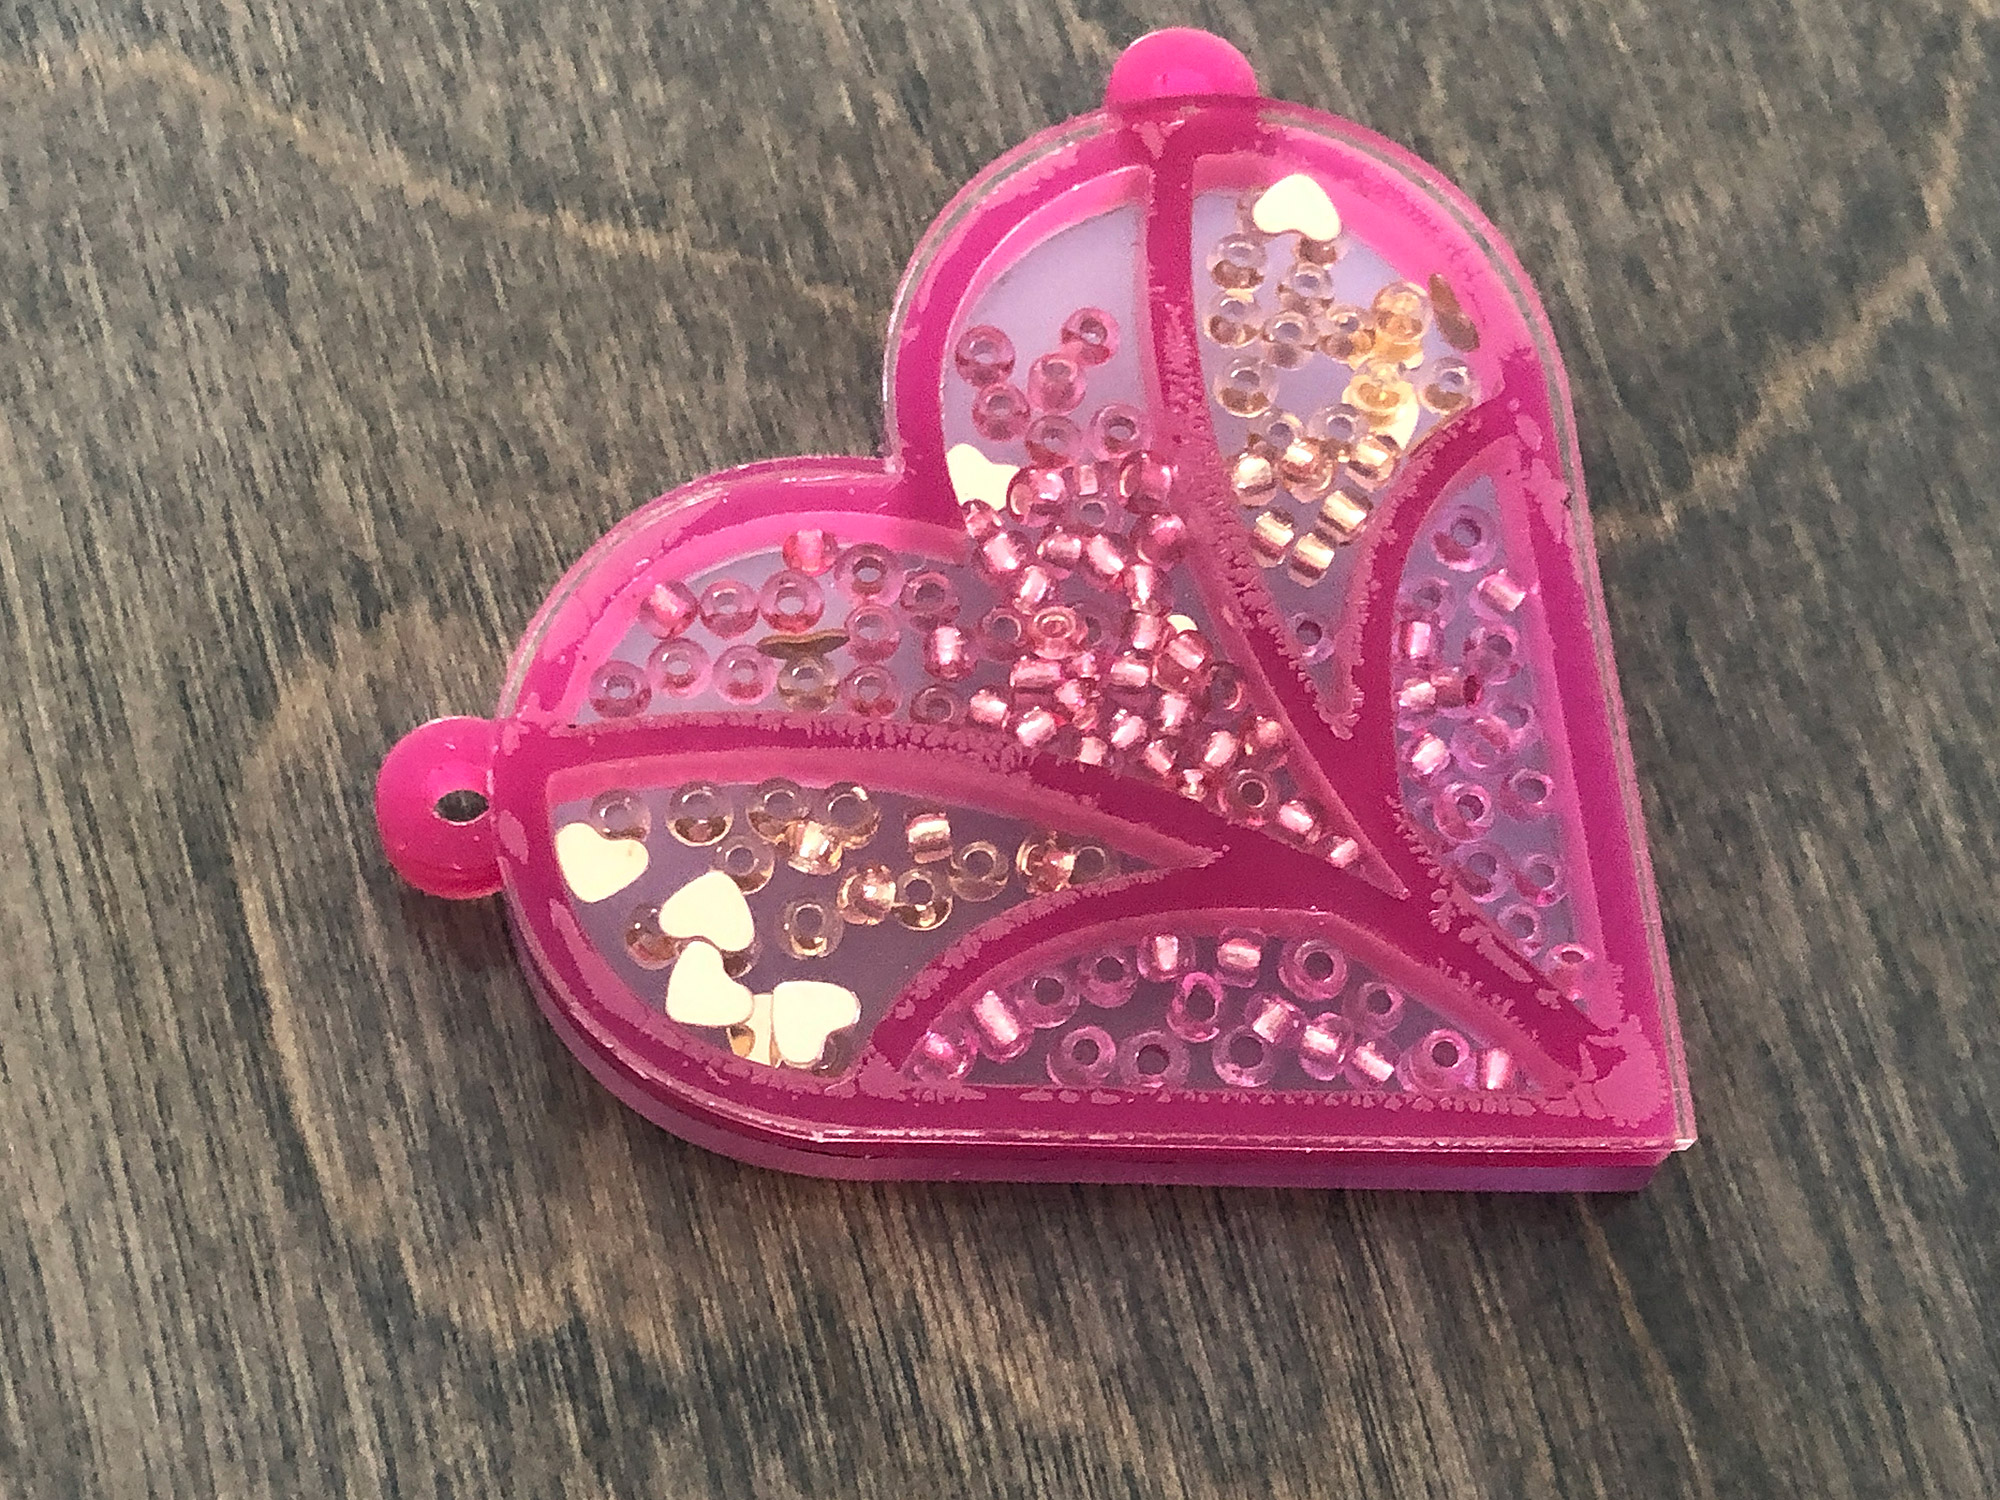
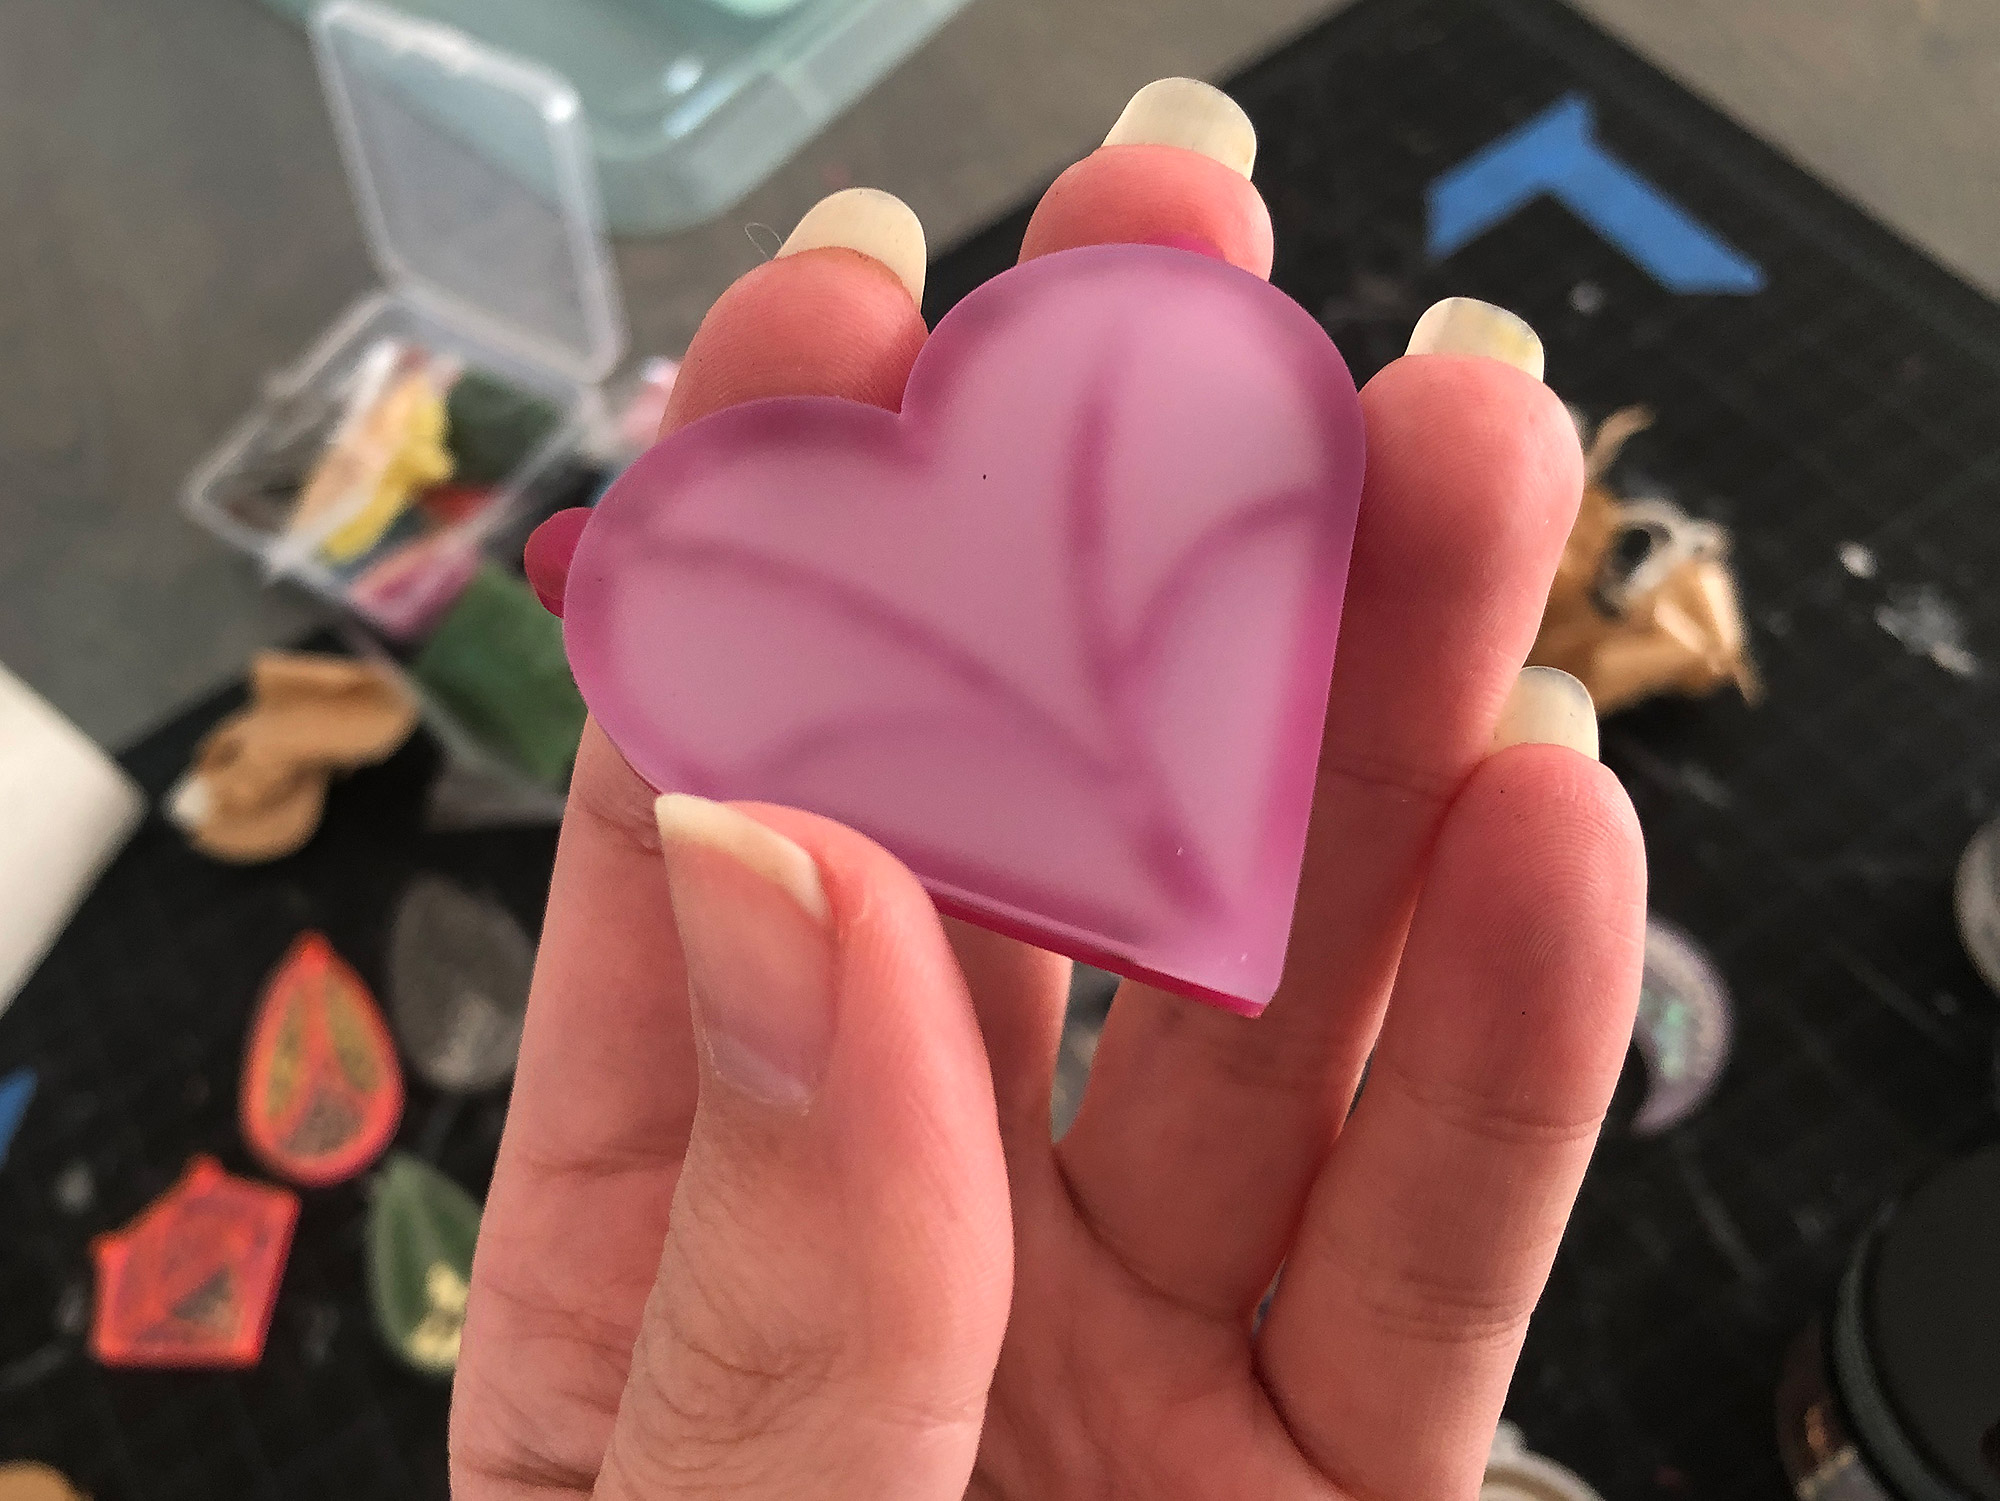
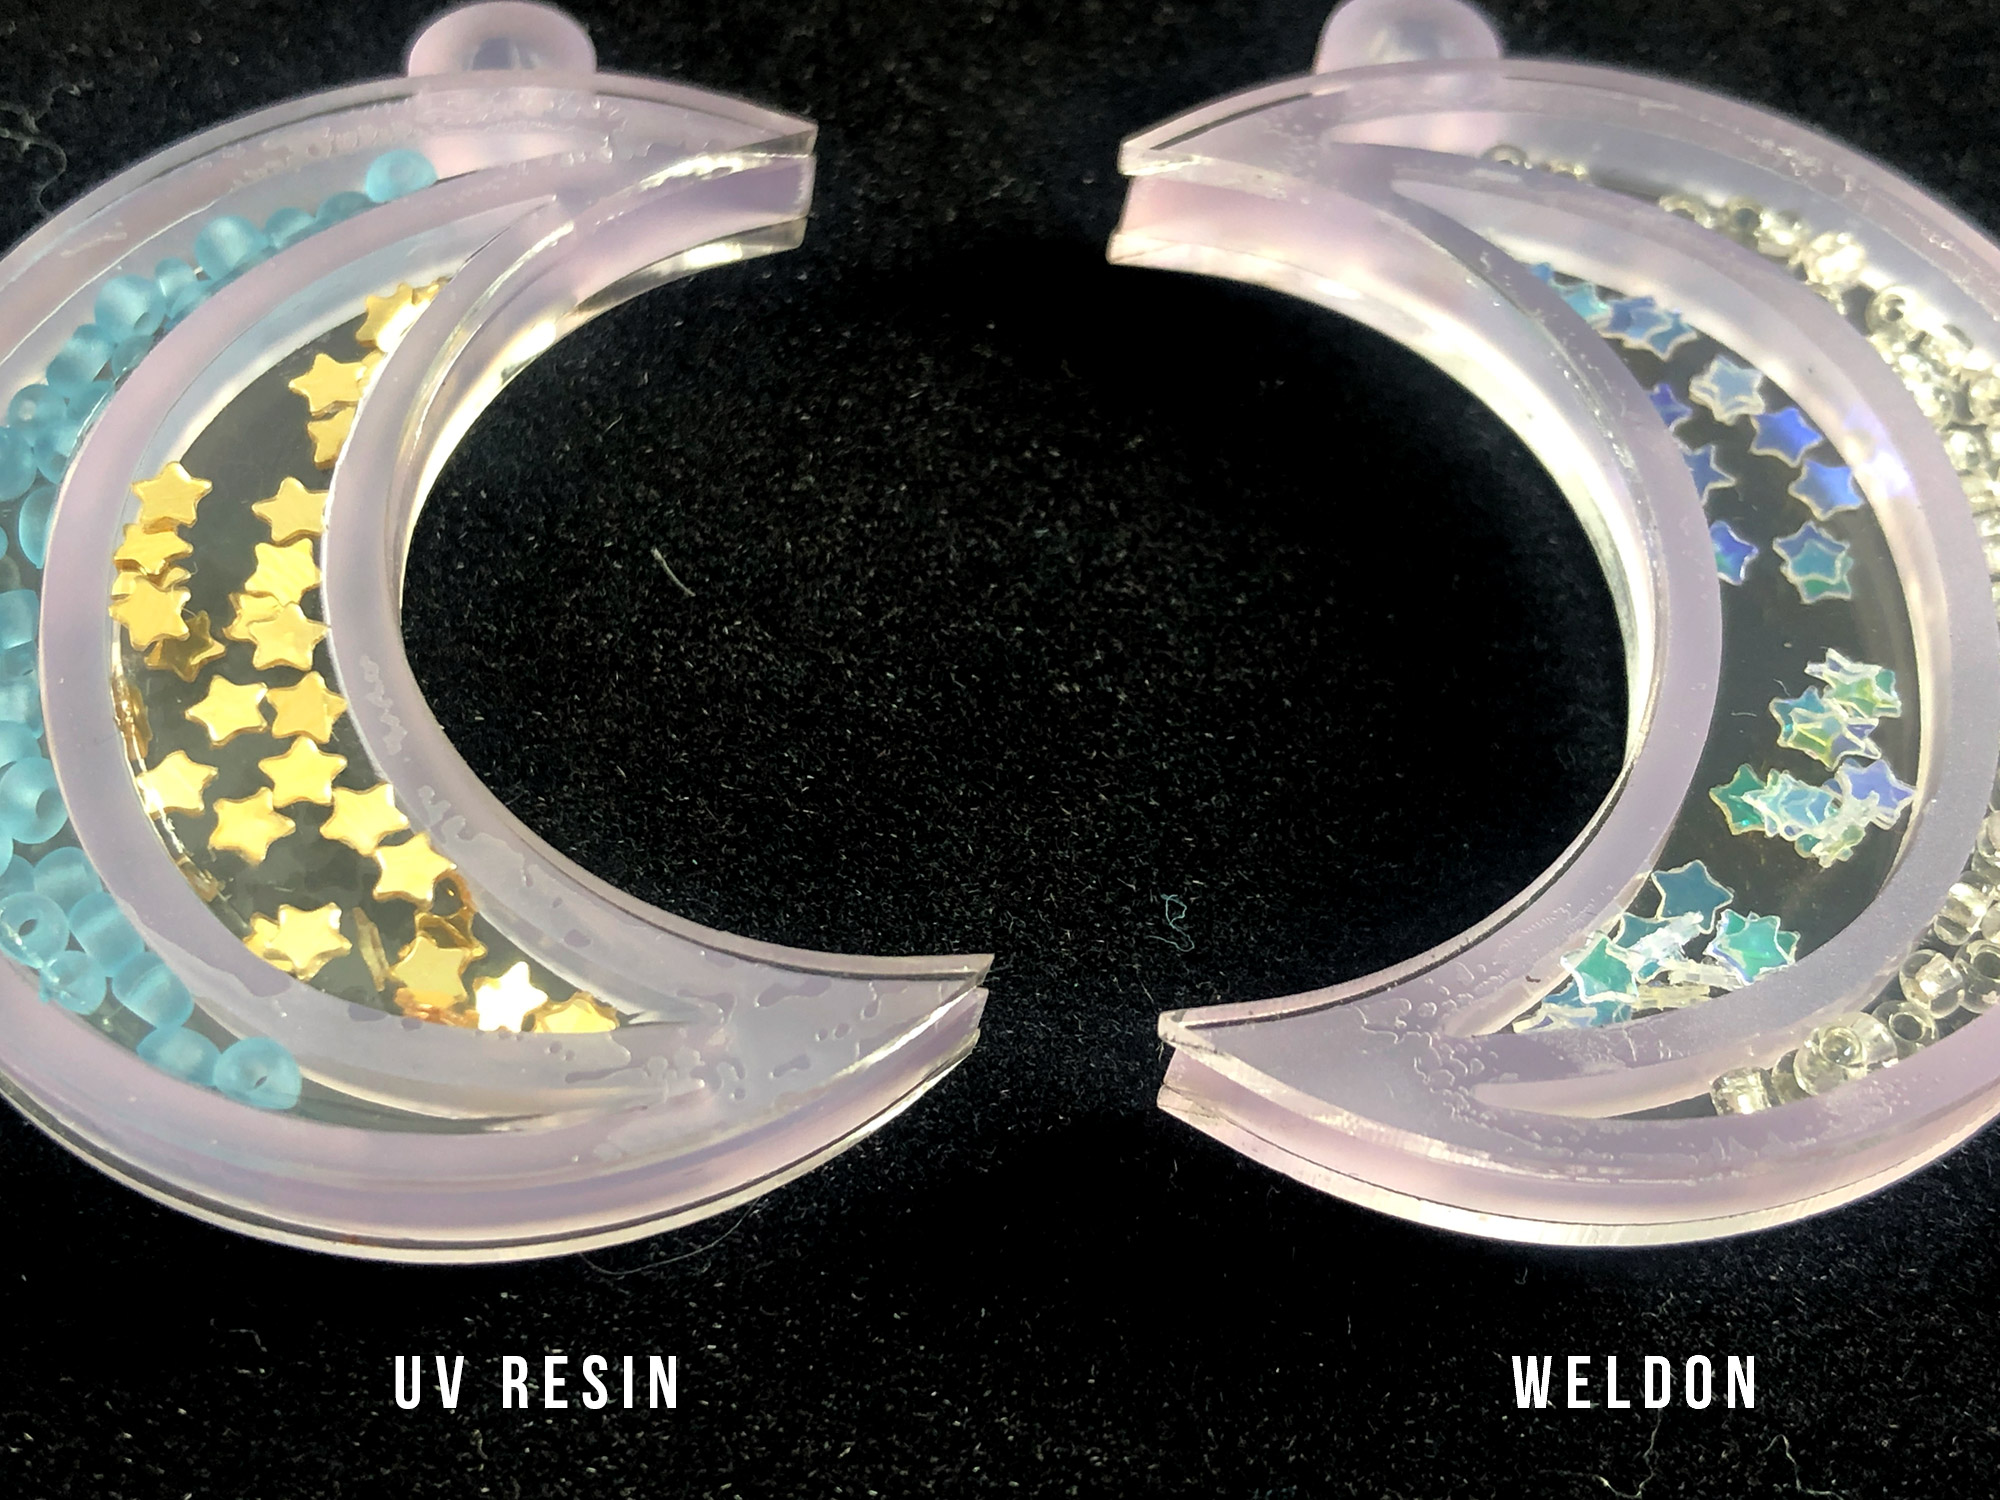
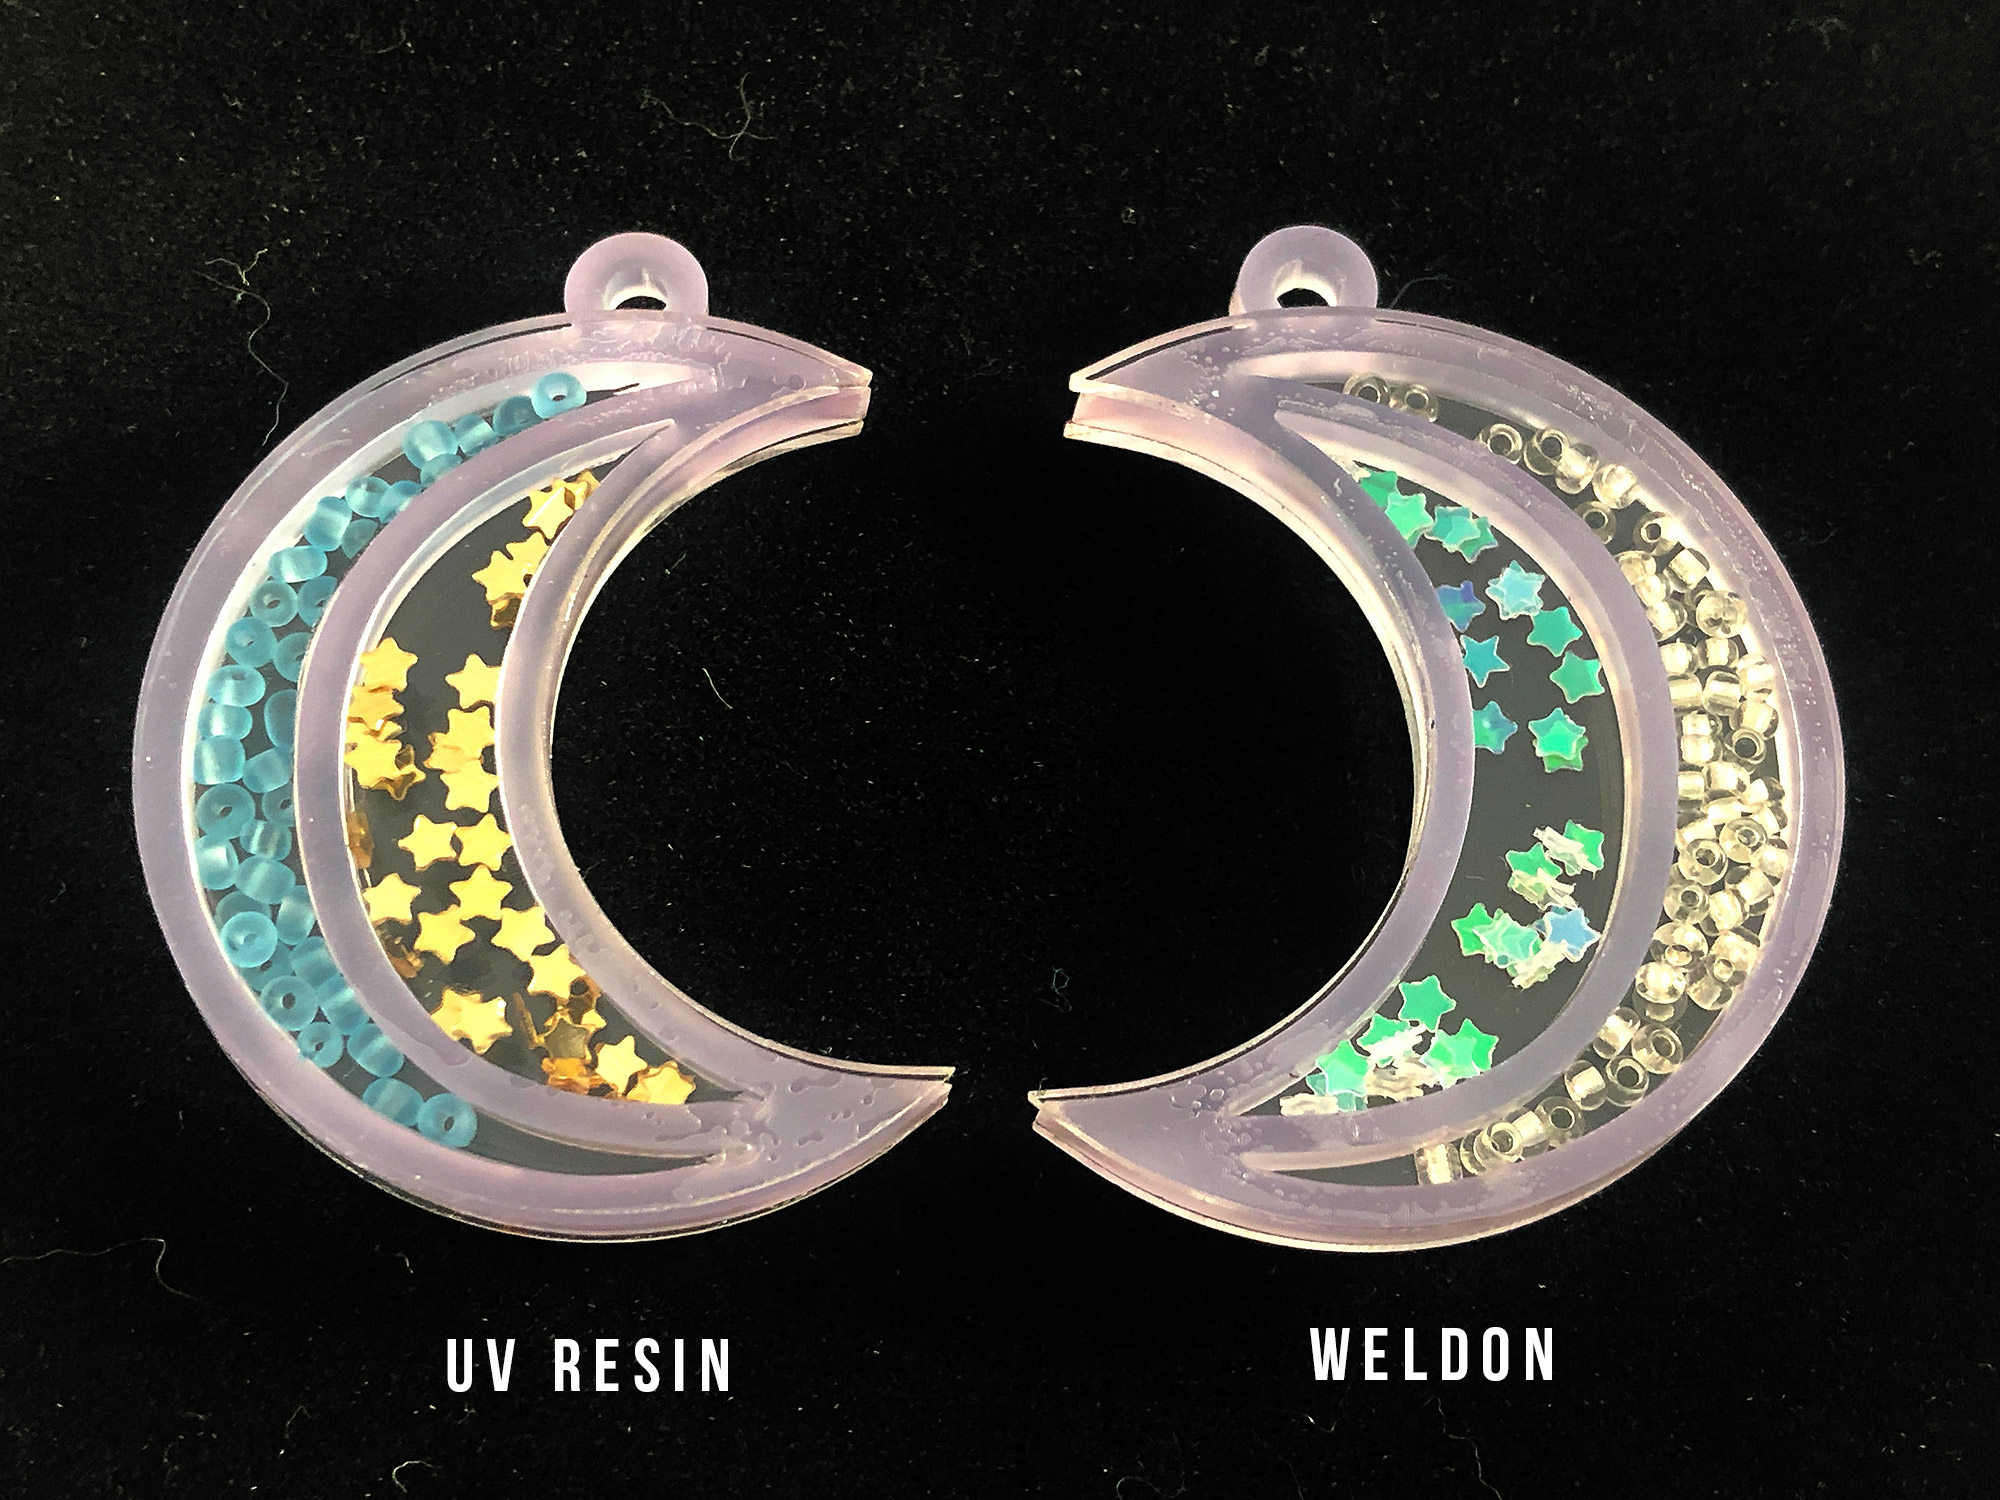
You can see we have a similar issue to the adhesive tapes – you can see the glue. It looks worse on some colors vs others. From a distance it’s not super obvious, but it will be visible on many colors. It his however the strongest bond because it actually melts and re-fuses the acrylic together.
UV Resin
UV Resin Adhesive:
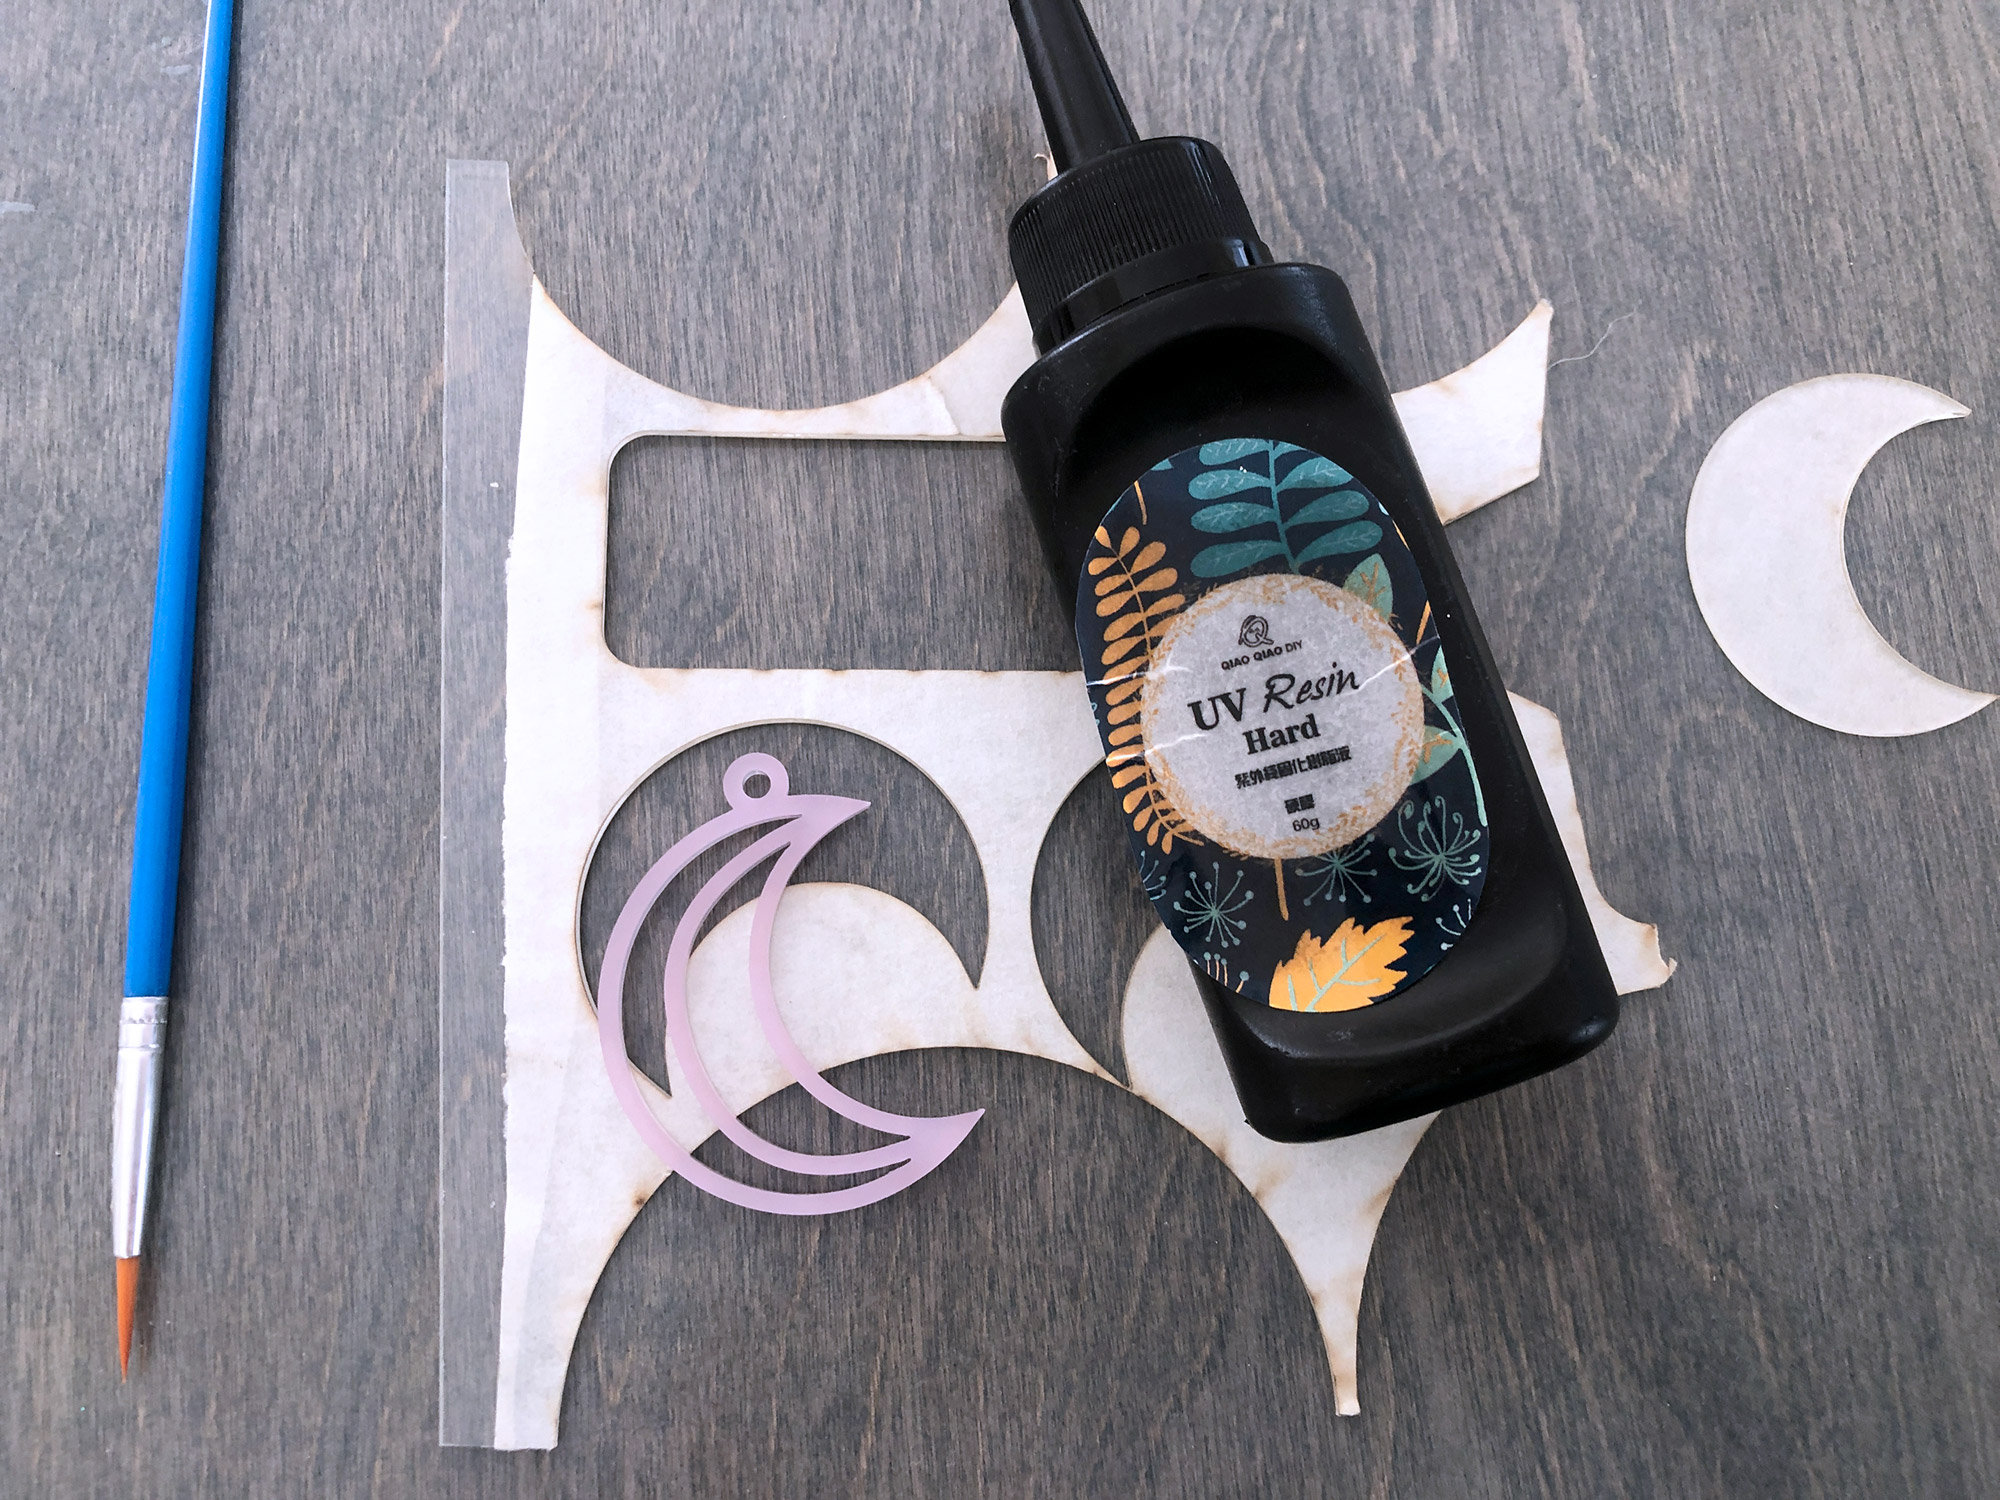
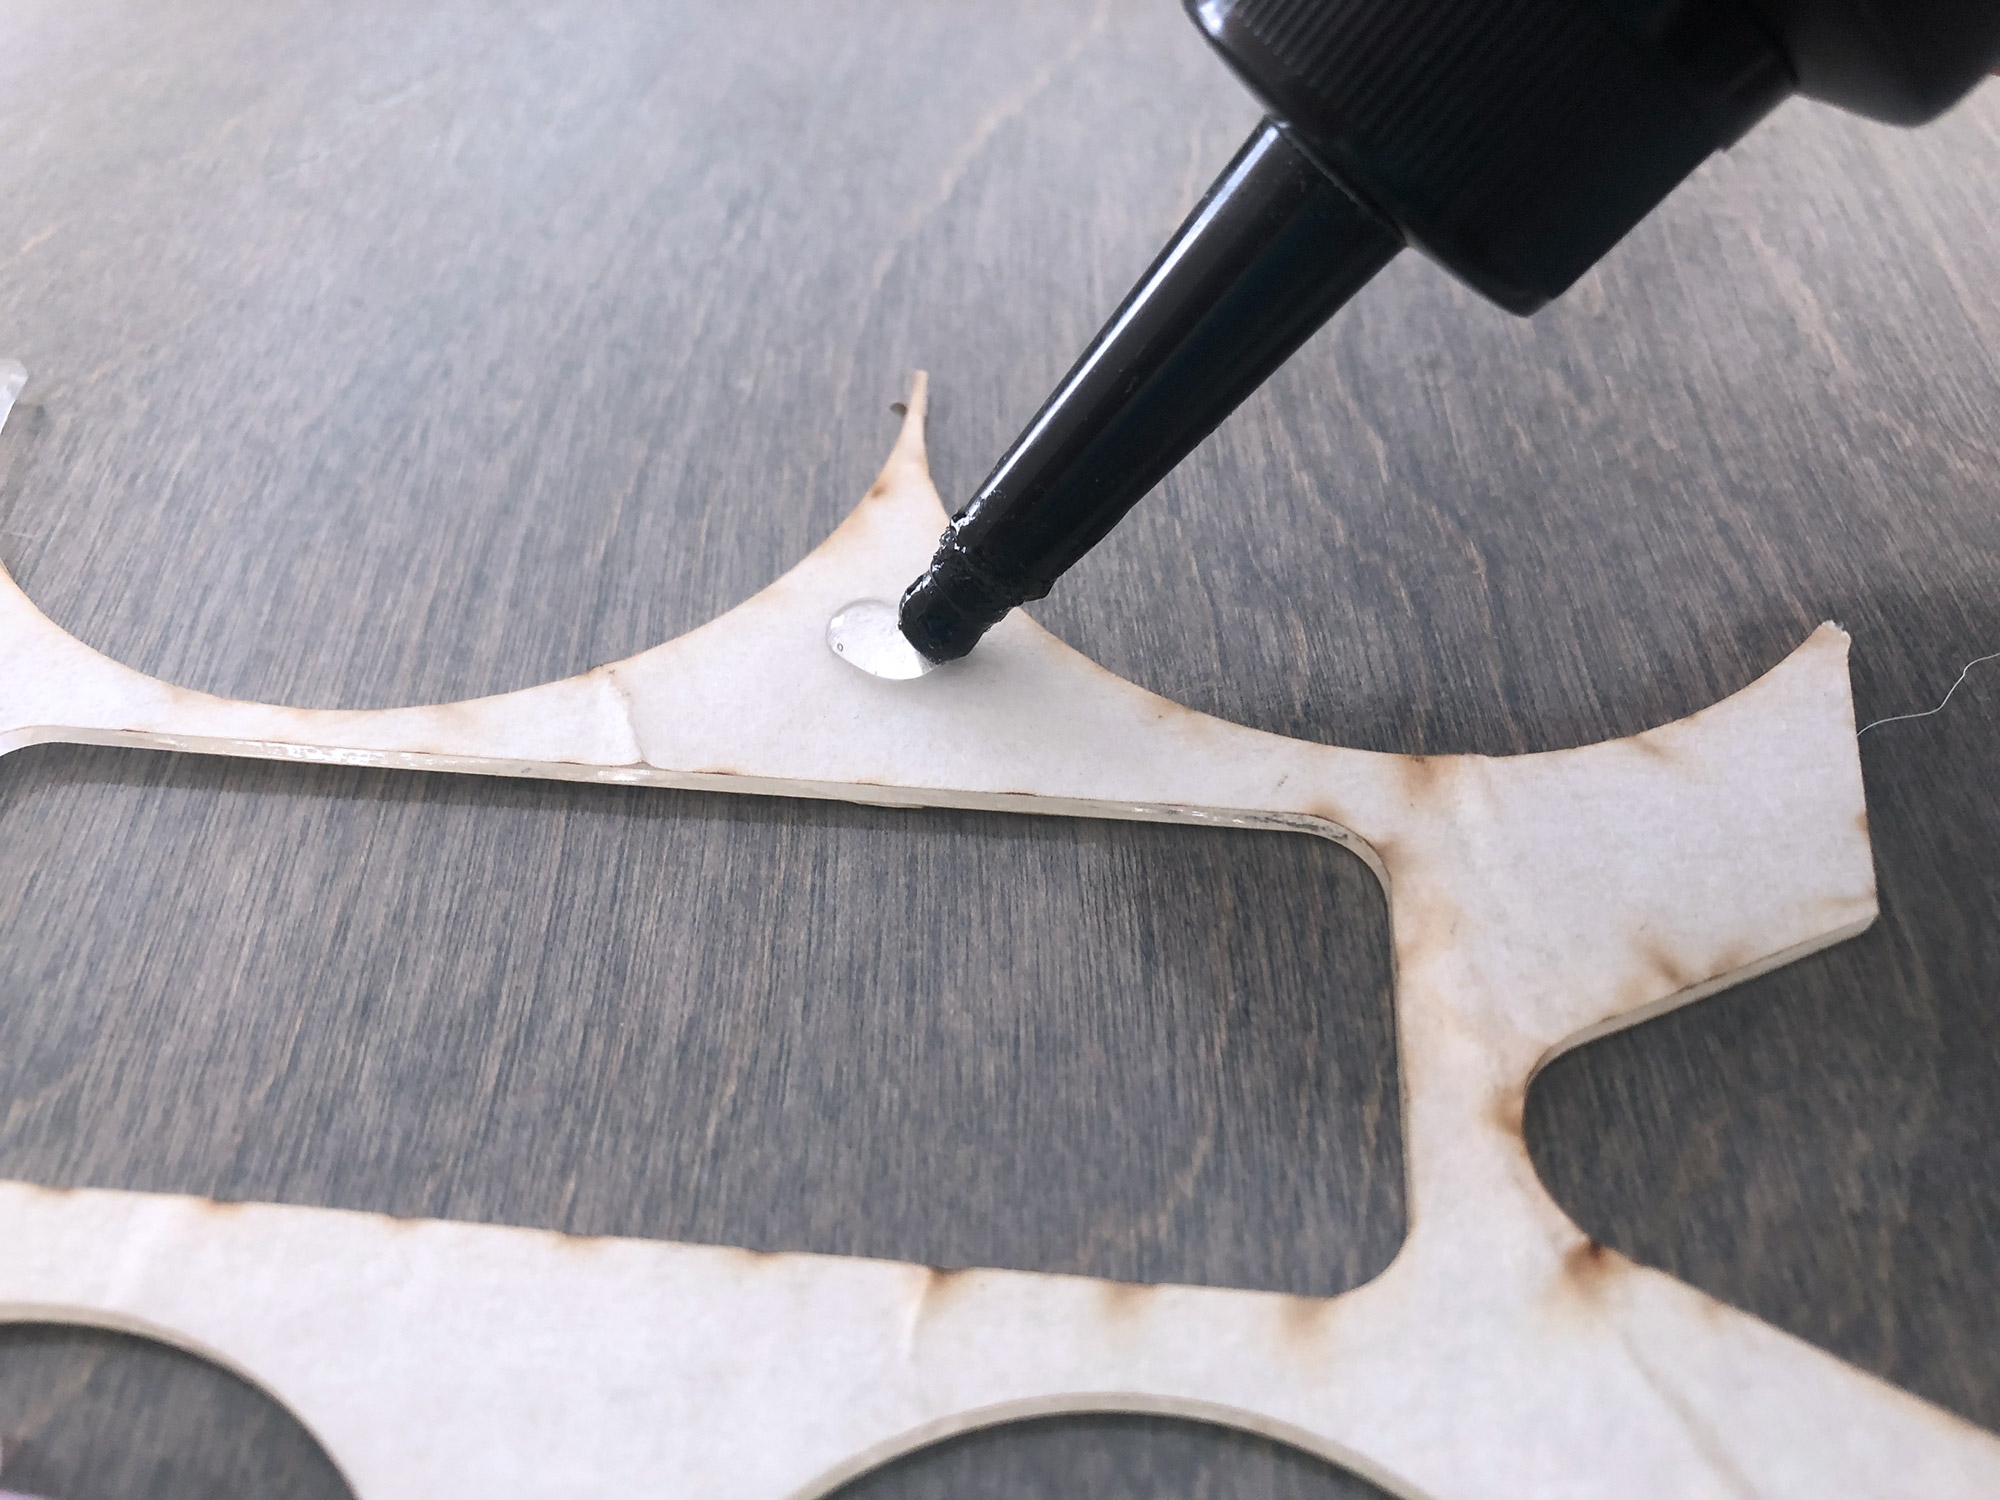
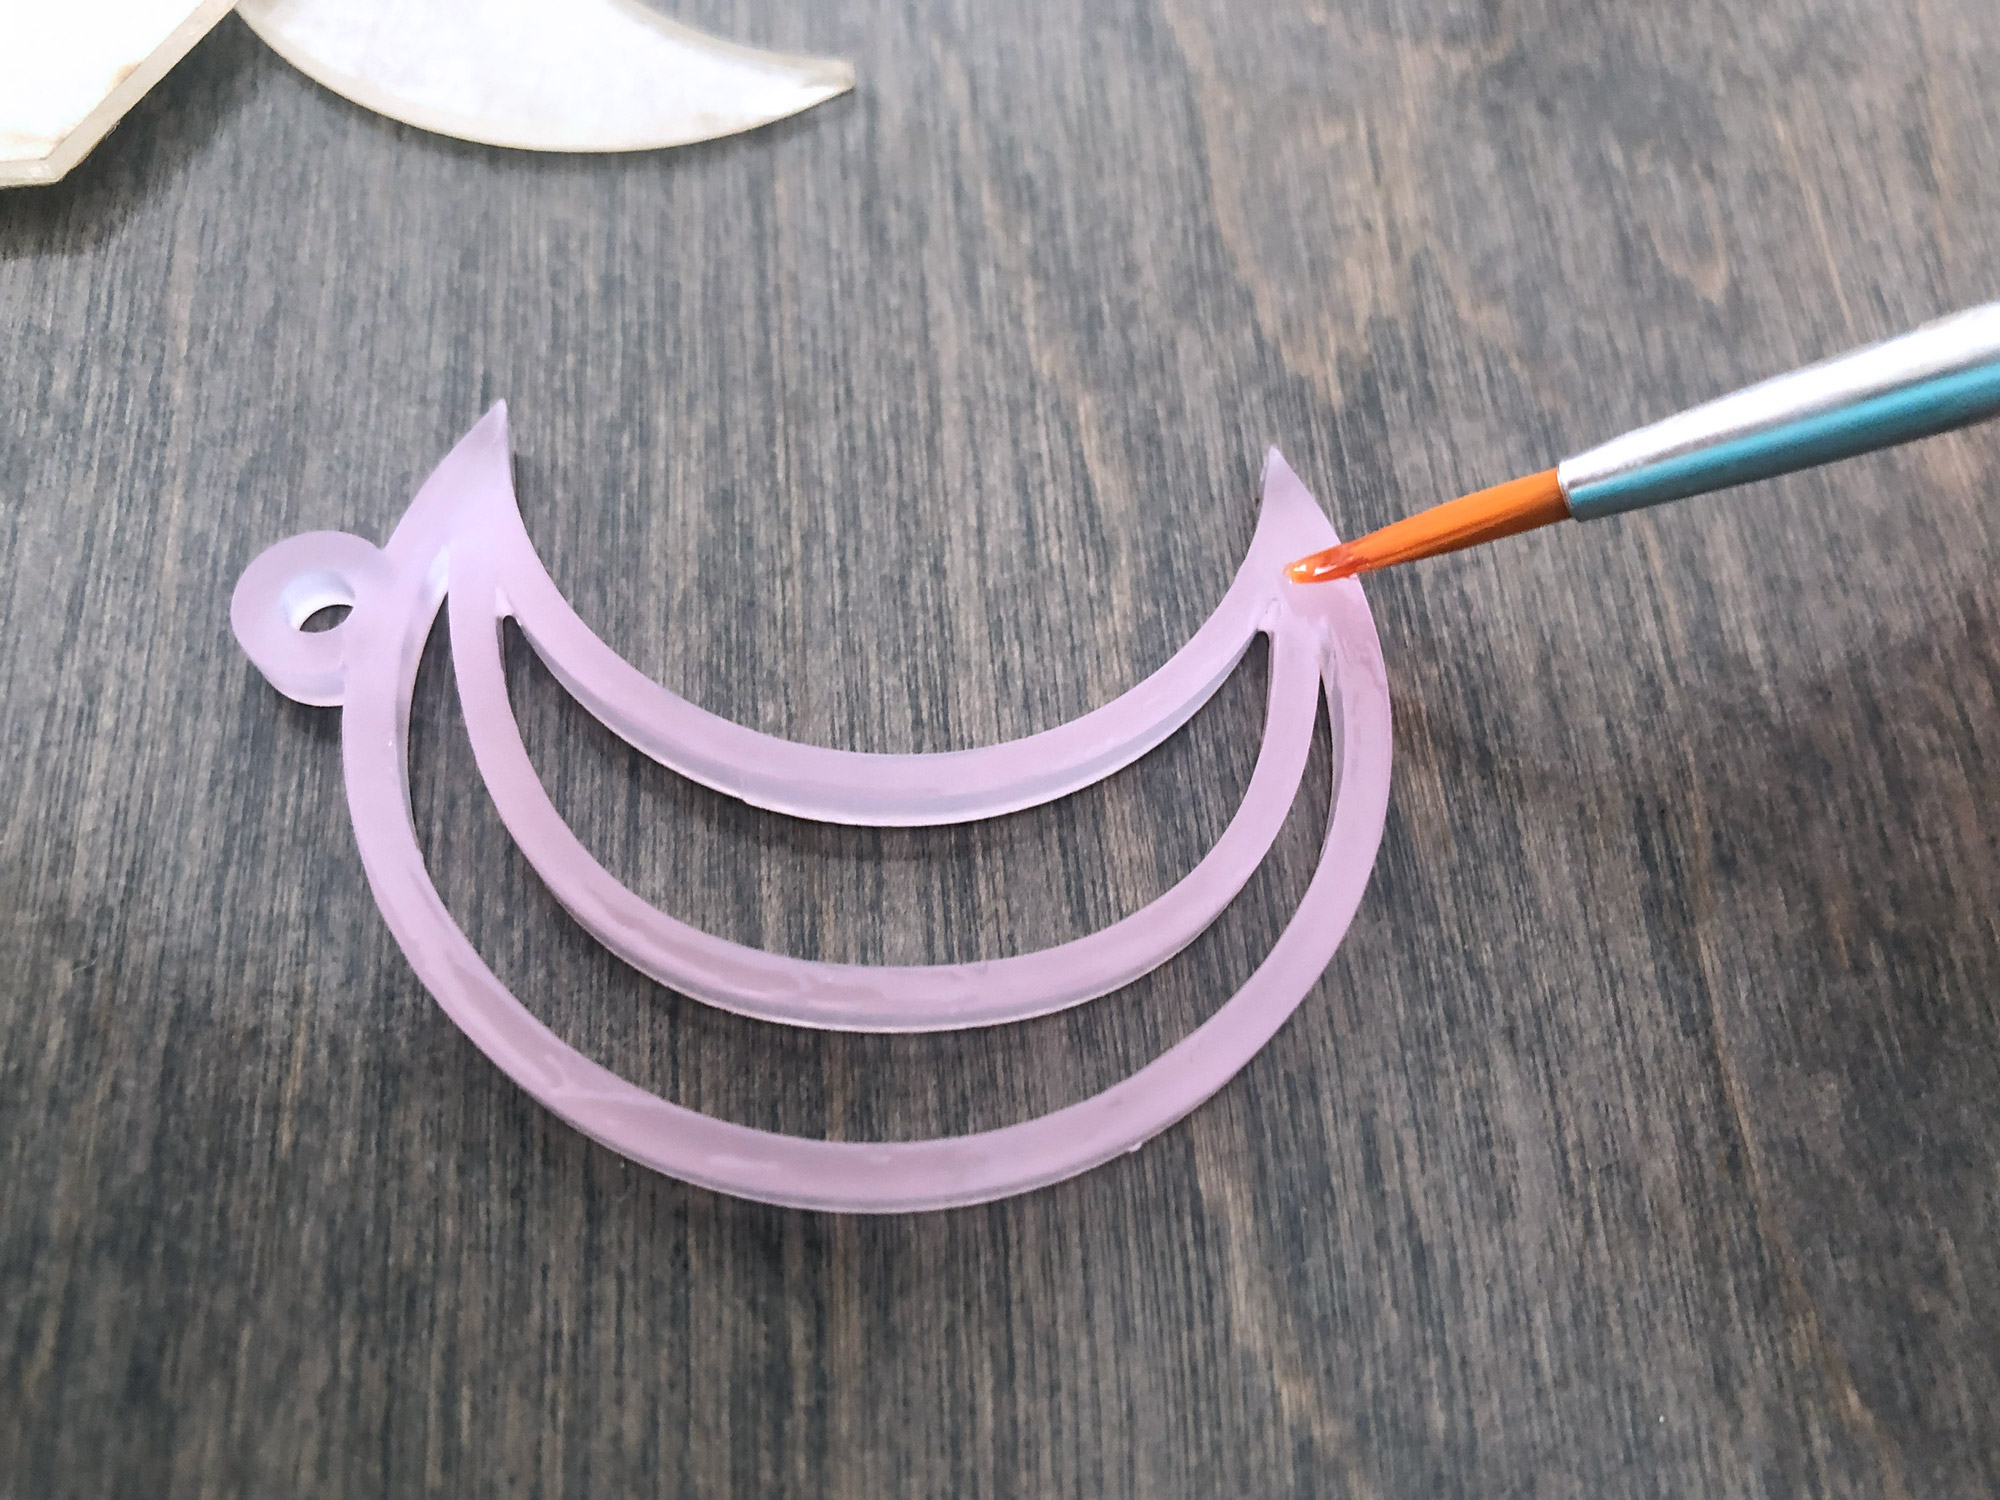
So I wanted to try one more option for gluing – UV resin. I’ve been researching acrylic adhesives for a while and learned that UV resin is actually a common adhesive for acrylic (there are acrylic specific version of UV resin). I happened to have some cheap UV resin on hand so I thought I’d give it a try. I squeezed a little onto a scrap piece of acrylic and painted it on because I didn’t want it to squish out everywhere like the Loctite GO2 did. Then I put it under a UV nail lamp for two minutes.
Results:
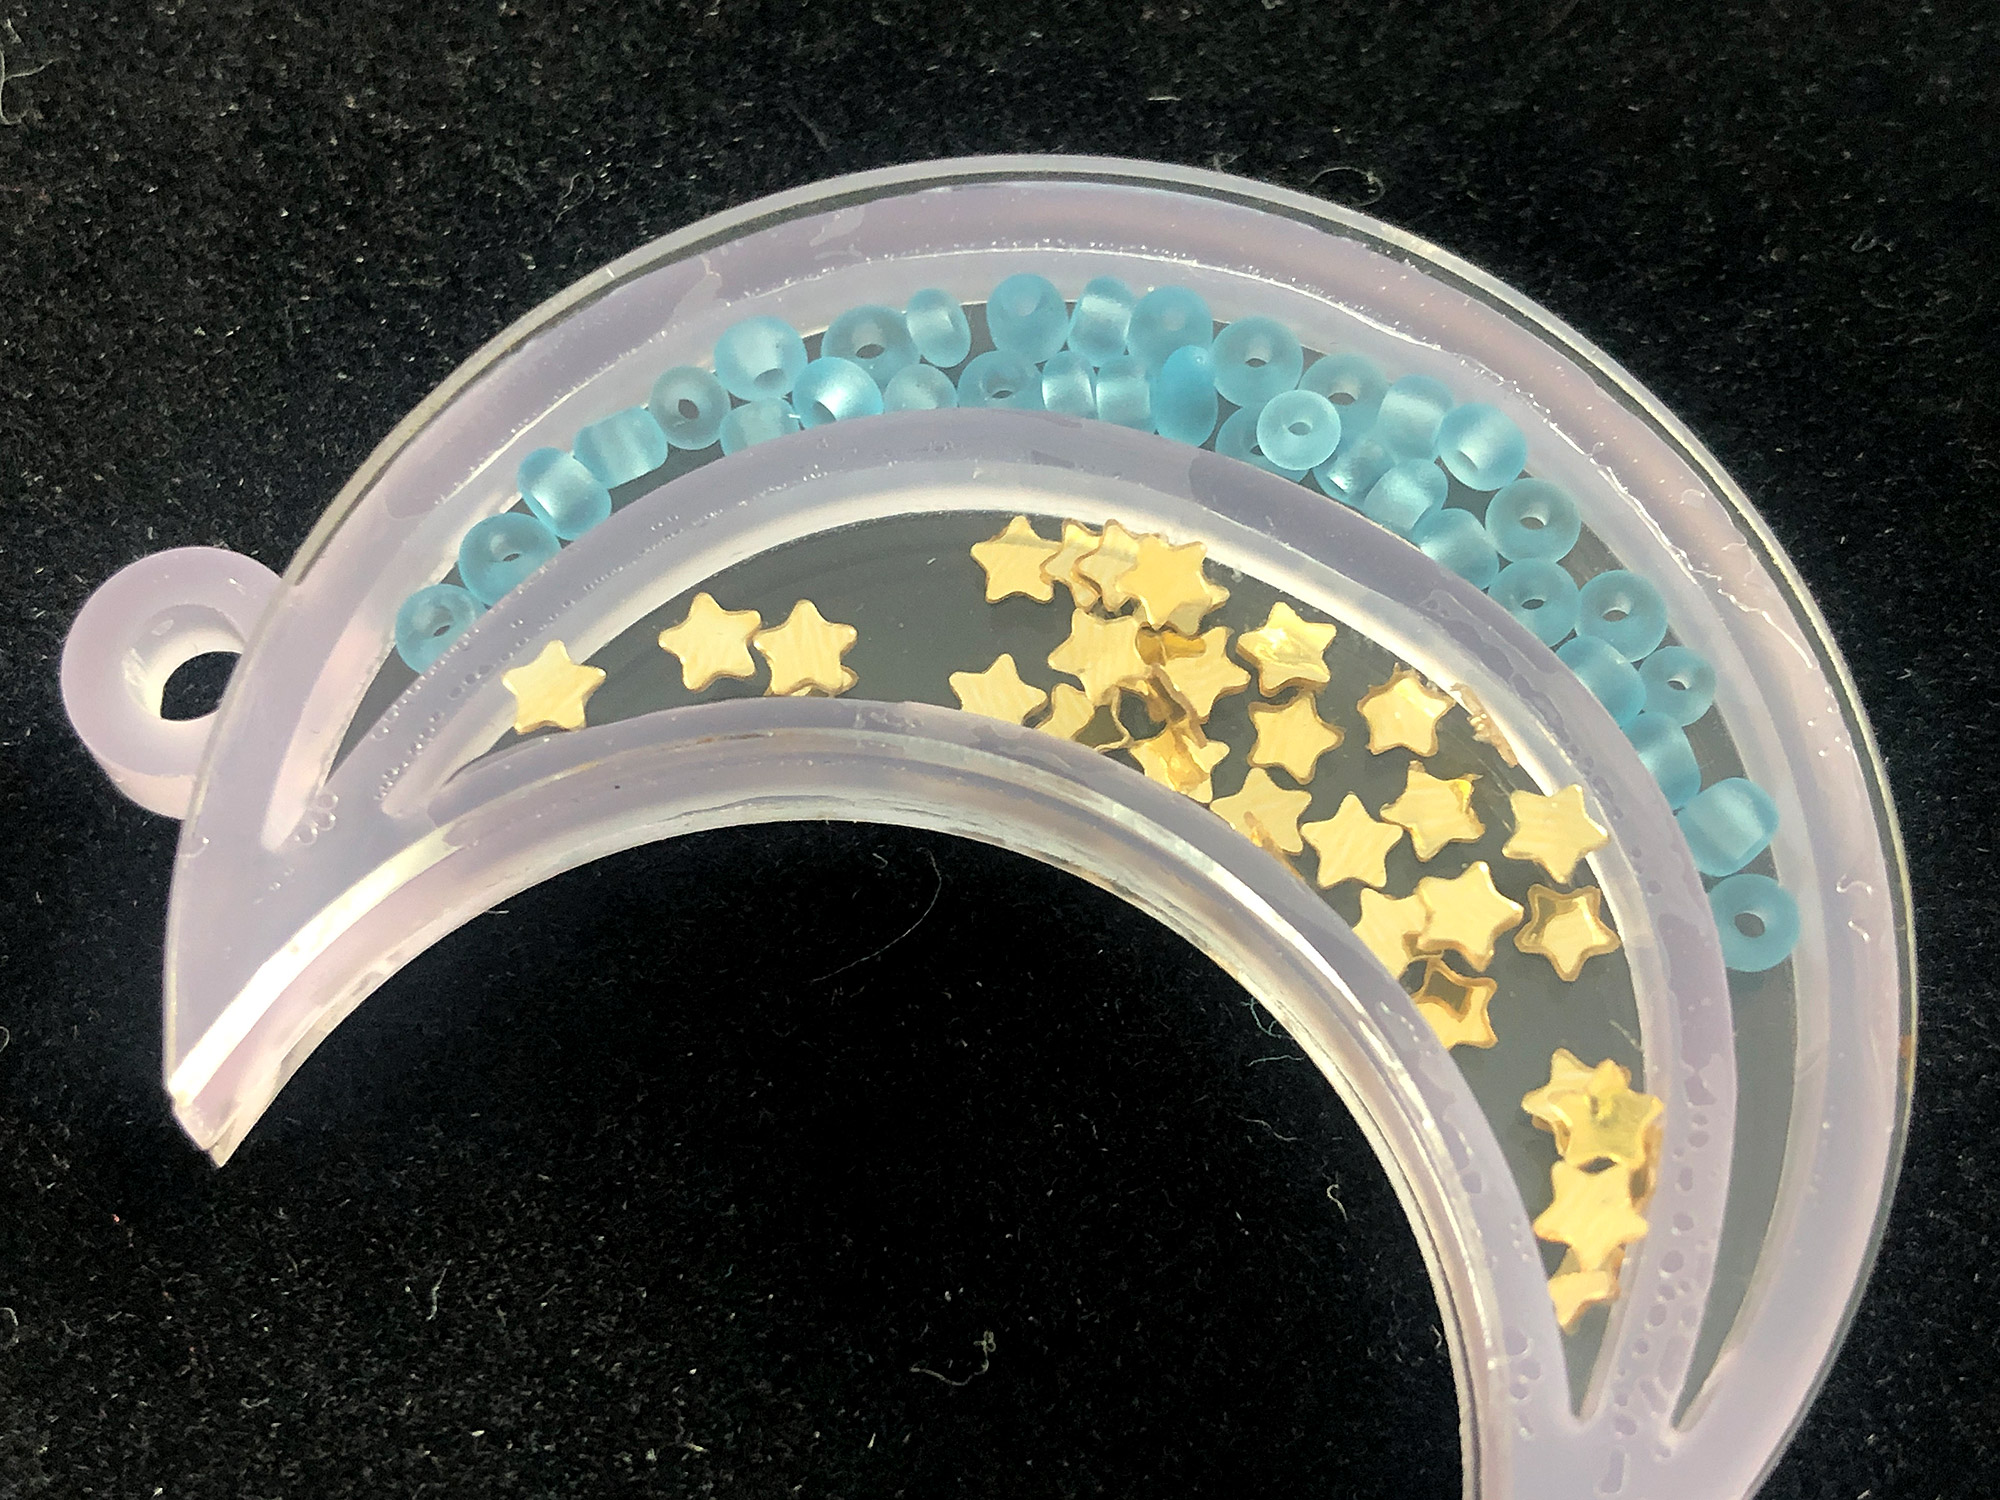
The results of this experiment were similar to the Weldon. I think this a great option for those who use resin for other projects or for when you need a longer working time.
Hiding the Glue
Veneer and Offsets:
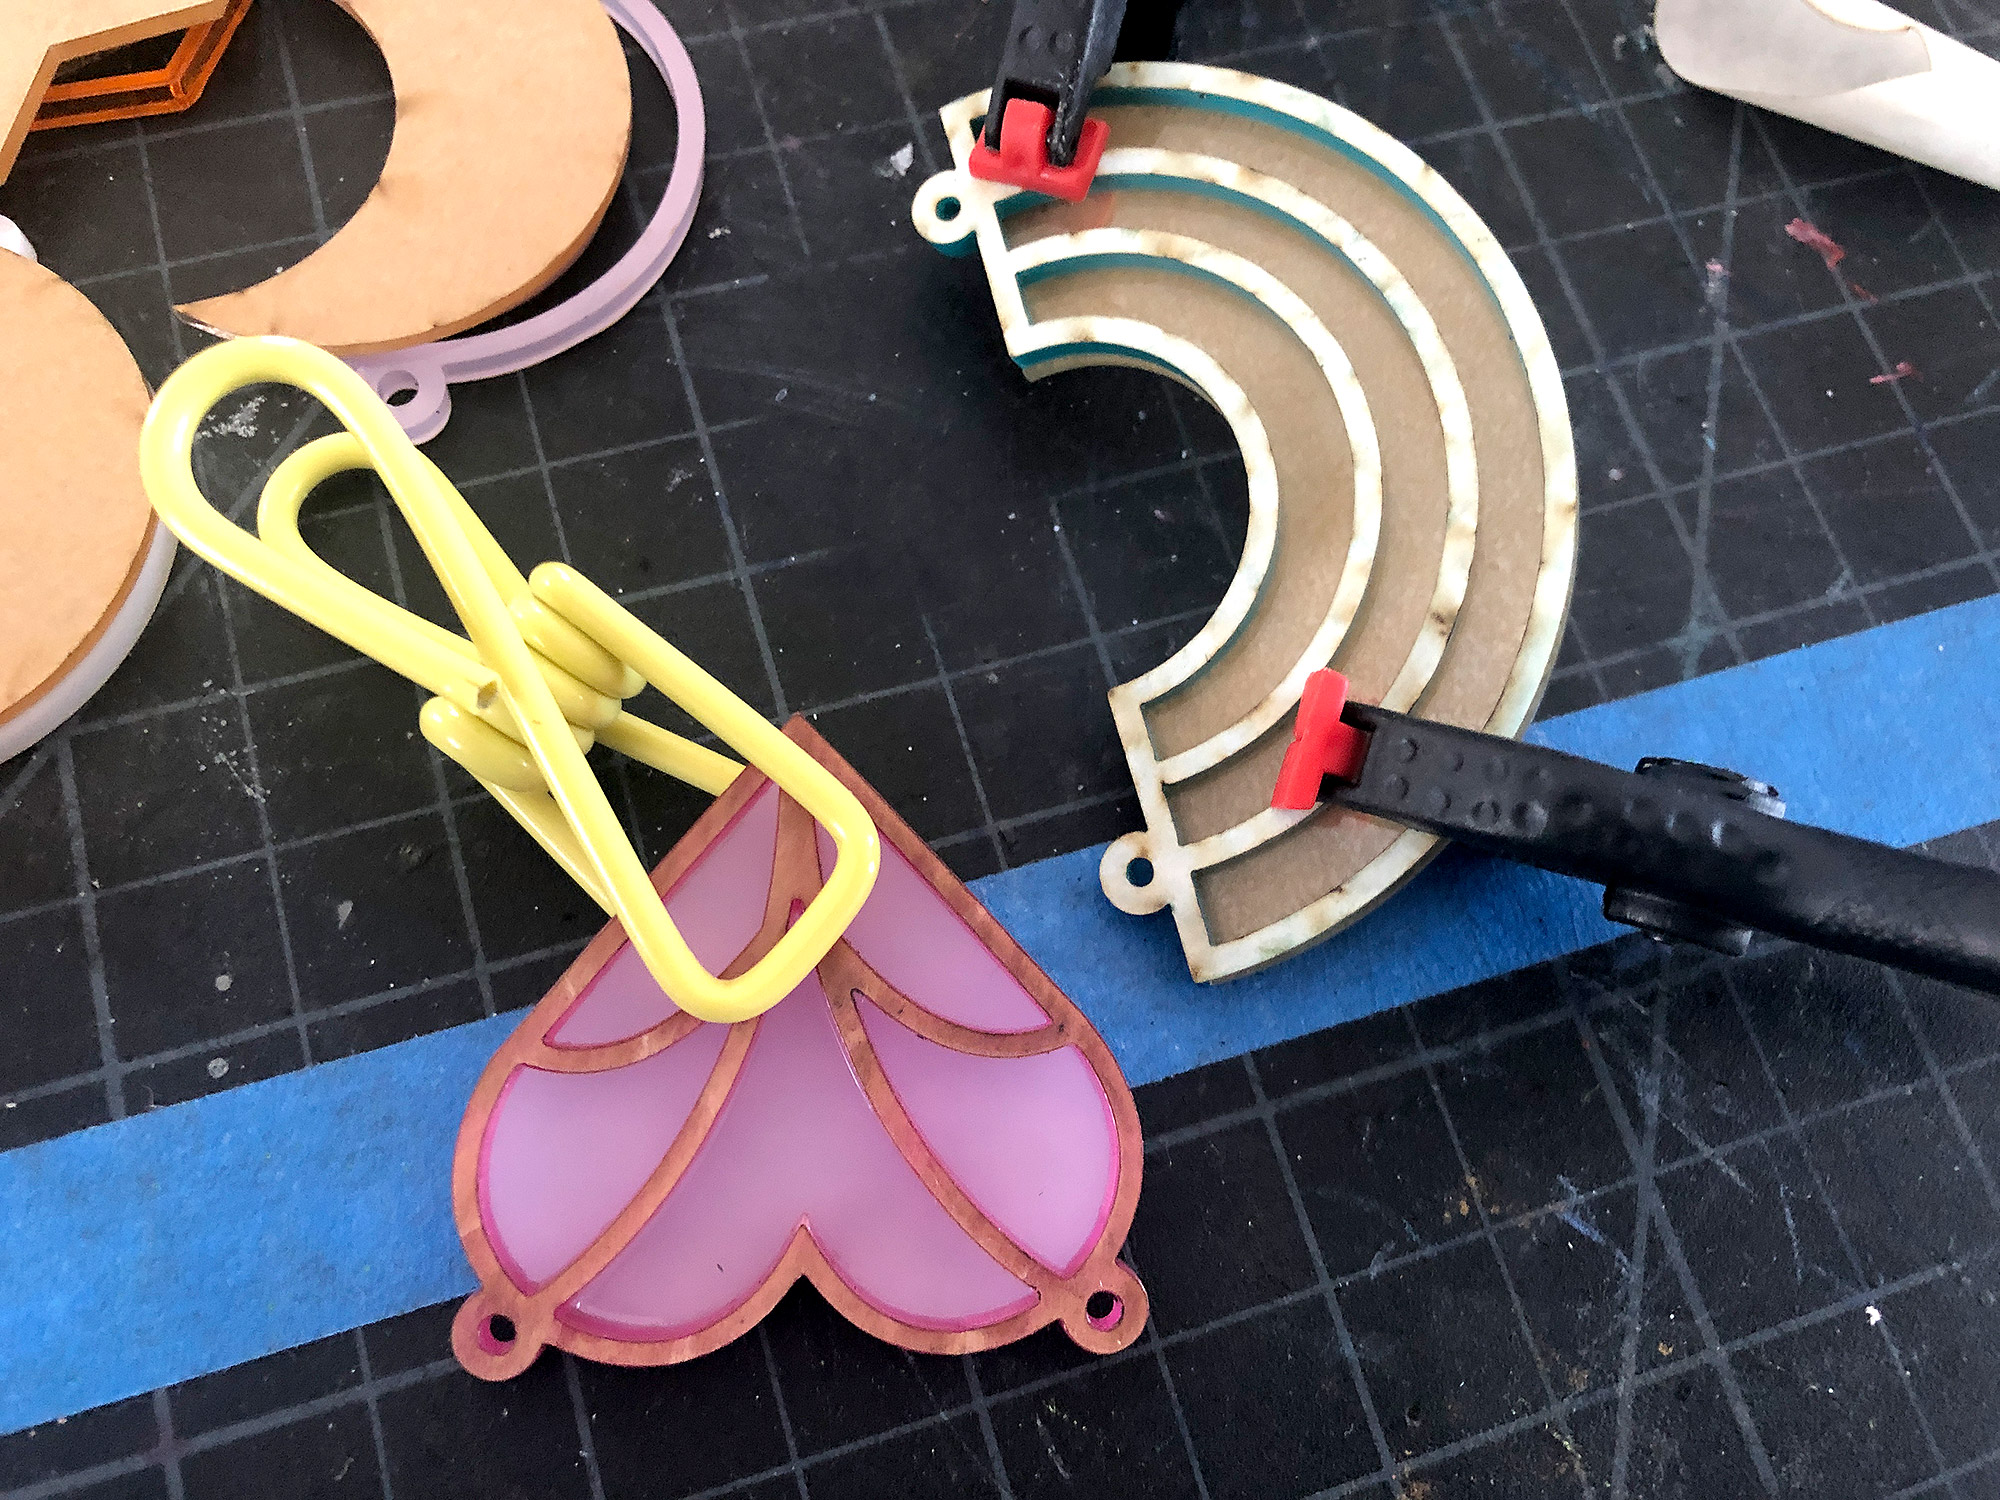
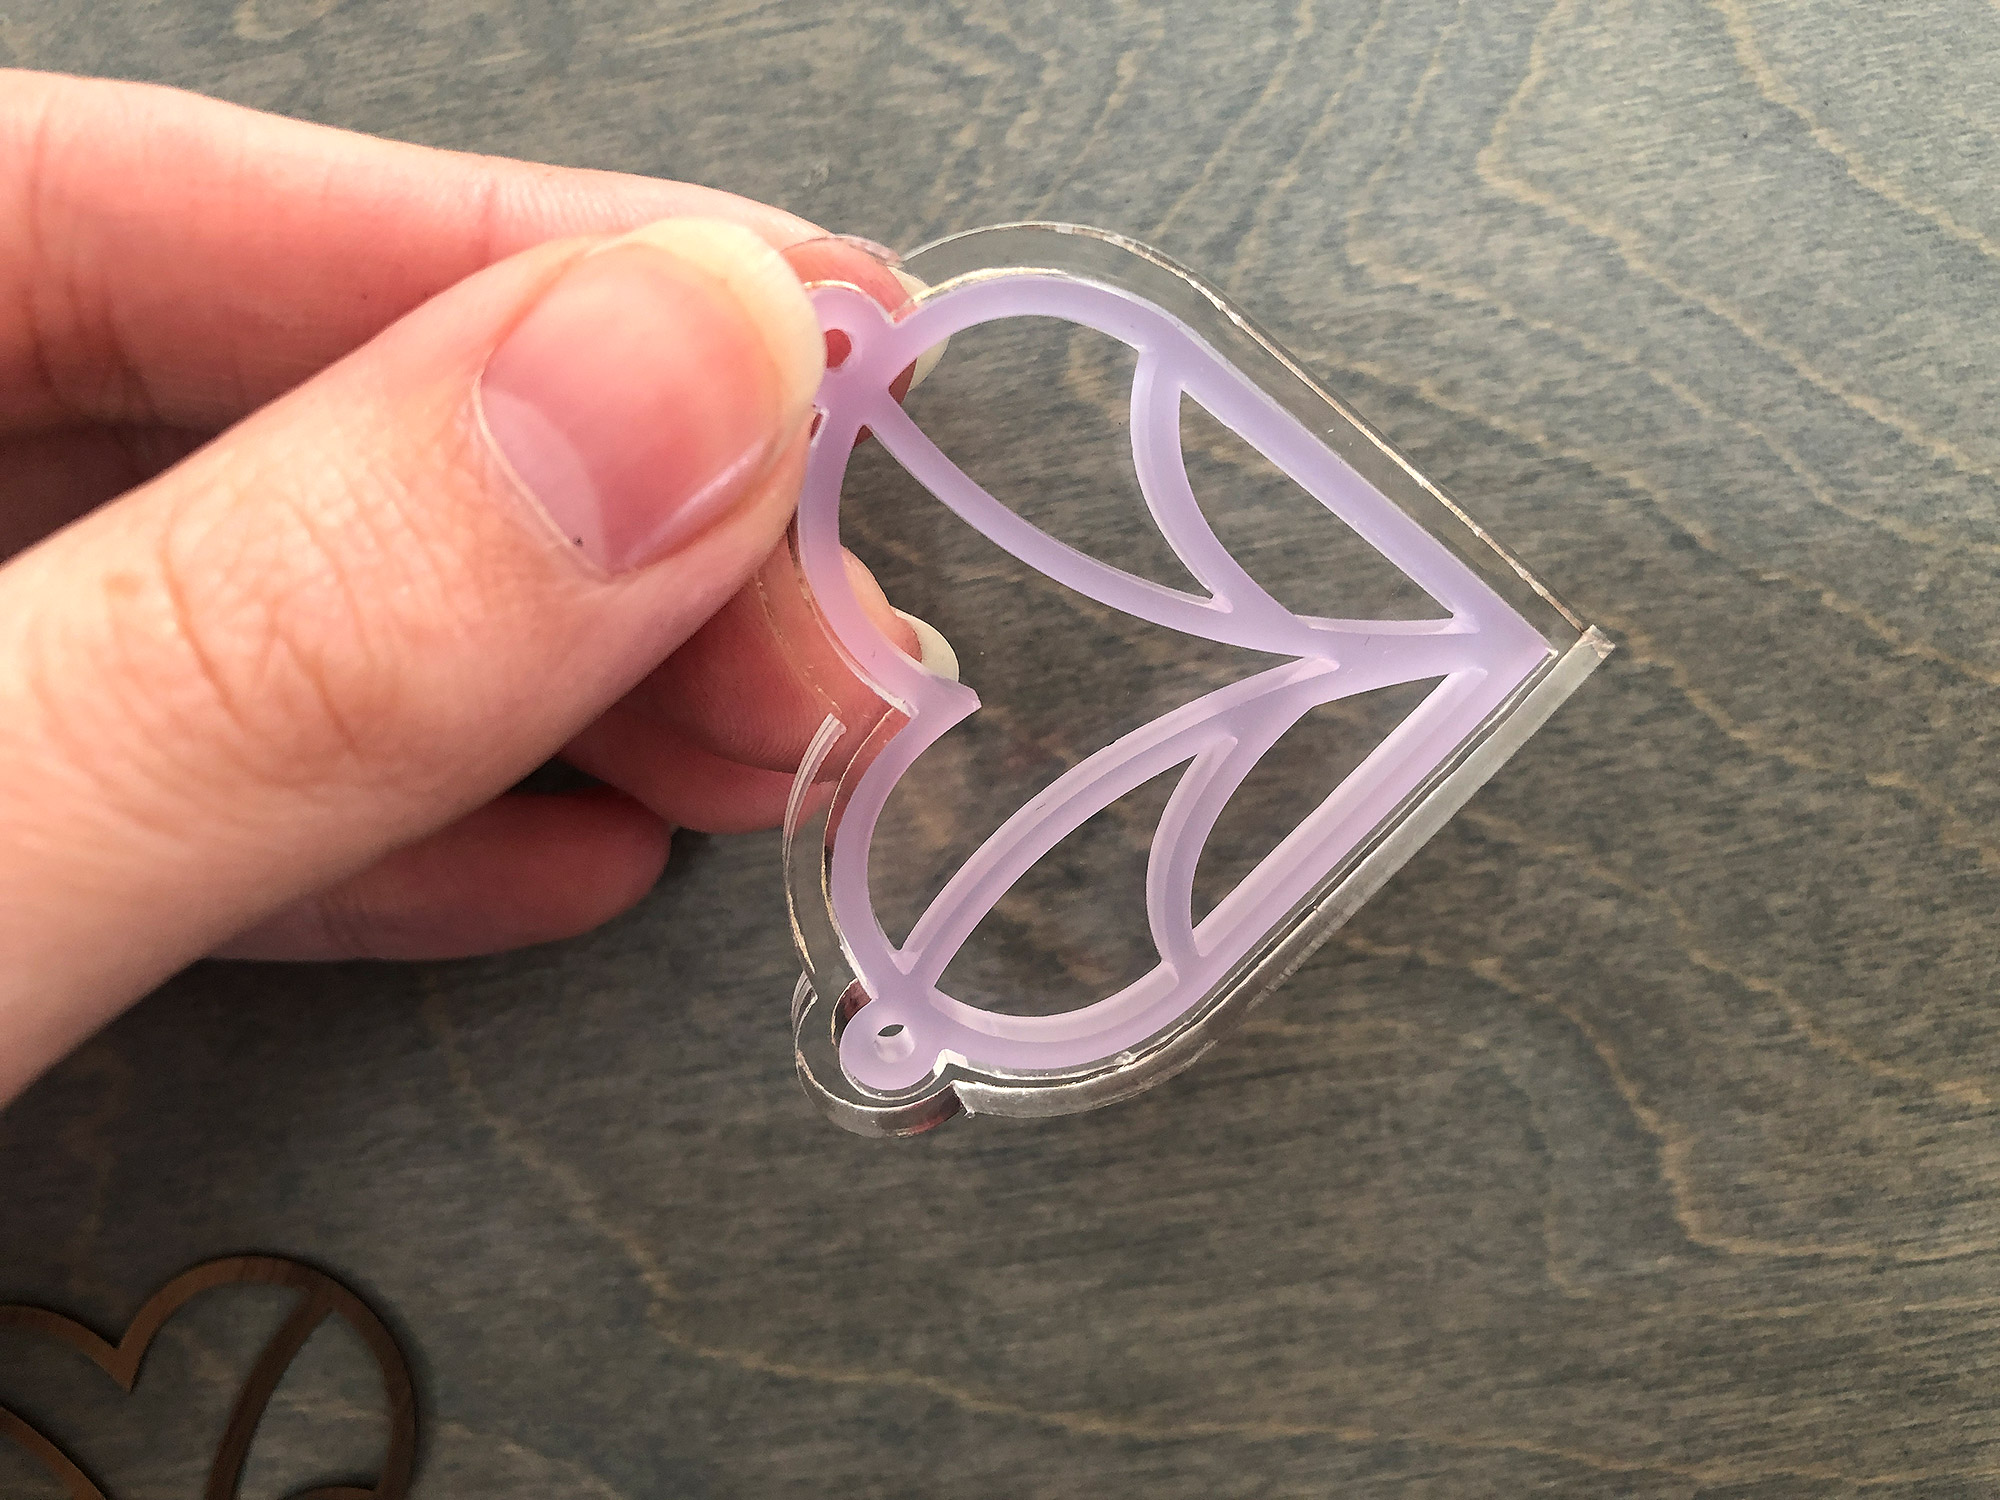
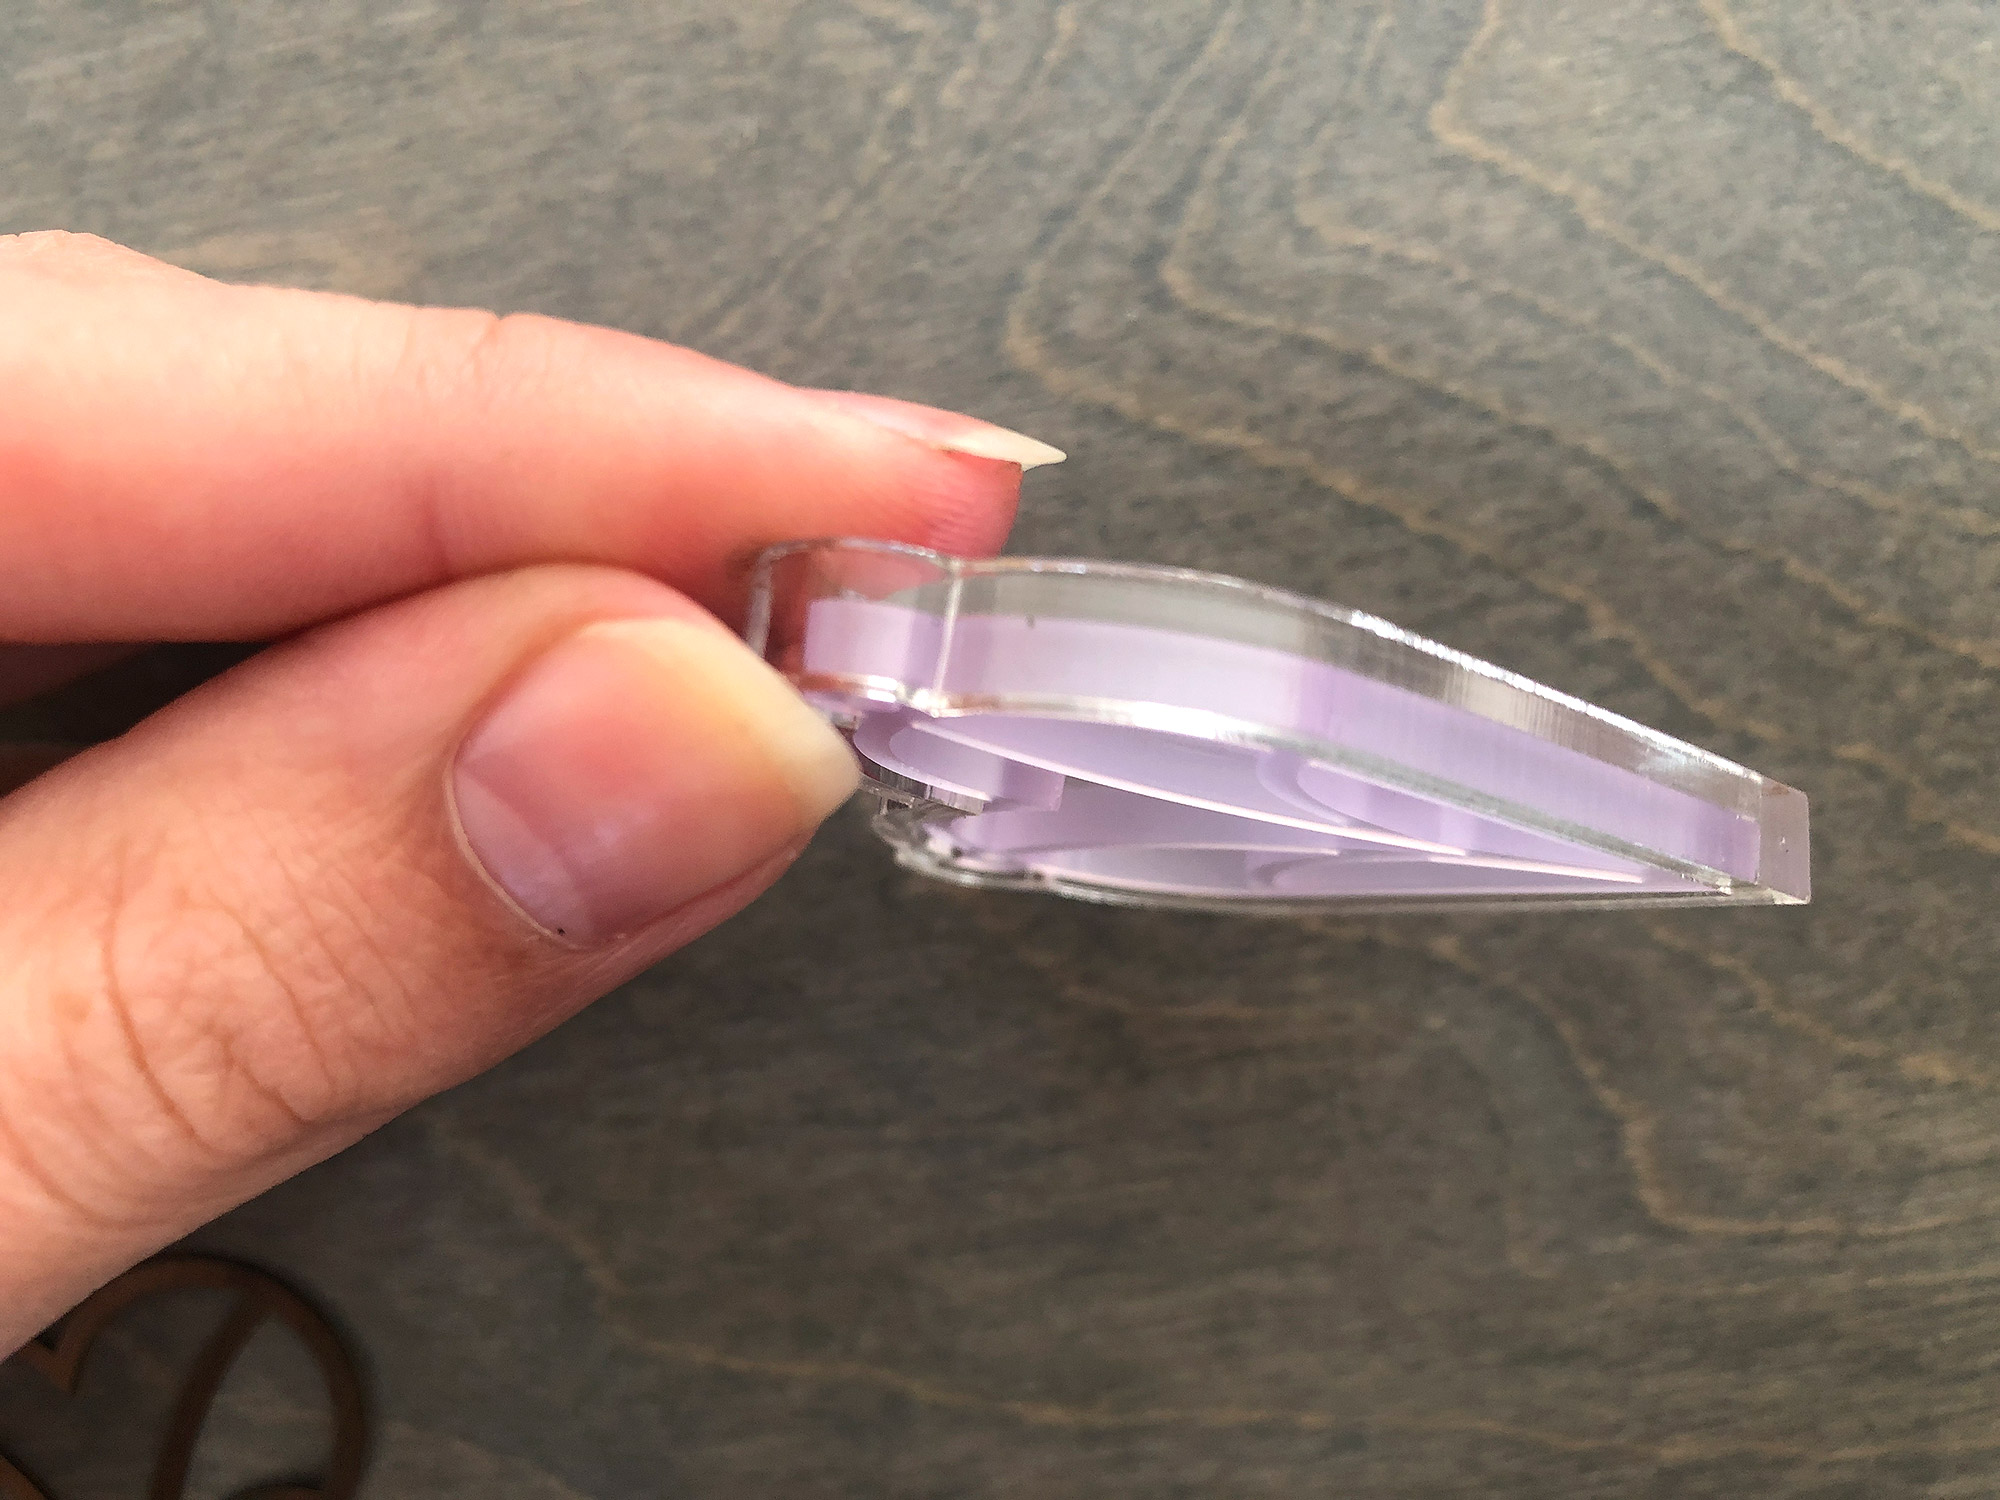
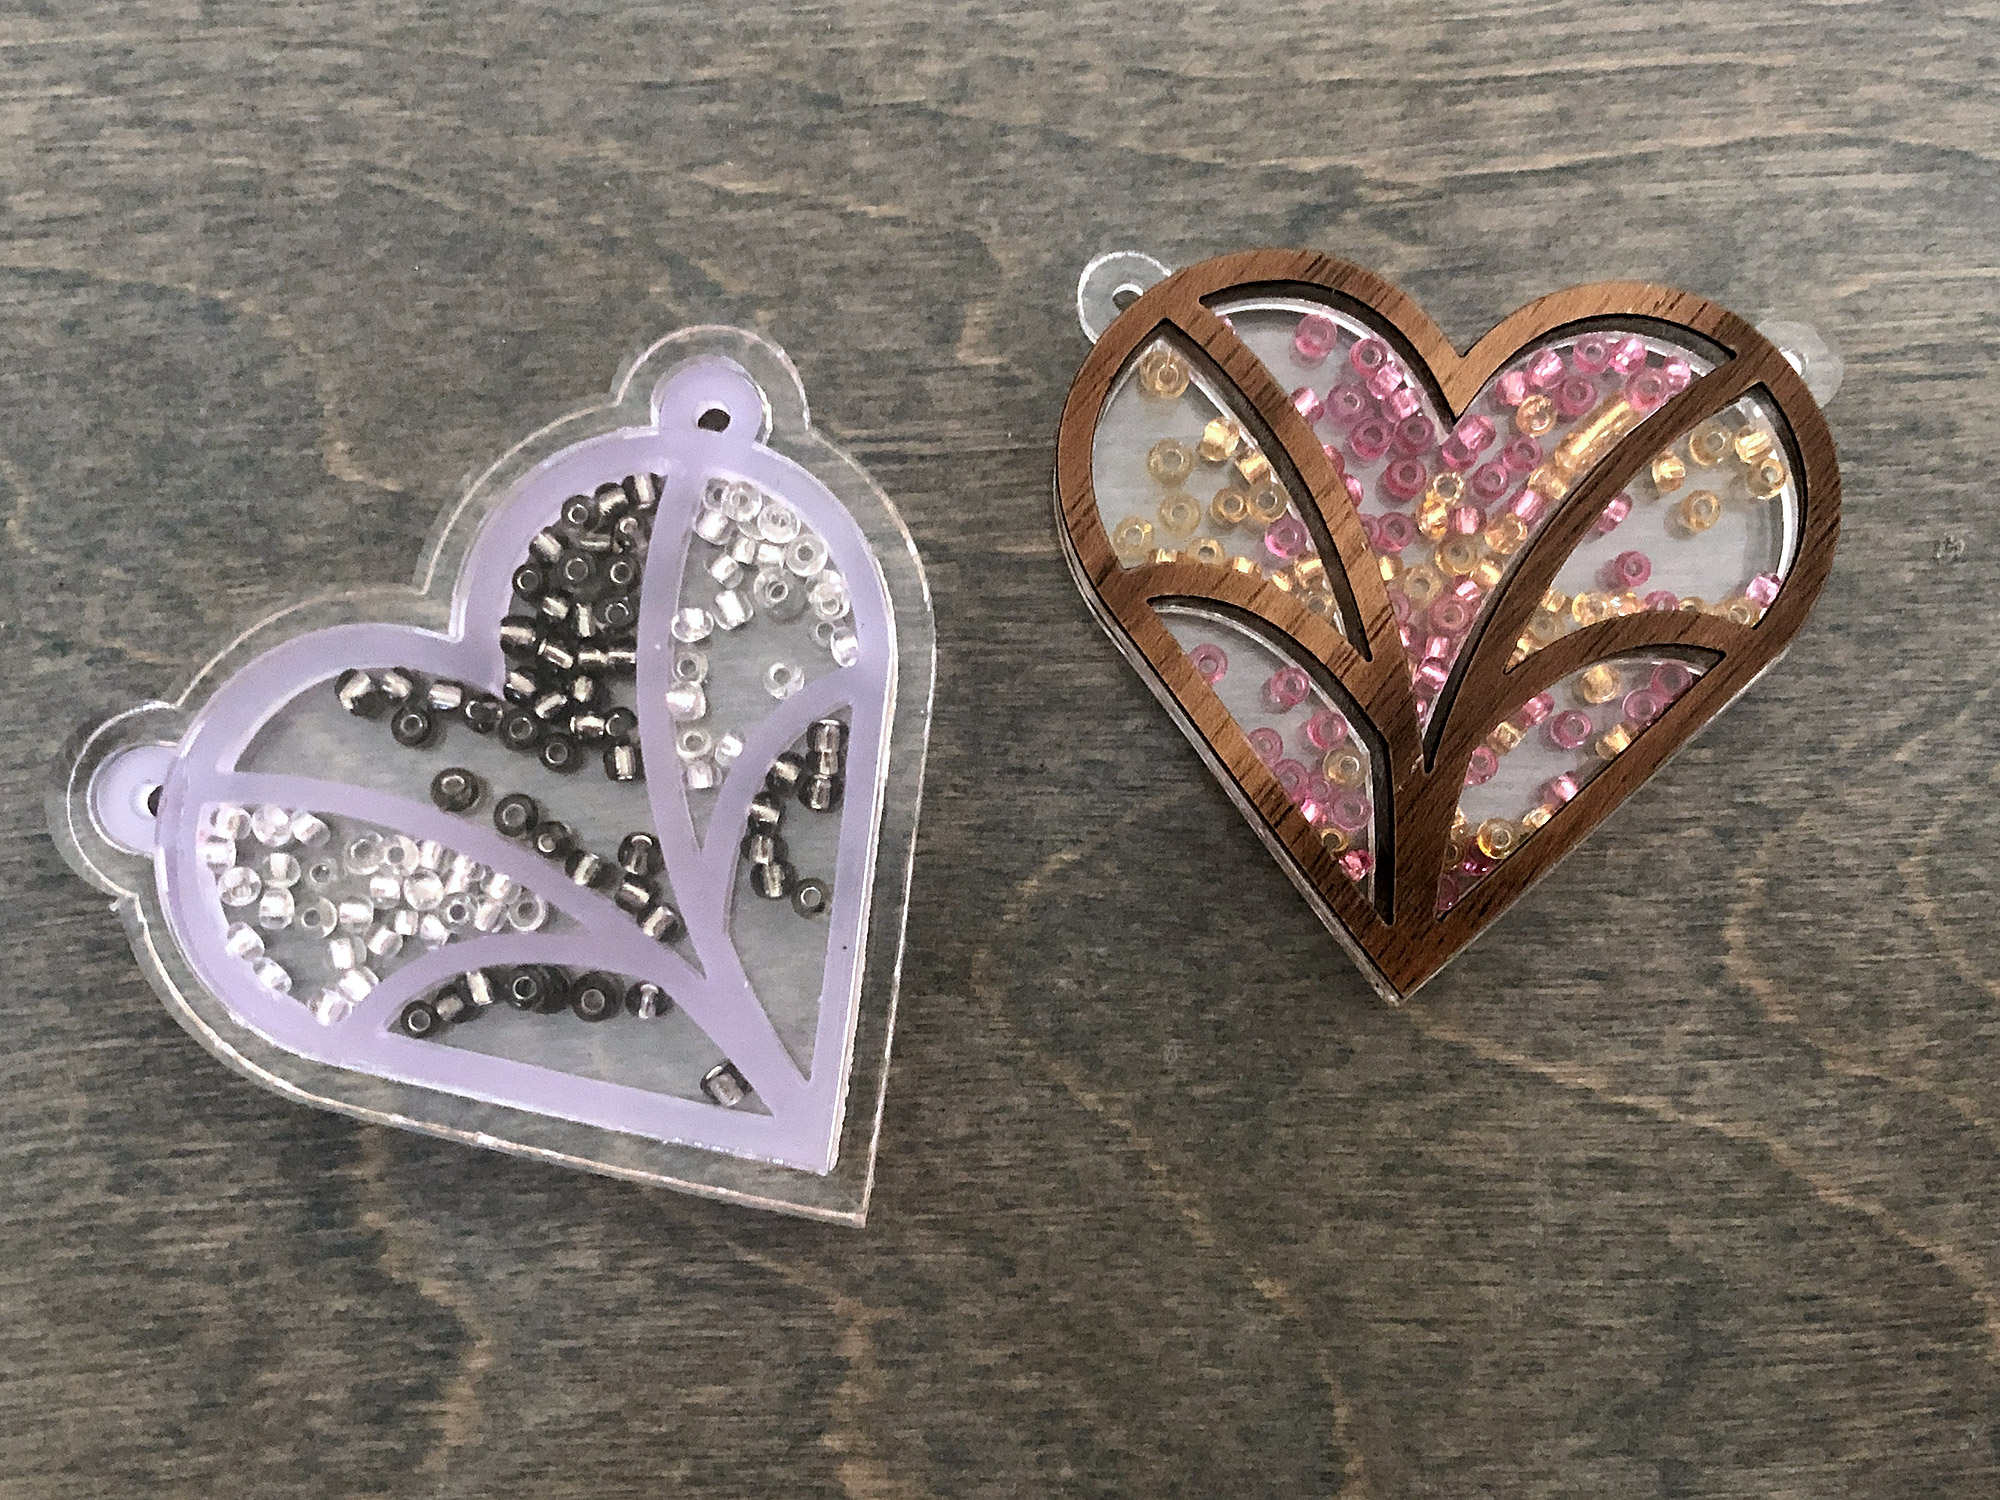
If the look of the glue really bugs you there are two alternative methods to covering or hiding it in the file. Veneer covers and pressure fit borders. With the pressure fit borders, you can run the Weldon along the edges, and that way the attachment will be along the fore-edge, not the front face. The edge enclosure borders will need to be cut from thicker acrylic to accommodate both the inner piece and the two clear covers. In order to get a tight fit with these without glue you will need to adjust the kerf based on how you size and print the final designs. I recommend starting with an offset of .0075 and seeing from there.
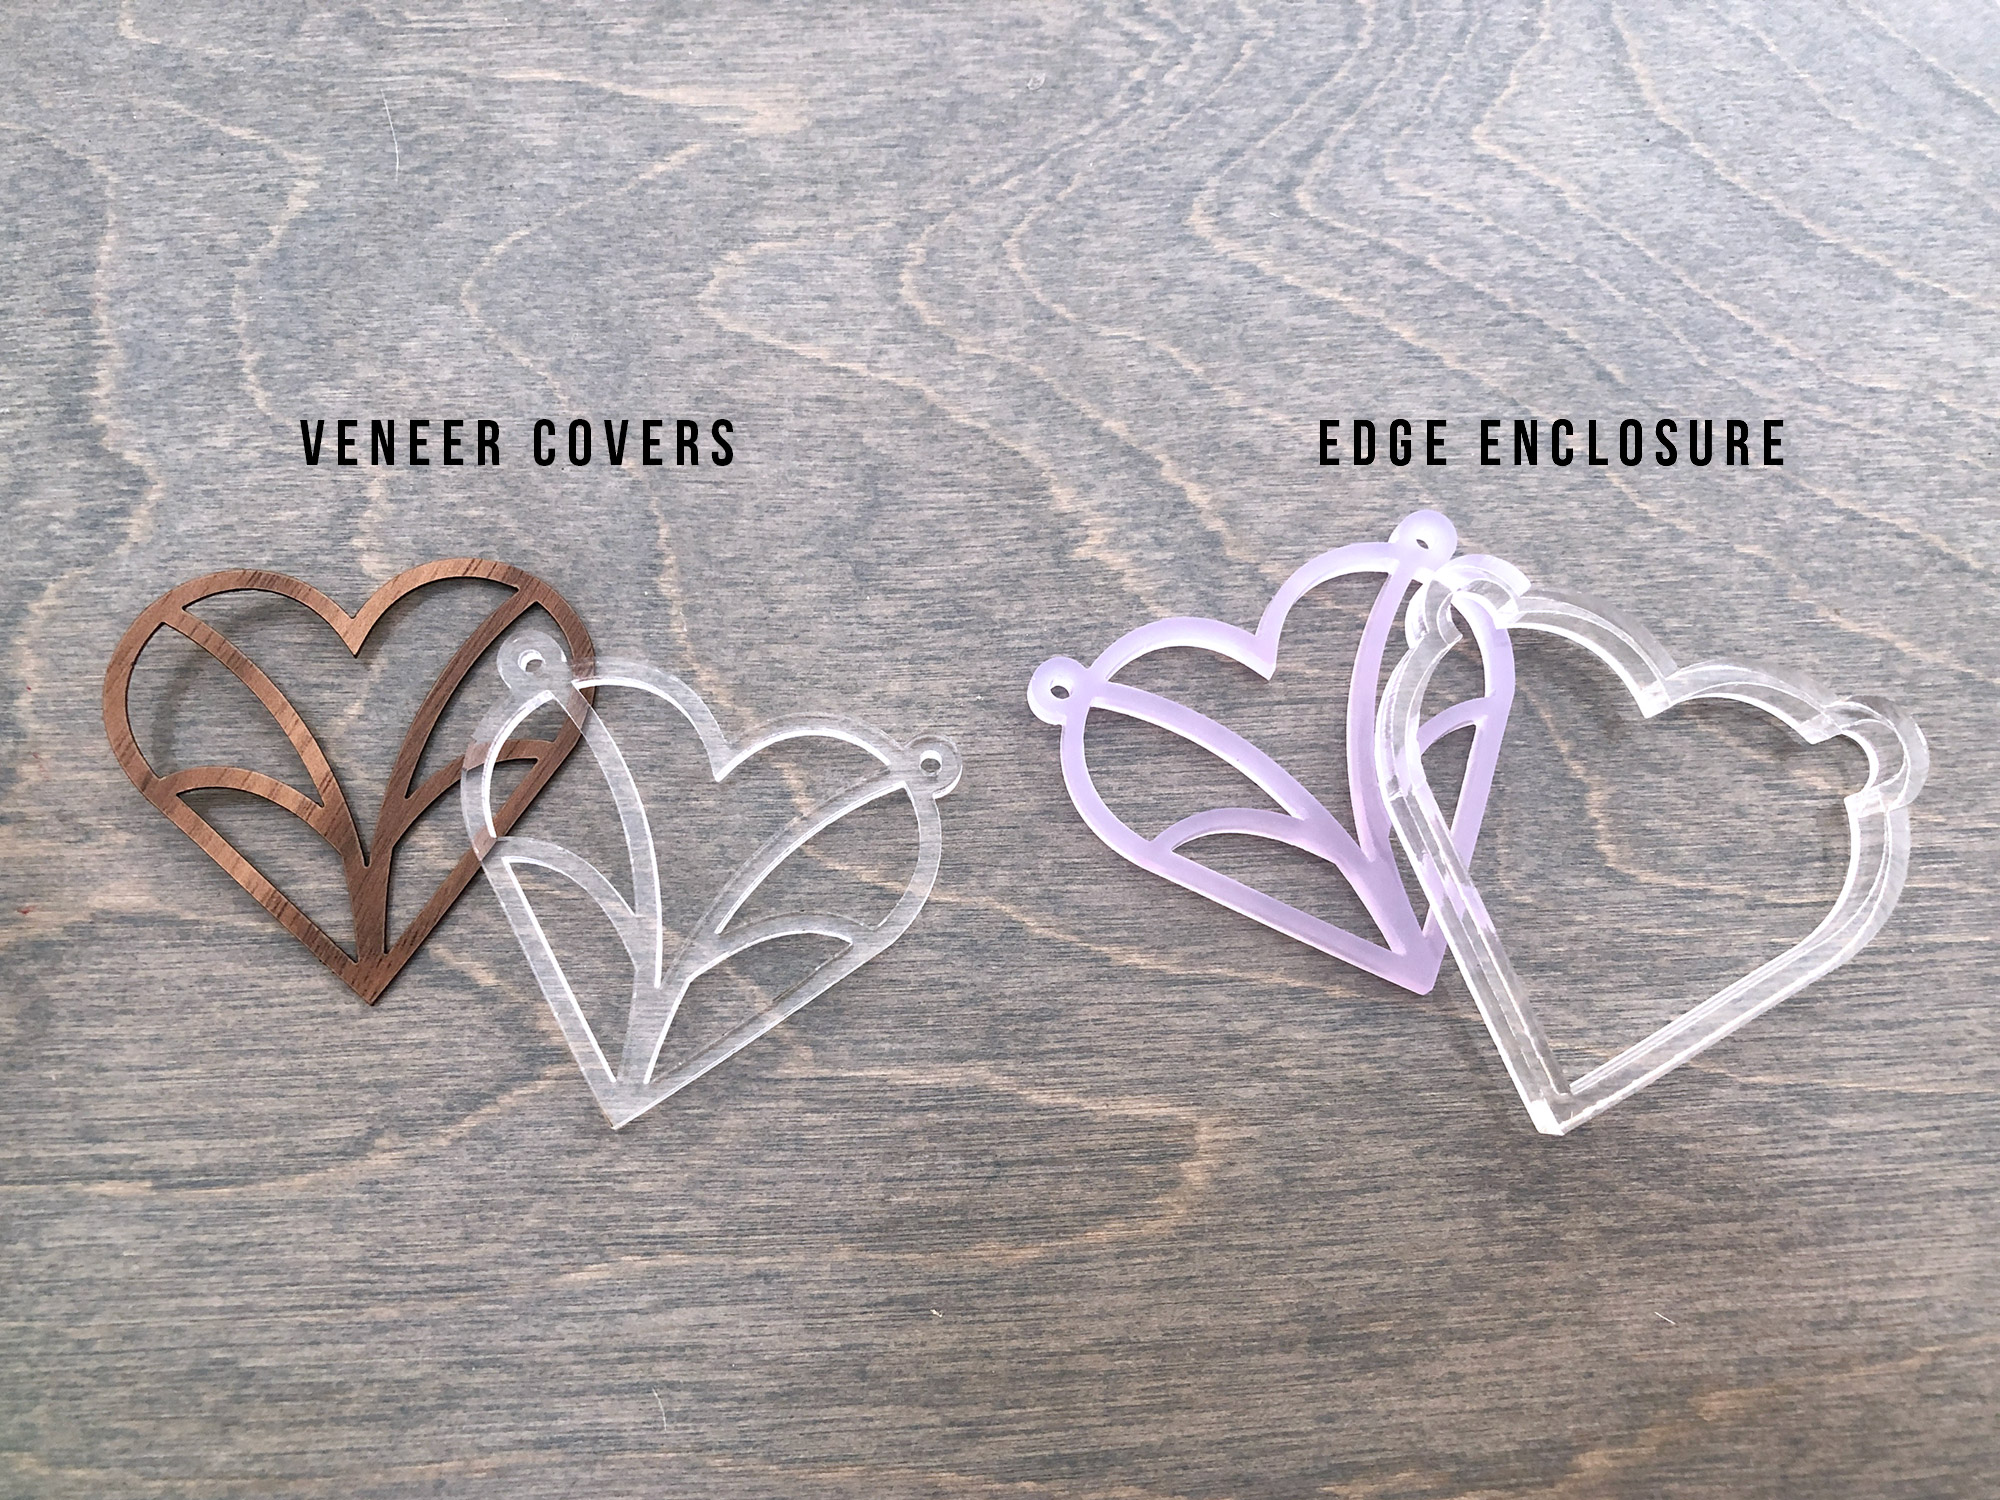
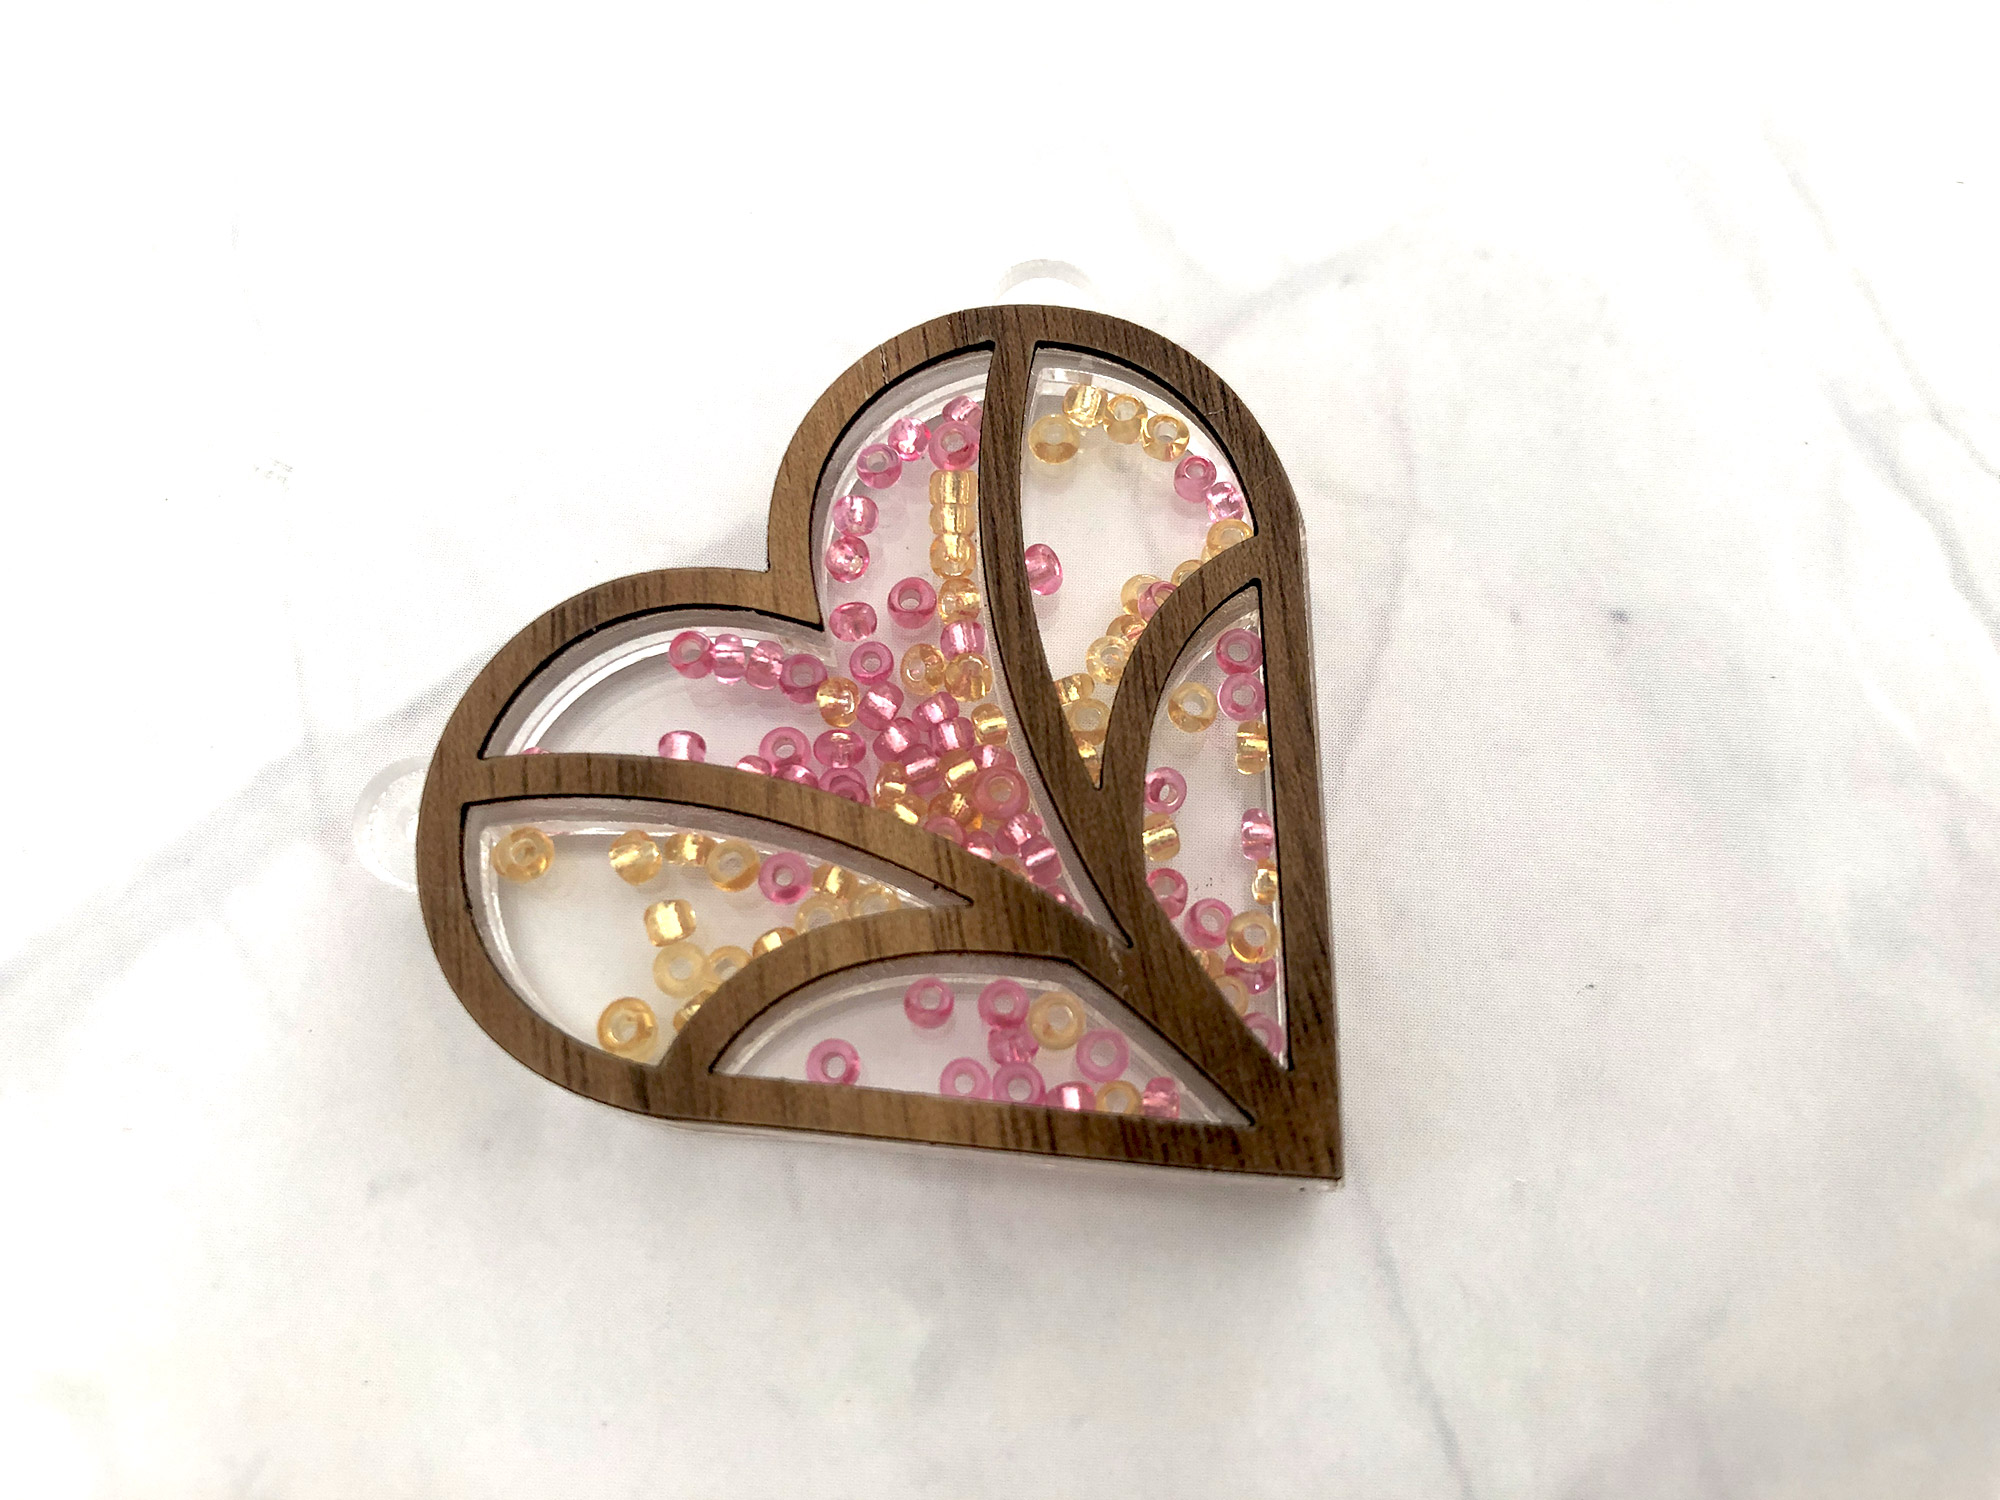
Veneer:
For the veneer and I just used clear acrylic and glued it as usual. Then I cut the shape from veneer (that already had 3m adhesive applied) and stuck it on. Super easy but you don’t see much of the color in the acrylic and that’s why I went with clear
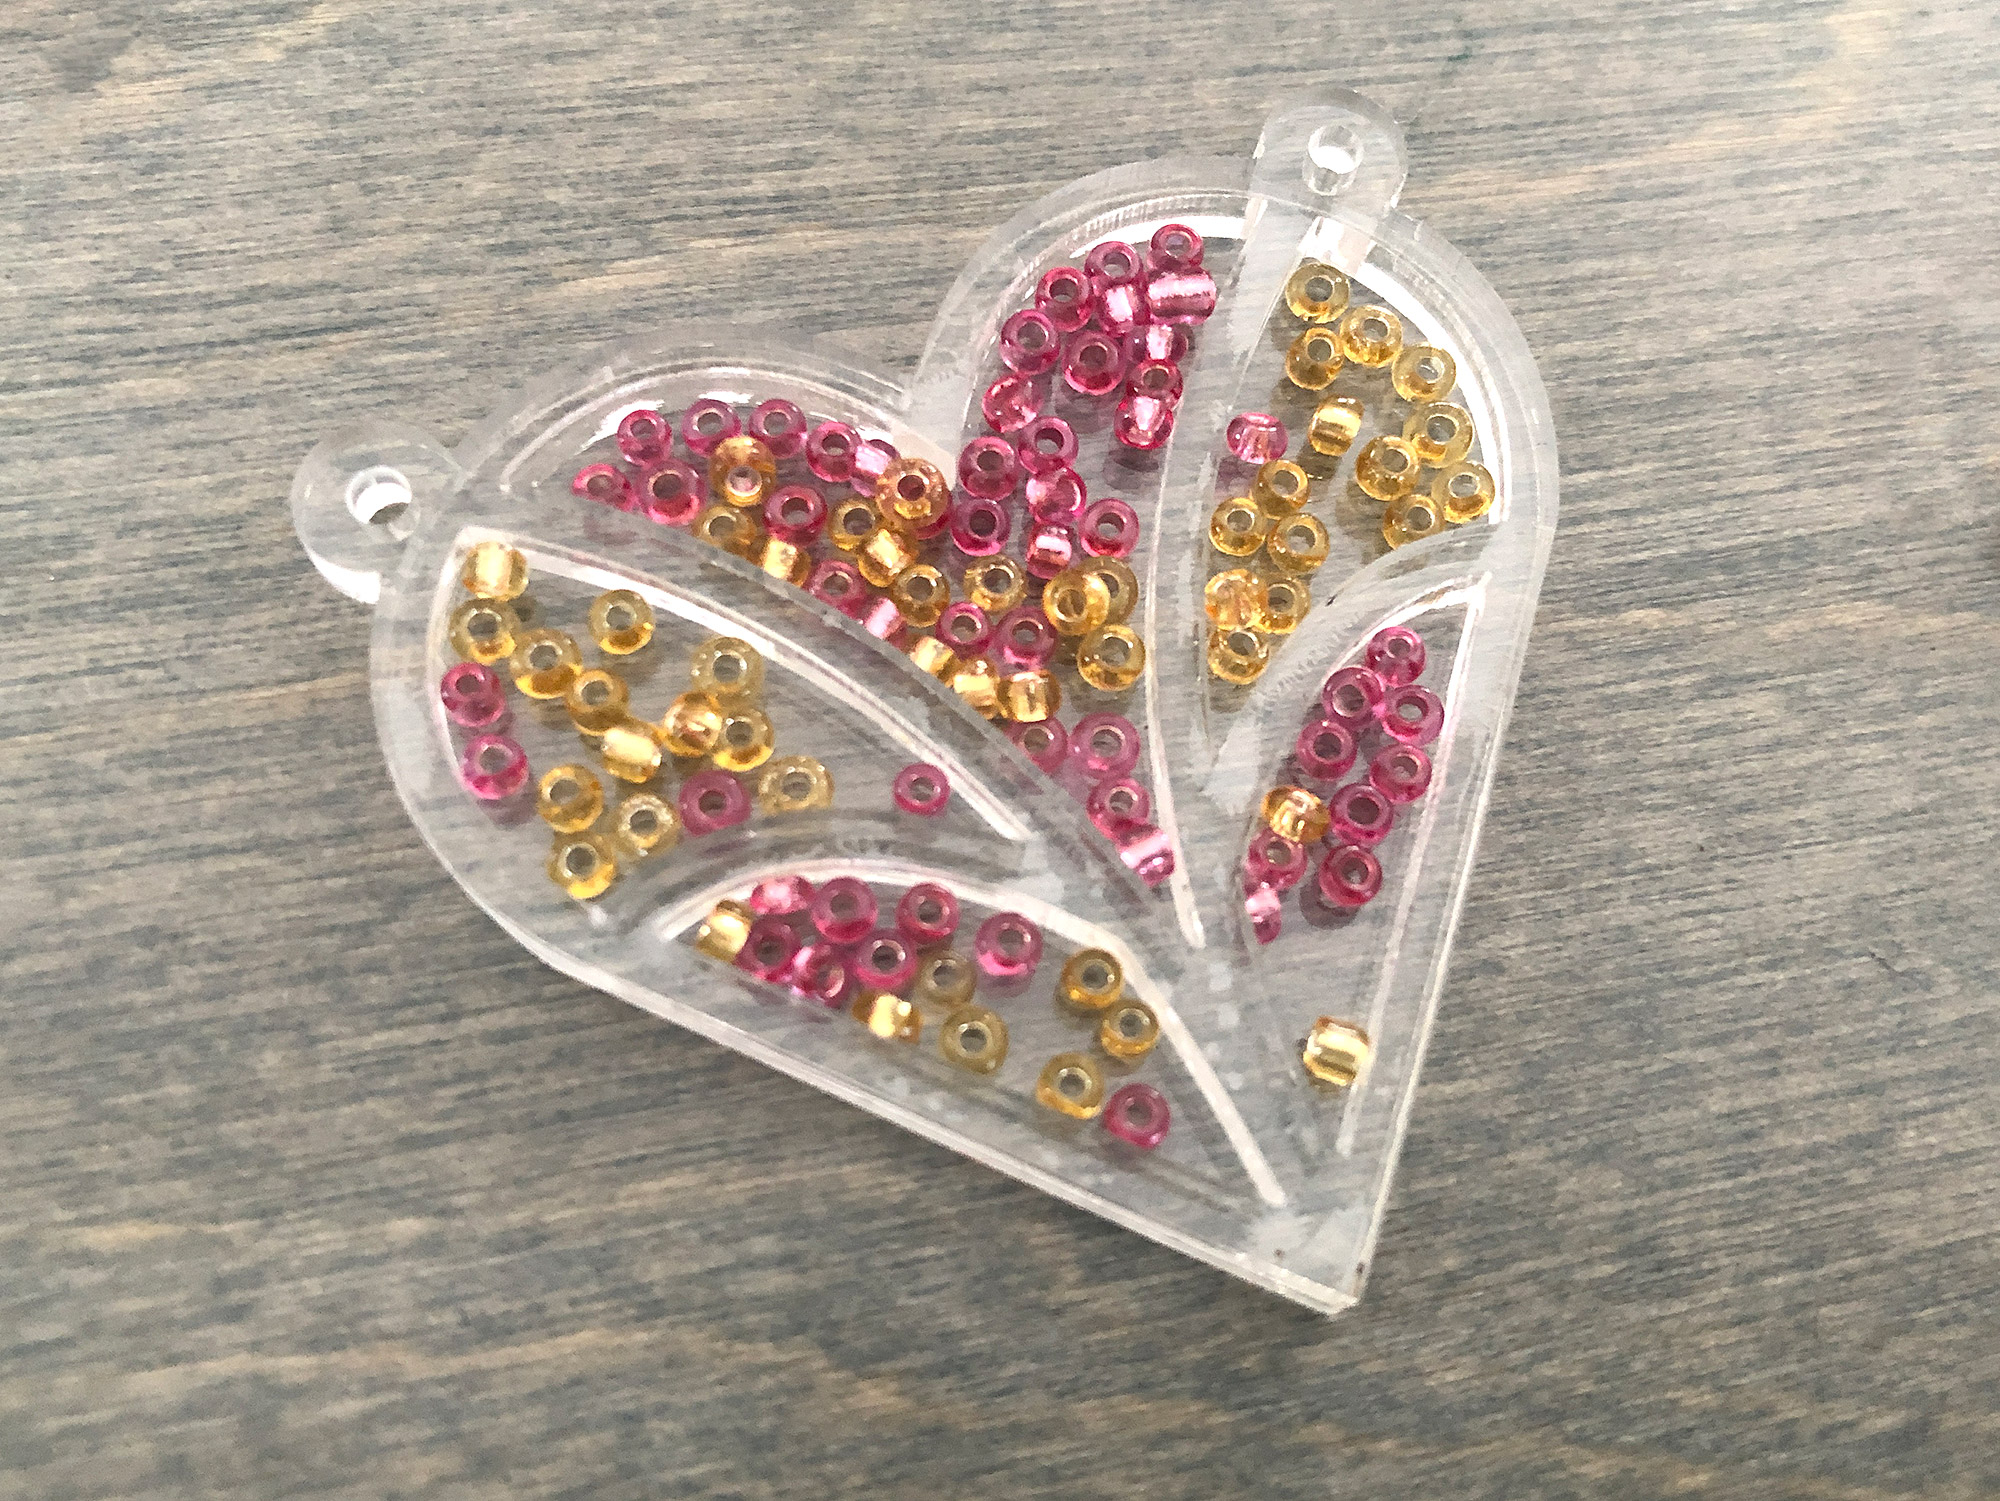
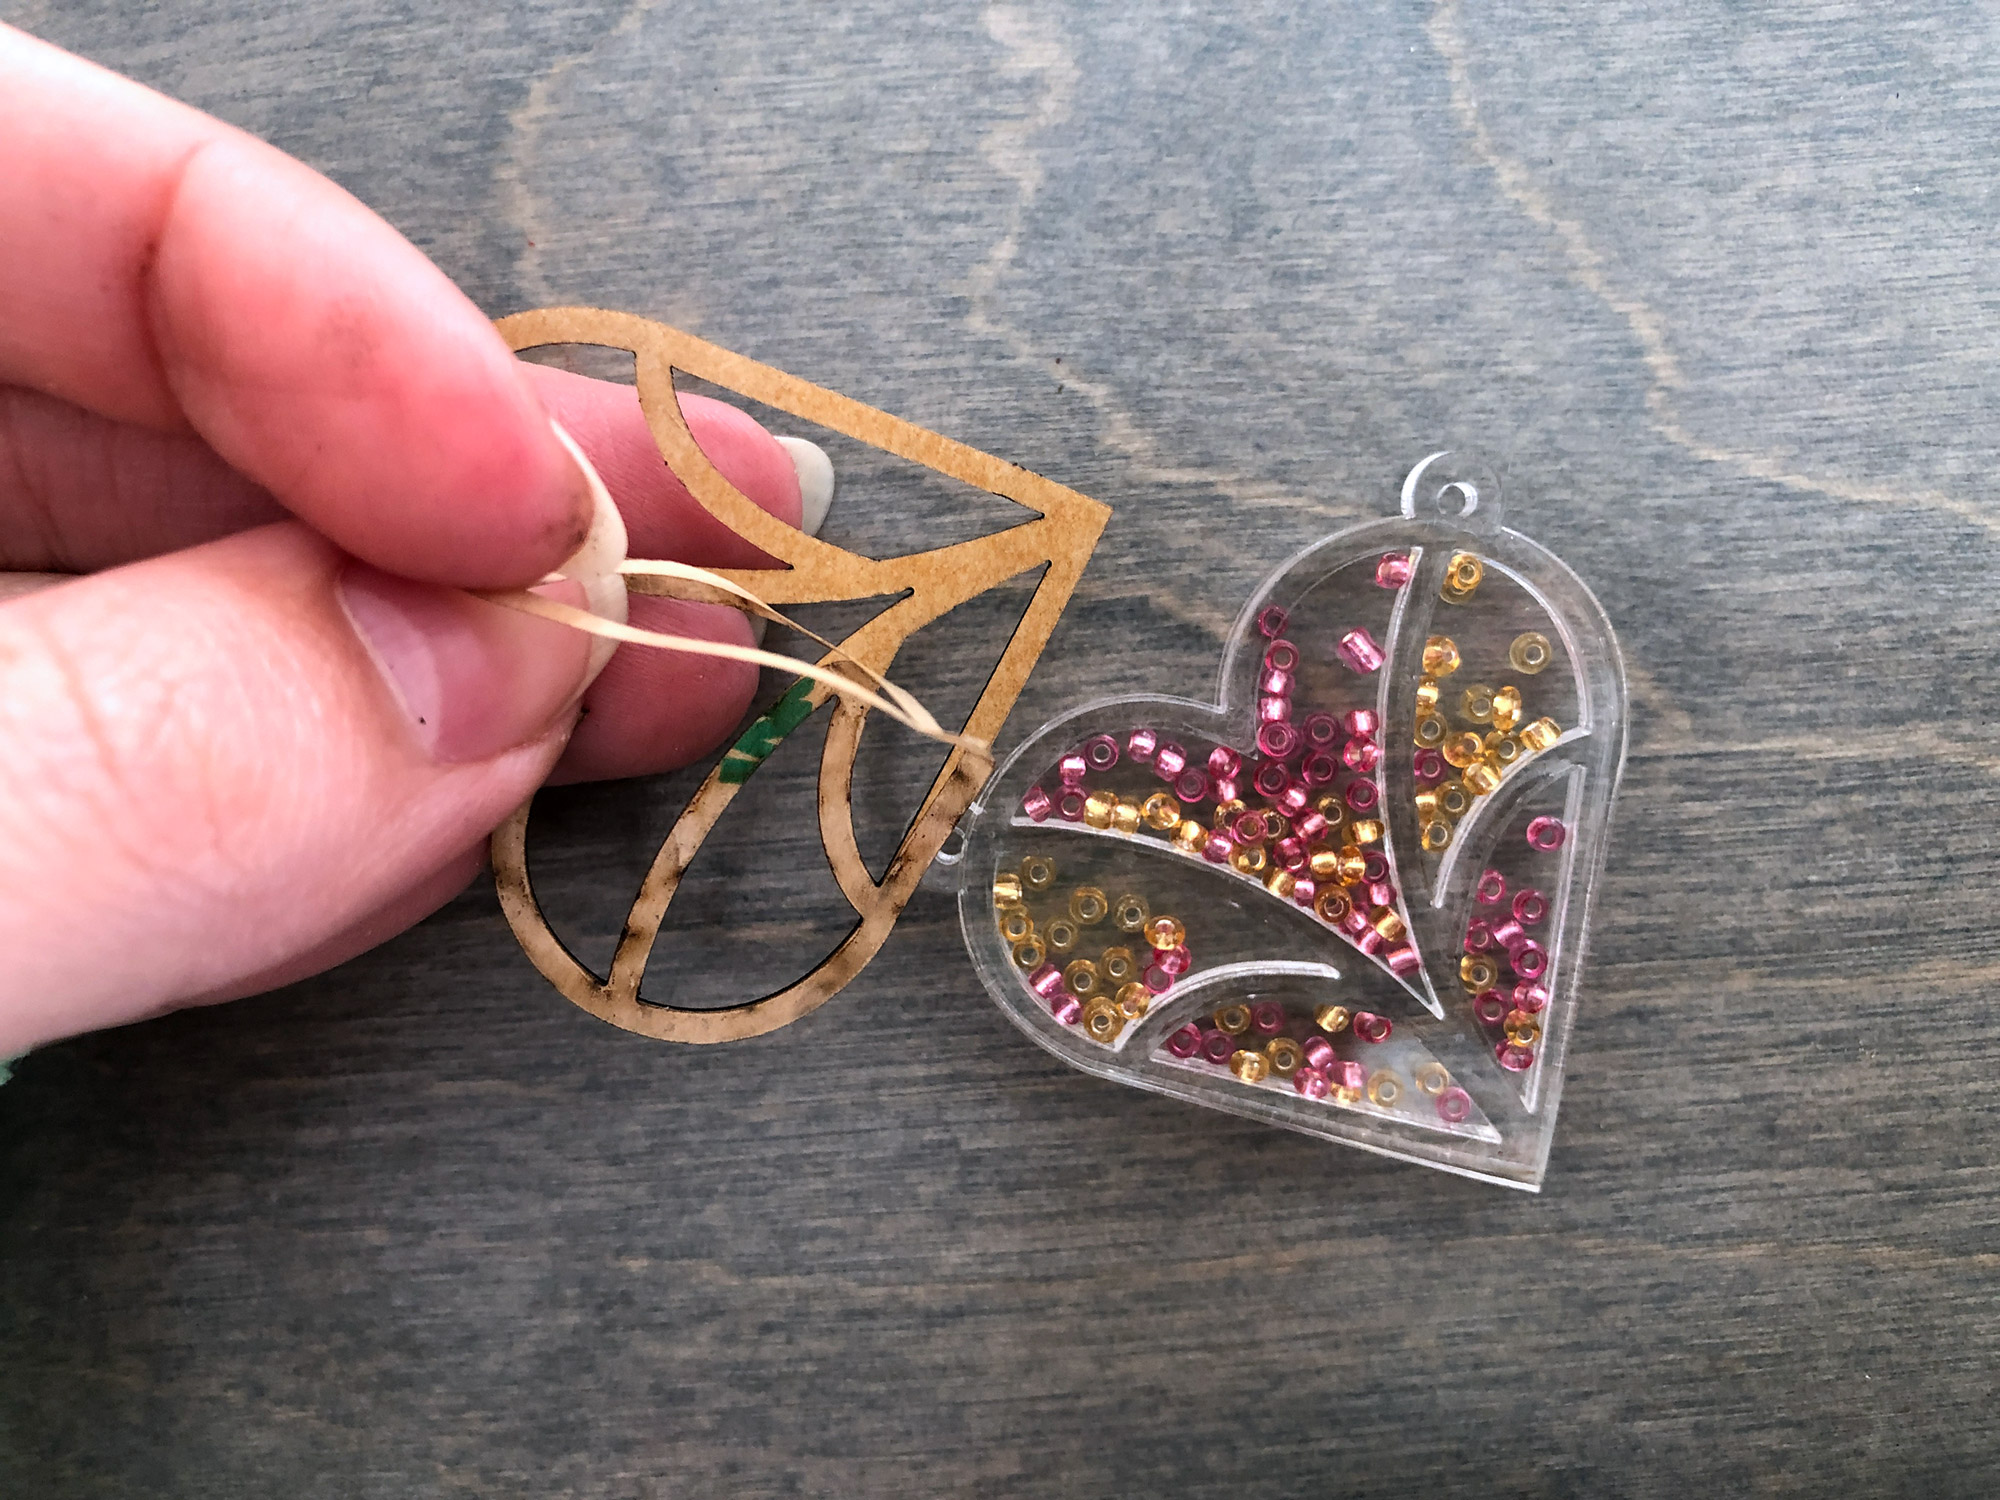
Edge Offsets:
Because I don’t know how large or small people will want to cut these I can’t add the offset directly into my file, but you can adjust these to pressure fit the inner pieces. Otherwise, you can use some glue. My recommendation is to carefully glue in one of the clear faces using Weldon first, then insert the colored inner layer, and finally glue in the other clear cover. This will allow you to ensure at least one size is basically perfect and that can be the front.
Filling the Charms
UV Resin:
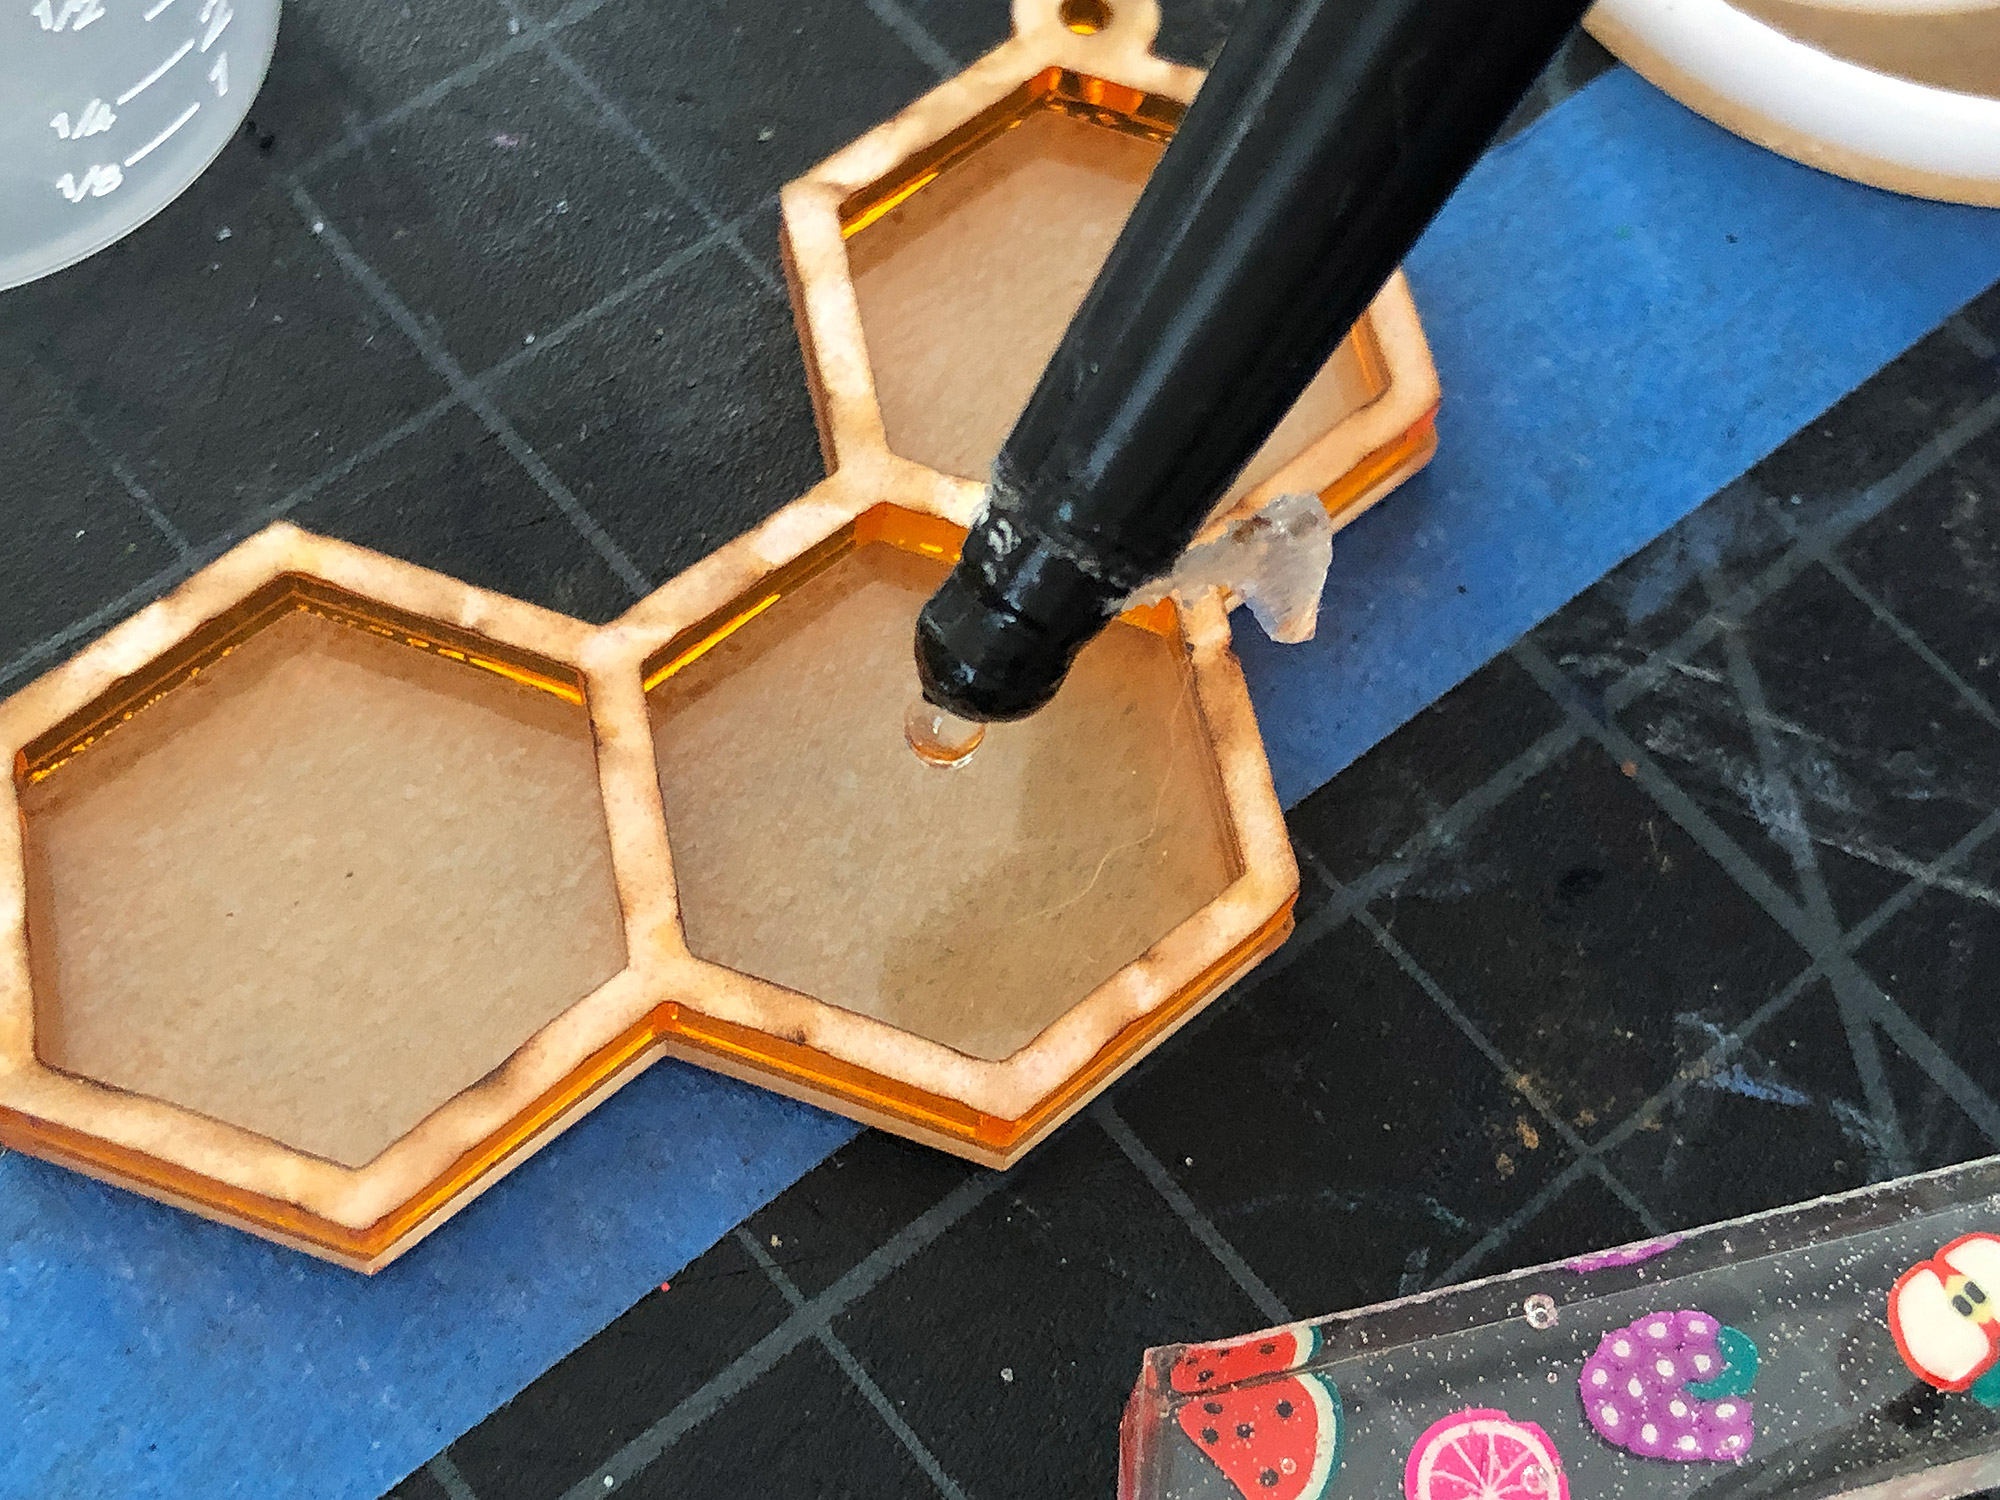
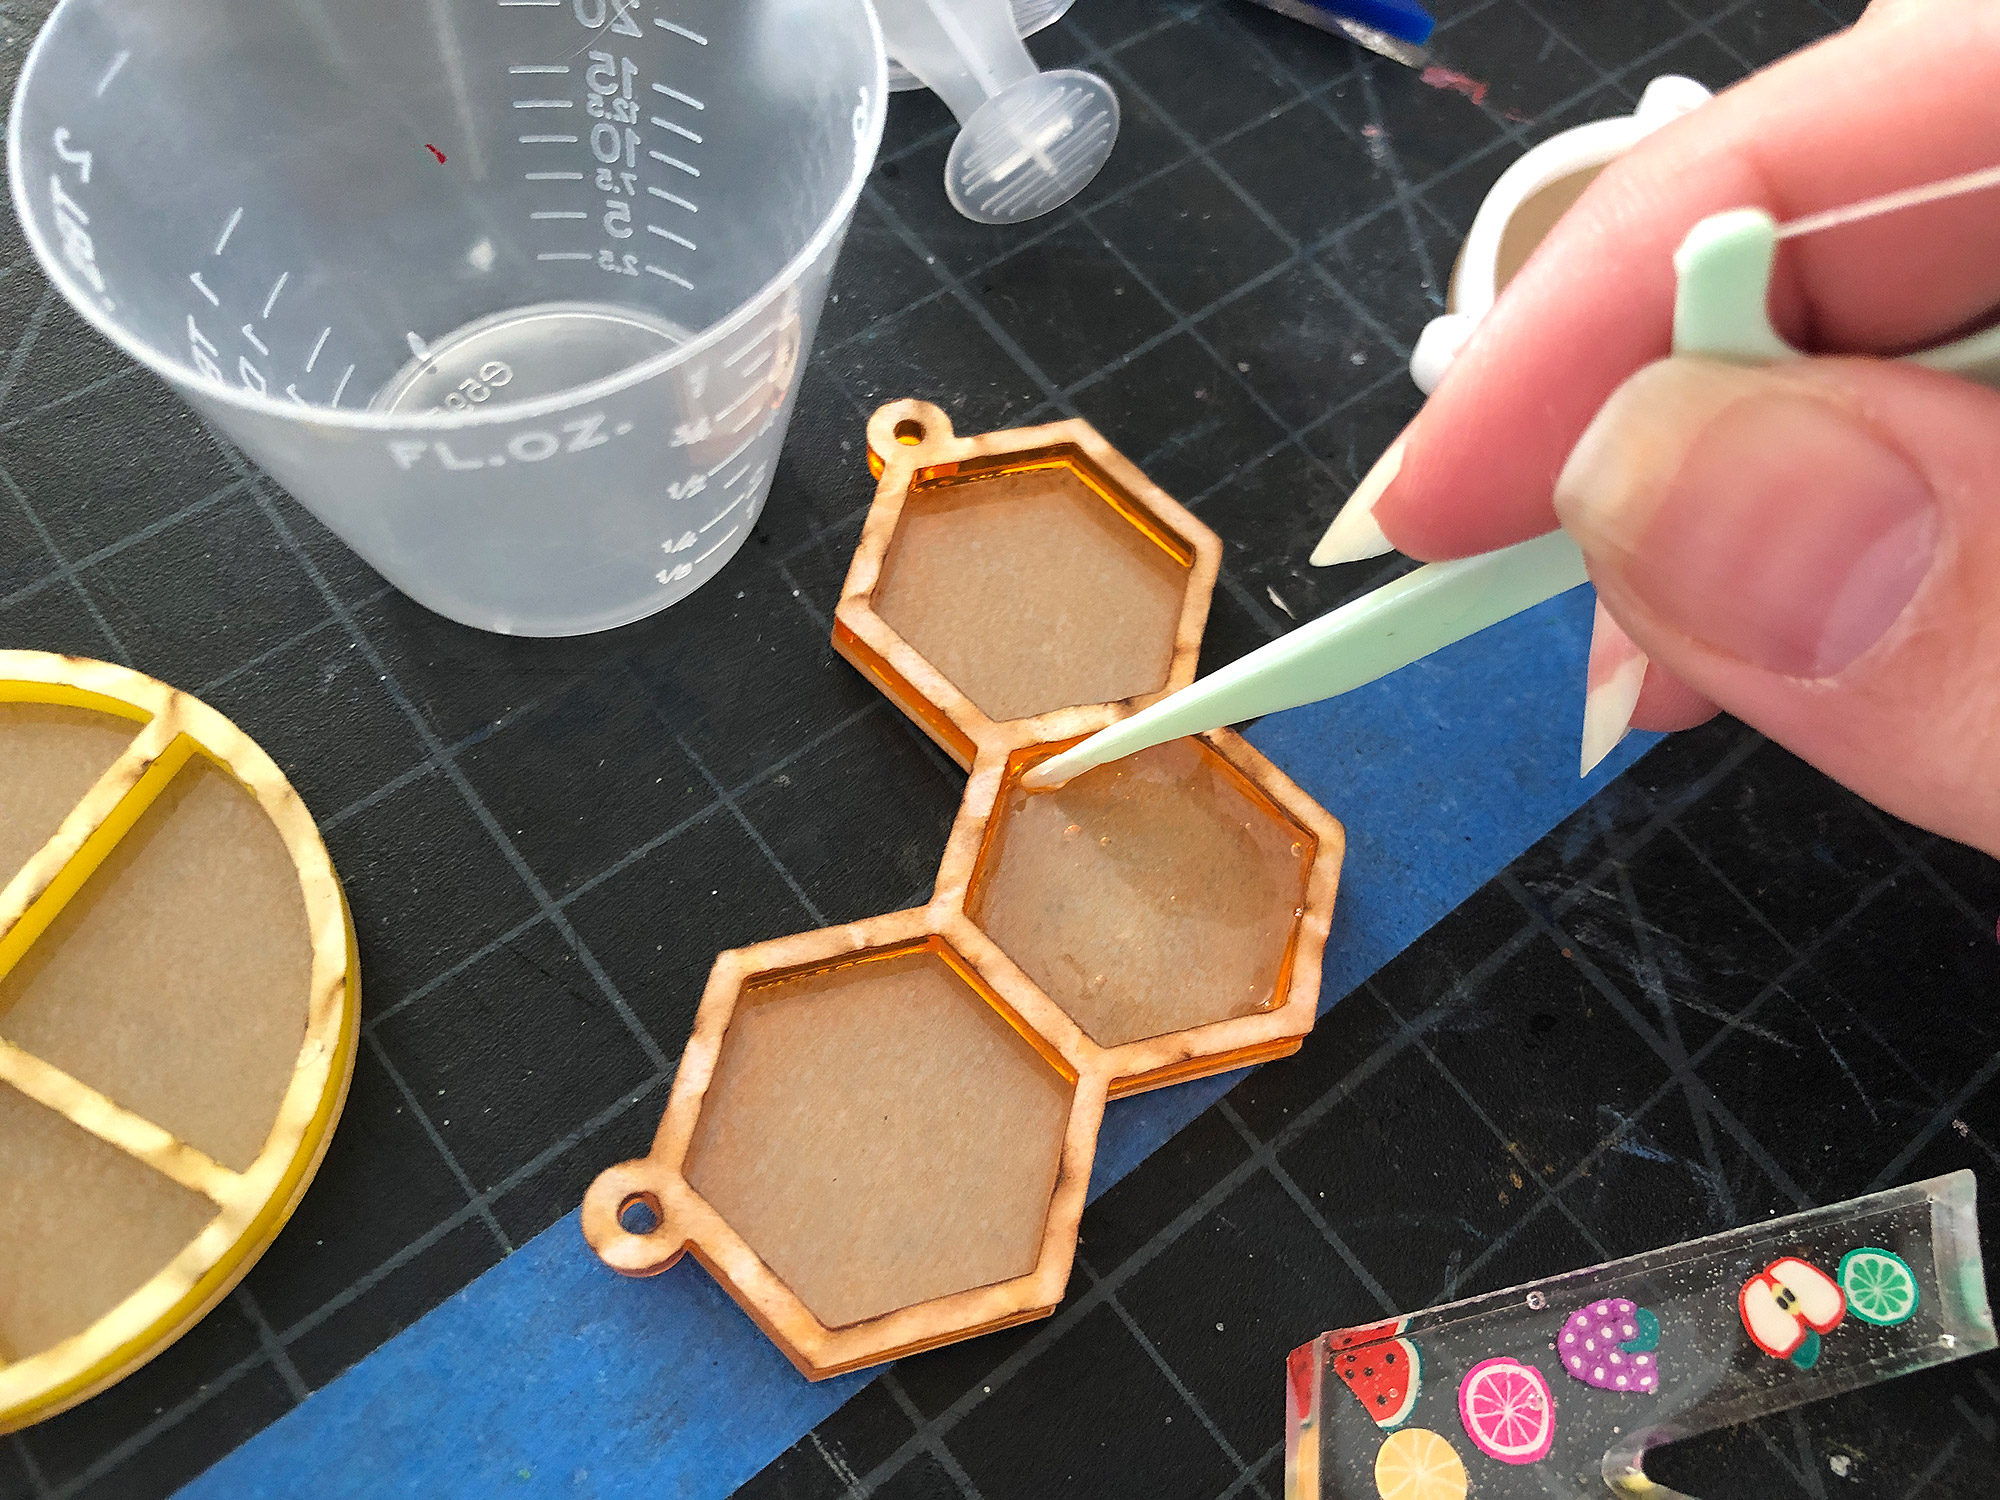
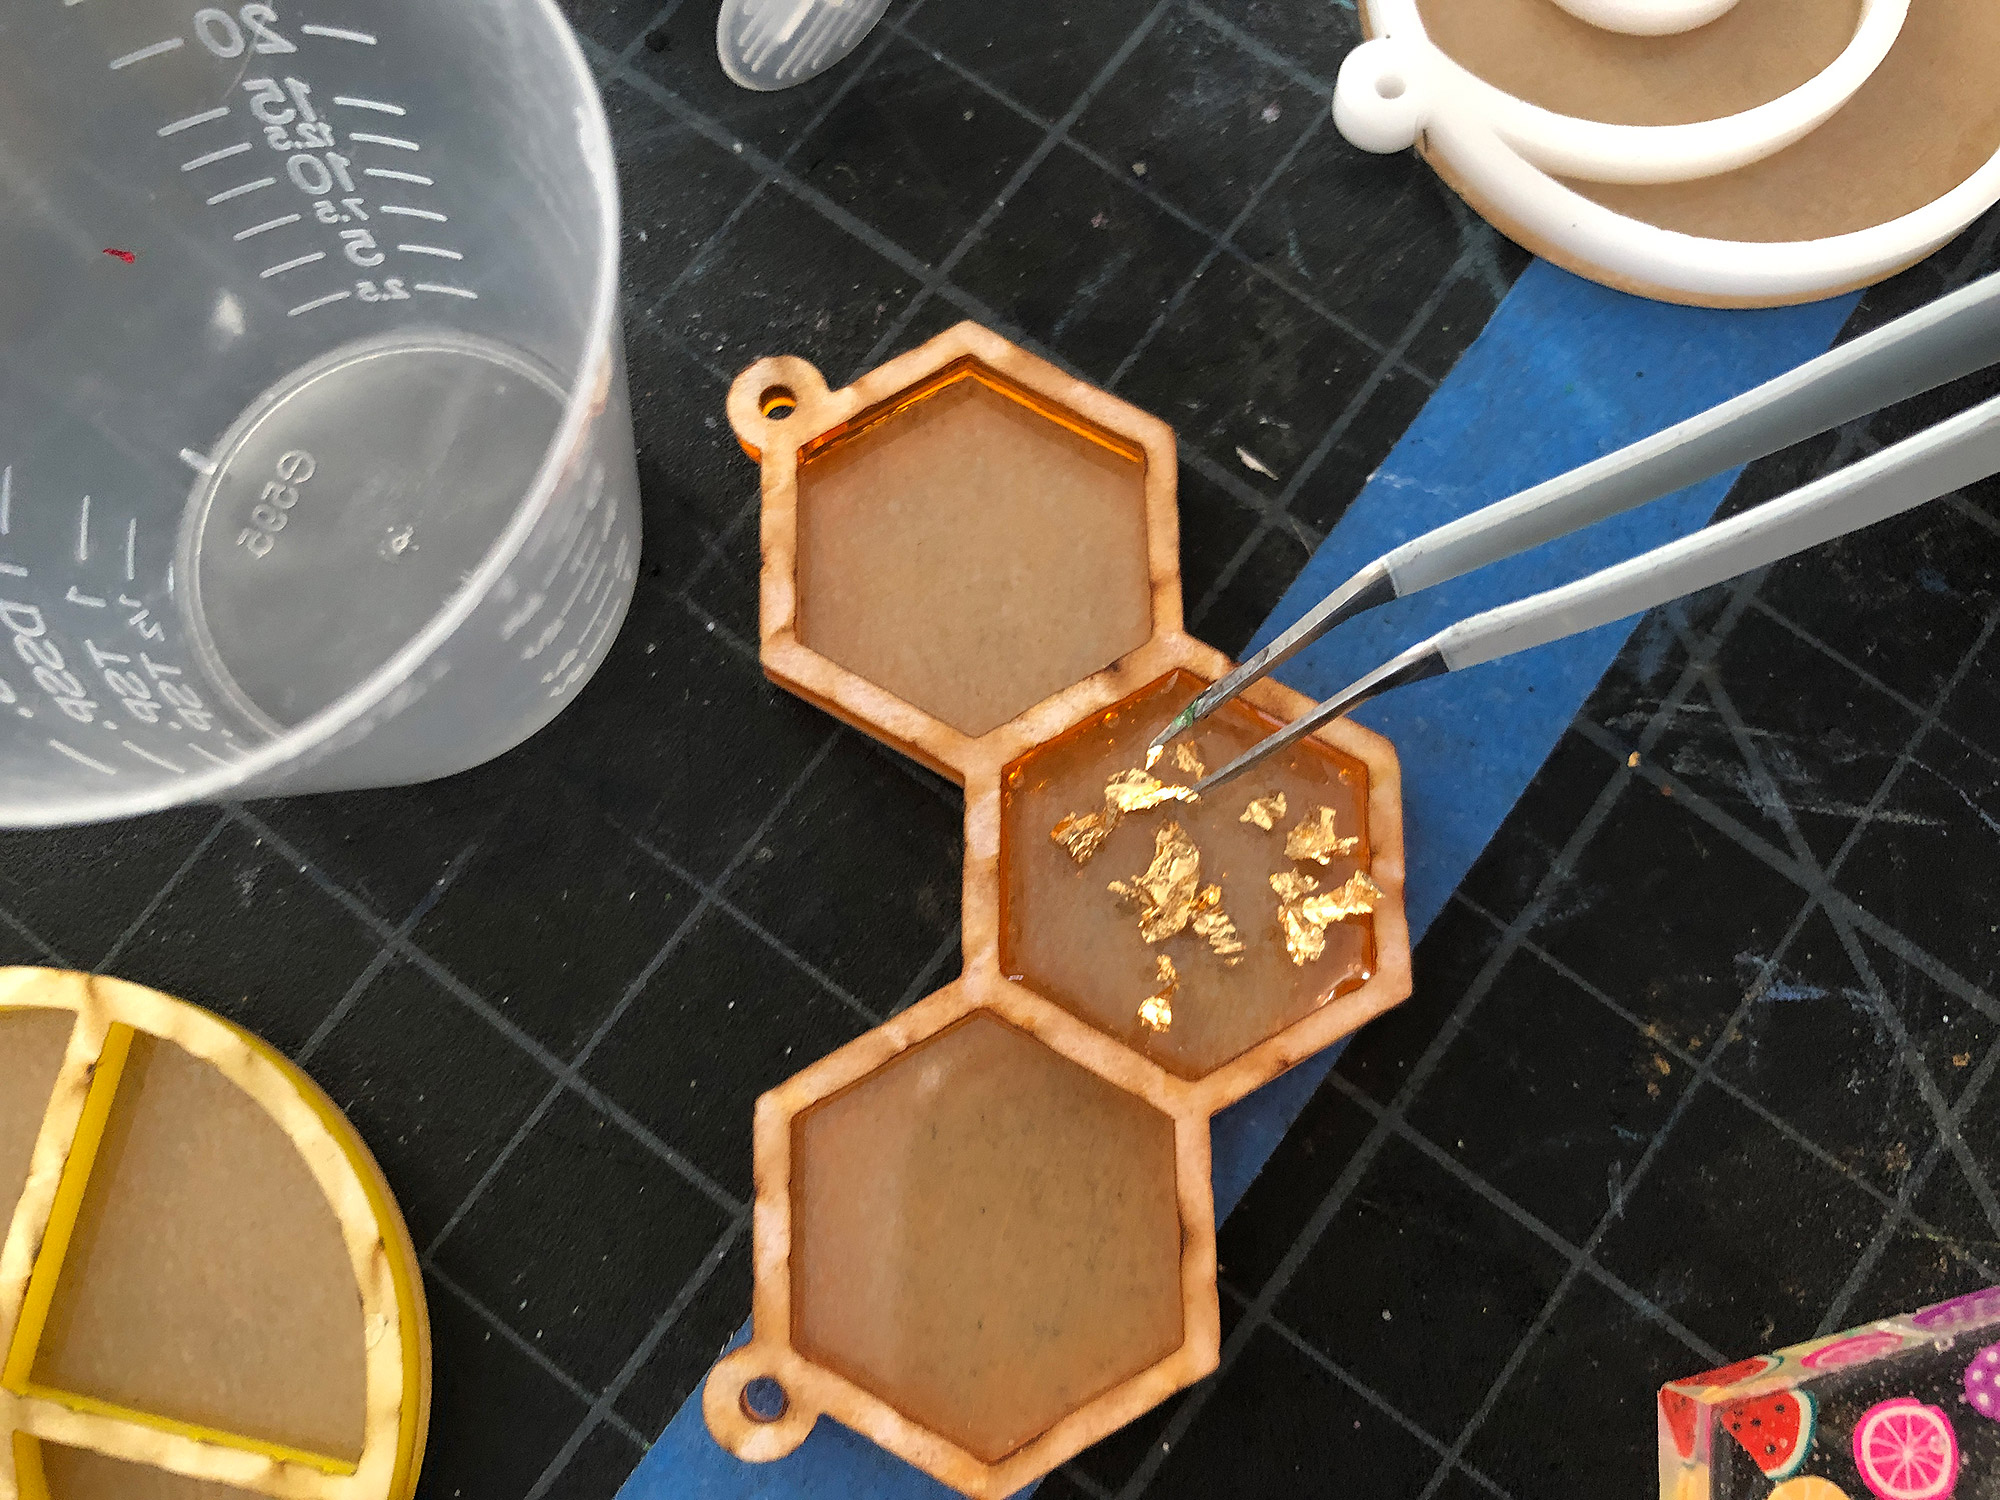
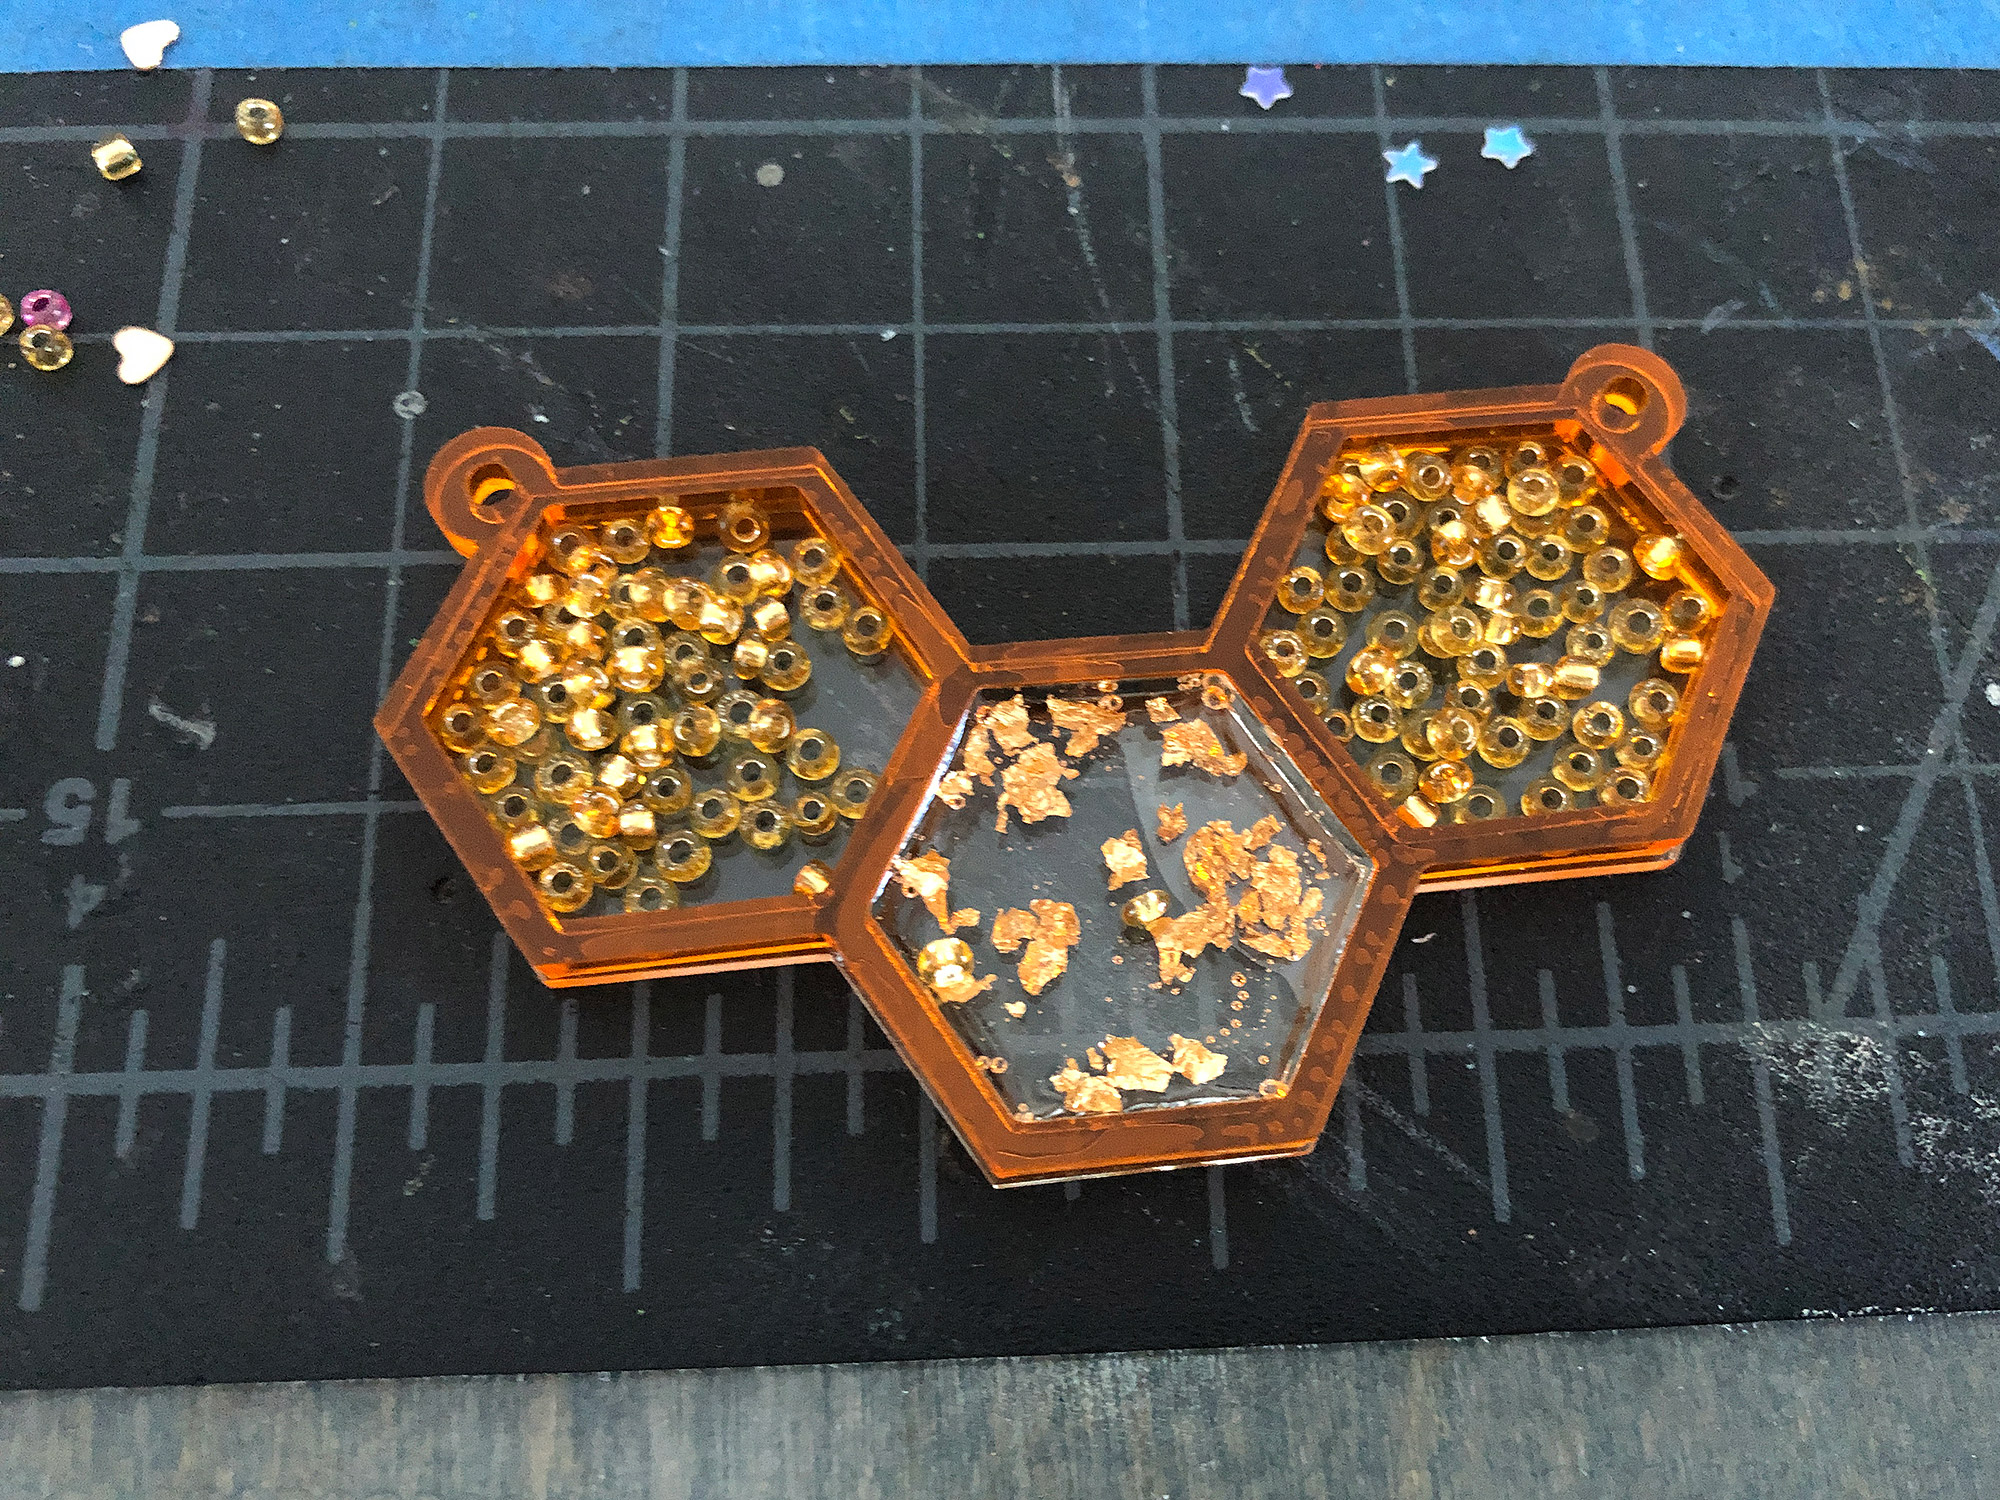
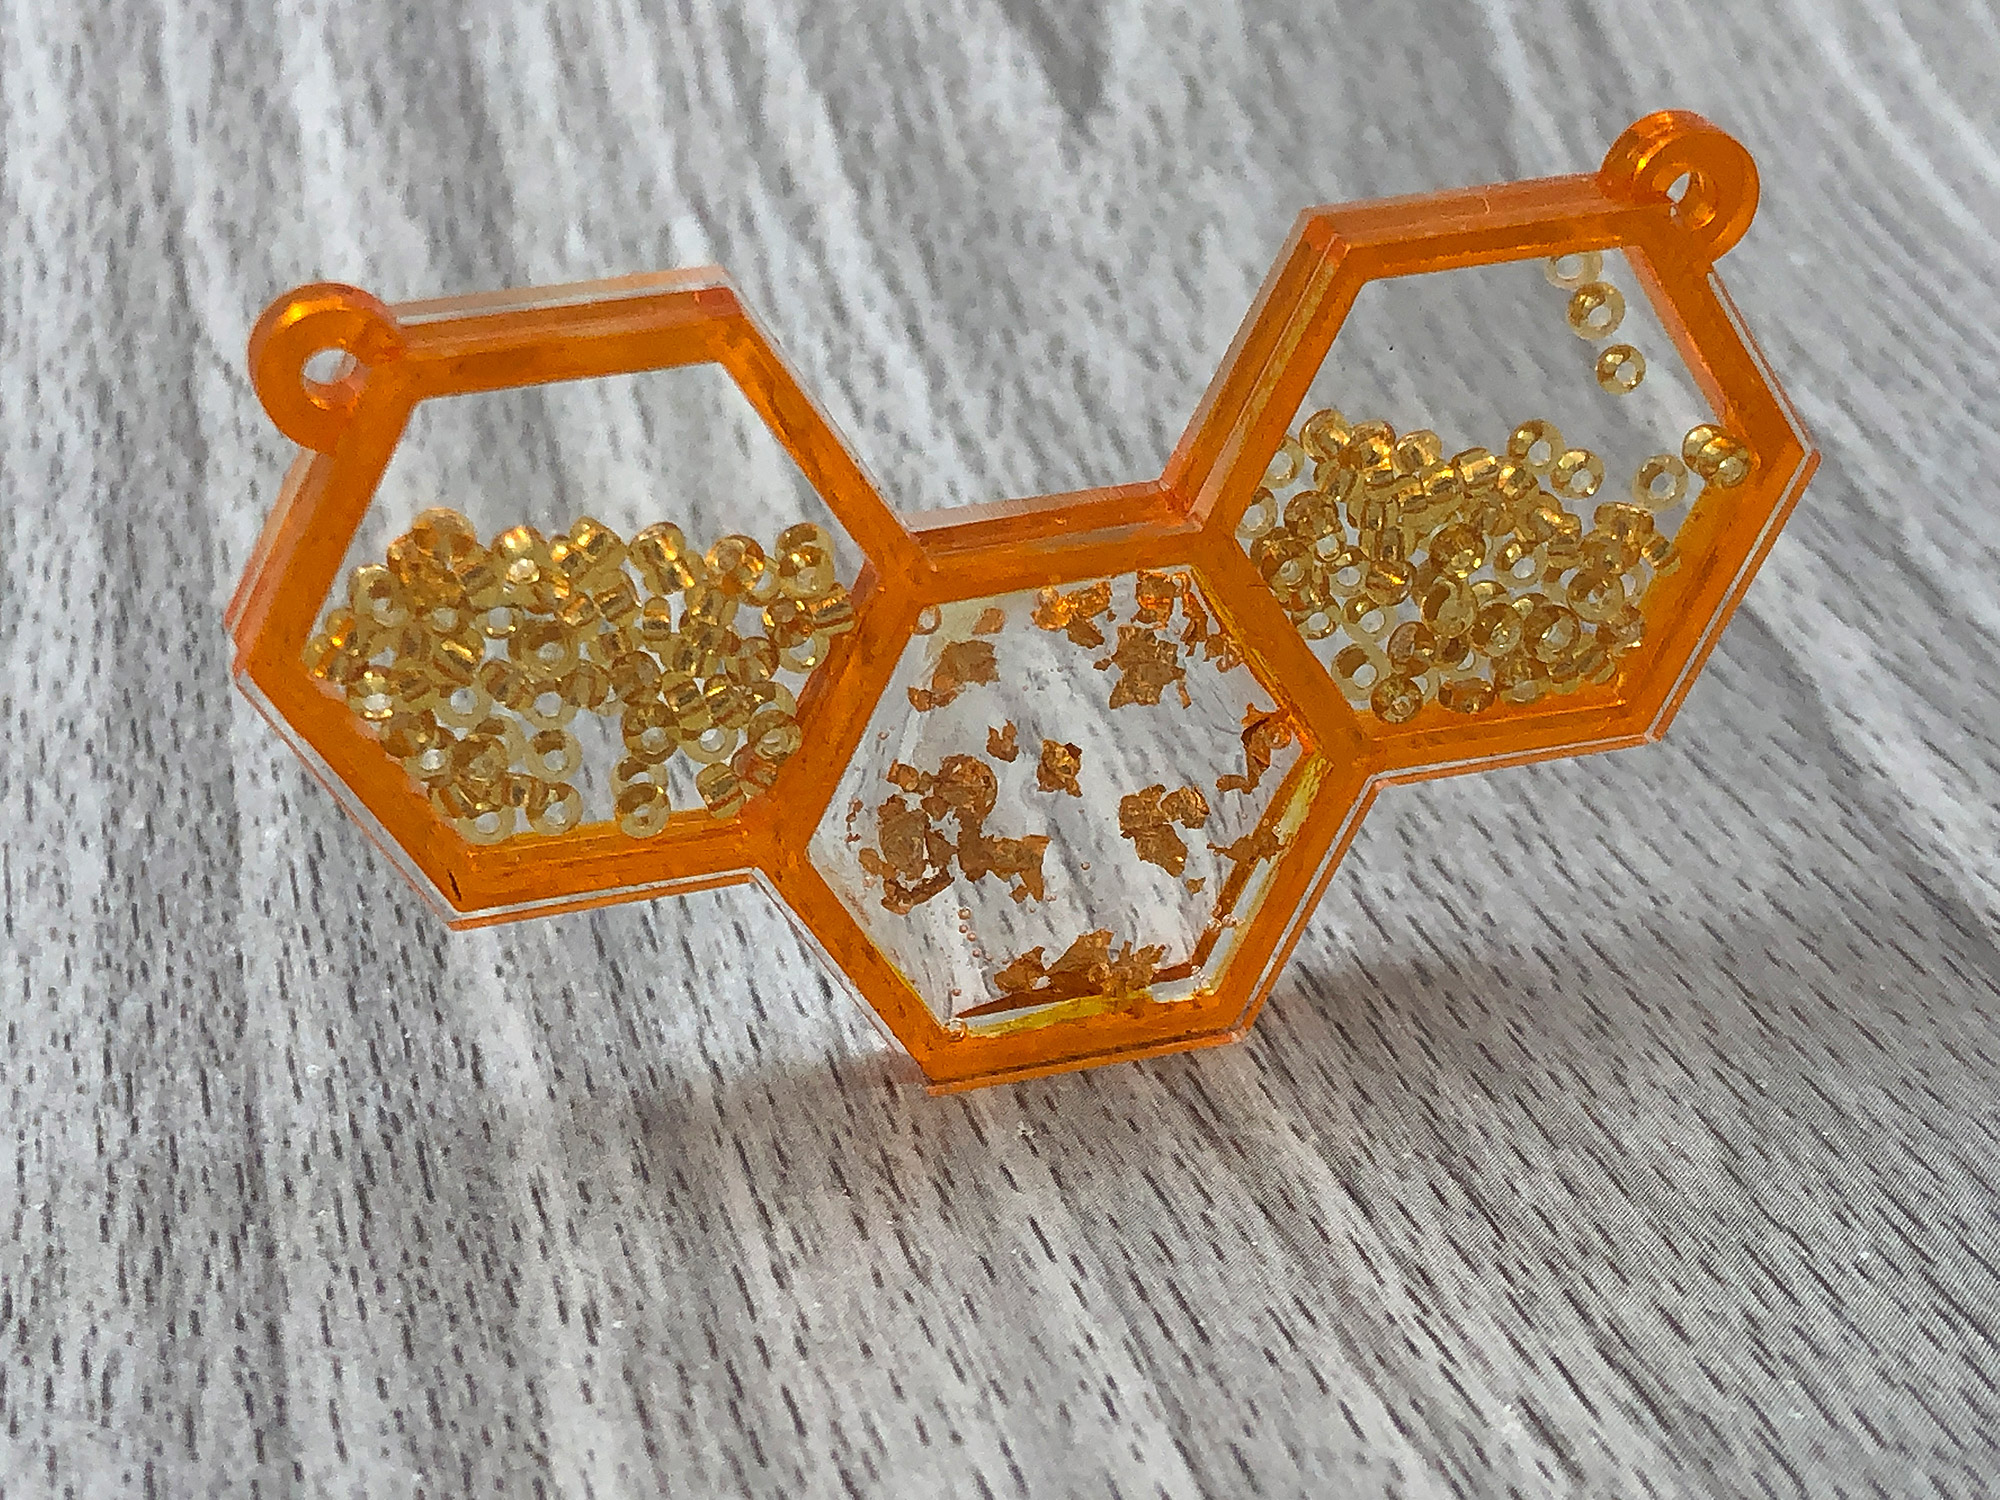
In addition to beads you can use the UV Resin we worked with earlier to embed items like gold leaf. A few tips for flooding your wells with resin – if you have bubbles you can use a lighter or torch to quickly pop them (just pass the flame over top very quickly – don’t just sit there and set the whole thing on fire). Additionally, you can use a toothpick to spread the resin. You don’t HAVE to use a clear backer piece if using resin but I did because, why not? Check out my post on resin floods for more ideas and a demo of how to flood your wells without a backer.
Alcohol Ink:
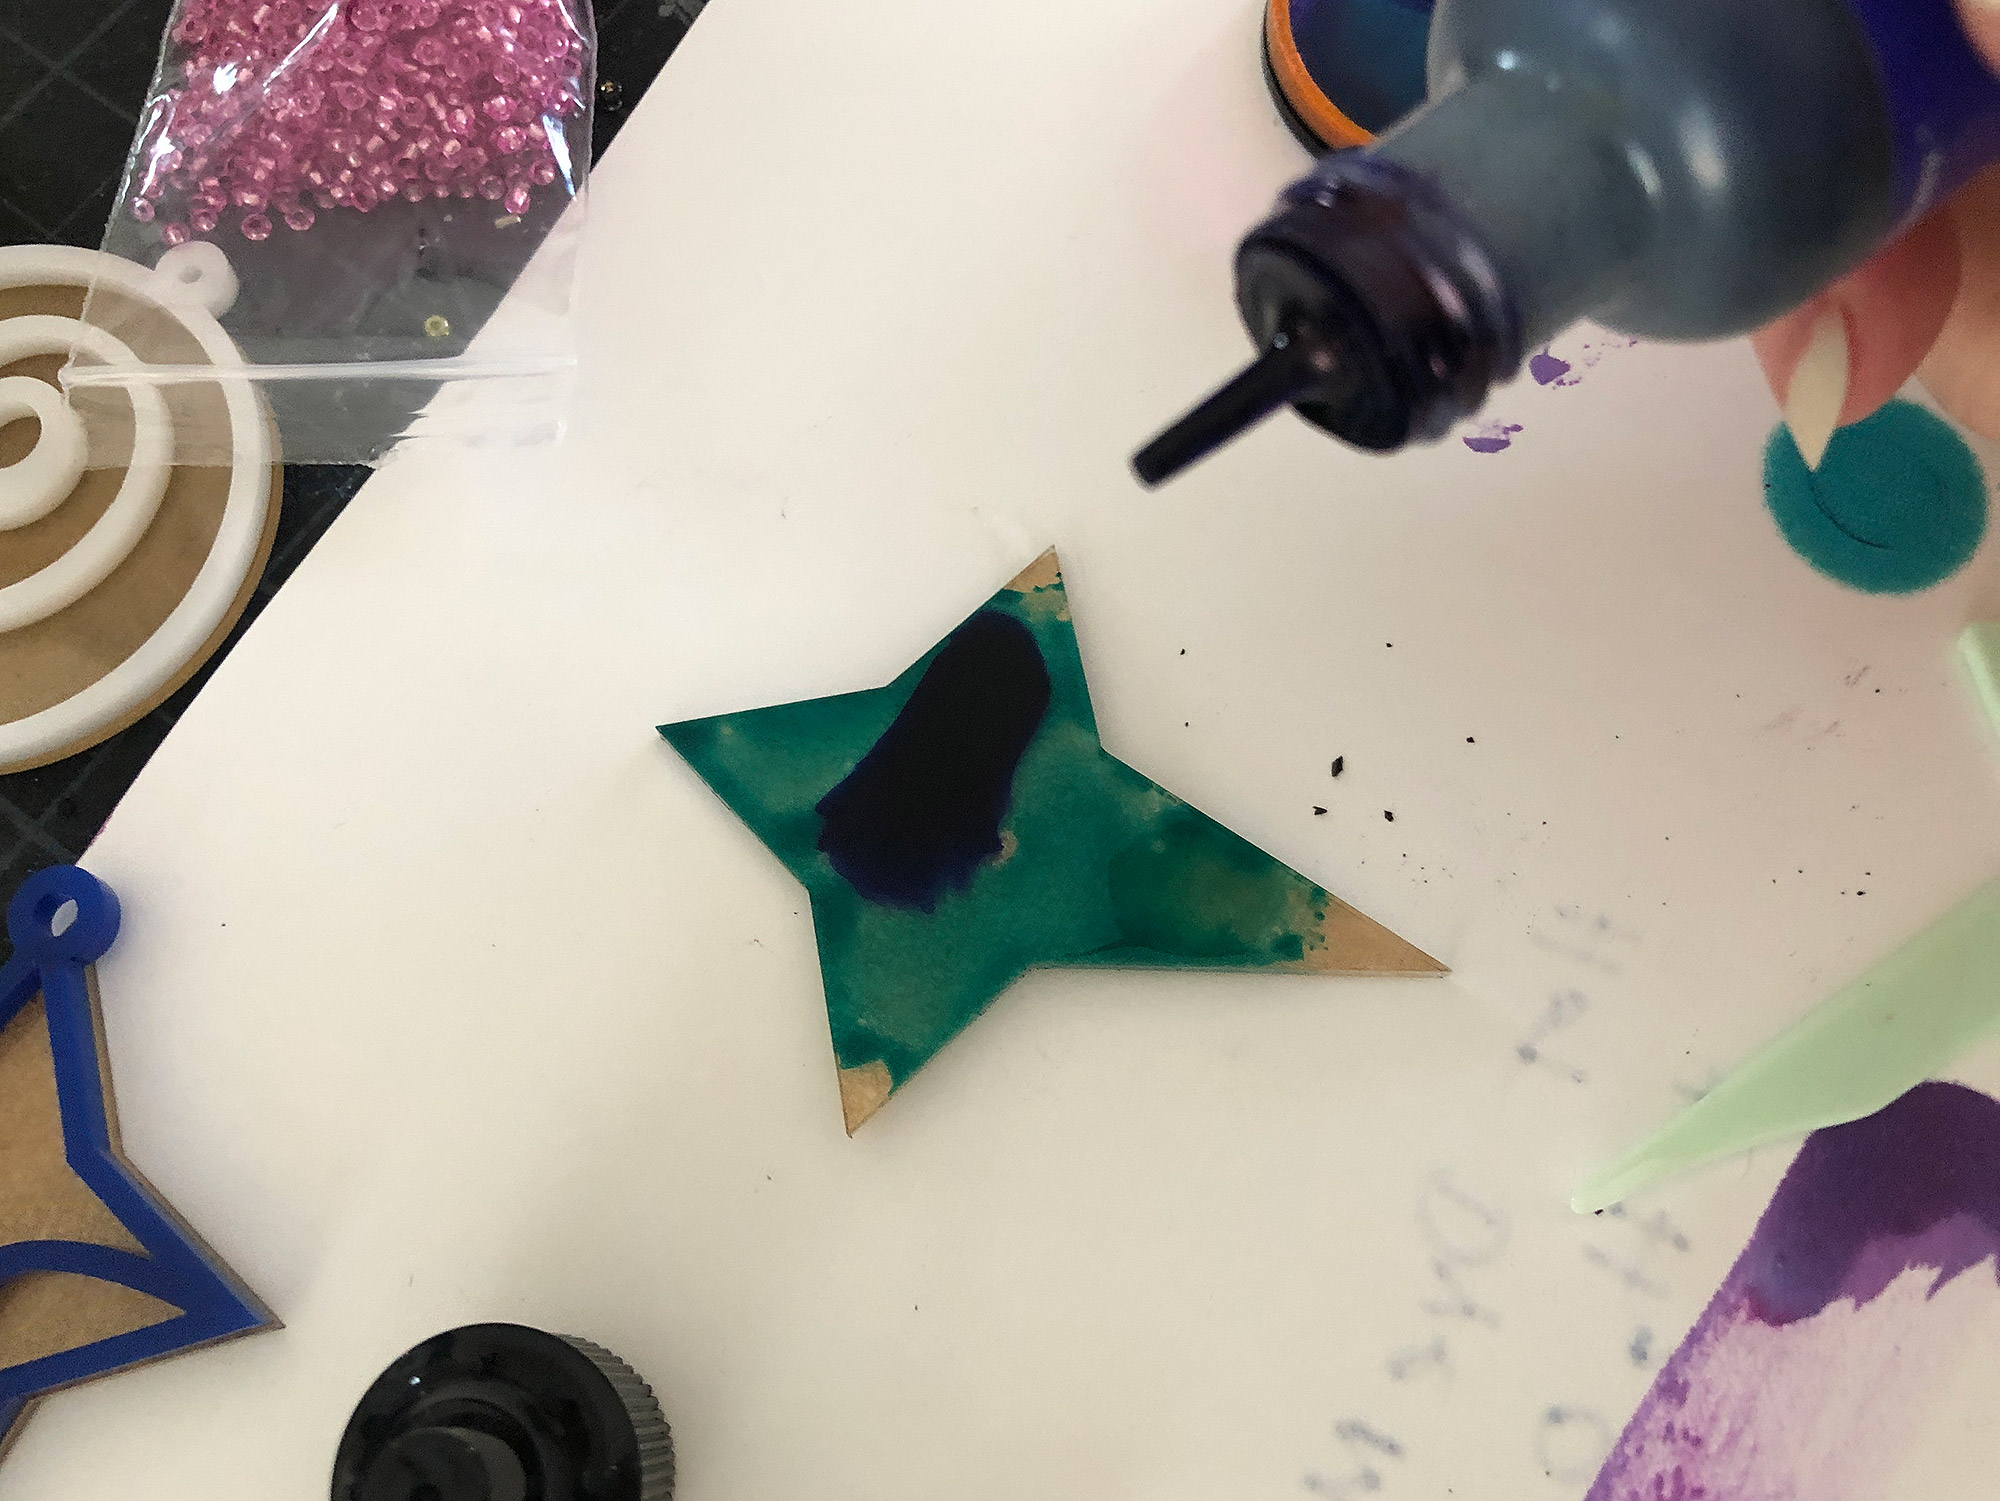
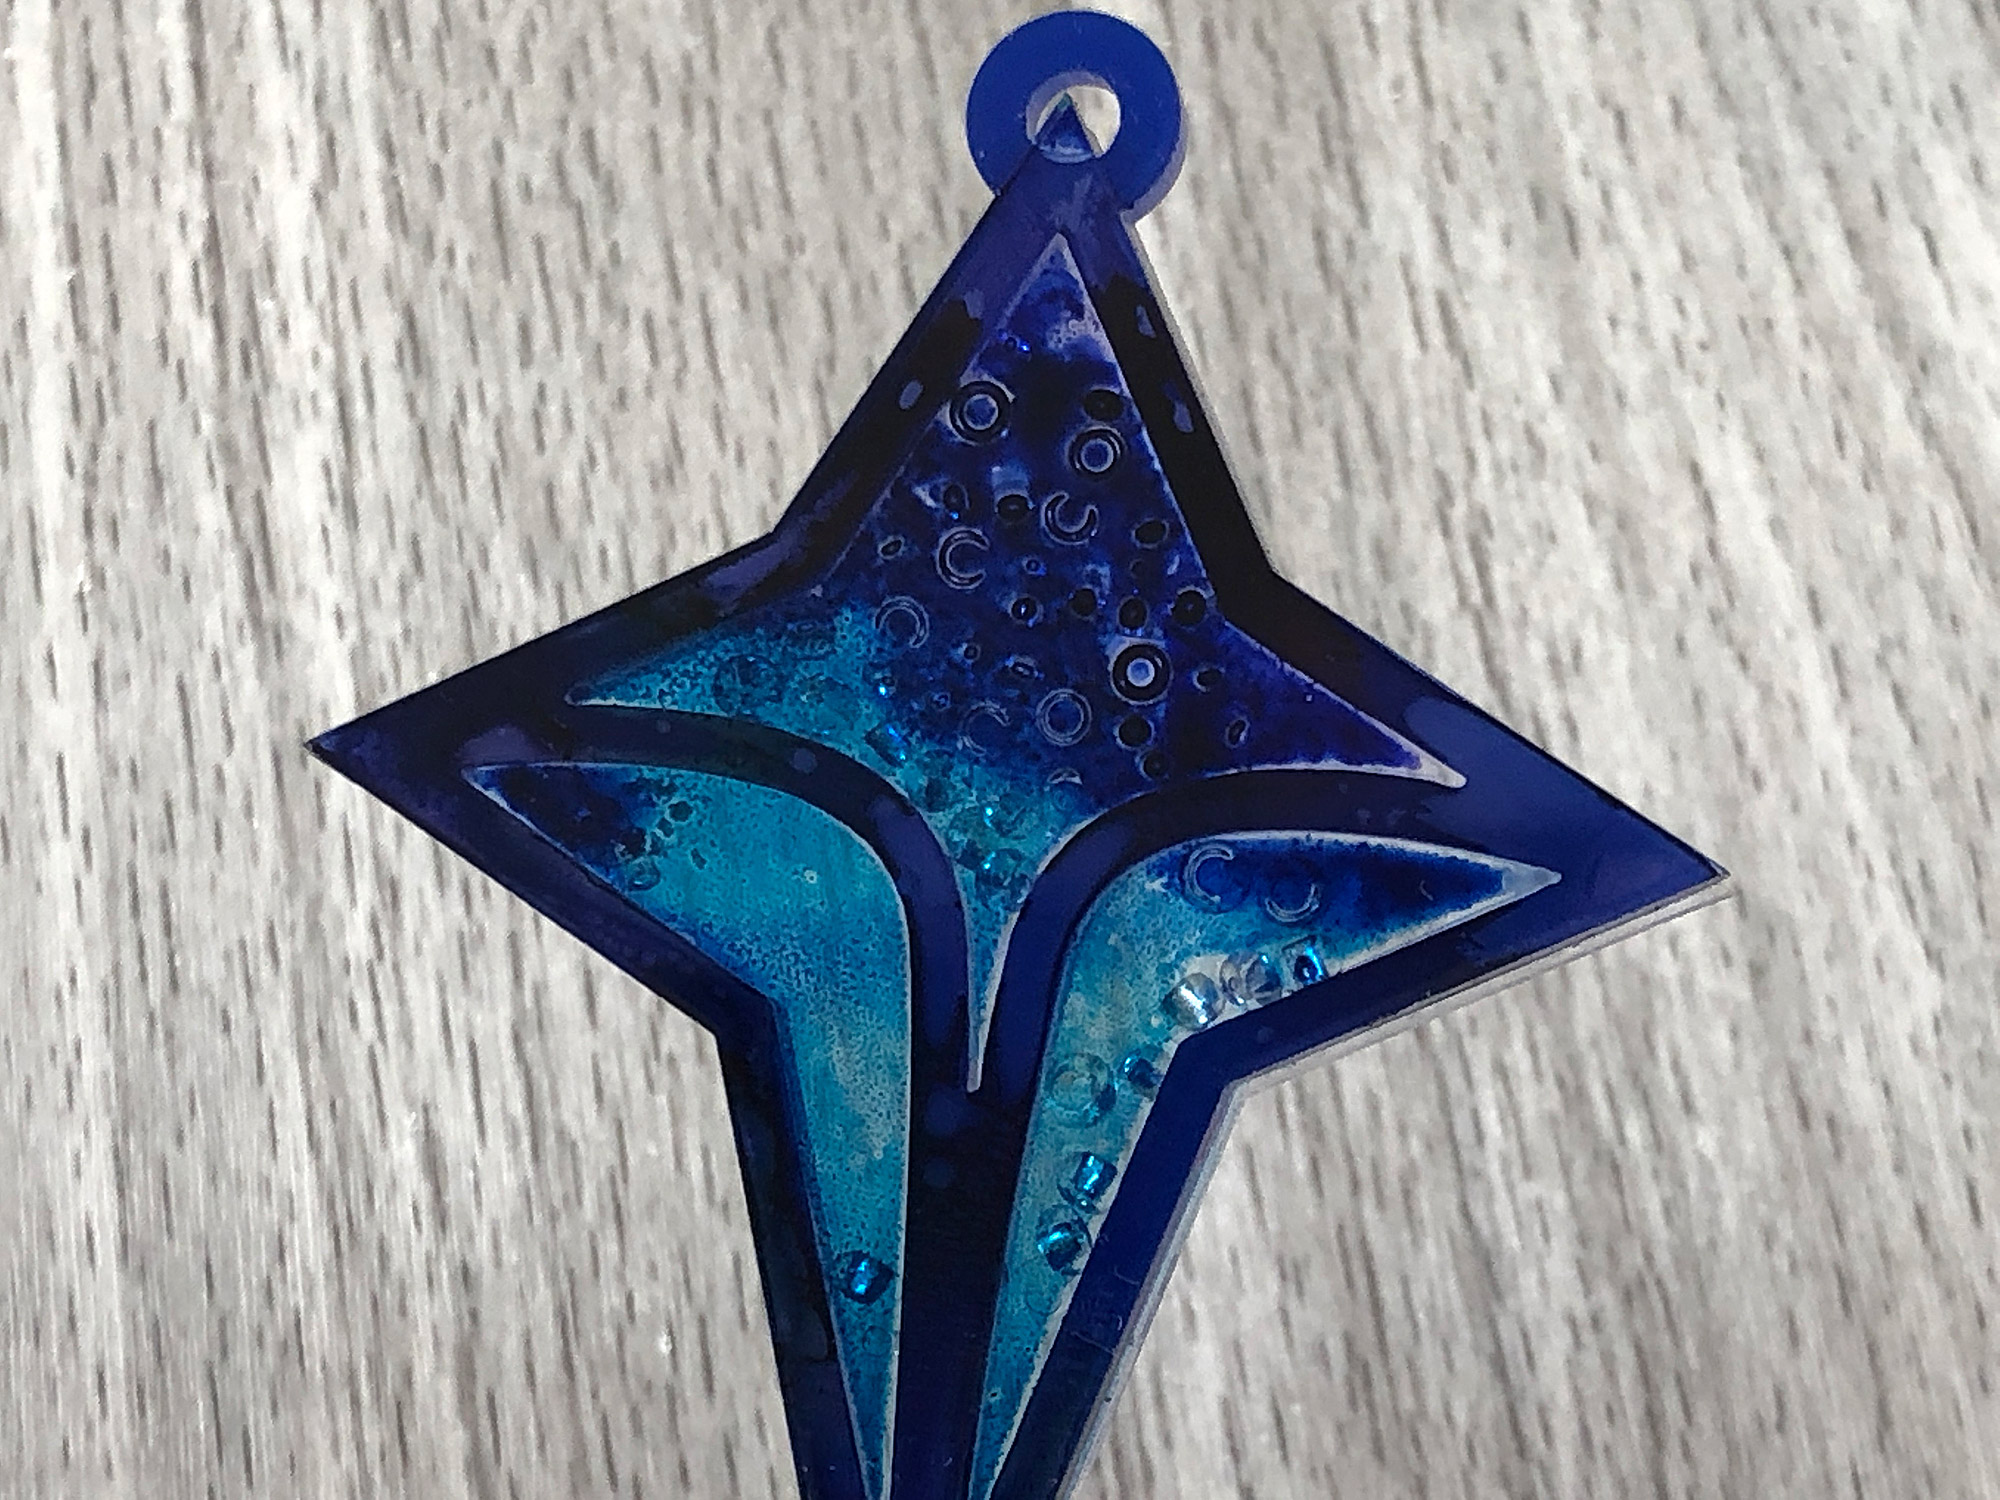
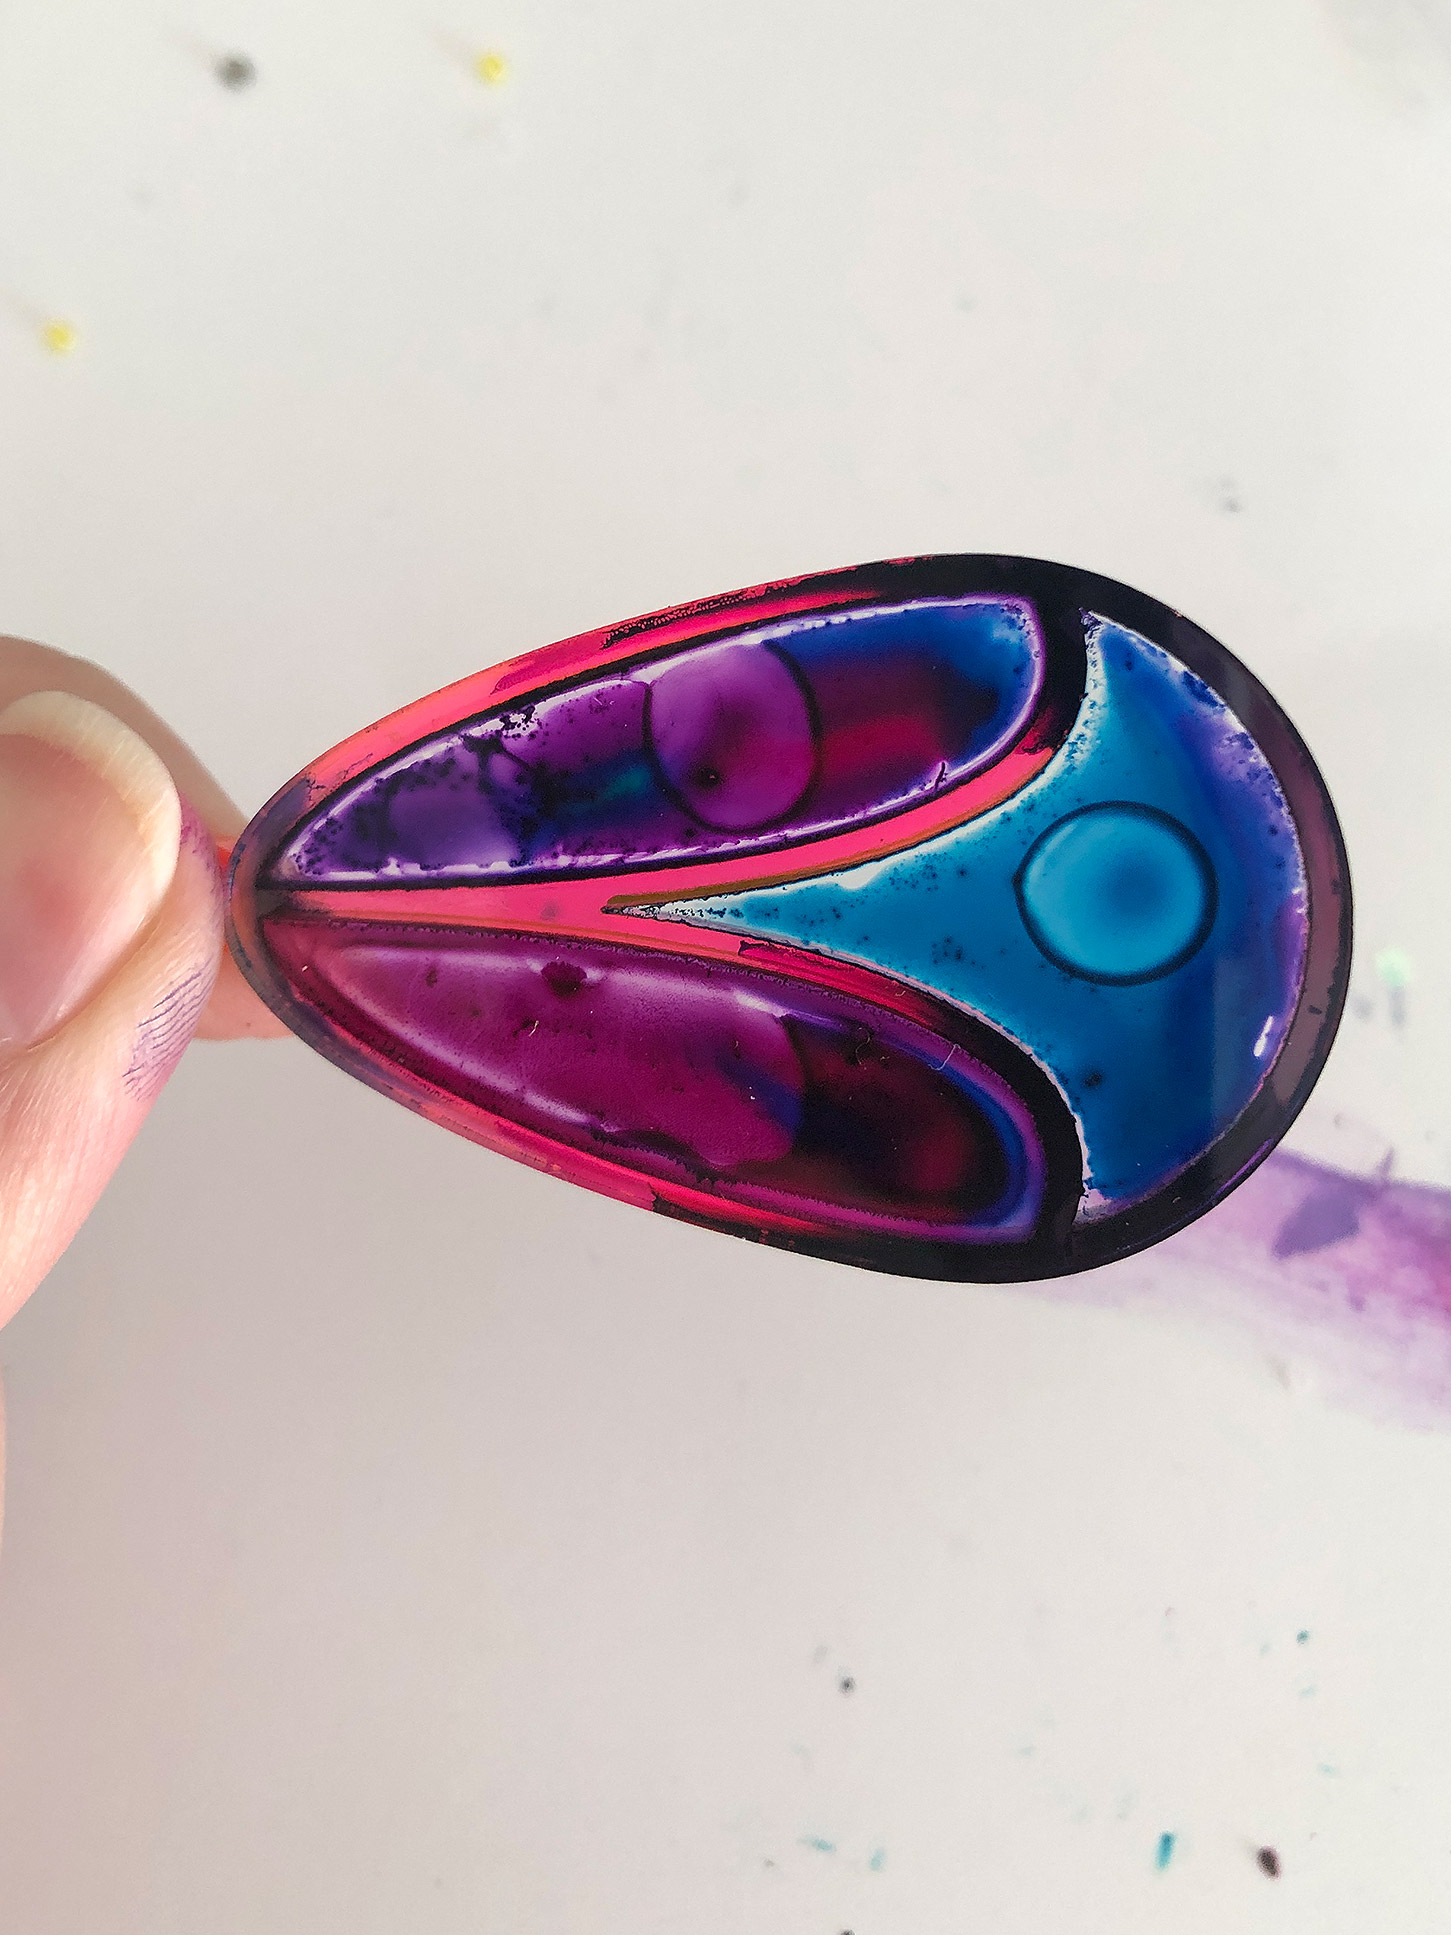
This technique didn’t work out too well, but I think it has future potential. I’m working on finding a way to dye acrylic and I know from past experience you can use alcohol ink to color it. Alcohol ink will stick to acrylic but it’s easy to remove and it can be sticky. Since these will be closed up inside I thought it was worth trying it out. Mostly it just looked messy. I think tinting resin and filling the wells would give a better effect. I tried adding the ink both before and after fusing. Do note – that if you use Weldon it’s a solvent and will re-activate and cause it to move around or pull away from the edges.
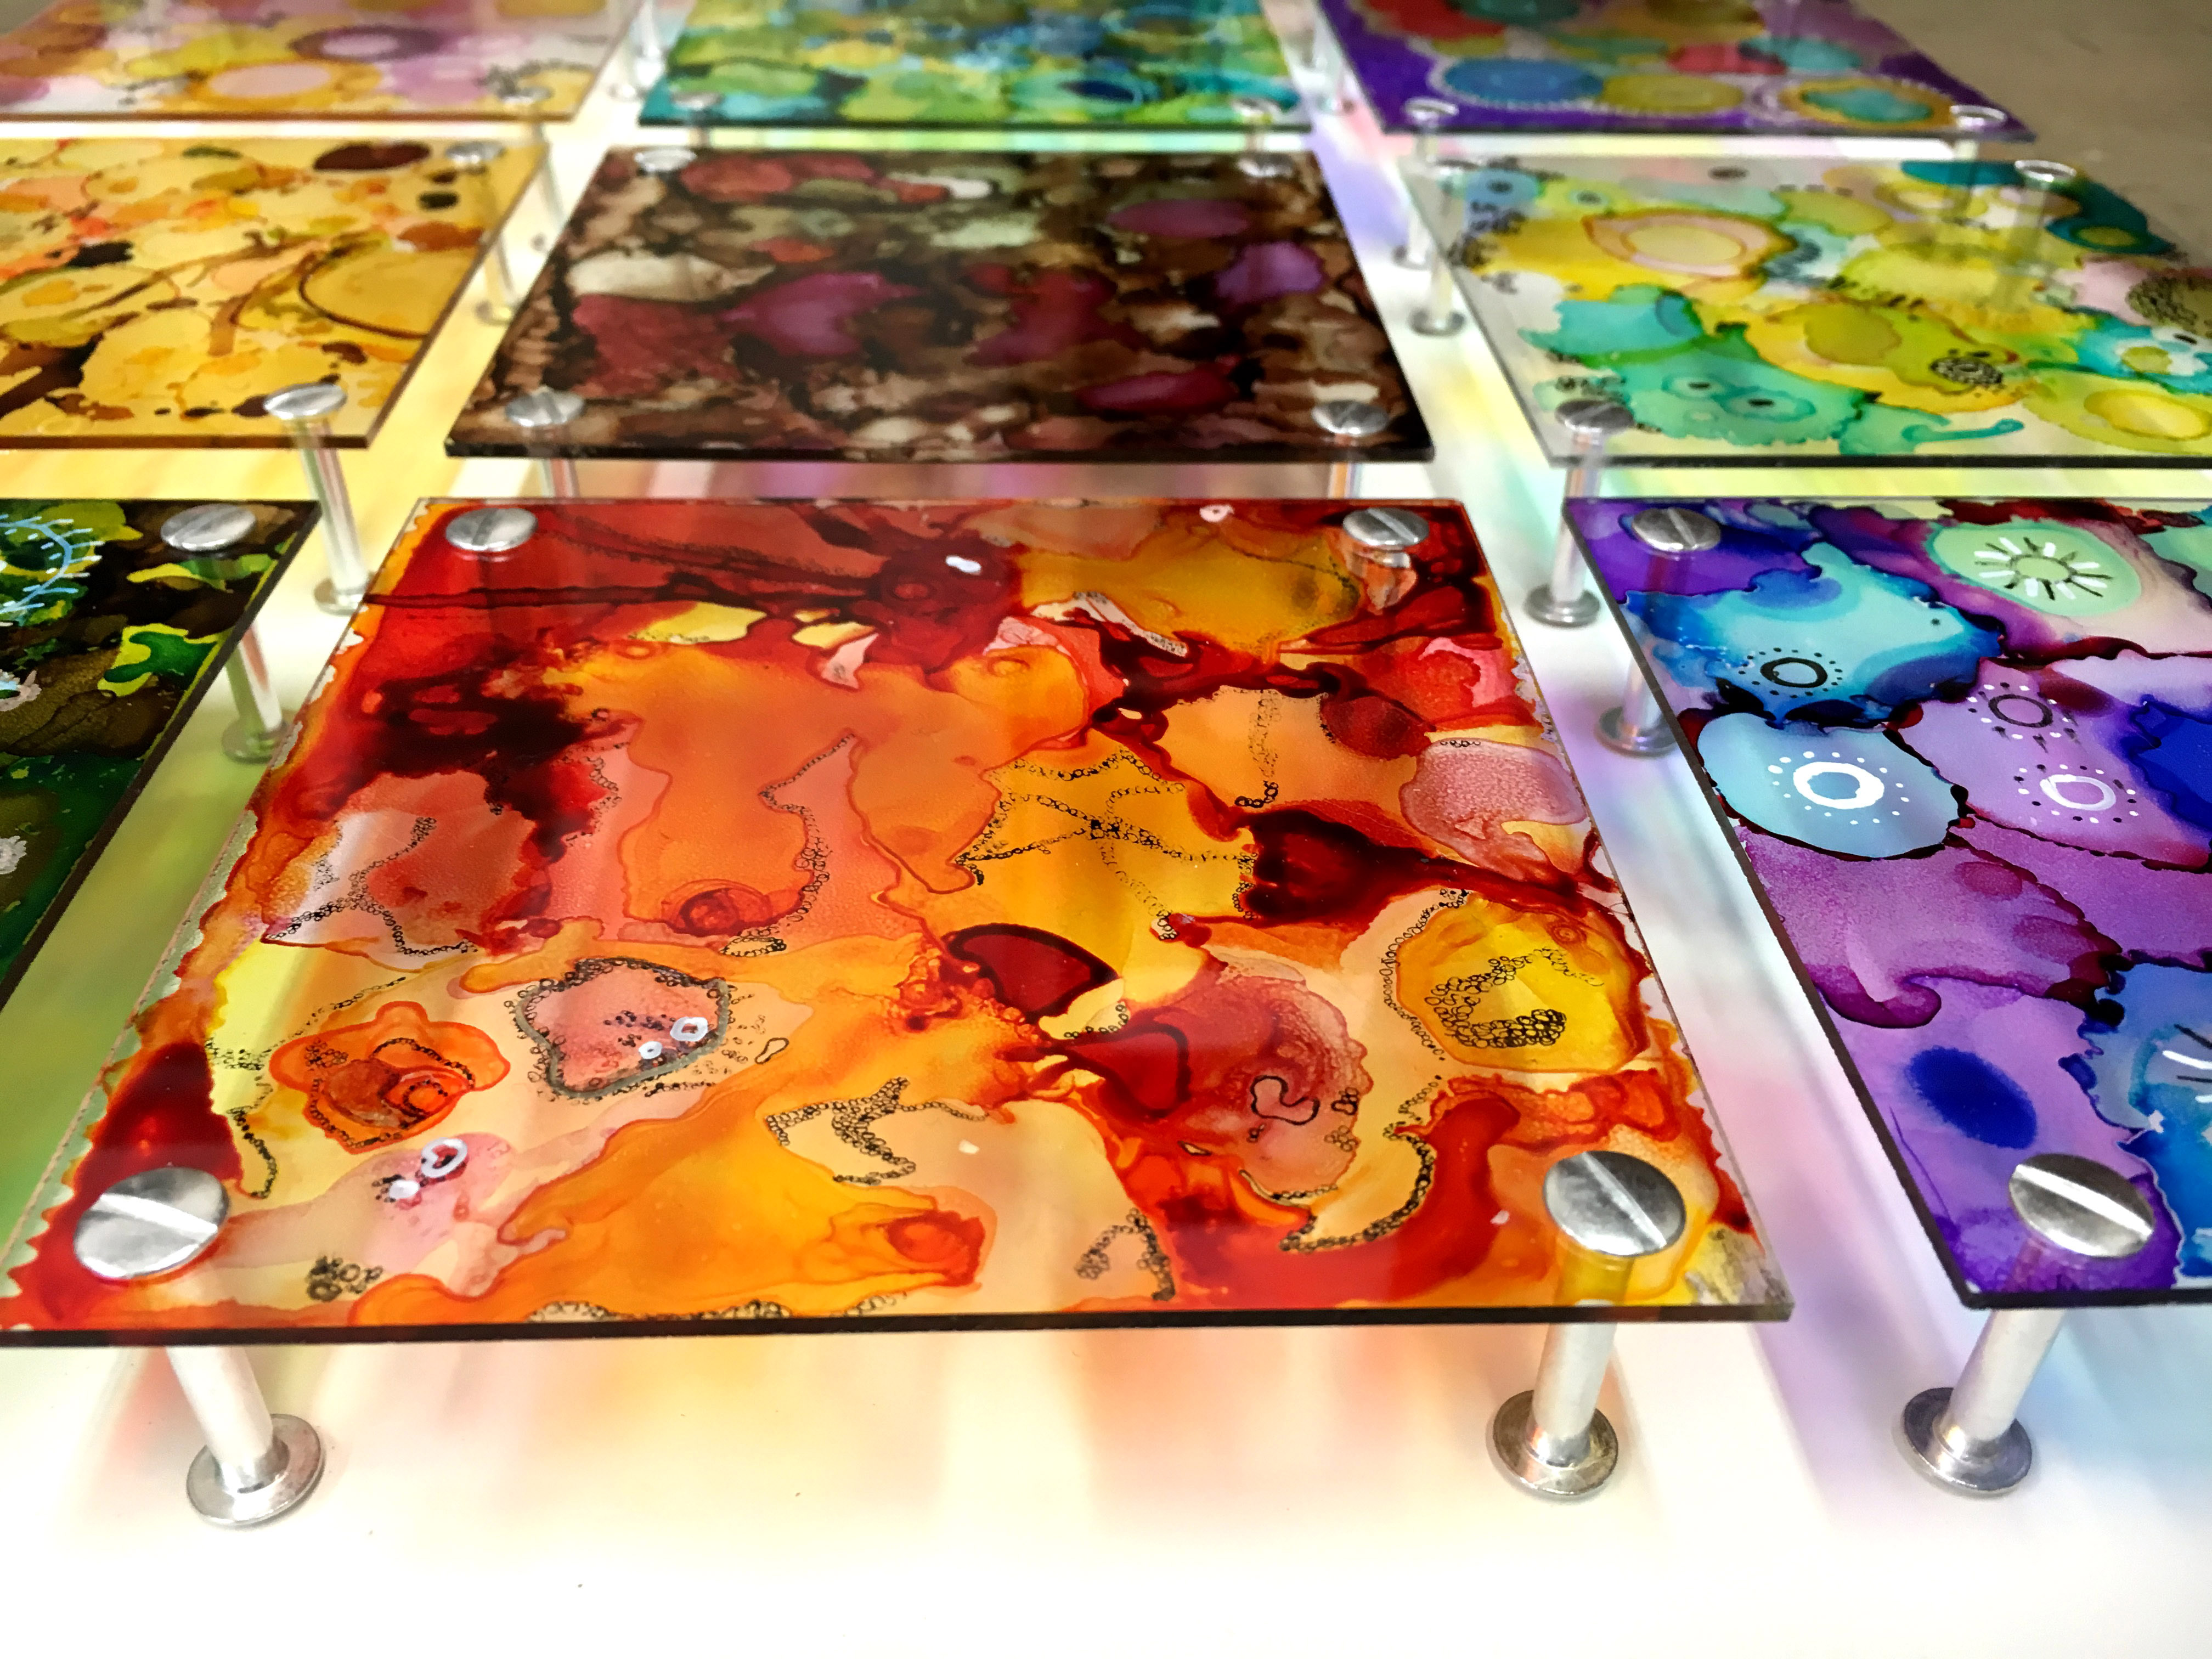
See the above for how alcohol ink looks on acrylic. It has a very fun, flowing effect.
NAVIGATE POSTS
Helpful Links
Latest Posts
Posts by Category
Explore Posts By Tags
Acrylic Adobe Illustrator Alcohol Ink Baby Room Beginner Post Book Binding BuyTheFile Christmas Felt freefiles Gifts Gilding Glowforge Holiday Jewelry Journal Kaleidoscope LED Notebook Resin Rubber Stamp Settings Sign Stamping Yupo
Get Your Own Glowforge Laser
If you have found this post helpful and would like to purchase a Glowforge of your own you can receive a discount using my referral link when you are ready to purchase:
Sign Up to Blog Newsletter
CONCLUSIONS
This project is really simple to put together. The greatest challenge is figuring out the right adhesive, but as I continue to experiement I will add to this post to give you more options!
Where to Get the Materials:
Some of these are Amazon affiliate links, so feel free to skip them if you’re not into that. As an Amazon Associate, I earn from qualifying purchases, but they do not cost you any extra:
Get 50% off your first Wish.com order with my code: mfvjgnw | I buy lots of odds and ends here, so if you need some small item and don’t mind waiting, this can be a fun shop to check out.
The Acrylic
I get my acrylic from two different places Cerulean Tides & Johnson’s Plastic Plus – I don’t get a kickback or anything from either vendor they’re both just great suppliers!
Seed Beads – The set I bought is out of stock but here is a similar one
All the Glues:
Acrylic Cleaner | My go-to for cleaning acrylic to a beautiful shine without damaging it.
Drytac Optically Clear Facemount Adhesive – This stuff is cheaper per inch than the 3M LSE adhesive, but you have to order a 15′ x 25″ roll. That being said I’m sure I’ll use it, so it’s worth it to me. (Note: The price seems to be jumping around lately, I paid about $75 for my roll, but last time I looked like it was double that – shop around, you may find it on a different site or eBay for less)
3m LSE Adhesive | The great thing about this stuff is that it’s available on Amazon! Easy to get and effective for lots of applications.
Loctite G02 | Make sure you don’t use any of the other Loctites – it’s got to be the gel G02 version.
UV Resin | Super fast cure but infinite working time. Very clear.
Nail Lamp for Curing | This lamp is great because the base is removable meaning you can lift and place this over a larger area – your project doesn’t need to fit inside of it. I own a 72 watt – but they don’t sell it anymore so this is comparable and a higher wattage.
Weld-On #4 | If you work with acrylic eventually you will find a good use for this. Trust me, it’s one you want to have on your roster. Don’t use the squeeze bottle that comes with it though – that thing SUCKS and leaks. Use a syringe like these…
Syringes for Weld On | Great for lots of craft things but especially for solvent based welds
Obligatory Glowforge Discount Code Plug
If you found this post helpful and you plan to buy a Glowforge you can use my code (https://glowforge.us/r/QHDONFXB) for a discount of $100 off the Basic, $250 of the Plus, or $500 of the Pro:
Sign Up for Blog Posts Updates
And finally, if you’d like to be updated on posts like these in the future you can sign up for my email list. You will only receive an email if there is new content, and only once weekly in that case:

Better late than never but it occurs to me you could laser etch the reverse side of the top piece with the pattern of the middle piece. That would give the glue something to stick to and somewhat obscure the bubbles. I’ve also found the SCIGRIP 16 Acrylic Cement, Low-VOC, Medium-bodied is easier to work with than the water thin, especially in a STEM setting when you’re working with kids.
I’ve found that sanding, engraving, and etching do not actually improve the adhesion in most cases. When it comes to the Weldon it actually makes the glue more obvious because you have the contrast between the frosted part and the area where the “glue” is (which will go back to clear when the two pieces bond. I’ll have to try the medium-bodied solvent though cause the water-thin one requires a delicate touch for sure!