Self-Inking Rubber Stamps on the Glowforge
Project Overview:
I don’t know how I became a pseudo expert on making stamps. I don’t make a ton of them, but I did a lot of meticulous testing to get them just right. In this blog I’ll show you how I use Photoshop actions to prepare the file, how I engrave, and then how I assemble my self-inking stamps. These techniques work perfectly fine for regular stamps as well, but if you want to explore that in more detail or learn how to make the stamps without the Photoshop actions then check out my original Stamping Blog.
I got the urge to make these after I moved to a new home. I had previously purchased a (rather pricey) custom address stamp. Since I could no longer use it I wondered if maybe I could just engrave a new stamp for it, and so I did a few tests and came up with the following guide.
CREATING THE STAMP FILE
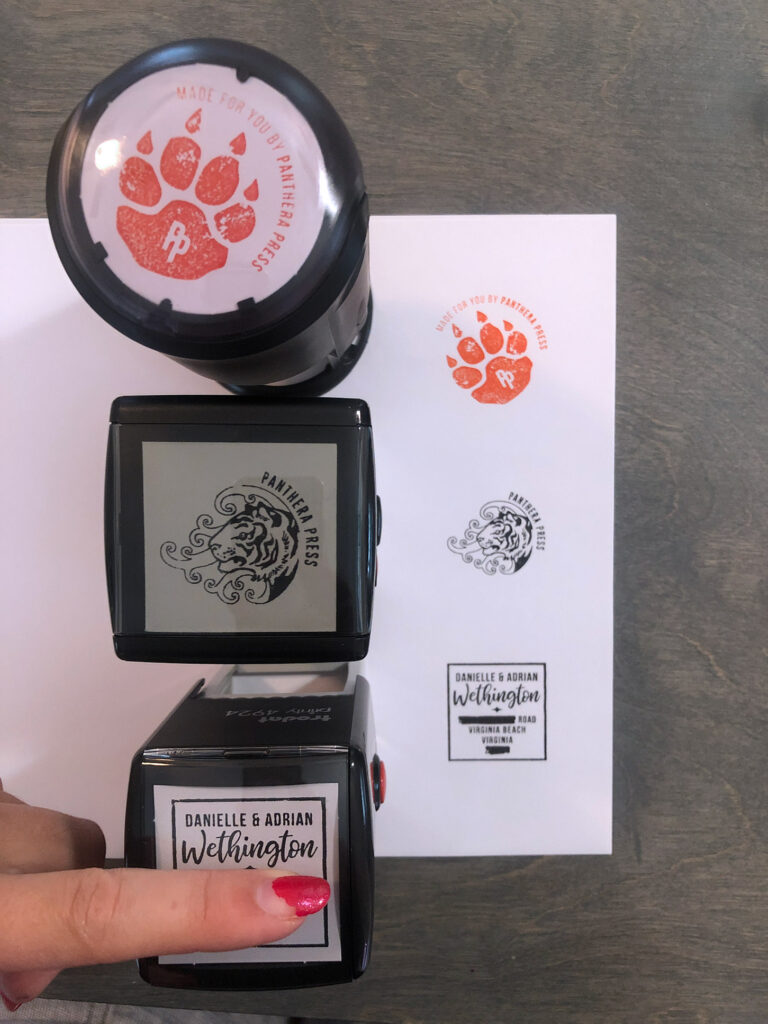
I created the stamp files for these 3 designs using my Easy Photoshop Actions. The video below will walk you through the process of using them. If you do not want to buy the actions you can easily do this yourself using Photoshop and Illustrator. Check out my previous stamp tutorial for a video on how to do that step by step.
BUY THE PHOTOSHOP ACTIONS
If you want to try out these actions for yourself, they’re only $2 on Etsy.
Can you just make my stamp file for me?
Yes, I now offer this service on my Etsy. As long as you have a nice flat, one color image I can convert the stamp for you if you don’t have Photoshop.
CUTTING THE STAMP
Settings and Tips
So for these stamps (or any stamps really), you will want to cut both the stamp and a little foam padding. This helps you get a much better, more even impression. There may be some situations in which you don’t need the foam, but in my case it was necessary both to bring the stamp up to the correct height and to make the impression look right.
Using the cut outlines I created in illustrator I just cut the outlines out of adhesive-backed craft store foam.
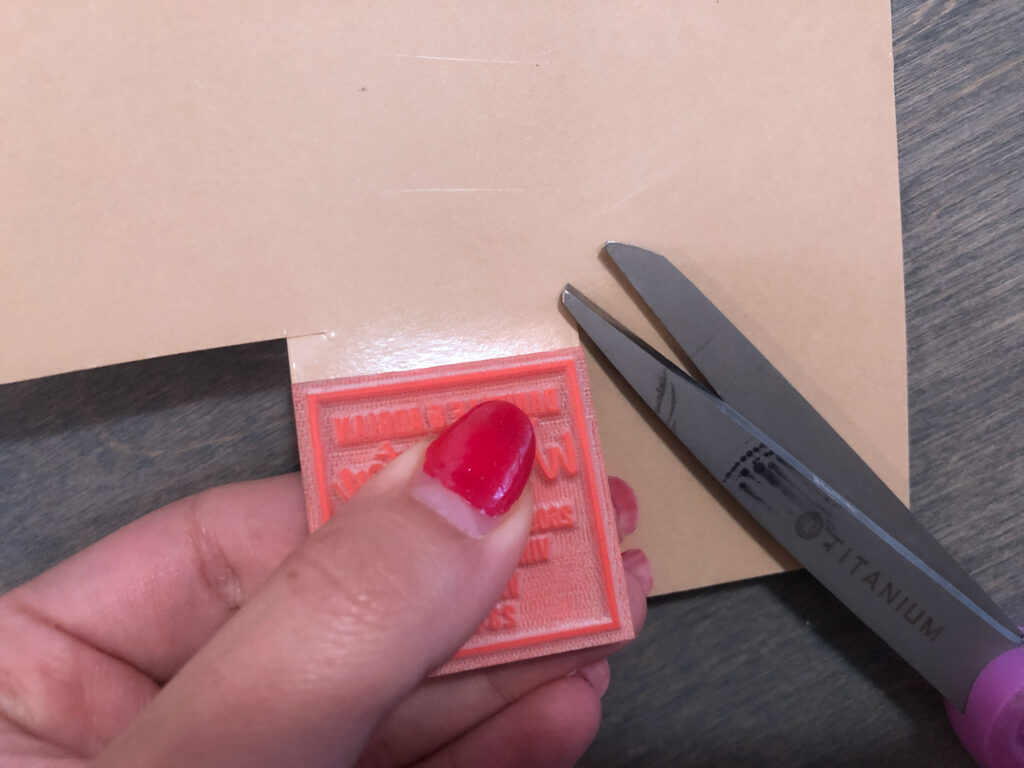
TIP: I hand cut my 3m adhesive for the backs of my stamps but you could definitely apply it beforehand to the rubber and then engrave and cut. For me hand cutting meant I used less (no waste on the back of my rubber) and it only took a few seconds. As a note, you can ALSO just put the 3m in the laser by itself, pin it down and cut the same outlines you did for the foam. If you buy a blank stamp housing it should come with a precut (square or circle) piece of adhesive so you don’t need the 3m in that case.
CUTTING SETTINGS
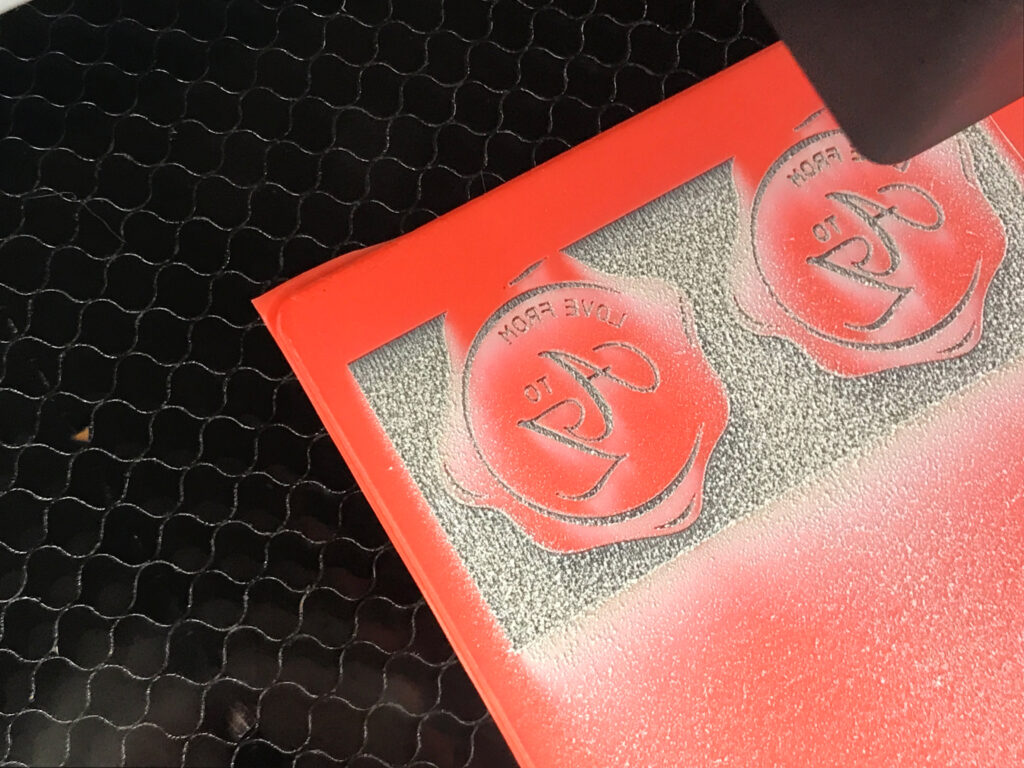
Engrave Settings are:
SPEED: 310
POWER: 93 (Vary Power)
LPI: 450
You can cut the stamp with the Glowforge using the following settings:
SPEED: 130
POWER: FULL
FOCUS HEIGHT: .102
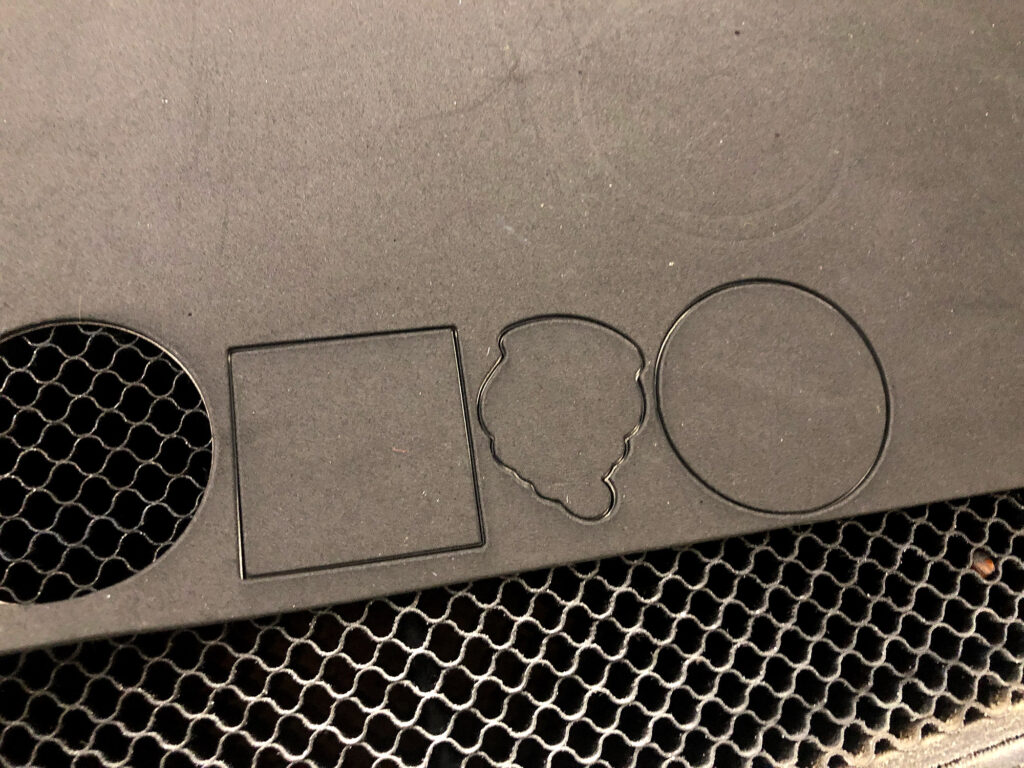
FOAM & 3 M CUTTING SETTINGS
This adhesive backed foam is easy to cut on the Glowforge just make sure to pin it down so the fan doesn’t push it out of the way as it’s cutting
SPEED: 140
POWER: 10
If you choose to cut your 3m on it’s own you can use these settings (double check these as it’s been a while since I used them):
SPEED: 300
POWDER: 5
ASSEMBLING THE STAMP
WRITTEN INSTRUCTIONS
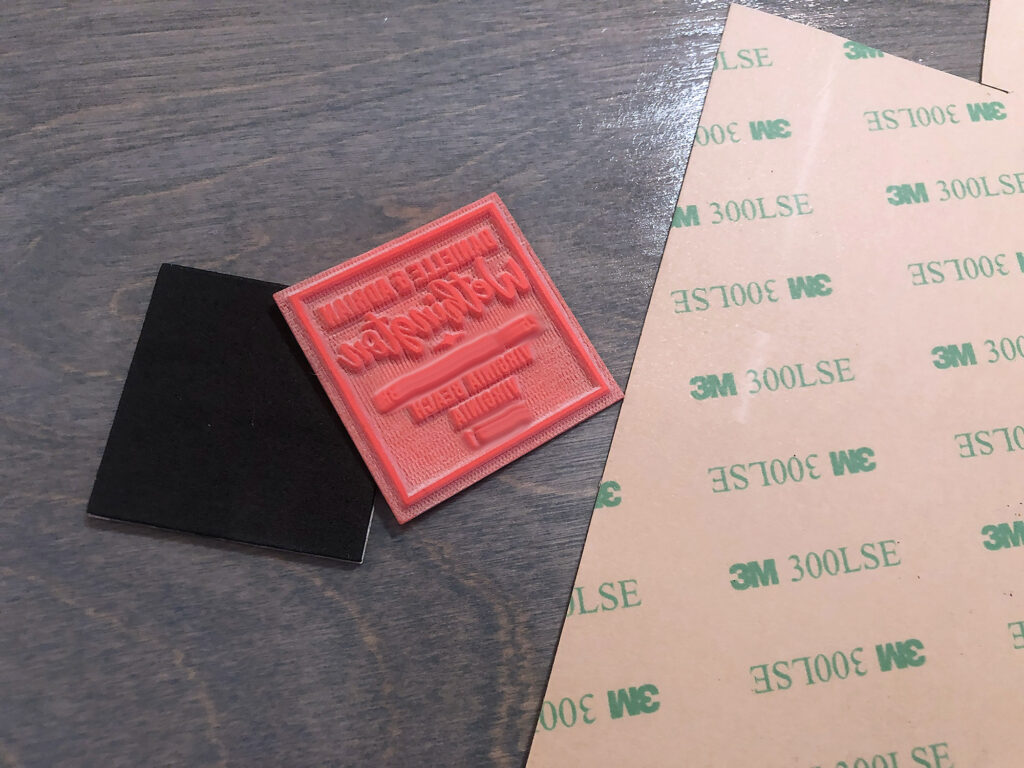
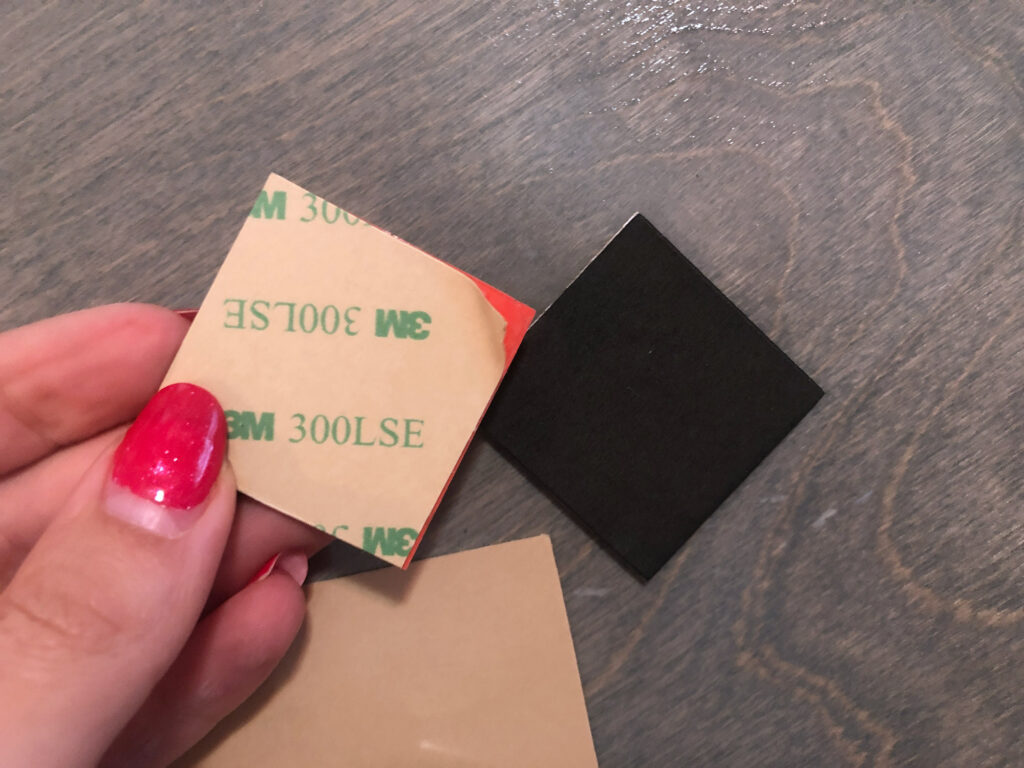
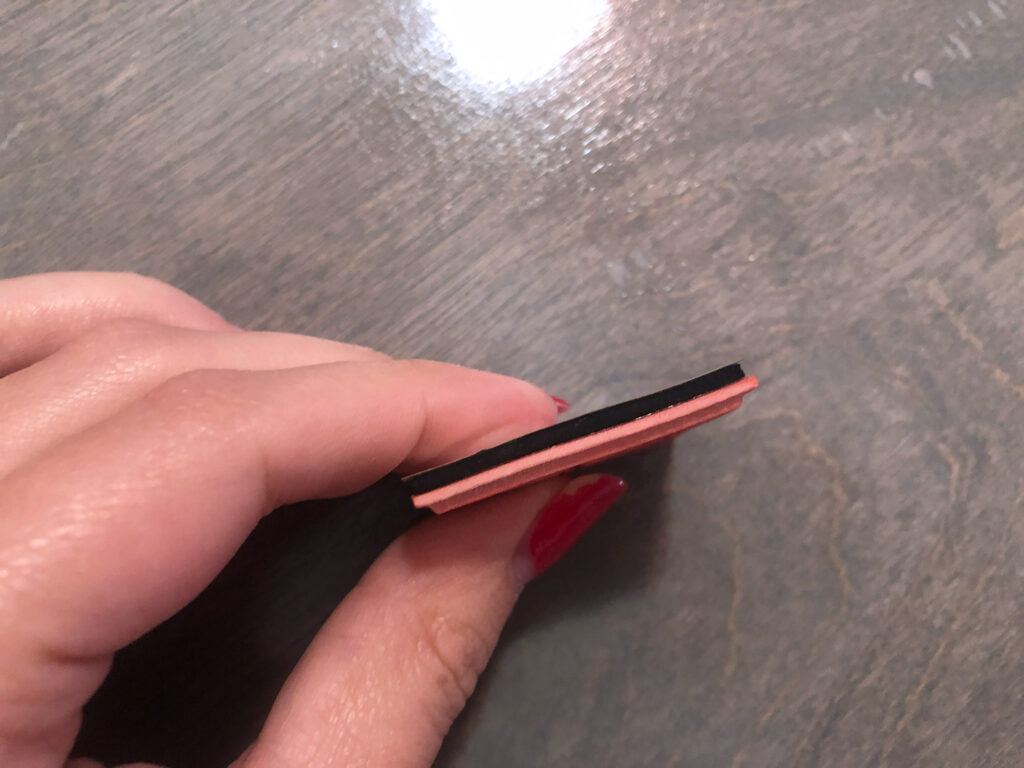
Below you can see the three pieces ready to assemble. After removing from the Glowforge you will want to wash it with a bristled brush (think toothbrush) and some detergent. Dish soap or LA Awesome are what I use. After it’s clean and dry you’re ready to go.
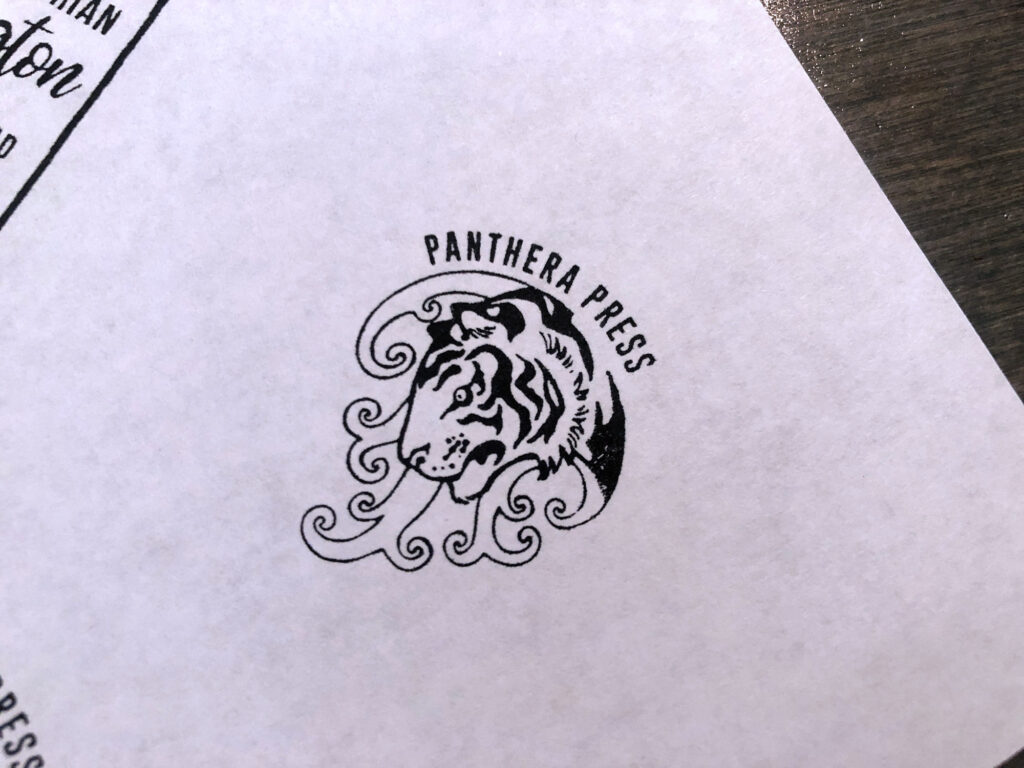
I blurred the address for the stamp below – the stamp isn’t warped. For these you can use any 3m adhesive or any double stick tape will probably be fine as well. I just happened to have a sheet of LSE300 so that’s what I used. All you need to do is peel and stick.
THE STAMP HOUSING
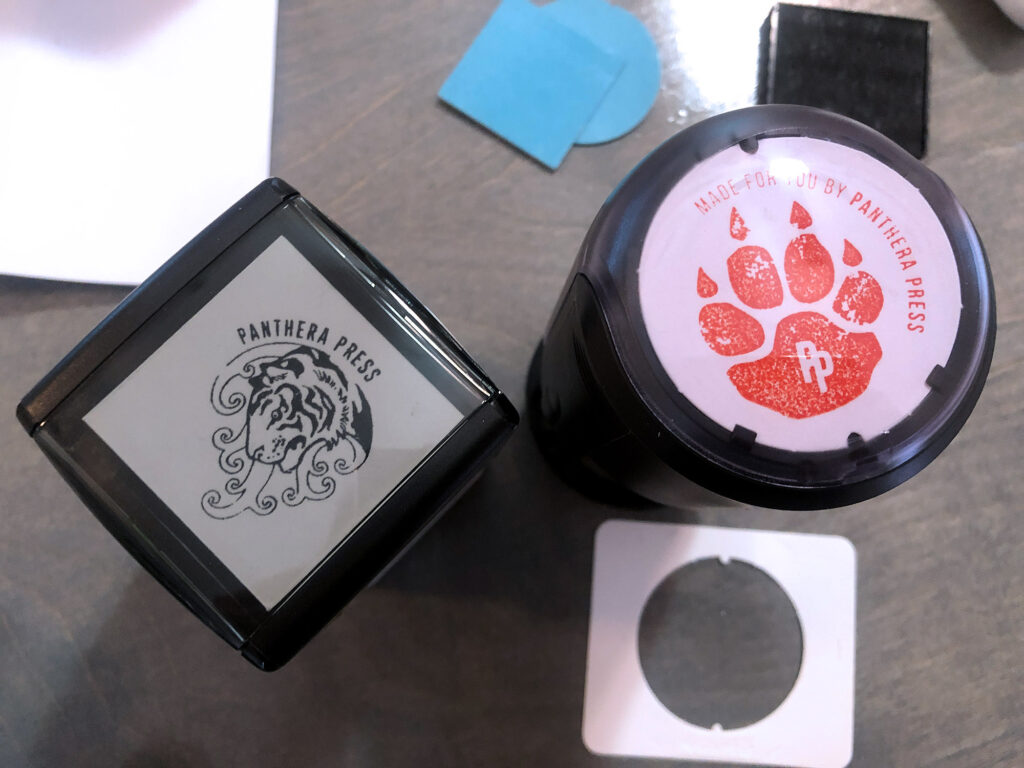
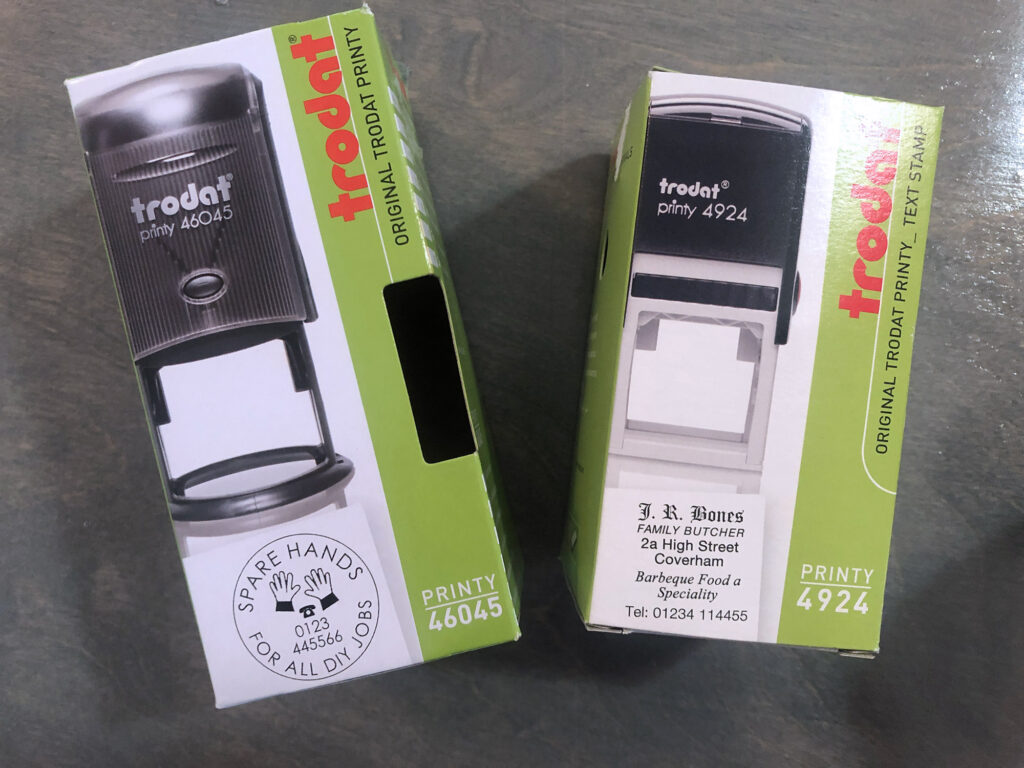
For my stamp housings I when with Trodat Printys. These are a great stamp that is widely available but you could use any housing you want and there are tons of sizes. You can also refresh an old stamp housing as I did with a previous address stamp (This one was a Shiny brand). These sets are pretty neat – they even have a little guide on the top to show you the stamp impression size.
WHAT COMES IN THE BOX
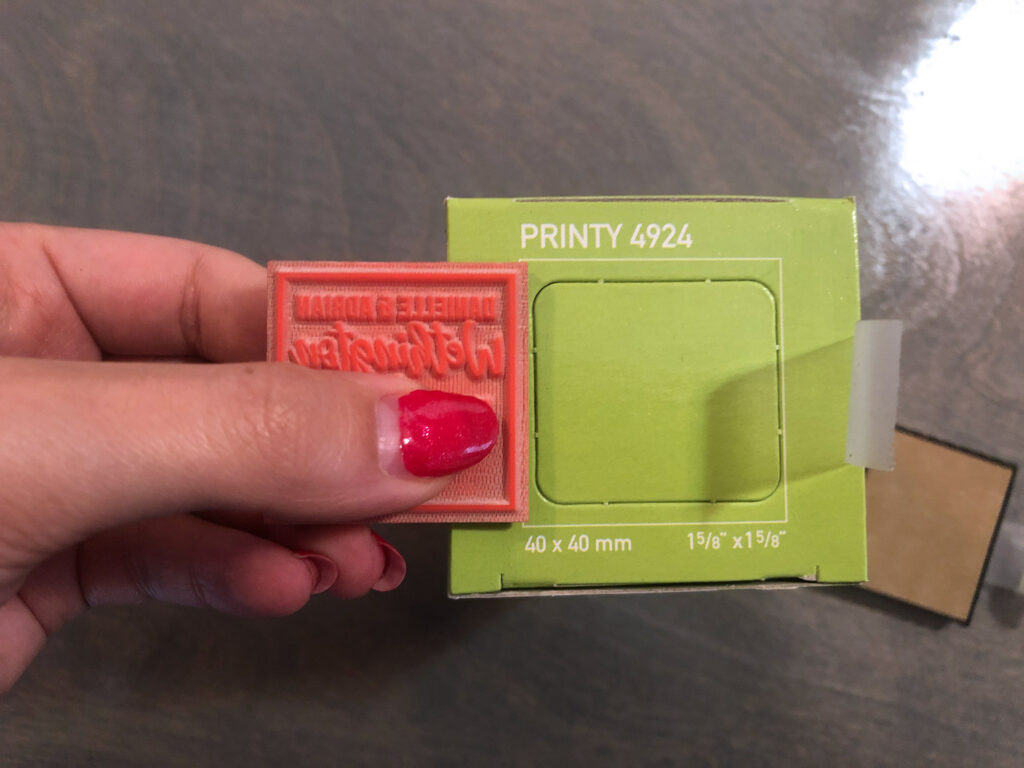
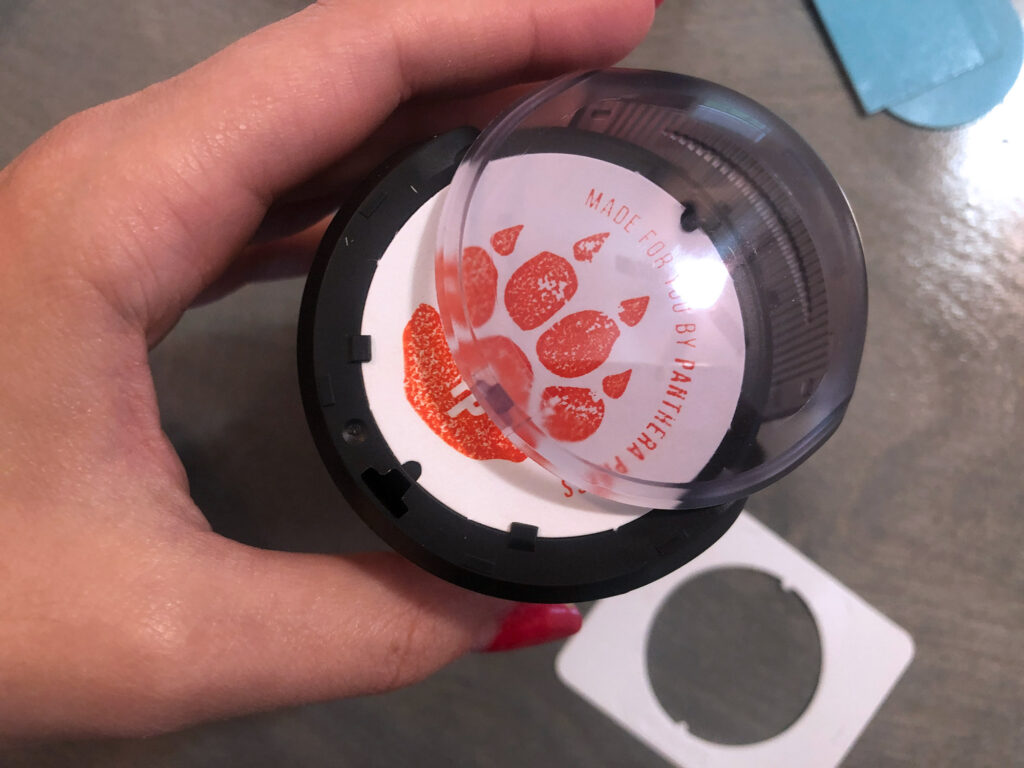
If you buy a blank stamp, then you’ll find an uninked stamp pad, a precut adhesive sticky (so you don’t actually need 3m if you get a blank kit) and a little top card that you can stamp to show your stamp (and it’s orientation on top).
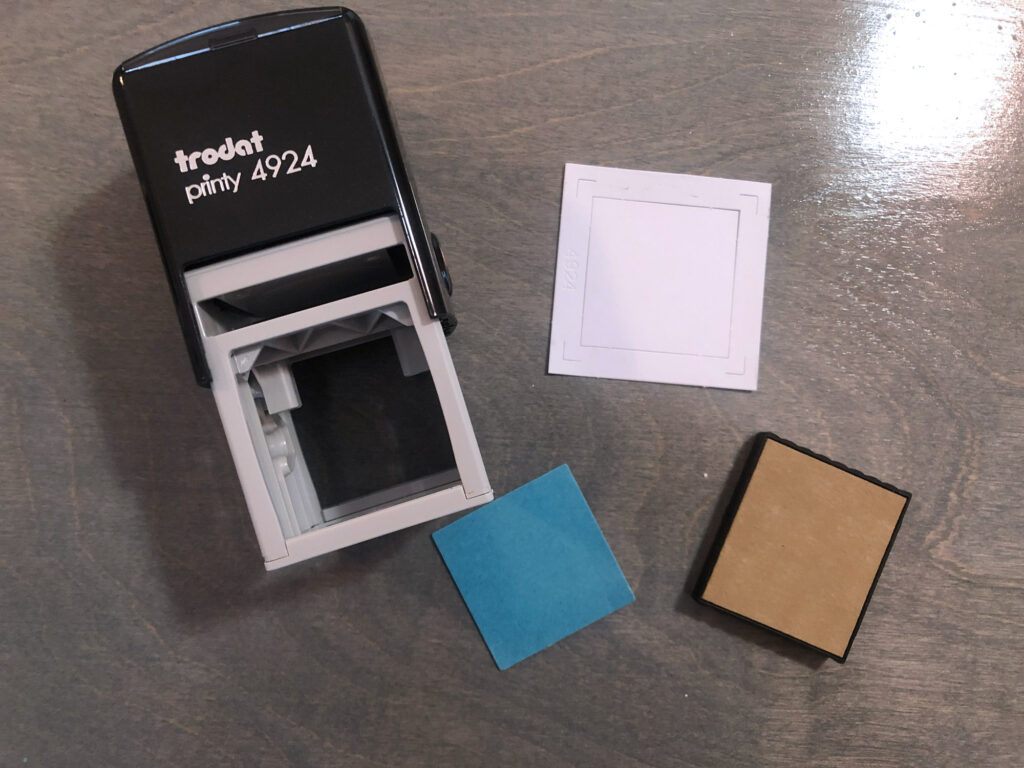
ASSEMBLING THE STAMP
- On the side of your stamp housing you should have a set of buttons. Depress the stamp and click the buttons to lock it into place.
- Peel and stick your stamp – try to get it as centered as possible.
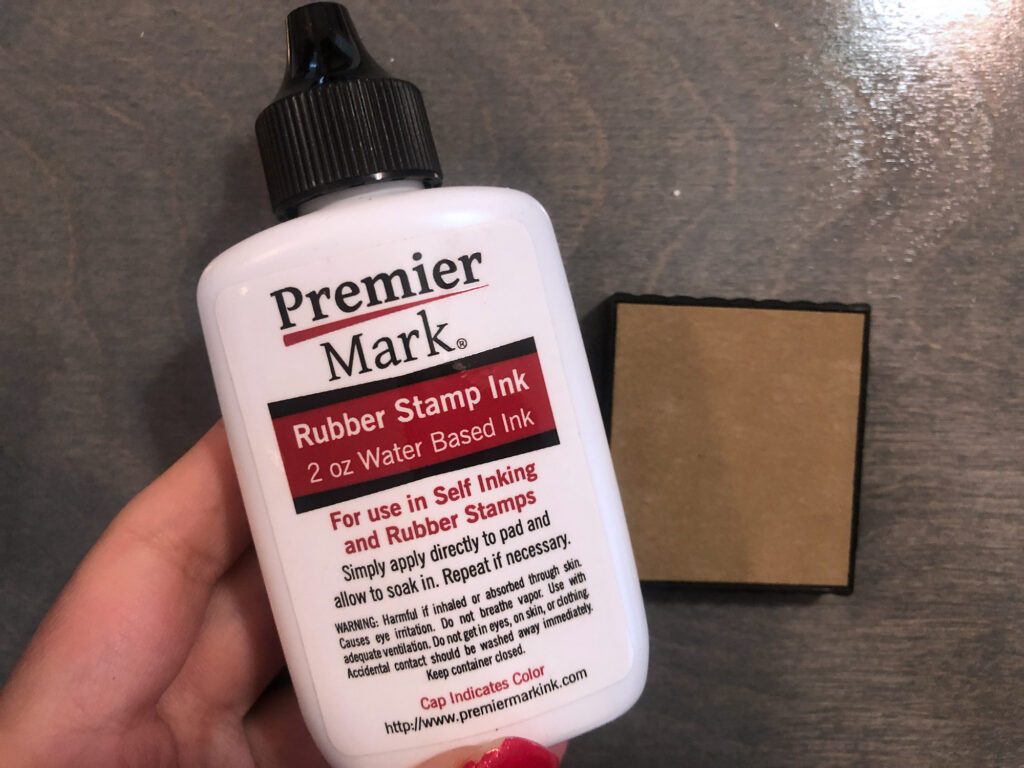
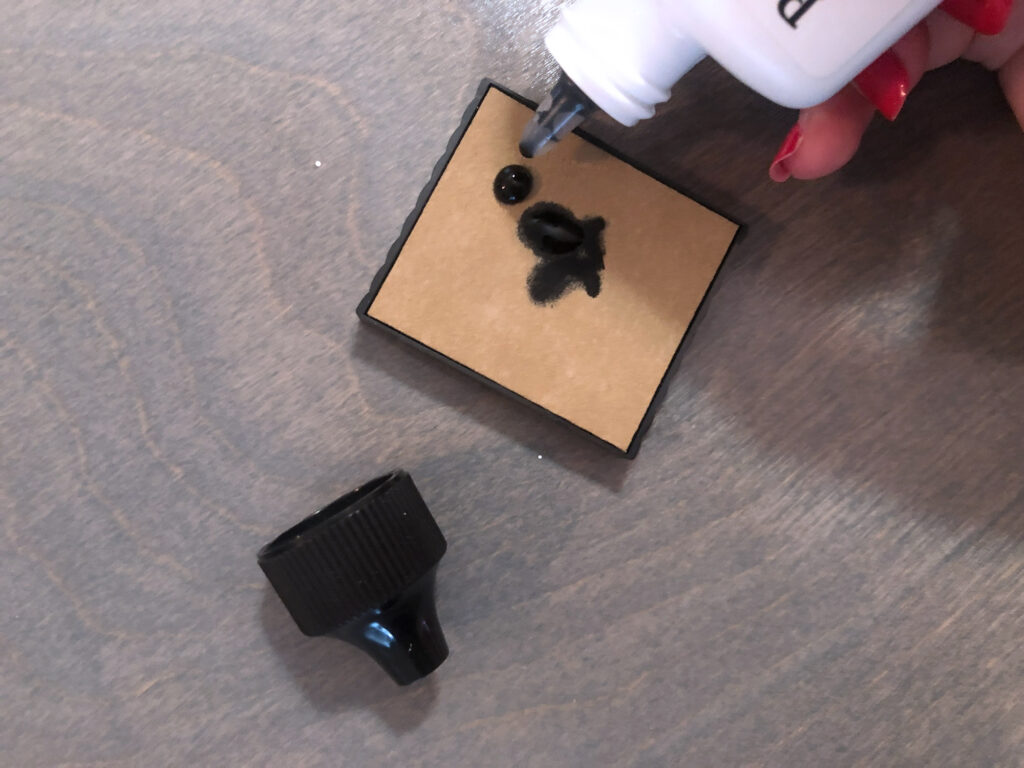
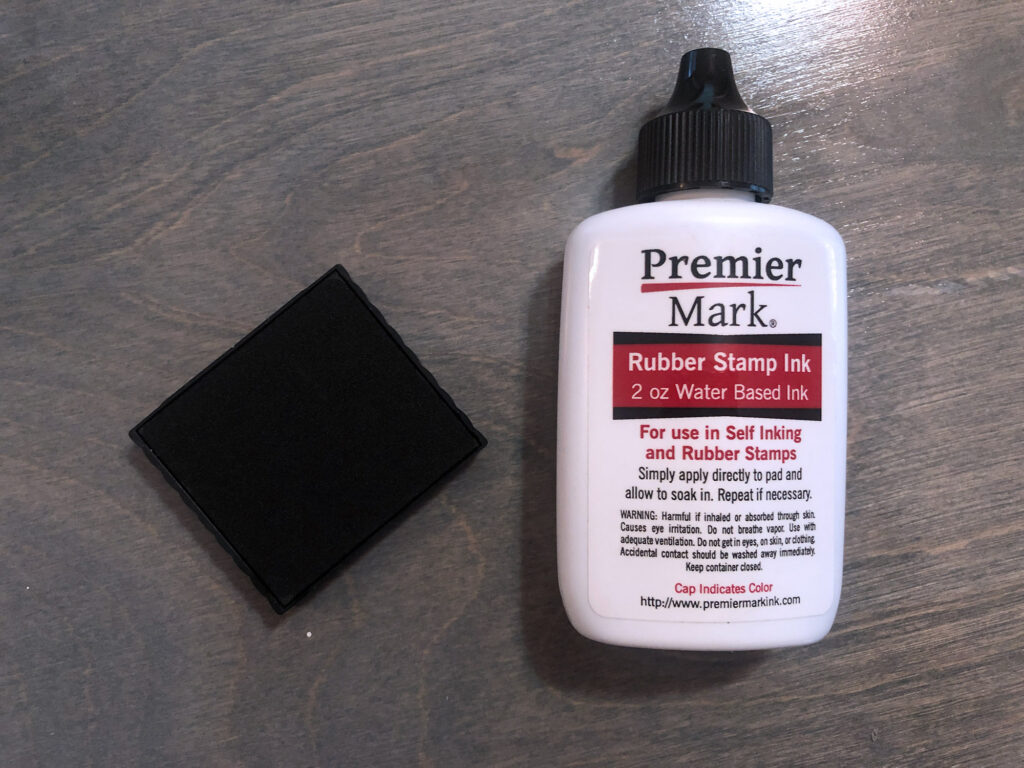
- Ink your stamp pad if it didn’t come already inked. Drip ink to cover the surface – it will absorb quickly but it may take a bit to really even out through the stamp pad meaning sometimes your first stamps will be a bit over inked.
- Press the stamp down to unlock the housing and then insert the stamp pad
- Done – if in the future the stamp is under inked just pop out the stamp pad and add some more drops
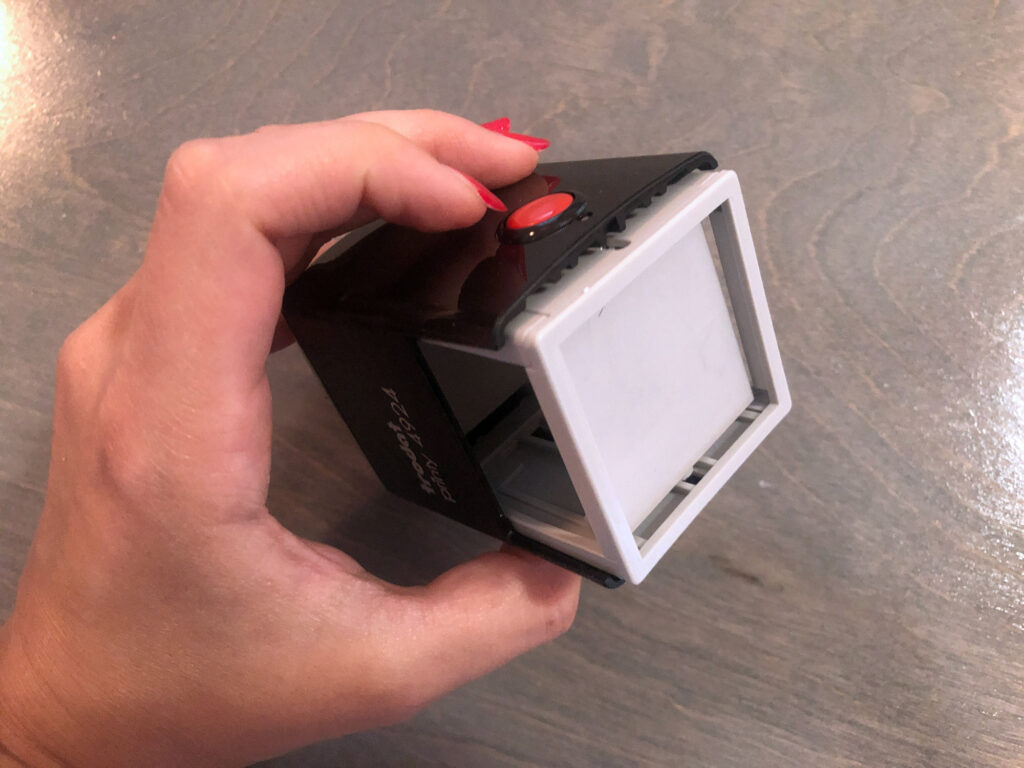
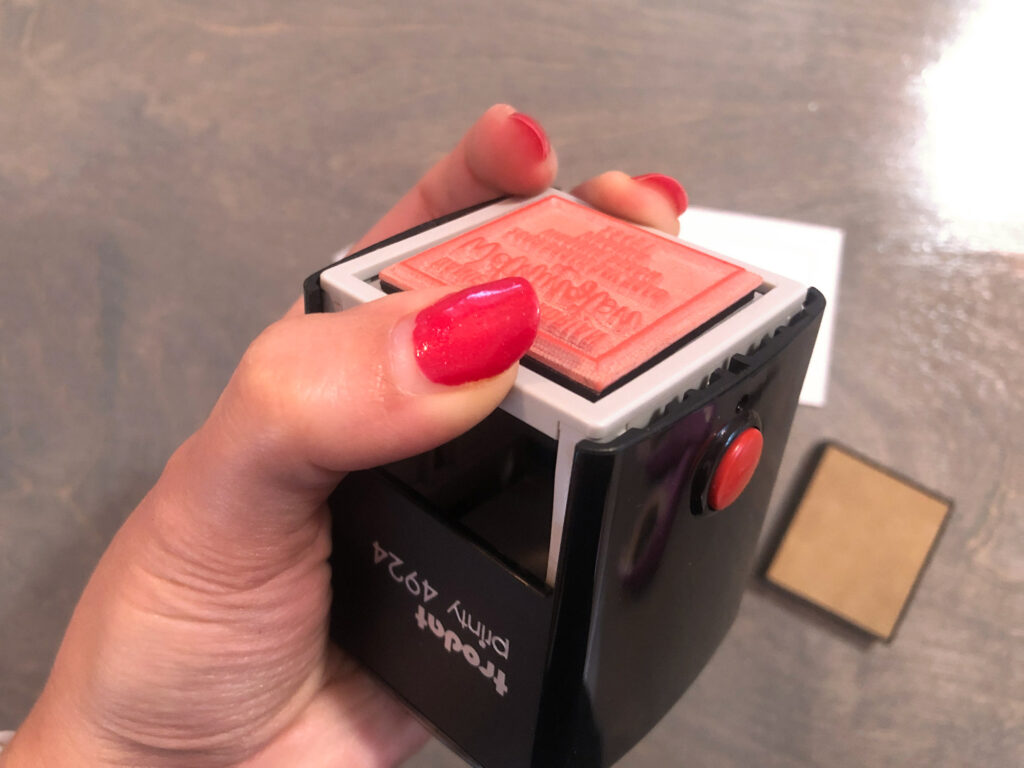
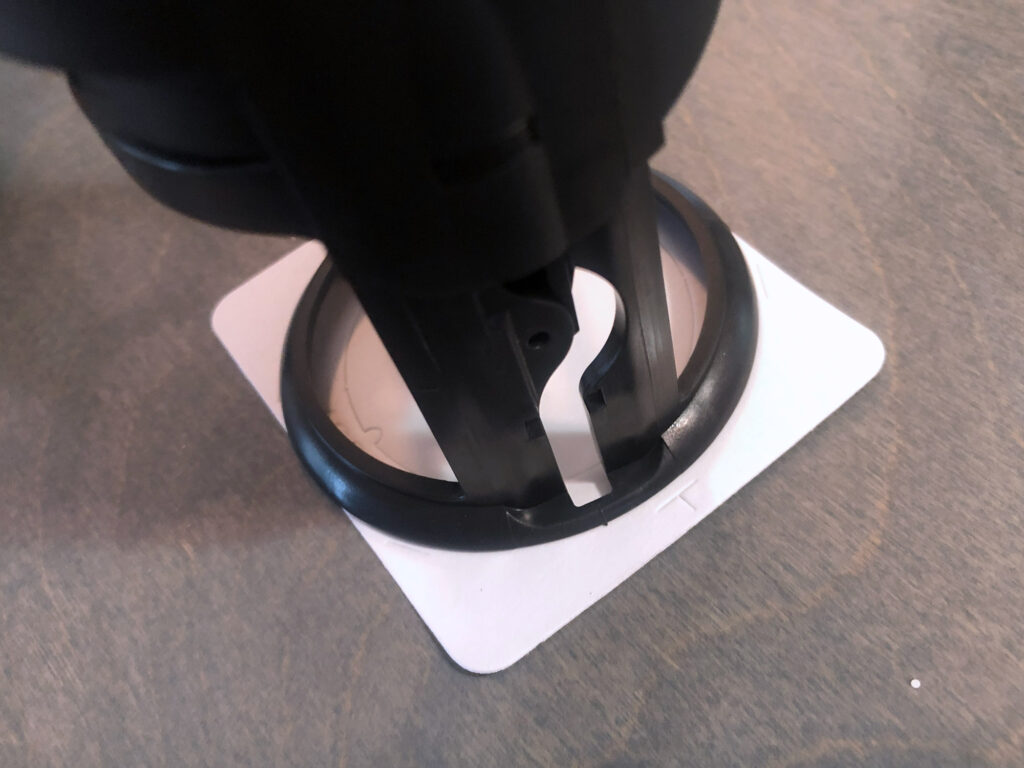
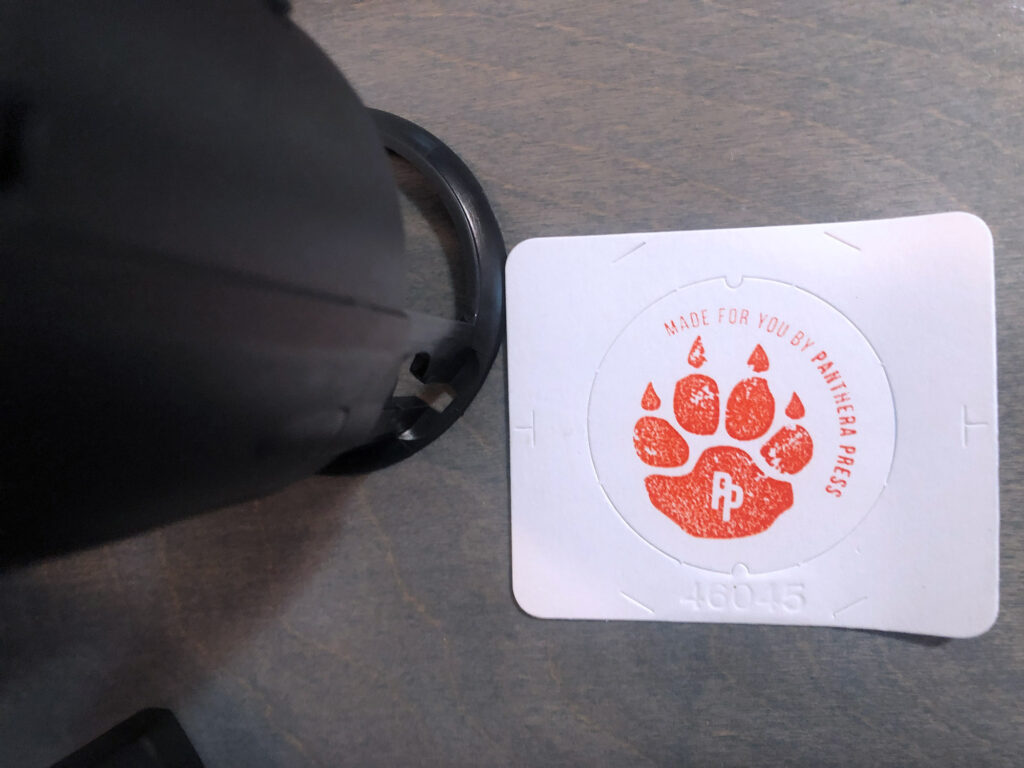
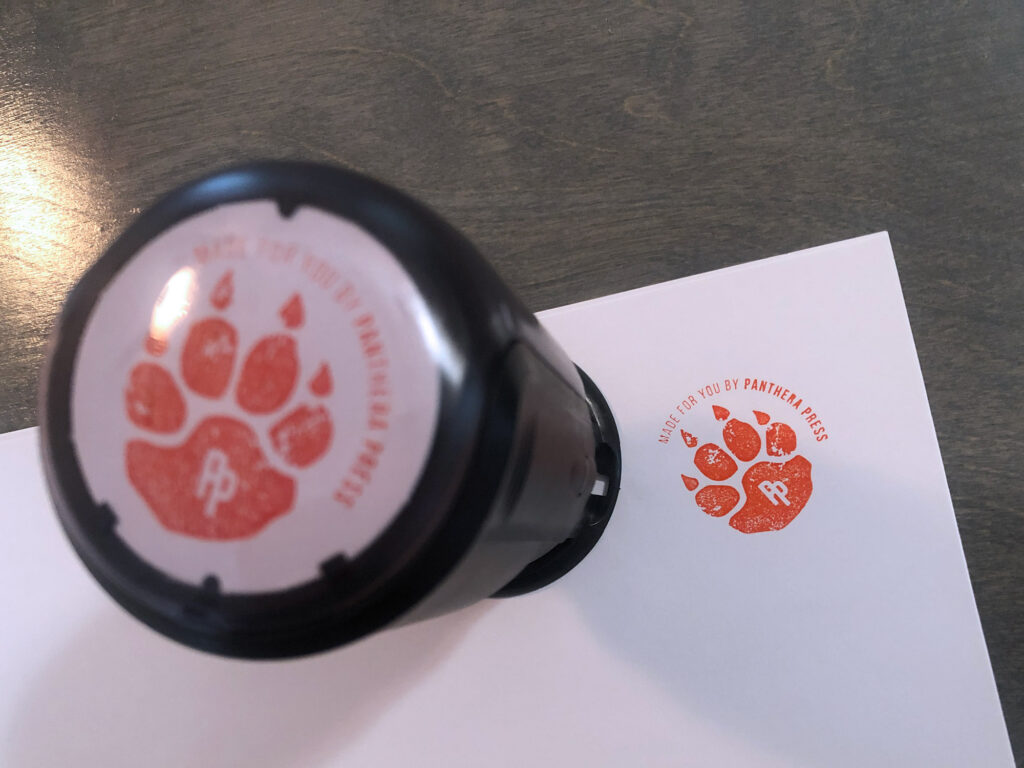
After your stamp is done you can line it up on the guides for the included “top card” and stamp your design. Then insert it into the top of the stamp – this will help you make sure to stamp your design in the correct orientation when you use it.
NAVIGATE POSTS
Helpful Links
Latest Posts
Posts by Category
Explore Posts By Tags
Acrylic Adobe Illustrator Alcohol Ink Baby Room Beginner Post Book Binding BuyTheFile Christmas Felt freefiles Gifts Gilding Glowforge Holiday Jewelry Journal Kaleidoscope LED Notebook Resin Rubber Stamp Settings Sign Stamping Yupo
Get Your Own Glowforge Laser
If you have found this post helpful and would like to purchase a Glowforge of your own you can receive a discount using my referral link when you are ready to purchase:
Sign Up to Blog Newsletter
CONCLUSIONS
Stamps are a great project for the Glowforge. The rubber isn’t too expensive and you can go as basic or as complex as you want. I do suggest you avoid Glowforge’s stamp function – it doesn’t really do what you need because it doesn’t add the shoulders needed to create a crisp stamp with fine detail. Do note, that there are different types of stamping rubber and some lend themselves to self inking stamps better than others. Also oil vs. water based ink can make a difference in which rubber you buy. Check out this website for some different options if you want to try something other than what I’ve linked in the materials below.
Where to Get the Materials:
Some of these are Amazon affiliate links, so feel free to skip them if you’re not into that. As an Amazon Associate, I earn from qualifying purchases, but they do not cost you any extra:
Get 50% off your first Wish.com order with my code: mfvjgnw | I buy lots of odds and ends here, so if you need some small item and don’t mind waiting, this can be a fun shop to check out.
Rubber (Laserable) – This is what I used for all my stamps.
Custom 2″ Round Stamp – Maybe you aren’t quite ready to make your own stamp, you can get a custom made one from Amazon – then one day when you want to swap out the design you can just peel out the stamp and engrave your own.
I purchased my water based ink and Trodat blank stamps from Rubber Stamp Warehouse. If you want to bulk order than check out Rubber Stamp Materials (both are below).
WEBSITE FOR STAMP MATERIALS:
Obligatory Glowforge Discount Code Plug
If you found this post helpful and you plan to buy a Glowforge you can use my code (https://glowforge.us/r/QHDONFXB) for a discount of $125 off the Basic, $250 of the Plus, or $500 of the Pro:
Sign Up for Blog Posts Updates
And finally, if you’d like to be updated on posts like these in the future you can sign up for my email list. You will only receive an email if there is new content, and only once weekly in that case:

